
FDP12WABL - Wall electrical panel Furrion - Free user manual and instructions
Find the device manual for free FDP12WABL Furrion in PDF.
| Product Type | AC/DC Wall-Mount Electrical Panel |
| Brand | Furrion |
| Model | FDP12WABL |
| Input Power | 120 V AC 30 A or 240 V AC 50 A |
| AC Distribution | Up to 12 branch circuits (7 for 30 A main, 12 for 50 A main) |
| Main AC Circuit Breakers | 30 A or 50 A x 2 |
| AC Outlet | 5-20R 120 V, 20 A outlet |
| DC Circuits | 15 outputs (30 A x 2 ways, 20 A x 13 ways) |
| DC Protection | Fuses, with red LED indicator for blown fuse |
| Reverse Polarity Protection | Yes, via fuse |
| Converter Compatibility | Furrion FCVSDC60A / FCVSDC80A 12 V series |
| Certification | UL67 |
| Warranty | 1 year from date of purchase |
| Housing Material | Plastic |
| Weight | Approximately 3 kg (estimate) |
| Dimensions (housing) | Approximately 30 x 20 x 10 cm (estimate) |
| Operating Temperature | Up to 90°C (terminals) |
| Accepted Wire Gauges | 6 to 14 AWG depending on terminal |
| Maintenance | Check battery fluid level monthly; clean ventilation openings |
| Safety | Installation by an experienced technician; do not install in a propane compartment; do not obstruct ventilation |
| Spare Parts | UL-listed circuit breakers (Eaton BR, Siemens QP, Square D HOM); replaceable power converter |
| Repairability | Possible replacement of circuit breaker and converter; no repairable parts inside |
Frequently Asked Questions - FDP12WABL Furrion
User questions about FDP12WABL Furrion
0 question about this device. Answer the ones you know or ask your own.
Ask a new question about this device
Download the instructions for your Wall electrical panel in PDF format for free! Find your manual FDP12WABL - Furrion and take your electronic device back in hand. On this page are published all the documents necessary for the use of your device. FDP12WABL by Furrion.
USER MANUAL FDP12WABL Furrion
Thank you and congratulations for purchasing this Furrion® AC/DC Wall Mount Distribution
Panel. Before operating your new product, please read these instructions carefully. This instruction manual contains information for safe use, installation and maintenance of the product.
Please keep this instruction manual in a safe place for future reference. This will ensure safe use and reduce the risk of injury. Be sure to pass on this manual to new owners of this product.
The manufacturer does not accept responsibility for any damages due to not observing these instructions.
If you have any further questions regarding our products, please contact us at support@furrion.com
Contents
Welcome 3
Contents 4
Important Safety Instructions. 5
Product Overview 6
Rear View. 6
Front View. 6
Installation 7
What's in the Box 7
Mounting the Distribution Panel 7
Wiring Diagram. 9
Wiring Connection. 9
Care and Maintenance 10
Replacing Circuit Breaker 10
Replacing the Power Converter. 10
Specifications 11
Warranty. 12
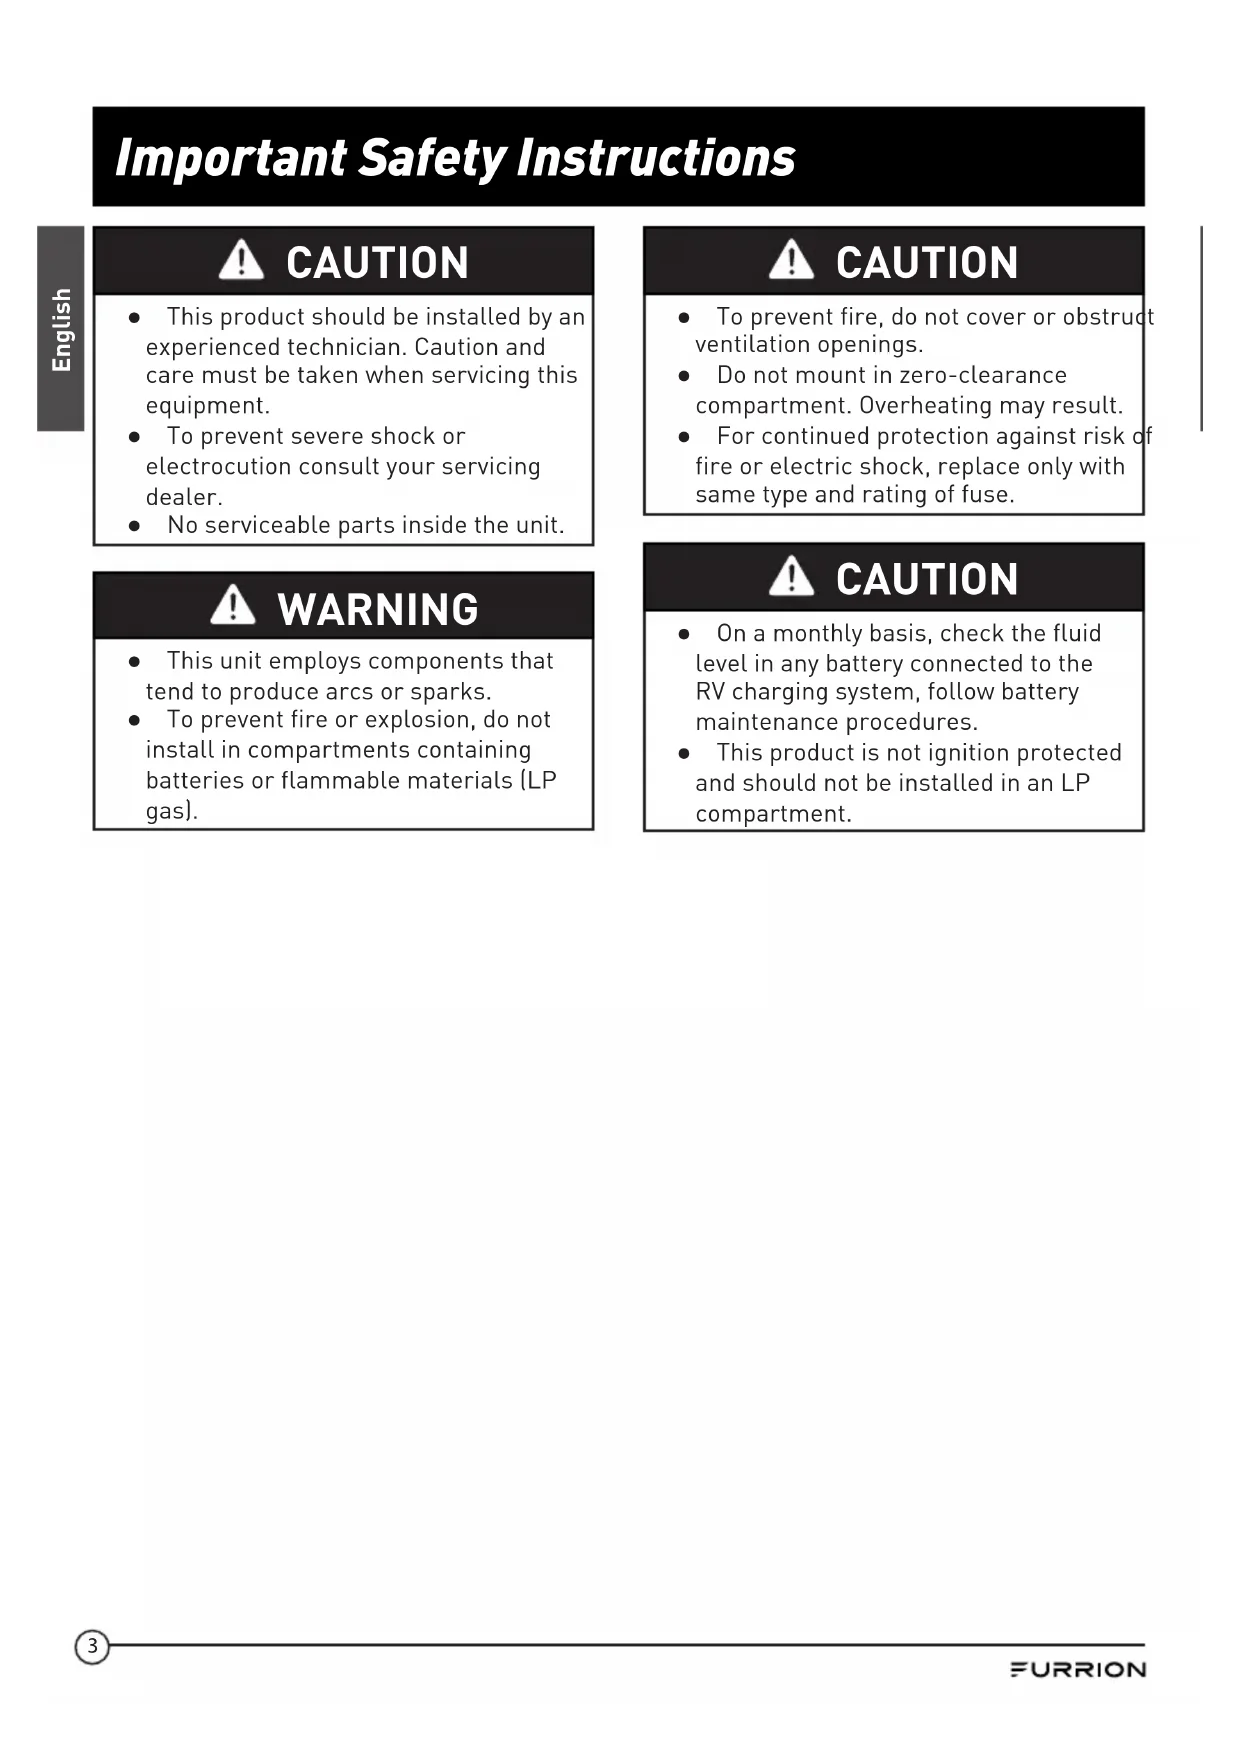
Important Safety Instructions

CAUTION
- This product should be installed by an experienced technician. Caution and care must be taken when servicing this equipment.
- To prevent severe shock or electrocution consult your servicing dealer.
No serviceable parts inside the unit.

CAUTION
- To prevent fire, do not cover or obstruct ventilation openings.
- Do not mount in zero-clearance compartment. Overheating may result.
- For continued protection against risk of fire or electric shock, replace only with same type and rating of fuse.

WARNING
- This unit employs components that tend to produce arcs or sparks.
- To prevent fire or explosion, do not install in compartments containing batteries or flammable materials (LP gas).

CAUTION
- On a monthly basis, check the fluid level in any battery connected to the RV charging system, follow battery maintenance procedures.
- This product is not ignition protected and should not be installed in an LP compartment.
Product Overview
-
AC and DC distribution panel with max 30A/12V 15 DC distribution and 12 AC branch circuits.
-
Easy installation and removal of AC wiring strain relief.
- Simple minimalist design.
- Can be used with Furrion FCVSDC60A/ FCVSDC80A 12V series converter.
- Reverse polarity protection by fuse.
Rear View

Front View

Installation
This product is not ignition protected and should not be installed in an LP compartment. For proper wire sizes and torque requirements, refer to the label on the back of the door assembly.

WARNING
This unit employs components that tend to produce arcs or sparks. To prevent fire or explosion, do not install in compartments containing batteries or flammable materials (LP gas).

CAUTION
- To prevent fire, do not cover or obstruct ventilation openings. Do not mount in zero-clearance compartment. Overheating may result.
- For continued protection against risk of fire or electric shock, replace only with same type and ratings of fuse.
What's in the Box
Make sure you have all the following items included in the packaging. If any items are damaged or missing, contact your dealer.
Distribution Panel x 1
- Instruction Manual x 1
-Warranty Card x 1
Mounting the Distribution Panel
Consult a licensed electrician or an RV technician for installation assistance.
- Select a mounting location near the shore power and battery (batteries). A minimum compartment size of 3 cubic feet is recommended.
- Cut a rough opening (as the dimension outlined in Fig. 1) on the RV wall to allow the power center to slide in easily.

- Push the distribution panel front cover around to the position of F" mark and rotate downwards to fully open it. [Fig. 2]

- Loosen the screws that hold the housing at the four corners using a Phillips screwdriver. (Fig. 3)

- Pull to remove the housing from the unit. (Fig. 4)
Installation

- Connect the distribution panel to the battery. See 'Wiring Diagram' section on how to connect the wires.
- Slide the distribution panel in the opening area and fix with 4 self-tapping screws (#8-18 thread) (not supplied). (Fig. 5 and Fig. 6)


- Replace the housing to the distribution panel and tighten the screws at the four corners. (Fig. 7 and Fig. 8)
NOTE: Do not over tighten. Damage to the housing may occur which will void the warranty.


- Test the distribution panel under full load conditions in its intended mounting location to ensure proper ventilation.
Wiring Diagram
IMPORTANT: Remember to select the proper gauge wire for the load, according to the National Electric Code (NEC) and RVIA. Be sure to use appropriate connector and strain reliefs to secure the wires to the distribution panel.
Wiring Connection
The fuse rating that the manufacturer suggests for the output fuses will be marked on the unit. Replace only with same type and rating.
NOTE: If the reverse polarity protection fuses are blown during connection, replace the fuses with the same rating as the original.

| Terminal Description Max. | Temperature (°C) | Torque (In. -lbs) Wire | Gauges (AWG) |
| Terminal of Ground and Neutral Bar | 90 25; 30; 35 | 10-14; 8; 6 | |
| DC Fuse Panel Lugs Positive and Negative | 70 25; 32; 45 | 10-14; 8; 6 |
Care and Maintenance
Replacing Circuit Breaker
A replacement or additional circuit breaker shall be of the same manufacturer, type designation, and equal or greater interrupting rating, not to exceed 50A.
"Short-Circuit-Current" rating for the breaker should be 10,000A at 120/240 Volt AC.
UL®-Listed Main Circuit Breakers, rated for 30/50Amp 120V/240Vac
Acceptable circuit breakers are as follows:
| Manufacturer Model/Cat. No./Type | |
| Eaton BR | |
| ITE/Siemens Type QP | |
| Square D Type HOM | |
UL®-Listed Branch Circuit Breakers, rated for 120/240Vac, 20A or 15A
Acceptable circuit breakers are as follows:
| Manufacturer Model/Cat. No./Type | |
| Eaton BR | |
| ITE/Siemens Type QP or QT | |
| Square D Type HOMT | |
Replacing the Power Converter
IMPORTANT: Make sure all power is disconnected before proceeding.
If you should need to replace the power converter for any reason, follow the steps below to safely remove the converter section.
- Remove the neutral, ground and hot wires that lead to the converter on the AC side.
- Remove the converter output wires from the DC board, ground and positive.
- Finally unscrew the screws that holds the metal converter plate to the plastic housing. For factory repairs, return only the converter section. Make sure you use proper packaging to ensure the product's safe arrival.
Do not replace the converter section unless the following checks have been performed:
- Use an AC voltmeter to check for the proper voltage at the 120VAC breaker that the converter is connected to. This voltage should be between 105 and 130 volts.
- Remove the reverse battery fuses and check the converter output from the CONVERTER GND to the CONVERTER POS terminals on the DC board. This should be 13.6VDC.
- Check the reverse battery fuses. These fuses will only blow if the battery or DC output leads were connected reversed, even for a moment. If they are blown check the polarity of the battery connections before replacing them.
- If the Converter output is not present and there is AC to the converter, the converter is defective.
Specifications
English
| Technical Specification | |
| System Voltage Input 120Vac 30Amp or 240Vac 50Amp. | |
| AC Distribution Max. 12 branches (7 for 30A main; 12 For 50A main) | |
| AC Main Breakers 30Amp or 50Amp x2 | |
| AC Receptacle 5-20R 120V 20A receptacle | |
| DC Circuits (Total) 15DC outputs (30Amp x2CH, 20Amp x13CH) | |
| DC Terminal bar Built-in negative battery terminal | |
| Fuse Status Indicator LED | The LED displays no light when fuse is in good condition. It will light with RED when fuse is broken. |
| Certification UL67 | |
Warranty
Furrion warrants for a period of 1 year from date of retail purchase by the original end-use purchaser, that this product, when delivered to you in new condition, in original packaging, from a Furrion authorized reseller and used in normal conditions, is free from any defects in manufacturing, materials, and workmanship. In case of such defect, Furrion shall replace or repair the product at no charge to you. This warranty does not cover: products where the original serial numbers have been removed, altered or cannot readily be determined; damage or loss caused by accident, misuse, abuse, neglect, product modification, failure to follow instructions in instruction manual, commercial or industrial use; damage or loss caused to the decorative surface of product; to any data, software or information; and normal wear and tear. This warranty only protects the original end-user ("you") and is not transferable; any attempt to transfer this warranty shall make it immediately void. This warranty is only valid in the country of purchase.
THIS WARRANTY AND REMEDIES SET FORTH ABOVE ARE EXCLUSIVE AND IN LIEU OF ALL OTHER WARRANTYES, REMEDIES AND CONDITIONS, WHETHER ORAL OR WRITTEN, EXPRESS OR IMPLIED. FURRION SPECIFICALLY DISCLAIMS ANY AND ALL IMPLIED WARRANTYES, INCLUDING, WITHOUT LIMITATION, WARRANTYES OF MERCHANTABILITY AND FITNESS FOR A PARTICULAR PURPOSE. IF FURRION CANNOT LAWFULLY DISCLAIMER IMPLIED WARRANTYES UNDER THIS LIMITED WARRANTY, ALL SUCH WARRANTYES, INCLUDING WARRANTYES OF MERCHANTABILITY AND FITNESS FOR A PARTICULAR PURPOSE ARE LIMITED TO THE DURATION OF THIS WARRANTY.
No Furrion reseller, agent, or employee is authorized to make any modification, extension, or addition to this warranty.
Warranty
FURRION IS NOT RESPONSIBLE FOR DIRECT, INDIRECT, SPECIAL, INCIDENTAL OR CONSEQUENTIAL DAMAGES RESULTING FROM ANY BREACH OF WARRANTY OR CONDITION, OR UNDER ANY OTHER LEGAL THEORY, INCLUDING BUT NOT LIMITED TO LOST PROFITS, DOWNTIME, GOODWILL, DAMAGE TO OR REPLACEMENT OF ANY EQUIPMENT OR PROPERTY, ANY COSTS OF RECOVERING, REPROGRAMMING, OR REPRODUCING ANY PROGRAM OR DATA STORED IN OR USED WITH FURRION PRODUCTS. FURRION'S TOTAL LIABILITY IS LIMITED TO THE REPAIR OR REPLACEMENT OF THIS PRODUCT PURSUANT TO THE TERMS OF THIS WARRANTY.
SOME STATES DO NOT ALLOW THE EXCLUSION OR LIMITATION OF INCIDENTAL OR CONSEQUENTIAL DAMAGES OR EXCLUSIONS OR LIMITATIONS ON THE DURATION OF IMPLIED WARRANTYES OR CONDITIONS, SO THE ABOVE LIMITATIONS OR EXCLUSIONS MAY NOT APPLY TO YOU. THIS WARRANTY GIVES YOU SPECIFIC LEGAL RIGHTS, AND YOU MAY ALSO HAVE OTHER RIGHTS THAT VARY BY STATE OR (WHERE APPLICABLE IN THE COUNTRIES WHERE FURRION HAS NON-US/CANADIAN AUTHORIZED DEALERS) COUNTRY. NO ACTION OR CLAIM TO ENFORCE THIS WARRANTY SHALL BE COMMENCED AFTER THE EXPIRATION OF THE WARRANTY PERIOD.
Keep your receipt, delivery slip, or other appropriate payment record to establish the warranty period. Service under this warranty must be obtained by contacting Furrion at
warranty@furrion.com
Product features or specifications as described or illustrated are subject to change without notice.
Bienvenue
Furrion Innovation Center & Institute of Technology
52567 Independence Ct., Elkhart, IN 46514, USA Toll free:1-888-354-5792
Email: support@furrion.com
©2007-2018 Furrion Ltd. Furrion® and the Furrion logo are trademarks licensed for use by
Furrion Ltd. and registered in the U.S. and other countries.
- Contents
- Important Safety Instructions
- CAUTION
- WARNING
- Product Overview
- Rear View
- Front View
- Installation
- What's in the Box
- Mounting the Distribution Panel
- Consult a licensed electrician or an RV technician for installation assistance.
- Wiring Diagram
- Wiring Connection
- Care and Maintenance
- Replacing Circuit Breaker
- Replacing the Power Converter
- Specifications
- English
- Warranty
- warranty@furrion.com
- Bienvenue
- Furrion Innovation Center & Institute of Technology
Brand : Furrion
Model : FDP12WABL
Category : Wall electrical panel