18952074 - Grill plate CHAR BROIL - Free user manual and instructions
Find the device manual for free 18952074 CHAR BROIL in PDF.
Document temporarily unavailable
The manual is currently being transferred to our new server. It will be accessible again in a few hours. Thank you for your patience.
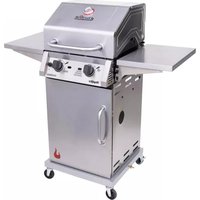
| Brand | CHAR BROIL |
| Model | 18952074 |
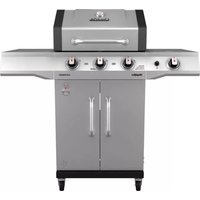
| Product Type | Outdoor gas griddle plate |
| Power Source | Propane gas (LPG) via 20 lb (9 kg) tank |
| Number of main burners | 4 |
| Ignition | Electronic (AA batteries) and backup match |
| Cooking plate material | Steel with protective coating (seasoning required) |
| Dimensions (approx.) | Height ~112 cm, width ~132 cm, depth ~60 cm (with side shelves) |
| Weight | Approximately 45 kg (assembled) |
| Main functions | Griddle cooking, flame adjustment, folding side shelves |
| Maintenance and cleaning | Cleaning after each use, regular seasoning, checking burners |
| Safety | Gas leak detection, emergency shutoff, outdoor use only |
| Spare parts and repairability | Burners, electrodes, regulator, hose available via customer service |
| Warranty | Stainless steel burners 2 years, other parts 1 year (registration required) |
| General information | For outdoor domestic use, do not use indoors |
Frequently Asked Questions - 18952074 CHAR BROIL
User questions about 18952074 CHAR BROIL
0 question about this device. Answer the ones you know or ask your own.
Ask a new question about this device
Download the instructions for your Grill plate in PDF format for free! Find your manual 18952074 - CHAR BROIL and take your electronic device back in hand. On this page are published all the documents necessary for the use of your device. 18952074 by CHAR BROIL.