USER MANUAL La Specialista Arte Evo EC9255 DELONGHI
PREPARING YOUR MACHINE
SETTING LA SPECIALISTA FOR FIRST USE
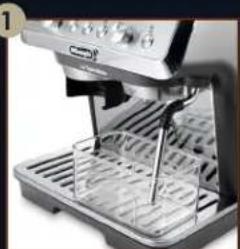
1
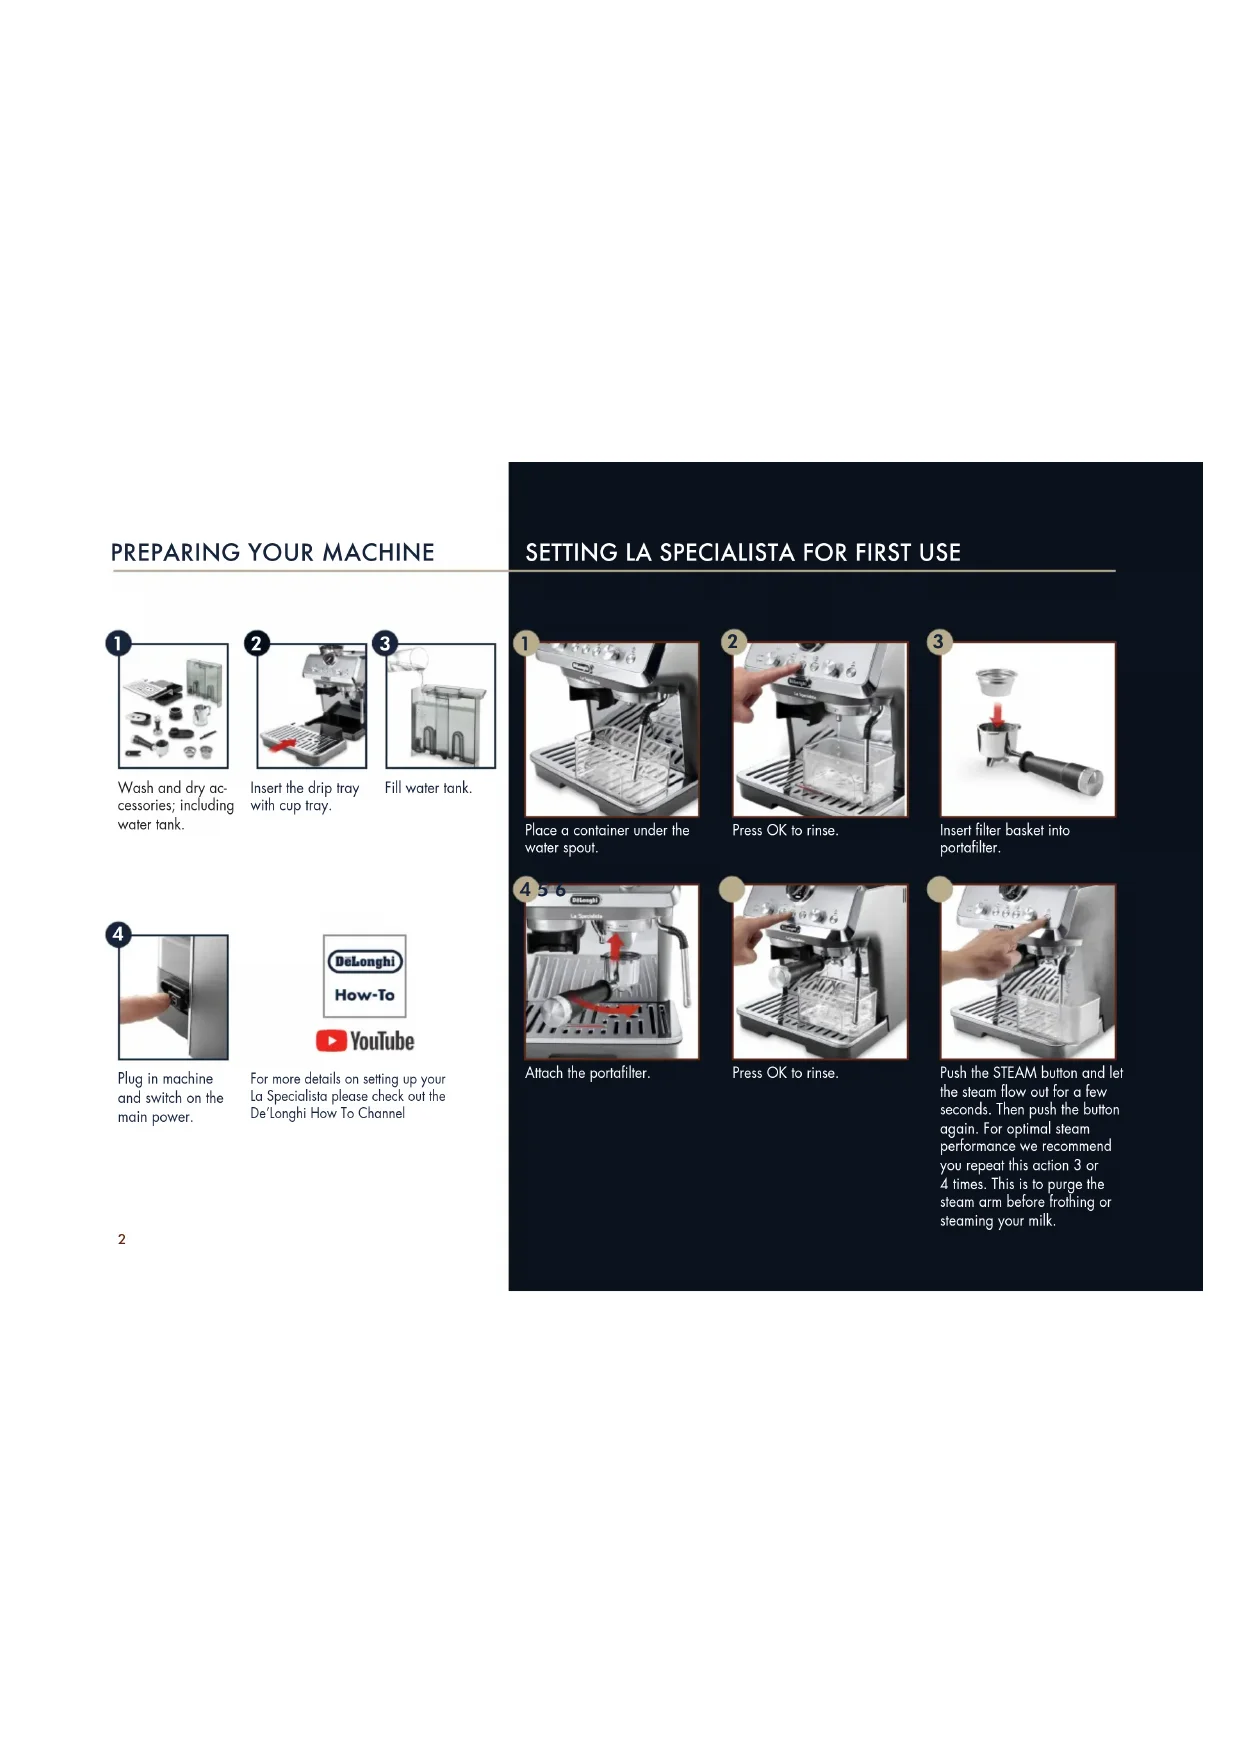
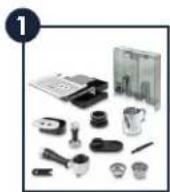
Wash and dry accessories; including water tank.
2
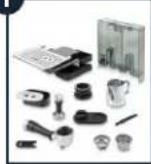
Insert the drip tray with cup tray.
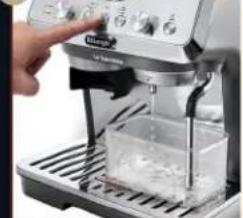
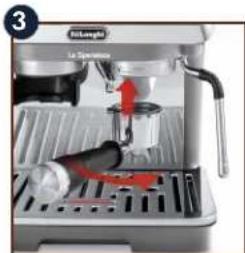
3
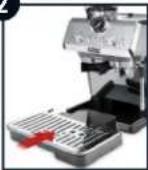
Fill water tank.
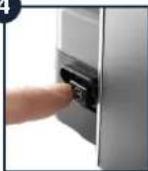
4
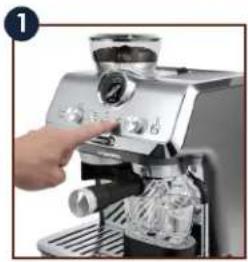
Plug in machine and switch on the main power.


YouTube
For more details on setting up your La Specialista please check out the De'Longhi How To Channel
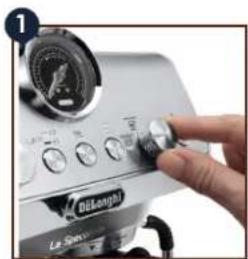
1
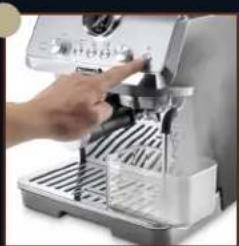
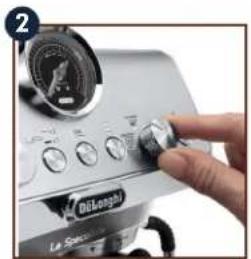
Place a container under the water spout.
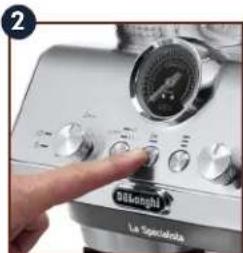
2
Press OK to rinse.
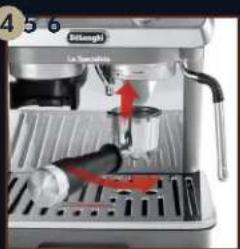
4
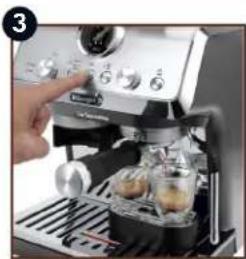
Attach the portafilter.
C
Press OK to rinse.
3
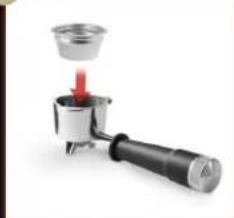
Insert filter basket into portafilter.
C
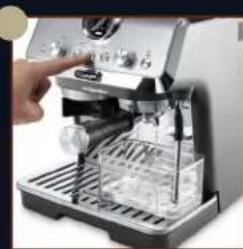
Push the STEAM button and let the steam flow out for a few seconds. Then push the button again. For optimal steam performance we recommend you repeat this action 3 or 4 times. This is to purge the steam arm before frothing or steaming your milk.
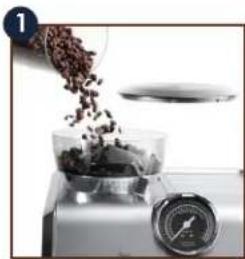
Add beans to hopper. Fresh is best; fill in just with the quantity you need. Store the remainder of your beans in a vacuum container.
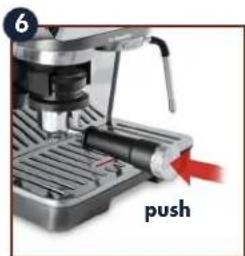
Push the portafilter until you hear a single "Click", then release: grinding starts and stops automatically.
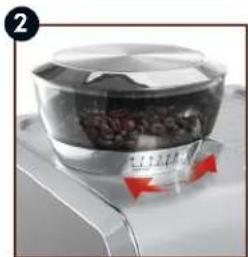
The ideal setting depends on your coffee bean type. The factory default is 5. If you are not satisfied, adjust the level according to your personal taste and the type of coffee (do it while grinding).
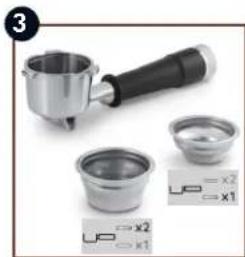
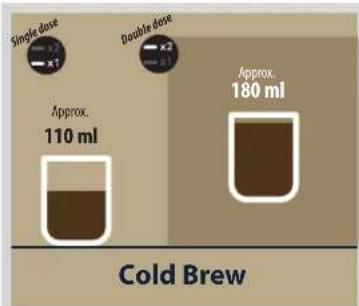
Select single or double dose filter and place in the portafilter. If you are using the double filter, press the button until the X2 light comes on. Please note: the x 2 selection will double the volume of the espressor shot as well.
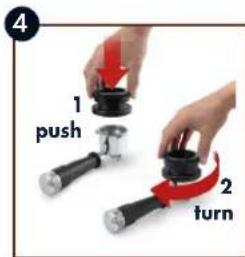
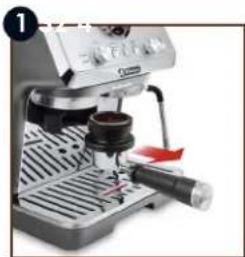
Insert the Dosing&Tamping Guide to the portofiller: 1 push and 2 turn until it locks.
DOSING & TAMPING GUIDE
The Dosing&Tamping Guide is used to avoid coffee from spilling while grinding, ensuring mess free operation and more consistent dosing.
RECOMMENDED GRINDING SETTINGS:
A grinding level between 3 and 6 is recommended for most coffees. A grinding level of 1 or 2 is very fine and should be used with special coffees only (light roasted)
| Coffee Beans Roasting Range Grinding setting |
| LIGHT 3-4 | |
| MEDIUM/MEDIUM DARK 4-5 | |
| DARK 5-6 | |
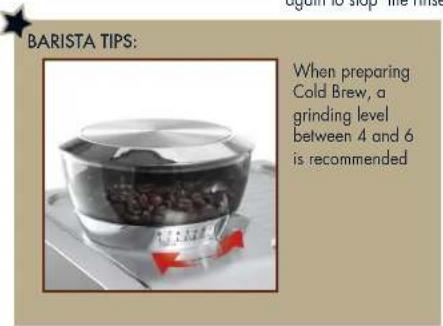
BARISTA TIPS:
When preparing Cold Brew, a grinding level between 4 and 6 is recommended.
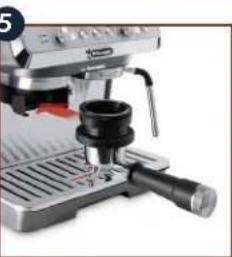
Insert the portafilter
Refer to "Focus on perfect dose"
on next page for suggestions.

Focus on perfect dose
Dose

Adjust dose
Perfect dose
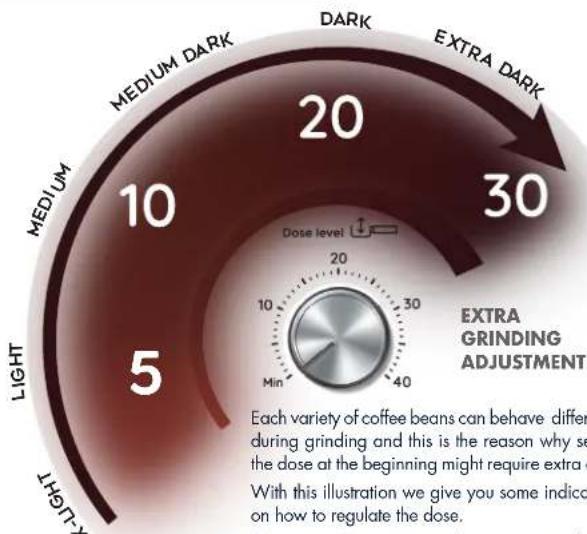
Each variety of coffee beans can behave differently during grinding and this is the reason why setting the dose at the beginning might require extra care. With this illustration we give you some indications on how to regulate the dose.
Please note these suggested setting ranges, based on the roasting level, are certainly a good starting point, but they might slightly vary depending on specific composition of your coffee beans.
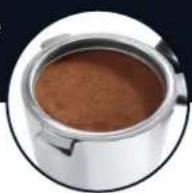
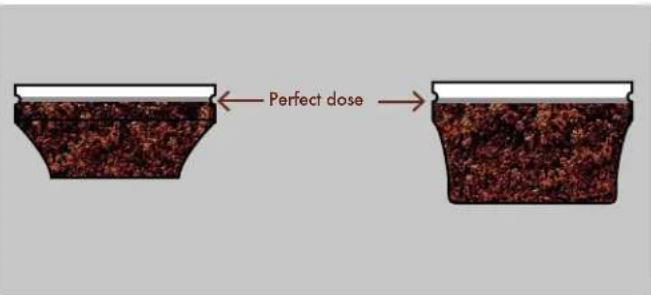
- Set the dose (to reach the mark inside of the filter basket, see image for perfect dose) starting from the minimum position. The numbers of the dial are a setting reference once the perfect dose in the filter is reached. They do not correspond to grinder settings or to measurement units (gr/oz) or to grinding time
- Look at which roasting level your coffee is and based on that, turn the knob slowly, referencing the ranges.
The coffee filters have a mark inside to identify the level for perfect dose. The perfect quantity corresponds to the line in relief.
Step 2 - tamping
Extract the portafilter. Put the
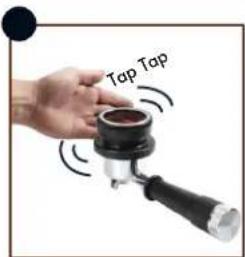
Tampigethby the Dosing & Tamping Guide to level the grounded coffee inside.
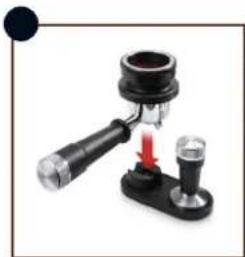
dedicated seat on the tamping mat
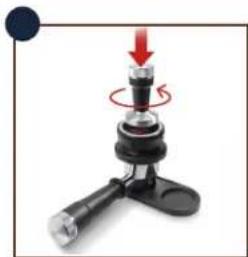
Tamp the coffee.
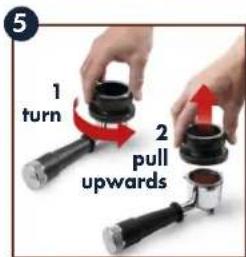
Remove the Dosing & Tamping Guide and check the coffee dose.
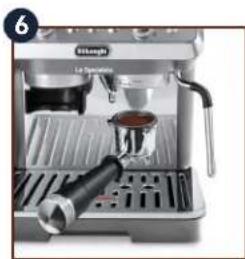
Attach the portafilter to the brewing unit.
BARISTA TIP: Ensure the coffee is at the recommended dosage level after tamping. You may need to adjust the dosage dial more times before reaching the perfect dose.
TAMPING MAT Using the tamping mat provides ideal stability while tamping ensuring a more even extraction.
Select your drink. Select the temperature Press OK to start brewing (preinfusion and infusion).
INFUSION TEMPERATURE PROFILES
- The water temperature is precisely controlled throughout the entire brewing process to ensure the ideal temperature stability for the extraction. La Specialista Arle offers up to 3 infusion temperatures profiles to select, correspondent to a range of temperatures between -92^ and -96^ .
- Coffee bean varieties as well as roasting colours require their own specific temperature setting for the best extraction; Robusta coffee beans prefer lower temperature; Arabica prefers higher temperature. The same is applicable to beans with a darker roasting colour or to freshly-roasted beans than those degassed over time.
| Temperature level | MIN | MED | MAX |
| Corresponding light | 85 | 85 | 85 |
| Coffee Beans Roasting Range | DARK | MEDIUM to DARK | LIGHT to MEDIUM |
This temperature refers to the water inside the thermoblock. This differs from the temperature of the drink in the cup or the temperature measured when the drink comes out from the portalfilter spouts.
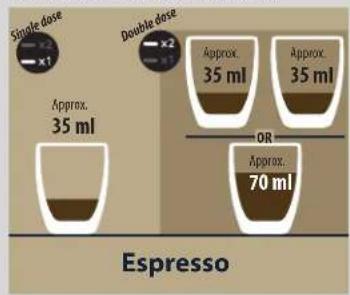
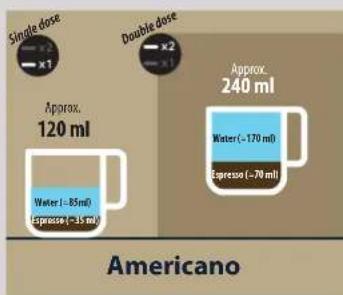
ESPRESSO BASED DRINKS MENU
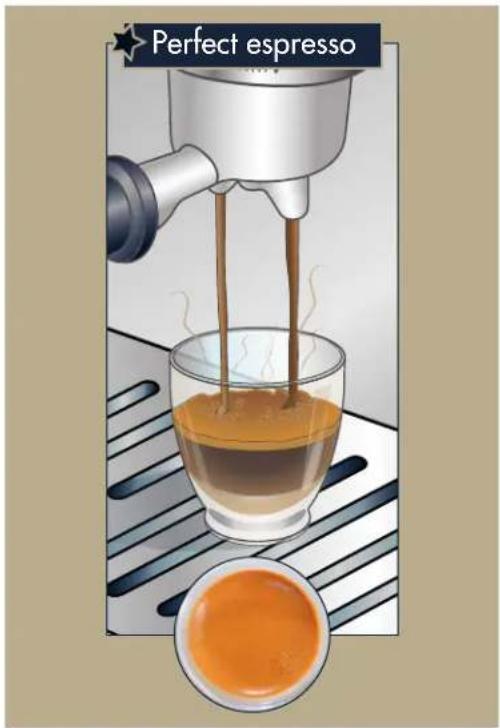
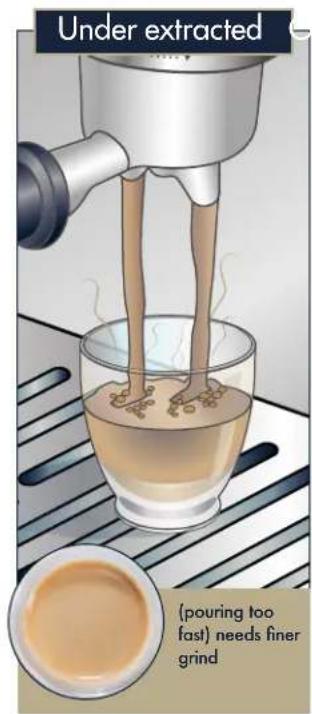
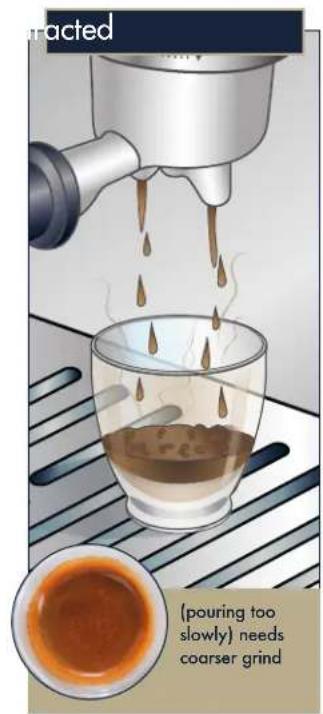
Achieve Espresso perfection
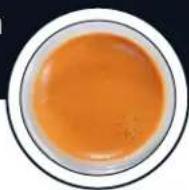
Extracting the perfect espresso is an art and might take a couple of tries. Be ready to adjust the coarseness of the grind and always make sure to have the tamped ground coffee at the indicator line in the filter to be able to reach perfect extraction.

COLD EXTRACTION TECHNOLOGY
Cold Extraction Technology is a method of brewing coffee with the use of room temperature or cold water. Cold Brew uses a longer infusion time instead of heat to extract the properties of the coffee beans, since the low temperature decreases the solvent power of the water.
Select Cold Brew *
The OK light is blue to indicate that Cold Brew is selected. Press the OK button to make a cold rinse: after a few seconds press OK again to stop the rinse.
Attach the portafilter with the perfect dose.
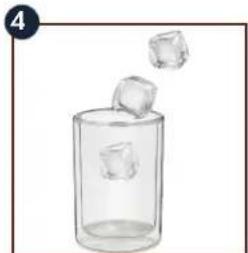
Prepare the glass adding 2 or 3 ice cubes and put it under the spouts.
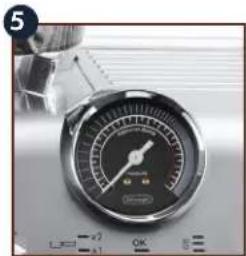
Press OK to start brewing Cold Brew. As no pressure is produced to brew this drink, the manometer will not turn to a higher position. Brewing automatically stops.
My LatteArt
Find out more in our dedicated video series for how to use your La Specialista Arte
0
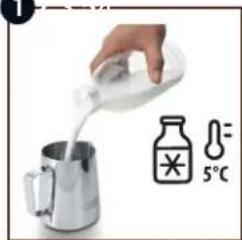
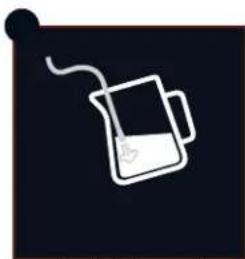
Fill the milk jug with fresh cold milk. Milk will up to triple in volume. Using a cold milk jug is advisable.
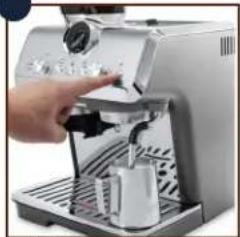
Push the steam button. After few seconds steam will be delivered.
To make the froth, put the nozzle on the surface of the milk and air will catch by the mixing of milk and steam.
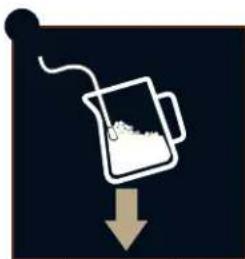
Keep the steam nozzle just on the surface, careful not to make big bubbles by letting too much air in.
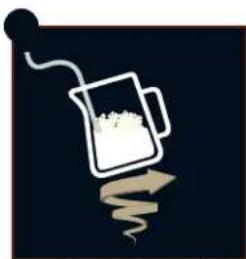
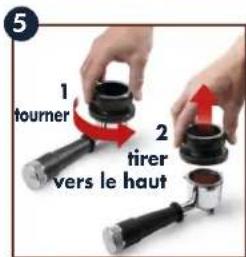
Insert the steam nozzle just under the milk: this create a vortex. Once the desired temperature is reached turn the steam knob off and wait till steam stops completely before removing jug.
CLEANING TIP:
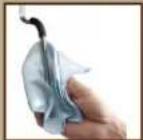
Always clean the steam nozzle with a clean damp cloth and release a short burst of steam to remove milk residue.
BARISTA TIP:
Fresh is best: Be sure to use fresh cold milk every time. Whole milk is recommended for best results. Dairy and Non Dairy alternatives will vary in ease of texturing depending on type.
BARISTA TIP:
After foaming milk, eliminate unwanted bubbles by swirling the pitcher.
Take Care of your Coffee Machine
(optional in some models)
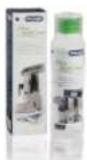
SoftBalls
Innovative patented system that prevents timescale formation. Extends the life of the coffee machine without altering the sensory properties of the water, guaranteeing consistently creamy and aromatic coffee.
EcoDecalk
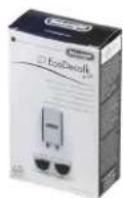
Its top quality ingredients make EcoDecalk a highly effective and natural limescale remover.
When the fight comes on, follow the steps illustrated in the user manual to descale correctly the machine.
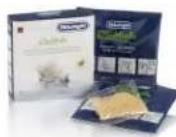
EcoMultiClean
Keep your coffee maker clean and free from milk residue. Our Eco MultiClean removes milk residue and effectively cleans external and removalbe parts of your coffee maker.
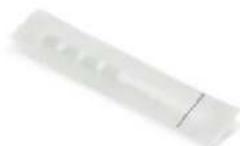
Water hardness test
Cleaning needle for steam wand
Optional Cleaning Tools
Visit "Delonghi.com" for more information
VORBEREITUNG DER
KAFFEEMASCHINE
Remove the Dosing & Tamping Guide and check the coffee dose.