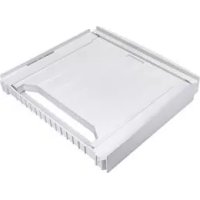
W10882520 - Washing machine MAYTAG - Free user manual and instructions
Find the device manual for free W10882520 MAYTAG in PDF.



| Product Type | Front-load washer |
| Brand | Maytag |
| Model | W10882520 |
| Wash Capacity | 4.5 cubic feet (126 liters) |
| Maximum spin speed | 1,200 rpm |
| Temperature options | Cold, warm, hot, very hot |
| Wash cycles | Normal, Delicate, Heavy Duty, Quick, Bedding |
| Additional options | Pre-wash, extra rinse, variable spin |
| Power supply | 120 V, 60 Hz, 10 A |
| Dimensions (H × W × D) | 96.5 × 68.6 × 81.3 cm (38 × 27 × 32 in) |
| Weight | 93 kg (205 lb) |
| Noise (wash/spin) | 56/72 dB |
| Drum material | Stainless steel |
| Drain | Flexible drain hose (1.5 m included) |
| Water inlet | 2 supply hoses (hot and cold water) |
| Sound level | Quiet thanks to insulation system |
| Maintenance | Regular cleaning of filter and door seal |
| Included parts | Stacking kit (platform, brackets, fasteners) |
| Safety | Two-person lift required, automatic shut-off in case of overload |
| Installation | Requires stable floor, minimum clearance for ventilation |
Frequently Asked Questions - W10882520 MAYTAG
User questions about W10882520 MAYTAG
0 question about this device. Answer the ones you know or ask your own.
Ask a new question about this device
Download the instructions for your Washing machine in PDF format for free! Find your manual W10882520 - MAYTAG and take your electronic device back in hand. On this page are published all the documents necessary for the use of your device. W10882520 by MAYTAG.
USER MANUAL W10882520 MAYTAG
Location Requirements. 3
Uninstall Washer and Dryer 4
If Your Washer or Dryer
is Still in Its Packaging. 4
INSTALLATION INSTRUCTIONS. 4
To Use Stacking Shelf and Hanging Rack 6
Indices
SEGURIDAD DEL JUEGO
PARALAVADORAY
SECADA SUPERPUESTAS 7
Your safety and the safety of others are very important.
We have provided many important safety messages in this manual and on your appliance. Always read and obey all safety messages.

This is the safety alert symbol.
This symbol alerts you to potential hazards that can kill or hurt you and others.
All safety messages will follow the safety alert symbol and either the word "DANGER" or "WARNING."
These words mean:
DANGER
WARNING
You can be killed or seriously injured if you don't immediately follow instructions.
You can be killed or seriously injured if you don't follow instructions.
All safety messages will tell you what the potential hazard is, tell you how to reduce the chance of injury, and tell you what can happen if the instructions are not followed.
INSTALLATION REQUIREMENTS
TOOLS AND PARTS
Gather the required tools and parts before starting installation.
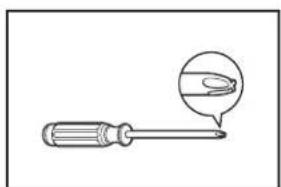
Tools needed:
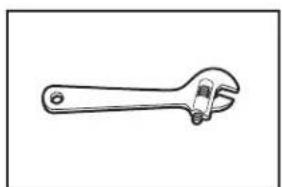
Phillips screwdriver Adjustable wrench that
opens to 1" (25 mm)
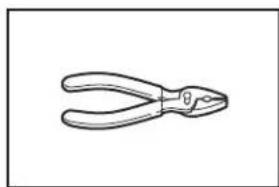
Pliers or slip-joint pliers (for drain and inlet hoses)
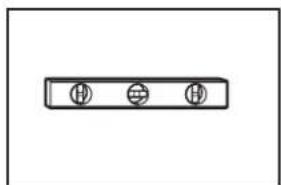
Level
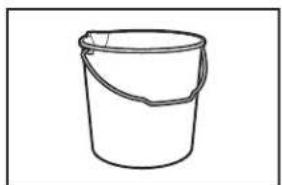
Bucket
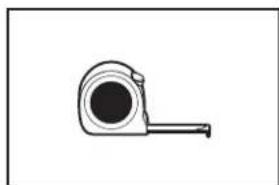
Tape measure
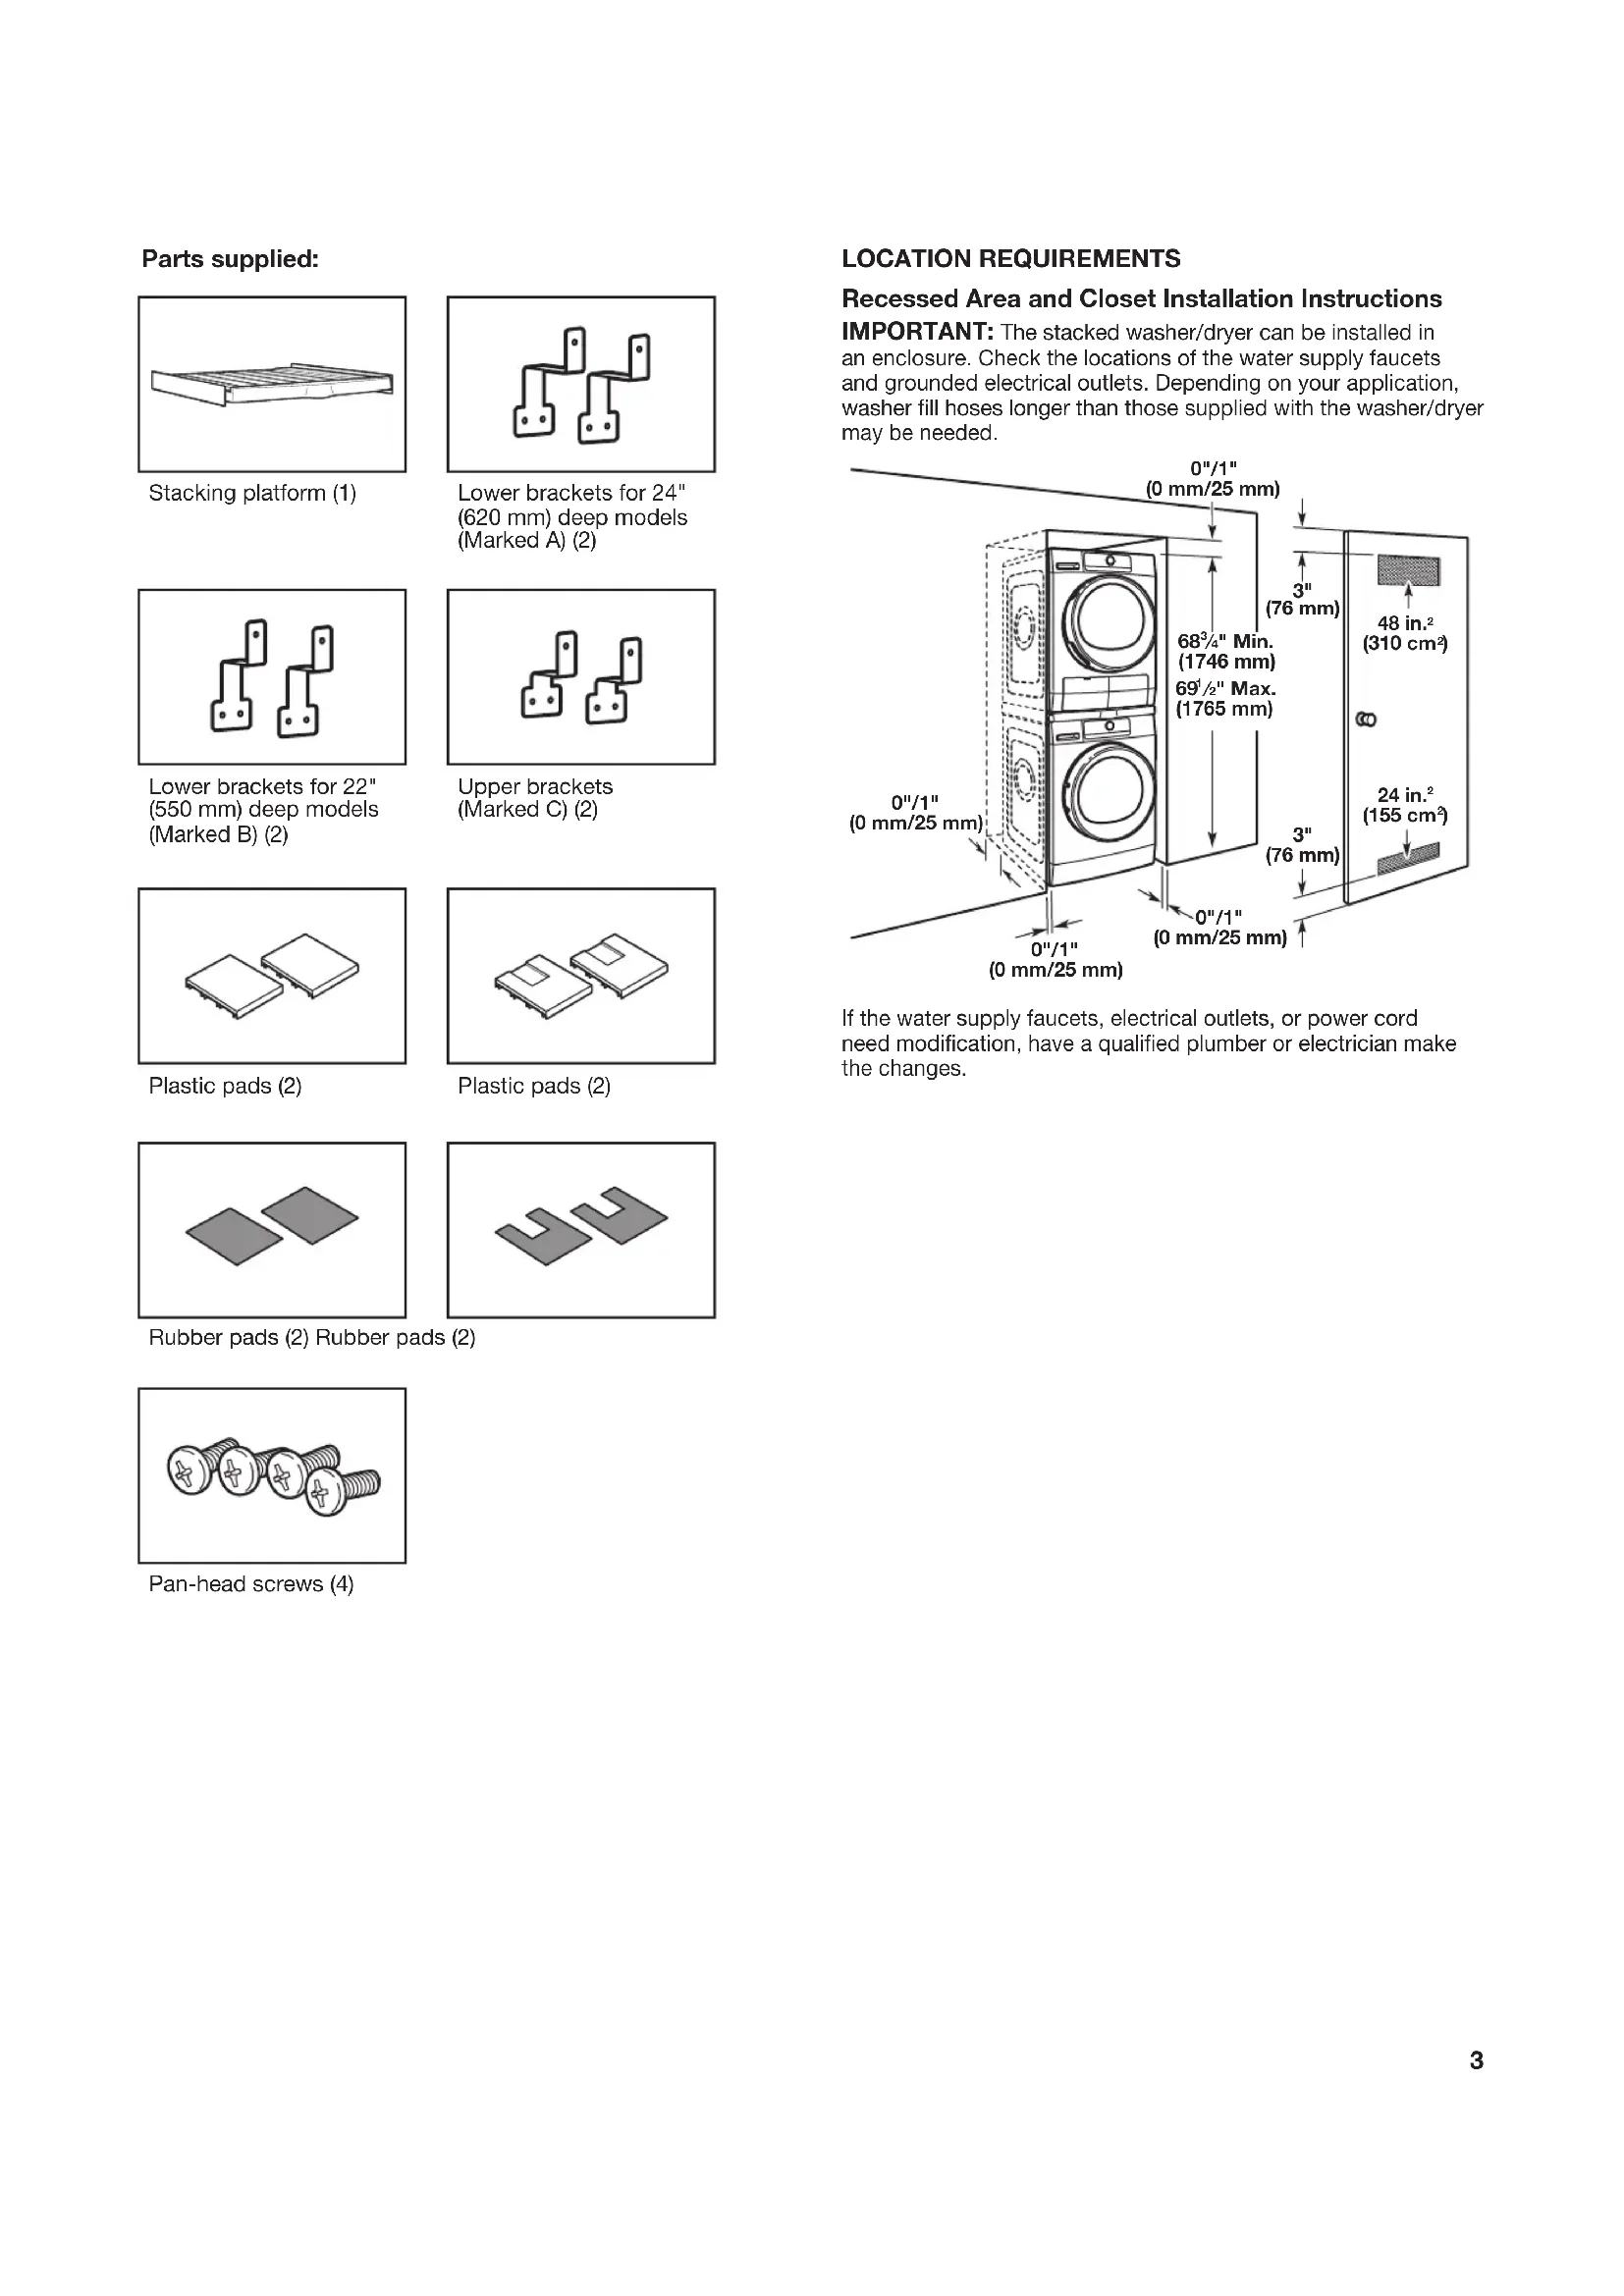
Parts supplied:
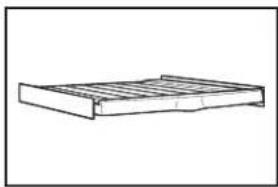
Stacking platform (1)
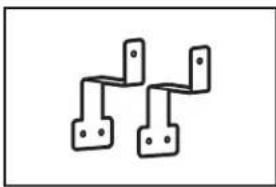
Lower brackets for 24" (620 mm) deep models (Marked A) (2)
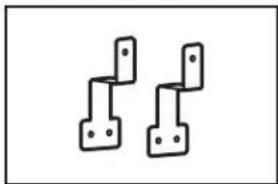
Lower brackets for 22^ (550 mm) deep models (Marked B) (2)
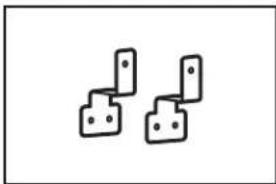
Upper brackets (Marked C) (2)
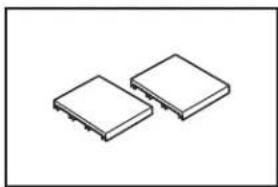
Plastic pads (2)
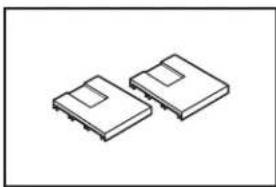
Plastic pads (2)
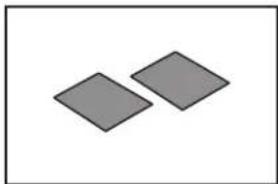
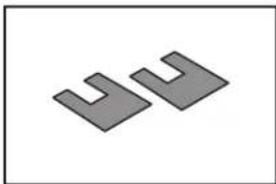
Rubber pads (2) Rubber pads (2)
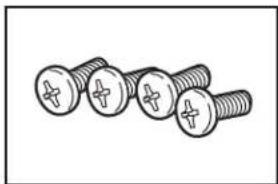
Pan-head screws (4)
LOCATION REQUIREMENTS
Recessed Area and Closet Installation Instructions
IMPORTANT: The stacked washer/dryer can be installed in an enclosure. Check the locations of the water supply faucets and grounded electrical outlets. Depending on your application, washer fill hoses longer than those supplied with the washer/dryer may be needed.
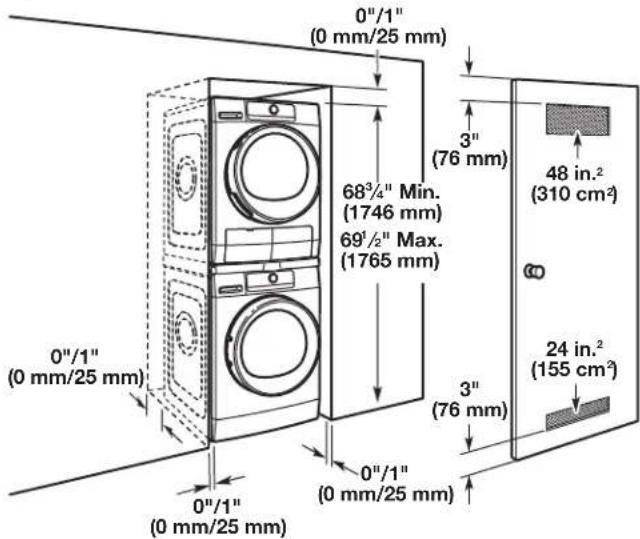
If the water supply faucets, electrical outlets, or power cord need modification, have a qualified plumber or electrician make the changes.
UNINSTALL WASHER AND DRYER
IMPORTANT: If your washer and dryer are already installed, they must be uninstalled.
If you need to uninstall your washer or dryer, see the Installation Instructions that came with your model for tools required.

WARNING
Excessive Weight Hazard
Use two or more people to move washer or dryer.
Failure to do so can result in back or other injury.
Uninstalling Your Washer
- Turn off the water faucet(s).
- Unplug the power supply cord.
- Slowly loosen the fill hose(s) at the faucet(s) to relieve the water pressure. Use a sponge or towel to absorb the released water.
- Remove the fill hose(s) from the back of the washer. Drain water in the hose(s) into a bucket.
- Remove the drain hose from the wall/floor drain pipe or utility sink and drain any water in the hose into a bucket.
Uninstalling Your Dryer
- Disconnect the power supply.
- Remove the drain hose from the floor drain pipe or utility sink and drain any water in the hose into a bucket.
IF YOUR WASHER OR DRYER IS STILL IN ITS PACKAGING

WARNING
Excessive Weight Hazard
Use two or more people to move washer or dryer.
Failure to do so can result in back or other injury.
Position the packaged washer or dryer close to its final position. Cut the packaging as follows:
- Washer: Cut plastic film along dotted cut line around the base. Remove the packaging. Do not remove the shipping bolts.
- Dryer: Cut around top and down corners along dotted cut lines. Discard carton top, corner posts and sides. Leave carton bottom underneath dryer.
INSTALLATION INSTRUCTIONS

WARNING
Excessive Weight Hazard
Use two or more people to move washer or dryer.
Failure to do so can result in back or other injury.
1. Move washer
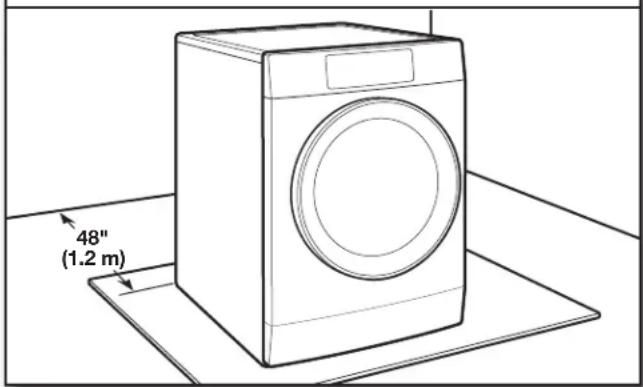
It is necessary to remove all shipping materials for proper operation and to avoid excessive noise from washer.
Move washer to within 48^ (1.2 m) of its final location. It must be in a fully upright position.
IMPORTANT: Keep the feet on the washer even in a stacked installation.
2. Ensure washer is level in its final location
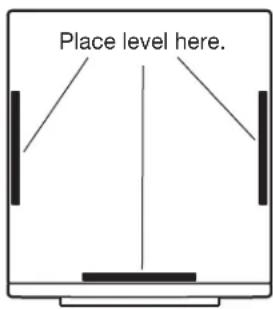
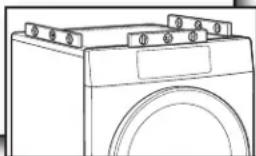
Place a level on top edges of washer, checking each side and front. If not level, tip washer and adjust feet up or down as shown in Installation Instructions, repeating as necessary.
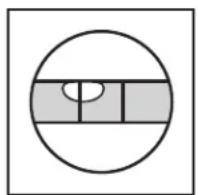
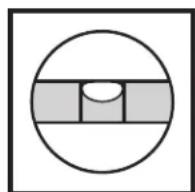
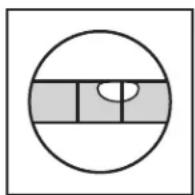
Not Level LEVEL Not Level
3. Install pads on stacking platform
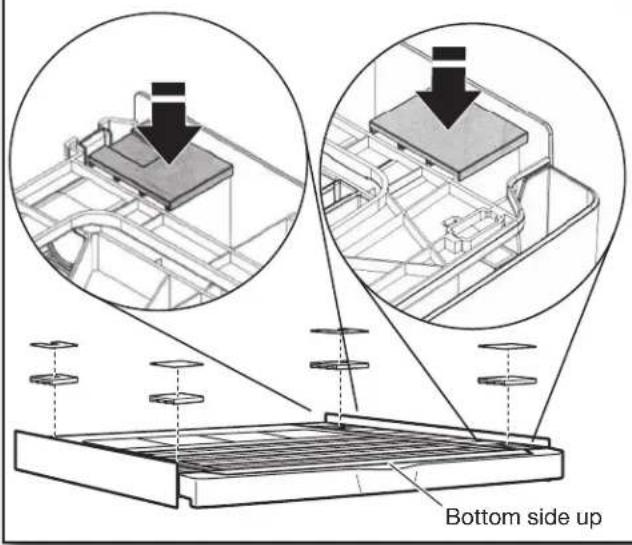
Turn the platform upside down. Install front and rear plastic pads in positions shown. Make sure they are also oriented as indicated. Then install the rubber pads over the plastic pads as shown.
4. Install brackets
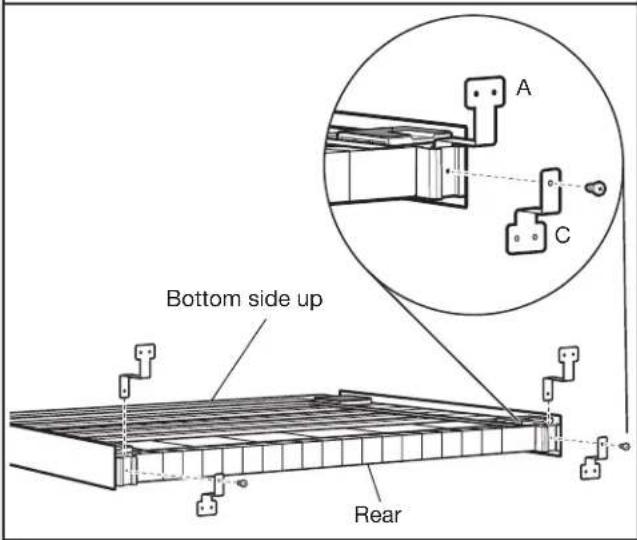
Slide lower brackets (A) into tracks as shown. Fasten them in place using upper brackets (C) and screws provided.
5. Remove screws from top rear of washer
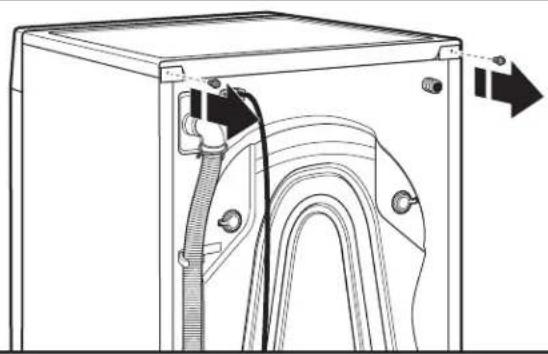
6. Flip over stacking platform and place on top of washer
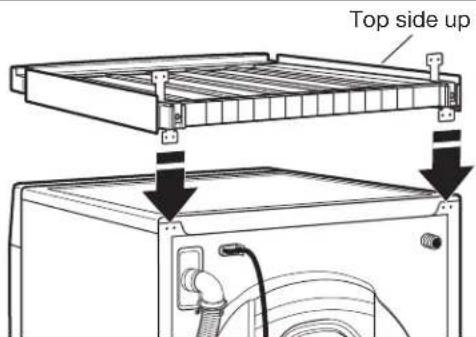
Make sure lower bracket holes are aligned with screw holes on top rear of washer.
7. Fasten stacking platform to top of washer
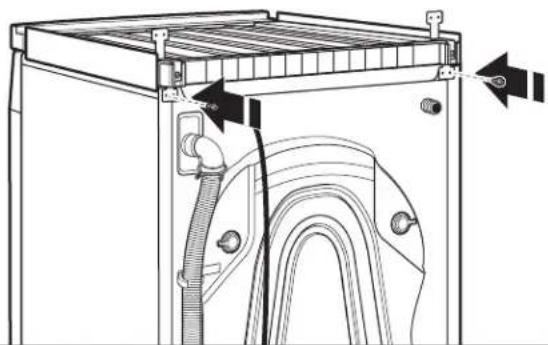
Use screws removed in Step 5 to fasten platform to washer.
8. Place dryer on top of stacking platform
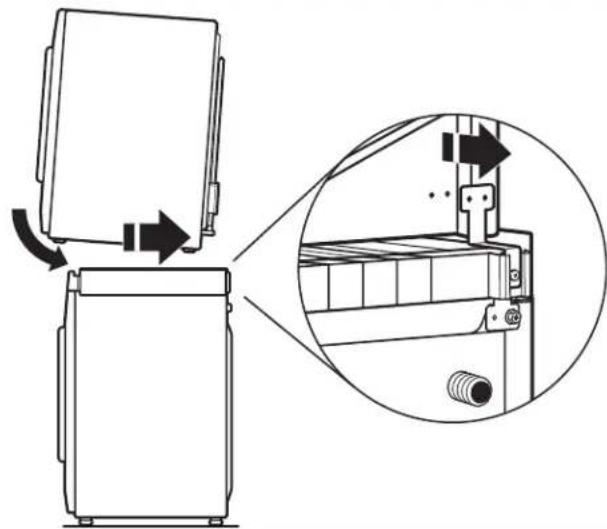
Slide dryer back against upper brackets on stacking platform. Make sure holes on lower rear of dryer are aligned with holes on upper bracket of stacking platform.
9. Secure dryer to stacking platform with screws
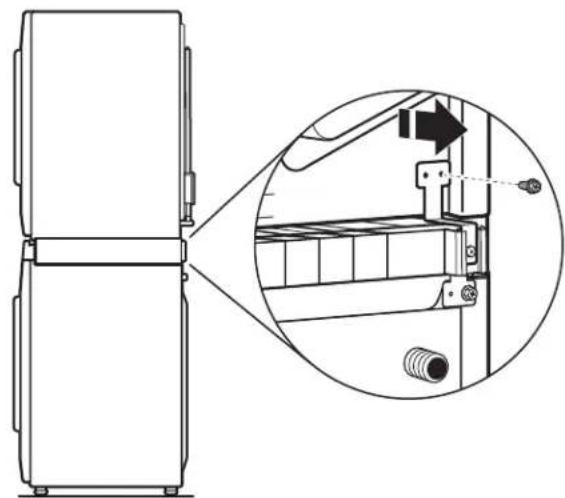
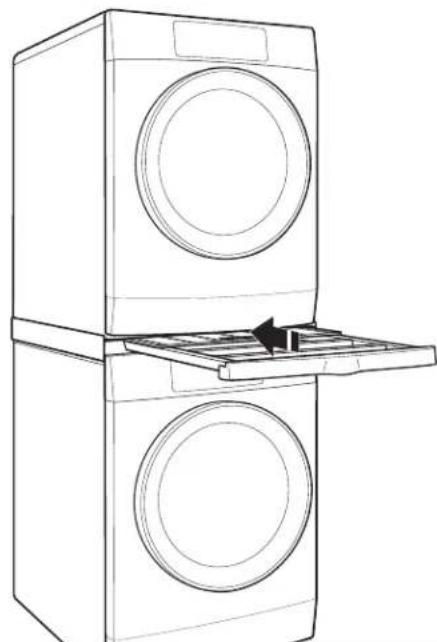
TO USE STACKING SHELF AND HANGING RACK
IMPORTANT:
The maximum weight the shelf can support is 26 lbs. (12 kg).
- The stacked washer/dryer must be installed directly on the floor and not elevated with a pedestal.
1. Pull on handle to slide out shelf
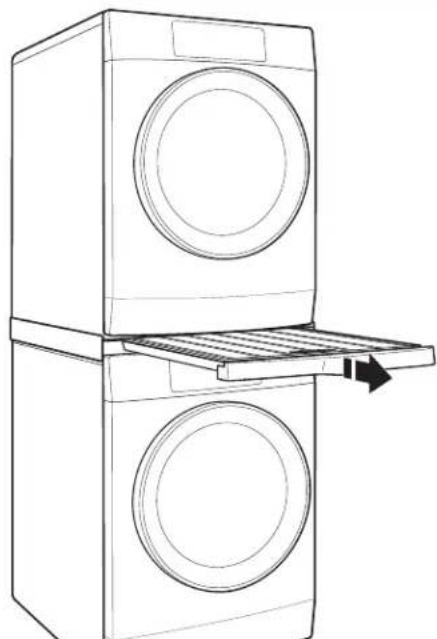
2. Slide back shelf to uncover hanging rack


- Indices
- Your safety and the safety of others are very important.
- DANGER
- WARNING
- INSTALLATION REQUIREMENTS
- TOOLS AND PARTS
- Parts supplied:
- LOCATION REQUIREMENTS
- Recessed Area and Closet Installation Instructions
- UNINSTALL WASHER AND DRYER
- Uninstalling Your Washer
- Uninstalling Your Dryer
- IF YOUR WASHER OR DRYER IS STILL IN ITS PACKAGING
- INSTALLATION INSTRUCTIONS
- Move washer
- Ensure washer is level in its final location
- Install pads on stacking platform
- Install brackets
- Remove screws from top rear of washer
- Flip over stacking platform and place on top of washer
- Fasten stacking platform to top of washer
- Place dryer on top of stacking platform
- Secure dryer to stacking platform with screws
- TO USE STACKING SHELF AND HANGING RACK
- IMPORTANT:
- Pull on handle to slide out shelf
- Slide back shelf to uncover hanging rack
Brand : MAYTAG
Model : W10882520
Category : Washing machine