IAN 274352 - Fan CRIVIT - Free user manual and instructions
Find the device manual for free IAN 274352 CRIVIT in PDF.
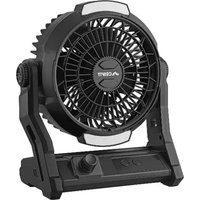
| Product type | Camping fan with LED lighting |
| Brand | Crivit |
| Model | IAN 274352 |
| Power supply | 2 LR20 (D type) batteries, 1.5 V each, total 3 V |
| Power consumption (fan) | Approx. 5 W |
| LED lighting | 18 LEDs of 0.06 W each, non-replaceable |
| Lighting duration | Approx. 40 hours |
| Chromaticity coordinates | X < 0.27 |
| Functions | Two-speed ventilation (low/high), LED lighting, orientation of light ring and frame more than 90°, hanging hook |
| Positioning | Can be placed on three foam dampers or hung via hook |
| Cleaning | External surface with a dry or slightly damp cloth |
| Safety instructions | Do not immerse in water, do not cover the LED ring, do not insert objects into the fan grille, observe battery polarity |
| Intended use | Private household use, lighting and air circulation in small areas (tents, etc.) |
| Package contents | Camping fan, 2 batteries (already inserted), user manual |
| Dimensions (estimated) | Not specified in the manual, approx. 20 cm diameter (grille) |
| Weight (estimated) | Not specified, approx. 500 g with batteries |
Frequently Asked Questions - IAN 274352 CRIVIT
User questions about IAN 274352 CRIVIT
0 question about this device. Answer the ones you know or ask your own.
Ask a new question about this device
Download the instructions for your Fan in PDF format for free! Find your manual IAN 274352 - CRIVIT and take your electronic device back in hand. On this page are published all the documents necessary for the use of your device. IAN 274352 by CRIVIT.
USER MANUAL IAN 274352 CRIVIT
Operation and Safety Notes
NL BE
CAMPINGVENTILATOR
GB / IE Operation and Safety Notes Page 5

natural_image
Line drawing of a vintage fan with mesh grille and base mount (no text or symbols)
natural_image
Line drawing of a vintage portable air conditioner with handle and cooling unit (no text or symbols)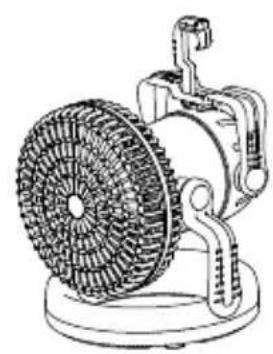
natural_image
Line drawing of a vintage air fan with mesh blades and handle (no text or symbols)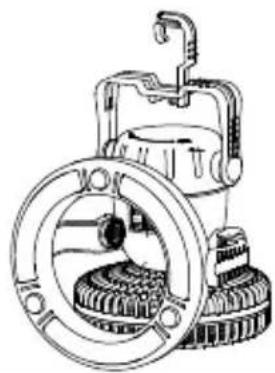
natural_image
Mechanical gear assembly diagram showing cam and rotor components (no text or labels)
natural_image
Four technical line drawings of industrial fan components with no visible text or symbolsCamping Fan
●Introduction
We congratulate you on the purchase of your new device. You have chosen a high quality product. The instructions for use are part of the product. They contain important information concerning safety, use and disposal. Before using the product, please familiarise yourself with all of the safety information and instructions for use. Only use the unit as described and for the specified applications. If you pass the product on to anyone else, please ensure that you also pass on all the documentation with it.
Intendeduse
The fan with light is intended for lighting and air circulation in small areas, e.g. tents. The different setup and hanging options make it versatile. The device is only intended for private use and not suitable for commercial use or for use in other applications.
■ Not suitable for ordinary

lighting in household room illumination.
PartsDescription
1 LED ring
2 Fan
3 LED ring articulation
4 Clamp
5 Clamp pivot joint
6 Back cover
7 Switch unit
8 Hanger
9 Lock marking
10 Light switch
11 Fan switch
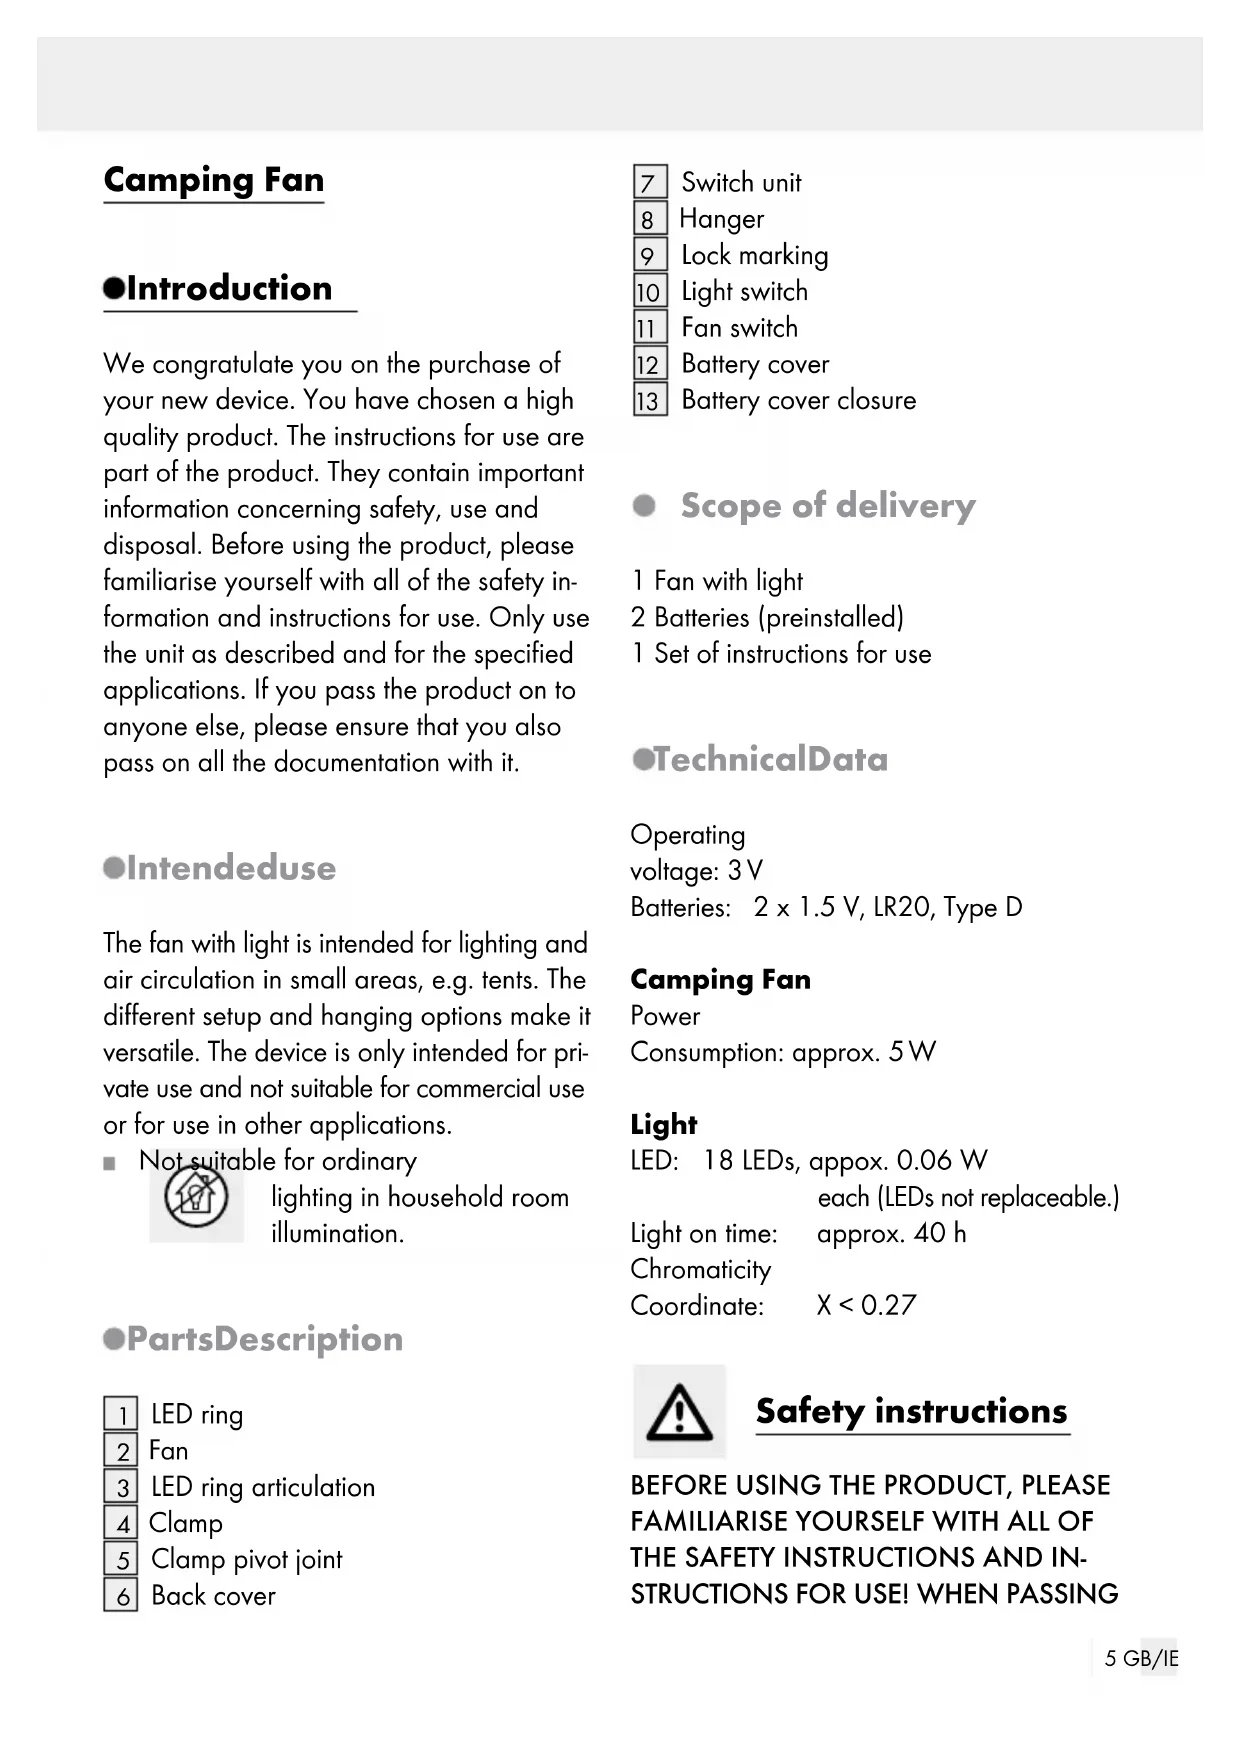
12 Battery cover
13 Battery cover closure
- Scope of delivery
1 Fan with light
2 Batteries (preinstalled)
1 Set of instructions for use
●TechnicalData
Operating
voltage: 3 V
Batteries: 2 x 1.5 V, LR20, Type D
Camping Fan
Power
Consumption: approx. 5 W
Light
LED: 18 LEDs, appox. 0.06 W each (LEDs not replaceable.)
Light on time: approx. 40 h
Chromaticity
Coordinate: X < 0.27
Safety instructions
BEFORE USING THE PRODUCT, PLEASE FAMILIARISE YOURSELF WITH ALL OF THE SAFETY INSTRUCTIONS AND INSTRUCTIONS FOR USE! WHEN PASSING
THIS PRODUCT ON TO OTHERS, PLEASE ALSO INCLUDE ALL THE DOCUMENTS!
This device may be used by children aged 8 years and up, as well as by persons with reduced physical, sensory or mental capacities, or lacking experience and / or knowledge, so long as they are supervised or instructed in the safe use of the device and understand the associated risks. Do not allow children to play with the device. Cleaning and user maintenance should not be performed by children without supervision.
■ Do not use this product if damaged!
■ The device is only suitable for use in dry indoor spaces.
■ Never immerse in water or other liquids!
- Be sure not to cover the LED ring whilst in use! Otherwise there is the risk of overheating.
- Do not allow objects or body parts (e.g. fingers) to enter the cage around the fan whilst the fan is operating. Otherwise there is a risk of property damage or injury.
SafetyInstructions for Batteries
WRISKIQIGATAL
INJURY! Batteries are not intended for children. If accidentally swallowed seek immediate medical attention!
CAUTION! EXPLOSION
HAZARD! Never recharge non-rechargeable batteries, do not short-circuit and / or open batteries!
■ Never throw batteries into fire or water!
- Do not exert mechanical loads to batteries!
Risk of battery leakage!
In the event of a battery leak, immediately remove it from the device to prevent damage. Do not let the fluid from a leaking battery come into contact with your skin, eyes or mucous membranes. In the event of contact with battery acid, thoroughly flush the affected area with clean water and seek immediate medical attention.
■ Only use the same type of batteries!
Do not mix used and new batteries!
- Avoid extreme environmental conditions and temperatures, which could affect batteries, e.g. on radiators / in direct sunlight!
■ Remove the batteries from the device if they have not been used for a long period!
Risk of damage to the device!
■ Only use the specified battery type!
- When inserting the battery ensure the correct polarity has been used! This is shown in the battery compartment.
If necessary, clean the battery and device contacts before inserting the battery!
■ Remove dead batteries from the device immediately!
- Before first use
- Inserting/replacing batteries
☐ Switch off the product by setting the fan switch 11 and light switch 10 to the "OFF" position before opening the battery compartment.
☐ To open, slightly turn the back cover 6 counter-clockwise so the two closure marks 9 line up (Fig. C).
☐ Pull the back cover off to the rear.
☐ Push down on the battery cover closure 13 and open (Fig. D).
Note: The product is supplied with the batteries already inserted. Only remove the insulating strip in the battery compartment for shipping purposes before first use. Otherwise remove the used batteries and replace with new batteries type D (see "Technical Data"). When inserting, ensure the correct polarity has been used. This is indicated inside the battery cover 12.
☐ Close the battery cover. Be sure you hear the battery cover lock into place.
☐ Reattach the back cover. When attaching, be sure the lock markings line up. Turn the back cover slightly clockwise until you hear it lock into place.
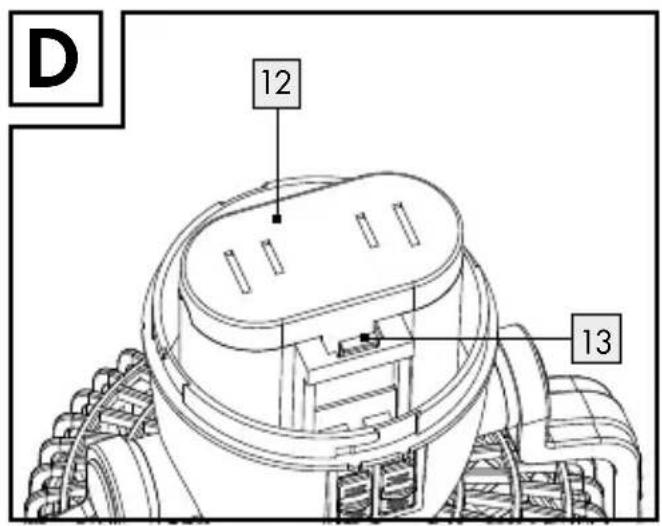
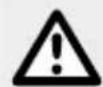
This product can be positioned in different ways (Fig. E):
☐Thearticulation 3 allows you to rotate the LED ring 1 more than 90 ° in any direction.
☐ The LED ring has three foam pads for setting the product down. Do not operate the LED ring with the product set down on the LED ring. Otherwise there is the risk of overheating.
☐ Use the joint 5 to turn the clamp 4 more than 90° in both directions.
☐ A fold-out hanger 8 is located inside the clamp for hanging the product.
Initialuse
Camping Fan
☐ Use the fan switch 11 on the switch unit 7 to control the fan (Fig. C).
☐ Choose between the "low" or "high" fan speed.
☐ Set the fan switch to the "OFF" position to switch off.
LED ring
☐ Use the light switch 10 on the switch unit 7 to control the LED ring 1 (Fig. C).
☐ Set to the "ON" position to switch the light on, and the "OFF" position to switch the light off.
- Cleaning and Care
☐ Only clean the outside of the fan unit using a soft, dry or slightly damp cloth.
●Disposal
The packaging is made of environmentally friendly materials. Dispose of them at your local recycling centre.
Please contact your local municipality or city administration for information on how to dispose of the worn out product.
To help protect the environment, please dispose of the product properly, not without household
waste, when it has reached the end of its useful life. Please contact your local authority for information on collection points and their opening hours.
Defective or used batteries must be recycled according to Directive 2006/66/EC and its amendments. Return batteries and / or the device to the provided recycling facilities.
Improper disposal of batteries can harm the environment!
Never dispose of batteries in your household waste. They may contain toxic heavy metals and are subject to hazardous waste regulations. The chemical symbols of the heavy metals are: Cd = cadmium, Hg = mercury, Pb = lead. Therefore return used batteries to your local collection site!