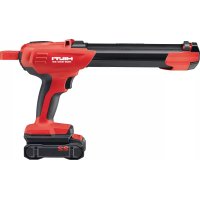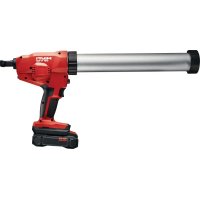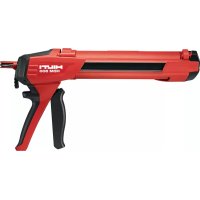
HDM 330 - Glue gun HILTI - Free user manual and instructions
Find the device manual for free HDM 330 HILTI in PDF.



| Product type | Injection mechanical dispenser (glue gun) |
| Brand | Hilti |
| Model | HDM 330 |
| Intended use | Extrusion and dosing of chemical mortar |
| Compatible cartridges | Hilti 330 ml (11.1 fl.oz) foil cartridges |
| Compatible cartridge holders | HIT CB 330 or HIT CR 330 |
| Capacity | 330 ml |
| Extrusion mechanism | Manually operated trigger lever |
| Safety device | Unlocking button to stop dosing |
| Mixing nozzle | Static, screw-on |
| Maintenance | Clean exterior with a damp cloth; oil push rods regularly |
| Repairability | Repairs reserved for Hilti service center |
| Delivery content | Injection dispenser, instruction manual |
| Manufacturer warranty | Consult local Hilti partner |
Frequently Asked Questions - HDM 330 HILTI
User questions about HDM 330 HILTI
0 question about this device. Answer the ones you know or ask your own.
Ask a new question about this device
Download the instructions for your Glue gun in PDF format for free! Find your manual HDM 330 - HILTI and take your electronic device back in hand. On this page are published all the documents necessary for the use of your device. HDM 330 by HILTI.
USER MANUAL HDM 330 HILTI
text_image
Labeled diagram of a spray gun with numbered parts for identification
HDM 330
HDM 500
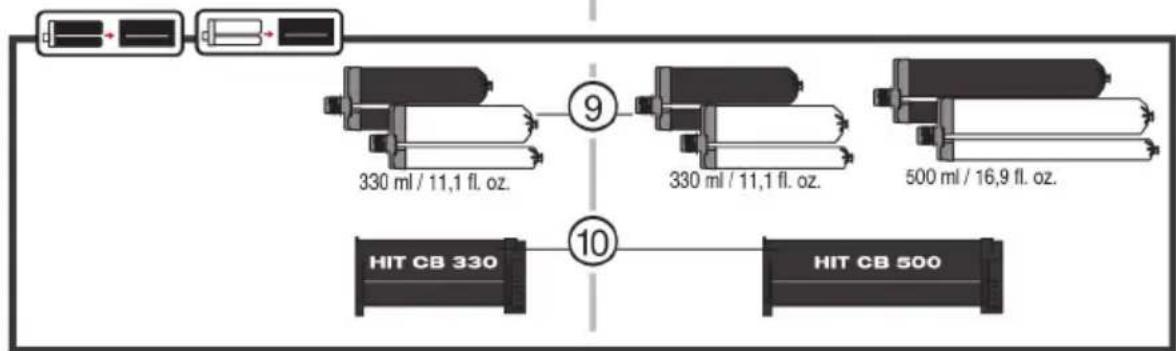
flowchart
graph TD
    A["Input"] --> B["Device 1"]
    B --> C["Device 2"]
    C --> D["Device 3"]
    D --> E["Device 4"]
    E --> F["Device 5"]
    F --> G["Device 6"]
    G --> H["Device 7"]
    H --> I["Device 8"]
    I --> J["Device 9"]
    J --> K["Device 10"]
    K --> L["HIT CB 330"]
    K --> M["HIT CB 500"]
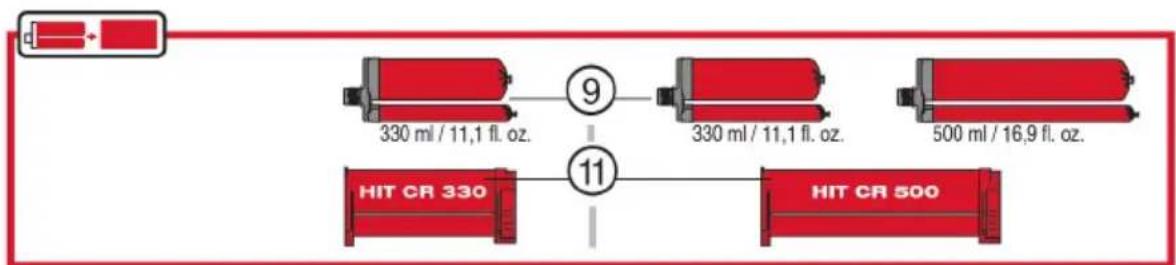
flowchart
graph LR
    A["Battery"] --> B["330 ml / 11,1 fl. oz."]
    B --> C["9"]
    C --> D["330 ml / 11,1 fl. oz."]
    D --> E["500 ml / 16,9 fl. oz."]
    E --> F["HIT CR 330"]
    F --> G["11"]
    G --> H["HIT CR 500"]

text_image
12 580 ml / 19,61 fl.oz.2
text_image
Technical diagram illustrating the assembly steps of a mechanical component with labeled parts and directional arrows.3
flowchart
graph TD
    A["1: Tool Input"] --> B["2: Injection"]
    B --> C["3: Assembly"]
    C --> D["1: Capture"]
    D --> E["2: Cut"]
    E --> F["click"]
7
text_image
Diagram of a medical or laboratory device with labeled parts 1, 2, and directional arrows indicating flow or movement.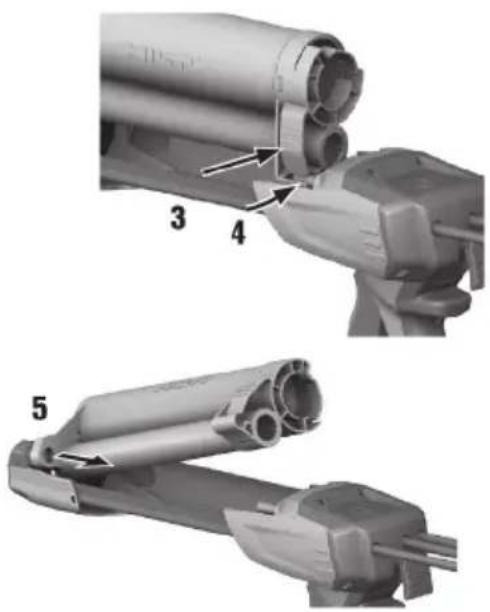
text_image
3 4 5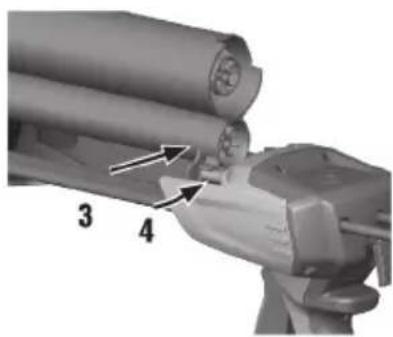
natural_image
Mechanical assembly diagram showing a cylindrical component being inserted into a mechanical part, labeled with parts 3 and 4 (no text or symbols beyond labels)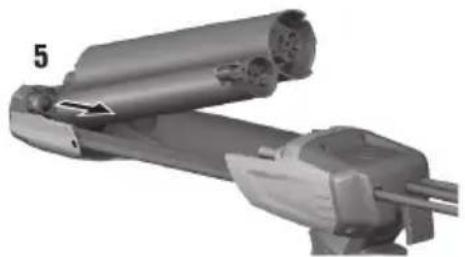
natural_image
3D rendering of a mechanical device with cylindrical components and a base, labeled with number 5 (no text or symbols on the device itself)HDM 330
HDM 500
en Original operating instructions .... 1
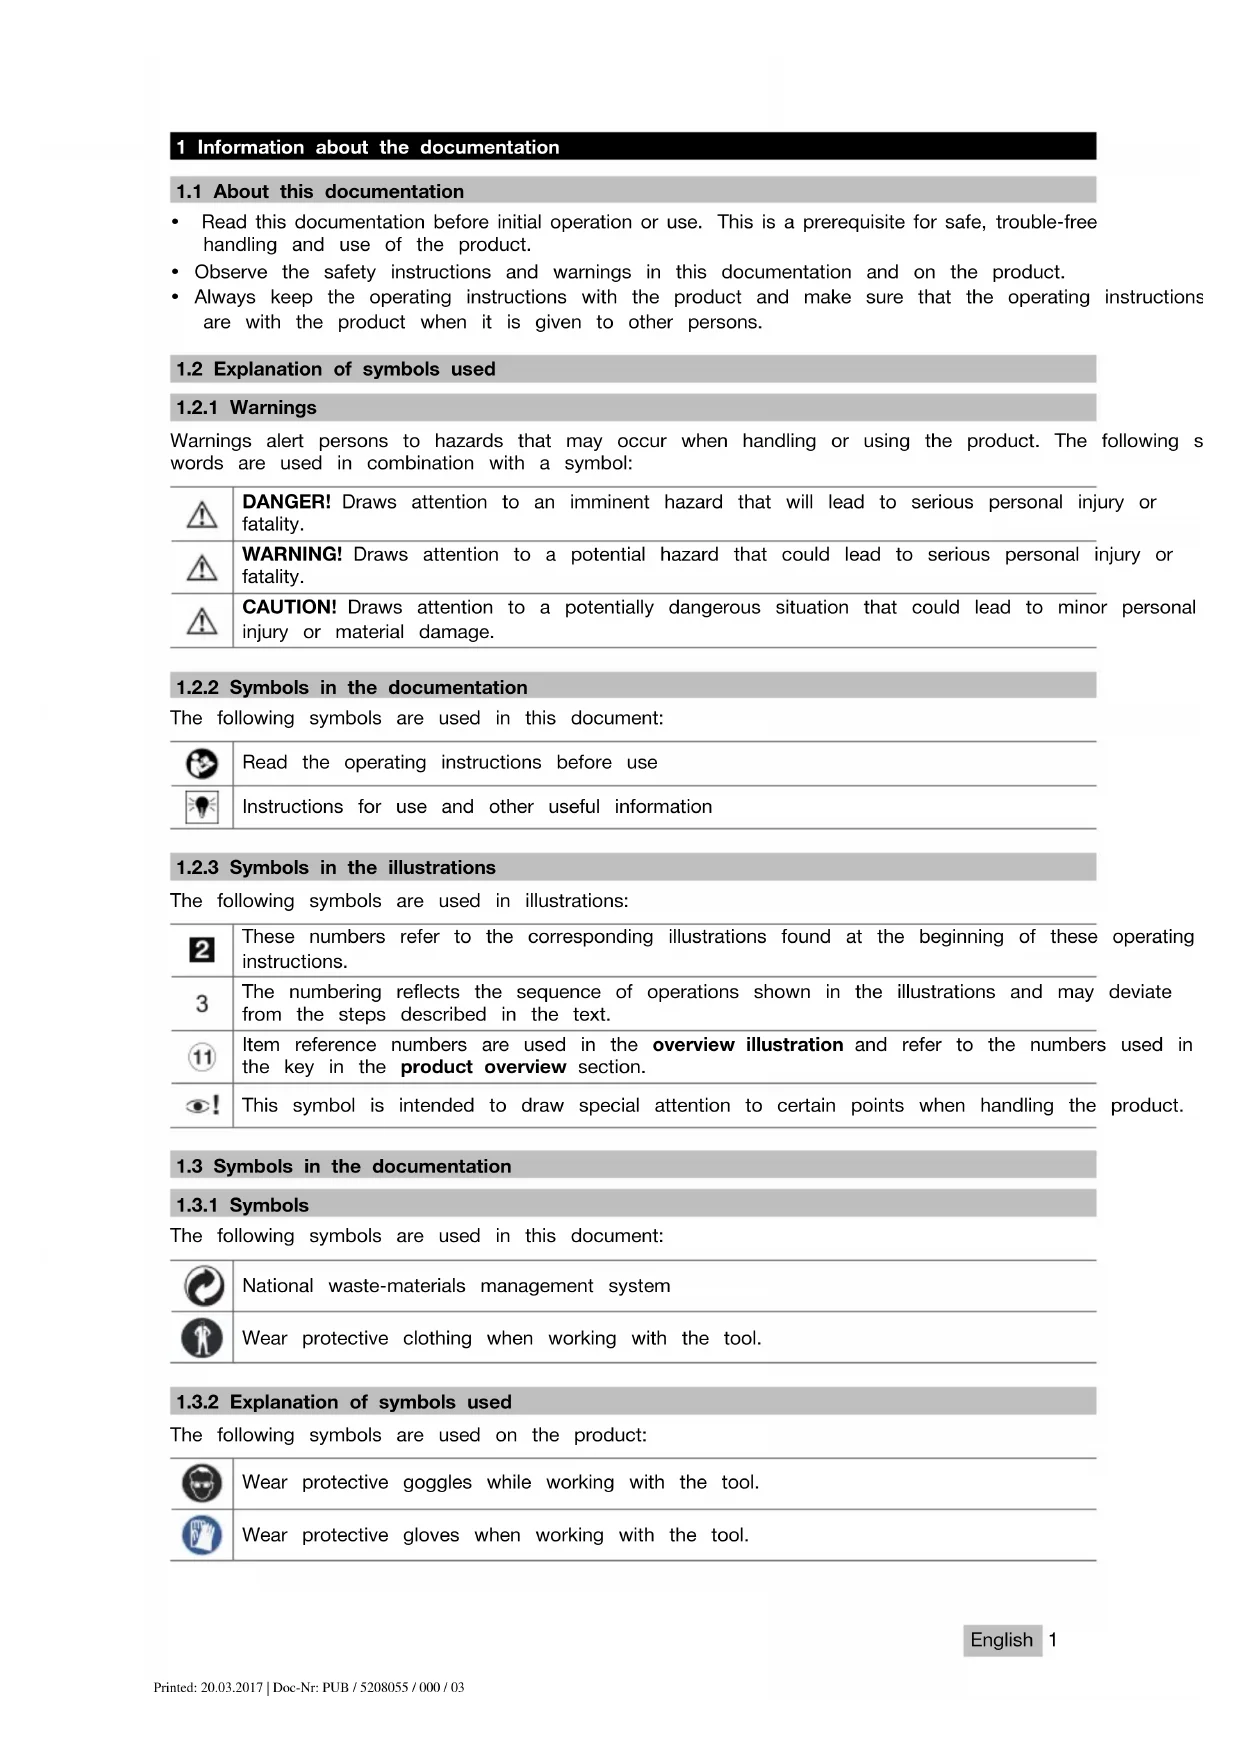
- Read this documentation before initial operation or use. This is a prerequisite for safe, trouble-free handling and use of the product.
- Observe the safety instructions and warnings in this documentation and on the product.
- Always keep the operating instructions with the product and make sure that the operating instructions are with the product when it is given to other persons.
1.2 Explanation of symbols used
1.2.1 Warnings
Warnings alert persons to hazards that may occur when handling or using the product. The following s words are used in combination with a symbol:
| DANGER! Draws attention to an imminent hazard that will lead to serious personal injury or fatality. | |
| WARNING! Draws attention to a potential hazard that could lead to serious personal injury or fatality. | |
| CAUTION! Draws attention to a potentially dangerous situation that could lead to minor personal injury or material damage. |
1.2.2 Symbols in the documentation
The following symbols are used in this document:
| Read the operating instructions before use | |
| Instructions for use and other useful information |
1.2.3 Symbols in the illustrations
The following symbols are used in illustrations:
| 2 | These numbers refer to the corresponding illustrations found at the beginning of these operating instructions. |
| 3 | The numbering reflects the sequence of operations shown in the illustrations and may deviate from the steps described in the text. |
| 11 | Item reference numbers are used in the overview illustration and refer to the numbers used in the key in the product overview section. |
| ! | This symbol is intended to draw special attention to certain points when handling the product. |
1.3 Symbols in the documentation
1.3.1 Symbols
The following symbols are used in this document:
| National waste-materials management system | |
| Wear protective clothing when working with the tool. |
1.3.2 Explanation of symbols used
The following symbols are used on the product:
| Wear protective goggles while working with the tool. | |
| Wear protective gloves when working with the tool. |
2 Safety
2.1 Product information
Hilti products are designed for professional use and may be operated, serviced and maintained only by trained, authorized personnel. This personnel must be informed of any particular hazards that may be encountered. The product and its ancillary equipment can present hazards if used incorrectly by untrained personnel or if used not in accordance with the intended use.
The type designation and serial number are stated on the rating plate.
Write down the serial number in the table below. You will be required to state the product details when contacting Hilti Service or your local Hilti organization to inquire about the product.
Product information
| Type: HDM 500 | HDM | 330 |
| Generation: 01 | |
| Serial number: |
2.2 Safety instructions
ATTENTION! Read all instructions!
Follow these safety instructions!
Workplace
▶ Make sure that the workplace is well ventilated.
▶ Make sure that the workplace is well lit.
- Keep your workplace clean and well lit. Cluttered or poorly lit workplaces invite accidents.
- Keep children and other persons clear when the dispenser is in use. Distractions can cause you to lose control of the tool.
Personal safety
- Stay alert, watch what you are doing and use common sense when operating the tool.
- Do not use the dispenser while you are tired or under the influence of drugs, alcohol or medication.
A moment of inattention while operating the tool can result in serious injury.
To reduce the risk of injury, use only genuine Hilti accessories and accessory tools.
Careful handling and use
- Do not tamper with or attempt to make alterations to the tool.
▶ Operate the dispenser only as intended and when it is in faultless condition.
▶ Use only foil pack holders approved for use with the dispenser. - Do not use damaged foil pack holders or damaged foil packs.
The dispenser, the cradle for the foil pack holders, the piston rods with pressure pieces and the foil pack holders must be clean and free from foreign matter. - Maintain the dispenser with care. Check that moving parts function faultlessly and do not jam. Check for parts that are broken or damaged to the extent that the tool is not in full working order.
▶ Use the dispenser and accessories in accordance with these instructions and as specified for this particular model. Take the working conditions and the work to be performed into account. - Do not attempt to open or disassemble the dispenser. Only Hilti Service is authorized to undertake repairs.
Personal protective equipment
- Wear personal protective equipment when using the dispenser: closely fitting protective goggles or face shield, protective gloves and protective clothing. Wearing personal protective equipment reduces the risk of injury.
▶ Persons in the immediate vicinity must also wear personal protective equipment when the dispenser is in use.
3 Description
3.1 Tool components and control 1
① Front locating lug for installation of the foil③ pack holder
② Cradle for foil pack holder
③ Rear locating lug for installation of the foil pack holder
④ Parallel piston rods with grip
2 English
⑤ Release button
⑦ Trigger for starting and controlling dispensing
⑥ Grip
Accessories
⑧ Mixing nozzle (static mixer)
⑪ Foil pack holder, red
⑨ Foil pack
⑫ Cartridge
⑩ Foil pack holder, black
3.2 Intended use
The HDM is a mechanical dispenser.
The dispenser is designed to dispense the contents of Hilti foil packs in a controlled operation.
HDM 330
The Hilti HDM 330 is designed to be used exclusively with Hilti HIT CB 330 or HIT CR 330 foil pack holders and Hilti 330 ml (11.1 fl.oz) foil packs.
HDM 500
The Hilti HDM 500 is designed to be used exclusively with Hilti HIT CB 500 or HIT CR 500 foil pack holders and Hilti 500 ml (16.9 fl.oz) or 330 ml (11.1 fl.oz) foil packs and 580 ml (19.61 fl. oz.) cartridges.
3.3 Items supplied
Dispenser, operating instructions.
4 Operation
4.1 Comply with all safety instructions and instructions for use.

WARNING
Chemicals hazard Incorrect use can lead to injury.
▶ Prior to use, read and comply with the safety data sheet for the product, the instructions on the packaging and the instructions for use of the foil pack.
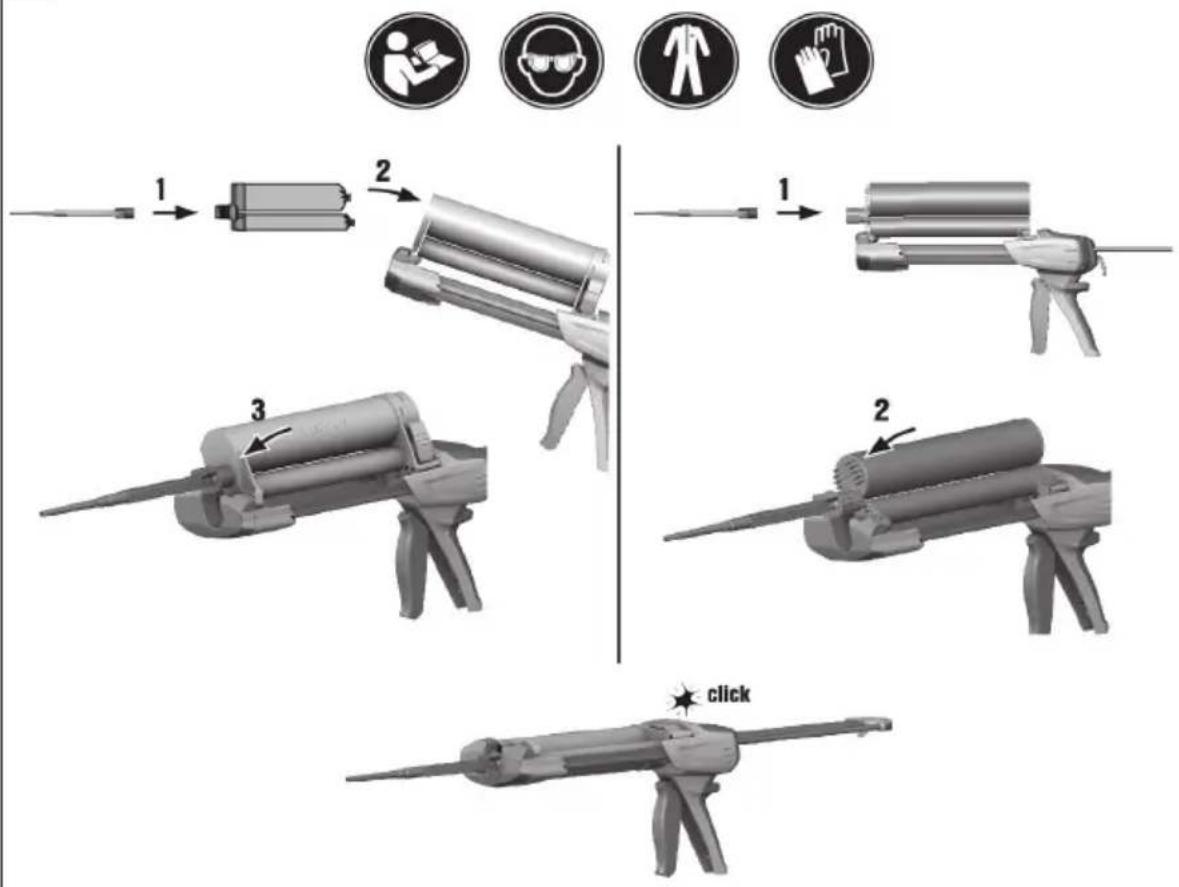
4.2 Selecting and inserting the foil pack holder / cartridge 2

CAUTION
Trap hazard Hands can be trapped if care is not exercised when swiveling the foil pack holder closed.
- Keep your hands clear of the cradle area when swiveling the foil pack holder into position.

CAUTION
Risk of injury Chemicals hazard.
▶ Check the foil pack holder for damage and soiling. Both pistons must move smoothly and easily in both directions over the full length of their travel in the foil pack holder. Replace the foil pack holder if it is damaged and/or badly soiled.
- Select the foil pack holder that matches the color of the foil pack.

Note
Black foil pack holder: BLACK or WHITE foil pack
Red foil pack holder: RED foil pack
4.3 Inserting foil pack into foil pack holder 3

Note
Follow the instructions for use of the foil pack.
- Insert the foil pack into the foil pack holder.
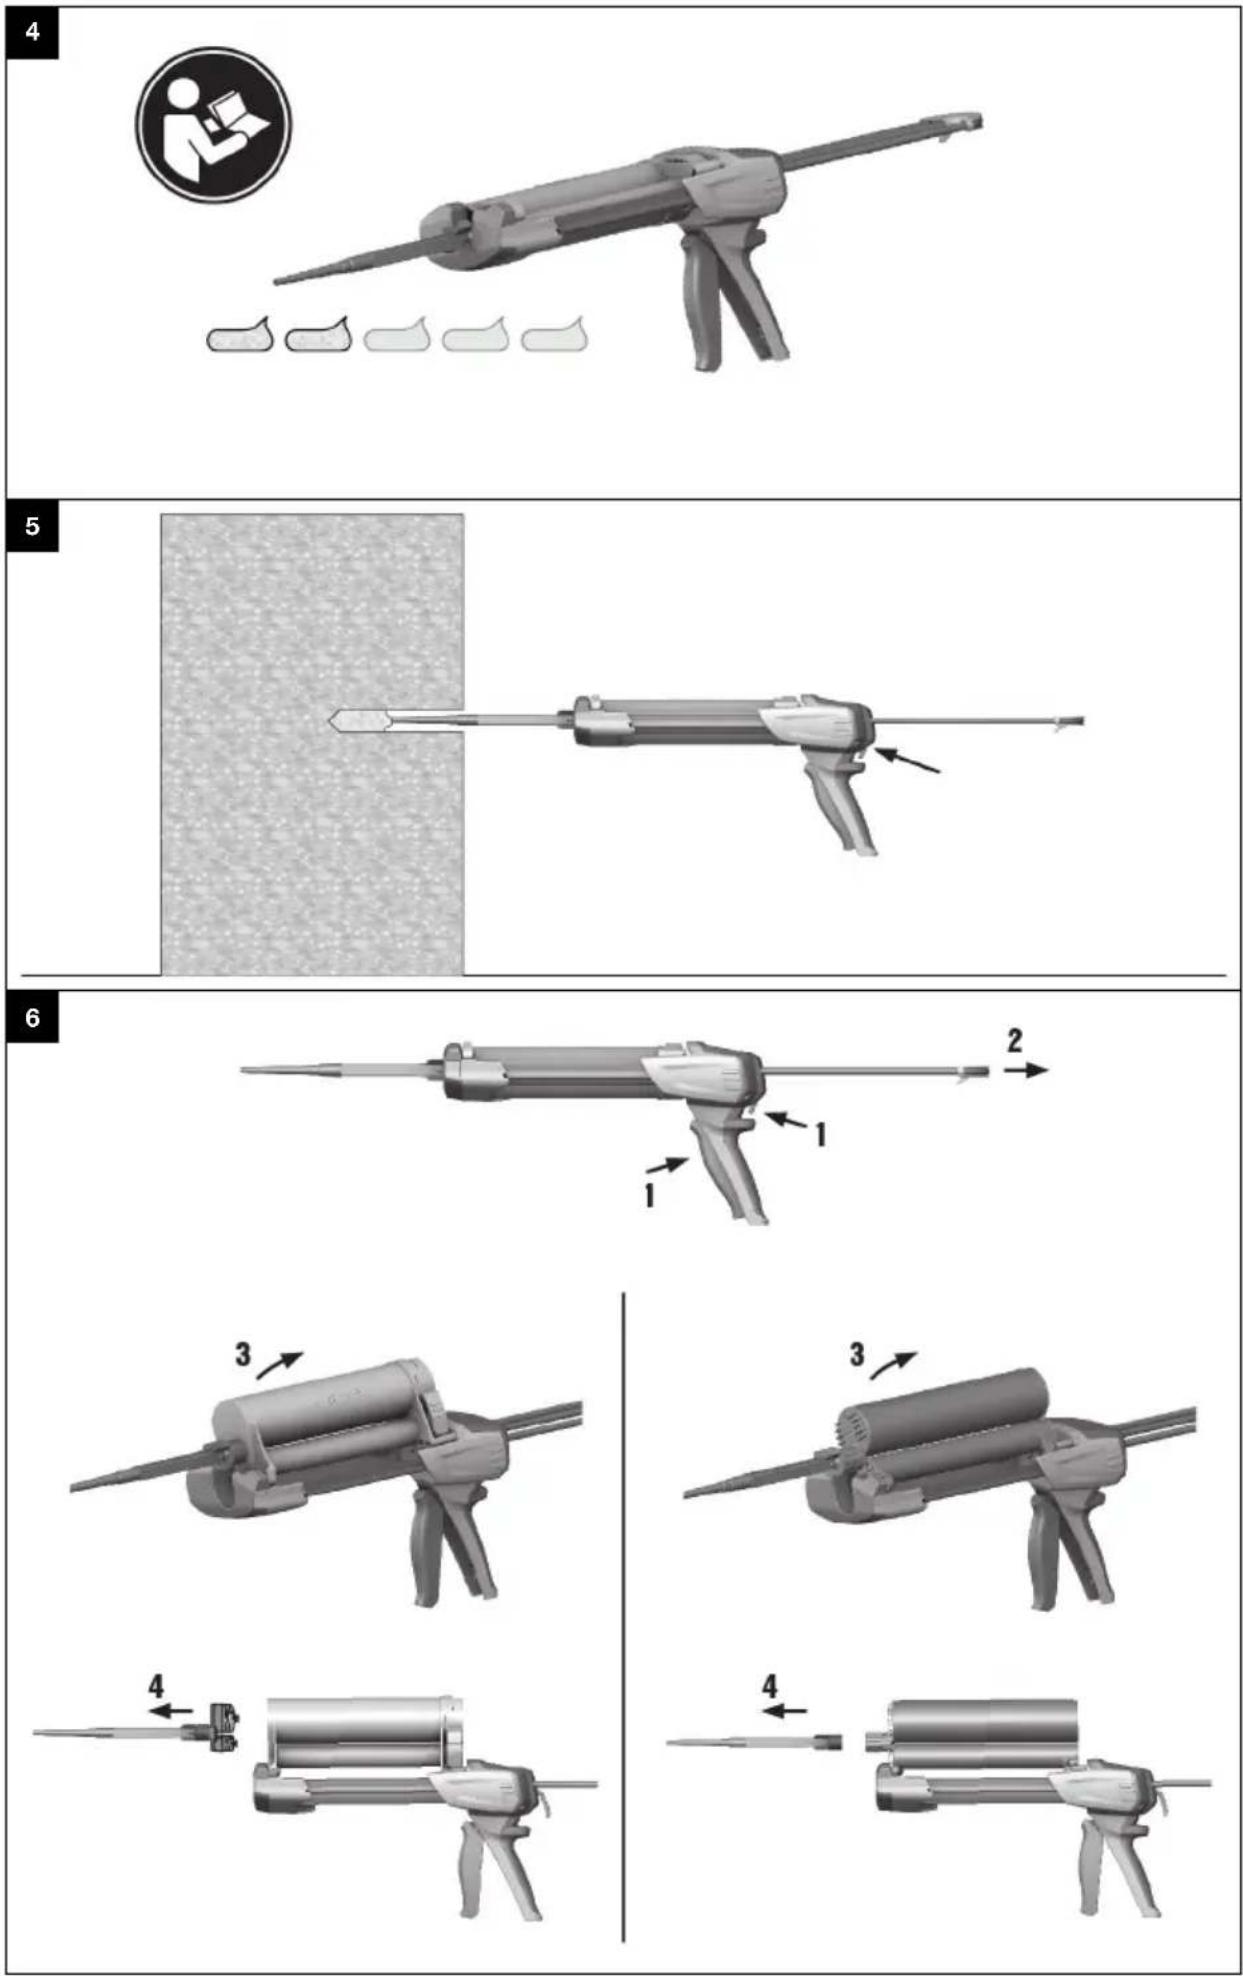
4.4 Discarding initially dispensed mortal 4

WARNING
Risk of injury Chemicals hazard.
▶ Never point the dispenser toward yourself or other persons. Incorrect use can lead to injury.

WARNING
Risk of injury Chemicals hazard.
▶ Begin dispensing mortar only after the mixing nozzle has been screwed on. Incorrect use can lead to injury.

Note
Discard the initially dispensed mortar every time the static mixer (mixing nozzle) is changed. The initially dispensed mortar is not suitable for use.
-
Repeatedly pull the trigger to the grip until the foil pack opens and mortar
-
Pull the trigger back to the grip for one stroke of the dispenser.
1 = 1 stroke (approx. 5 ml)
15 = 1 stroke (approx. 75 ml)
-
Press the release button after the specified number of strokes.
-
Discard the volume of mortar initially dispensed.
The dispenser is now ready to dispense ready-to-use mortar.
4.5 Dispensing 5

CAUTION
Risk of injury Chemicals hazard.
- When preparing to change the mixing nozzle, make sure that the dispenser/foil pack is not under pressure.

Note
Refer to the instructions for use of the foil pack / cartridge for further information about use of the Fit a new mixing nozzle for each use. Failure to comply with this point will result in an inadequate quantity of mortar being dispensed.
-
Repeatedly pull the trigger to the grip until the foil pack opens and mortar is ejected from the mixing nozzle.
-
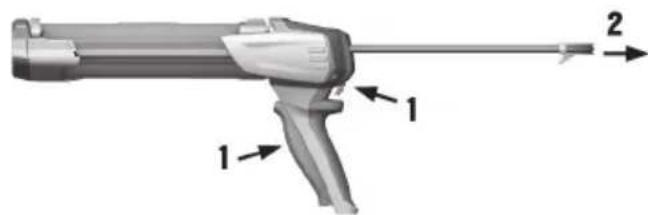
Press the release button after finishing dispensing or if the operation is interrupted.
-
Pressing the release button prevents further ejection or leakage of mortar.
4.6 Changing the foil pack 6
▶ Change the foil pack.
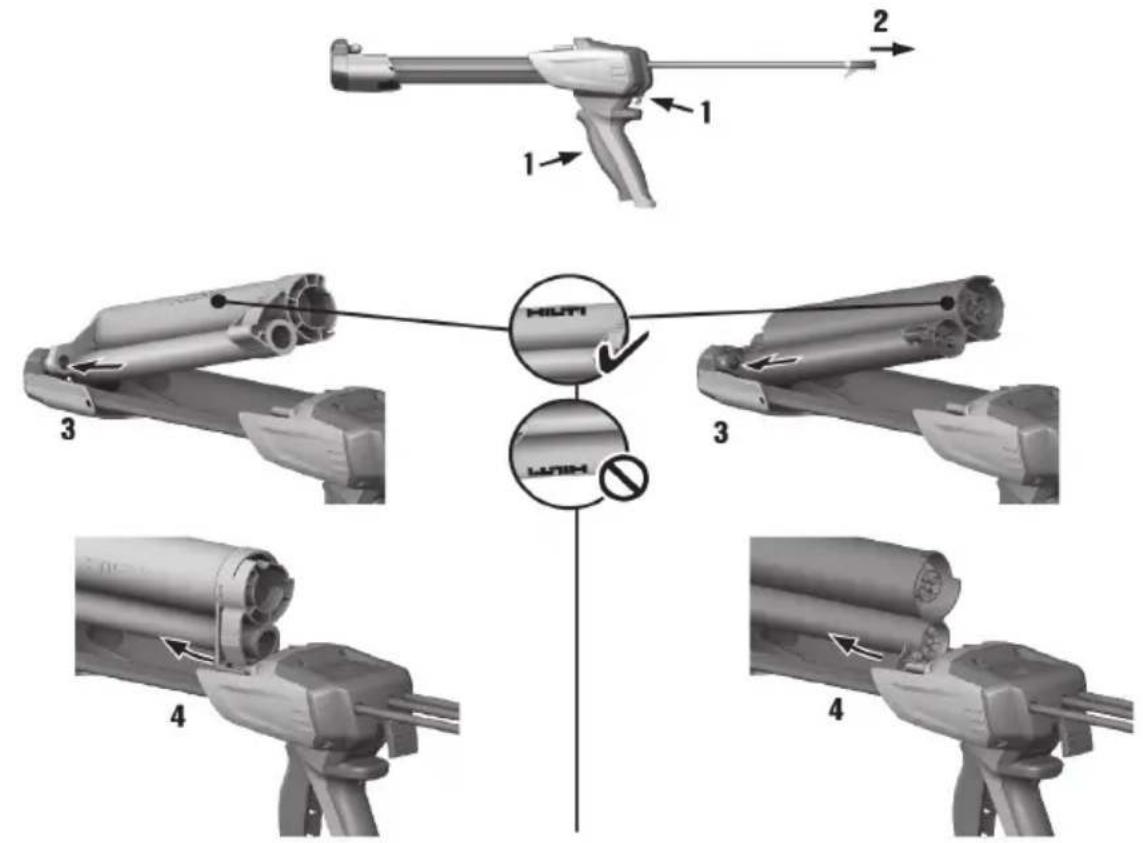
4.7 Removing the foil pack holder / cartridge from the tool 7
- Remove the foil pack holder / cartridge from the tool.
5 Care of the product

CAUTION
Risk of injury Chemicals hazard in the event of inadvertent dispensing.
Before cleaning, remove the foil pack to prevent inadvertent dispensing.
- Keep the dispenser, especially its grip surfaces, clean and free from oil and grease.
4 English
- Clean the outside of the tool at regular intervals with a slightly damp cloth. Do not use a sprayer, steam pressure cleaning equipment or running water for cleaning.
▶ Oil the piston rods when necessary.
▶ Mortar adhering to the product or foil pack holder must be cleaned off with a cloth before it hardens.
Hardened mortar can be removed only by mechanical means. Take care to ensure that the tool is damaged by cleaning.
▶ Never dip or soak the dispenser or its parts in solvents.
▶ Make sure that the pistons move freely in the foil pack holder.
6 Troubleshooting
If the trouble you are experiencing is not listed in this table or you are unable to remedy the problem yourself, please contact Hilti Service.
6.1 Troubleshooting
| Trouble or fault Possible cause Action to be taken | ||
| The trigger cannot be pulled all the way back. | The foil pack holder has not fully engaged. | Fully engage the foil pack holder with an audible click. |
| The mortar in the mixing nozzle has hardened. | Press the release button and replace the static mixer (mixing nozzle). | |
| The advance mechanism is defective. | Replace the tool. | |
| Foil pack does not open automatically. | the tool has reached the end of useful life. | Replace the tool. |
| Trigger movement is very stiff. | Foil pack is too cold. ▶ Increase the foil pack temperature (follow the instructions for use of the foil pack). | |
| The dispensing pressure required is too high for the tool. | Select a tool that is suitable for the intended purpose. | |
| The foil pack holder cannot be swiveled completely into the tool. | The foil pack is not pushed fully into the holder. | Push the foil pack into the foil pack holder as far as it will go. |
| The piston rods are not pulled back fully. | Press the release button and pull the piston rods back to the end stop. | |
| Foil pack holder does not engage with an audible click. | The retaining lugs are dirty ▶ Clean the retaining lugs and engage the foil pack holder fully. | |
| The retaining lugs are defective. | Replace the foil pack holder. Contact Hilti Service if the problem persists. | |
| No mortar is dispensed from the mixing nozzle. | The mortar in the mixing nozzle has hardened. | Unscrew the mixing nozzle containing the hardened mortar and fit a new mixing nozzle. |
7 Disposal
Most of the materials from which Hilti tools and appliances are manufactured can be recycled. The materials must be correctly separated before they can be recycled. In many countries, your old tools, machines or appliances can be returned to Hilti for recycling. Ask Hilti Service or your Hilti representative for further information.

- Disposal of electric tools or appliances together with household waste is not permissible.
8 Manufacturer's warranty
▶ Please contact your local Hilti representative if you have questions about the warranty conditions.
▶ Changer la cartouche souple.