XHP1000XW - Washing machine WHIRLPOOL - Free user manual and instructions
Find the device manual for free XHP1000XW WHIRLPOOL in PDF.
Download the instructions for your Washing machine in PDF format for free! Find your manual XHP1000XW - WHIRLPOOL and take your electronic device back in hand. On this page are published all the documents necessary for the use of your device. XHP1000XW by WHIRLPOOL.
USER MANUAL XHP1000XW WHIRLPOOL
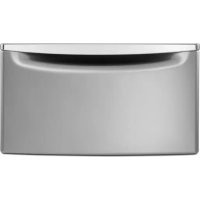
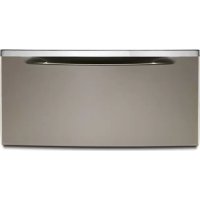
For use only with front load washers and dryers
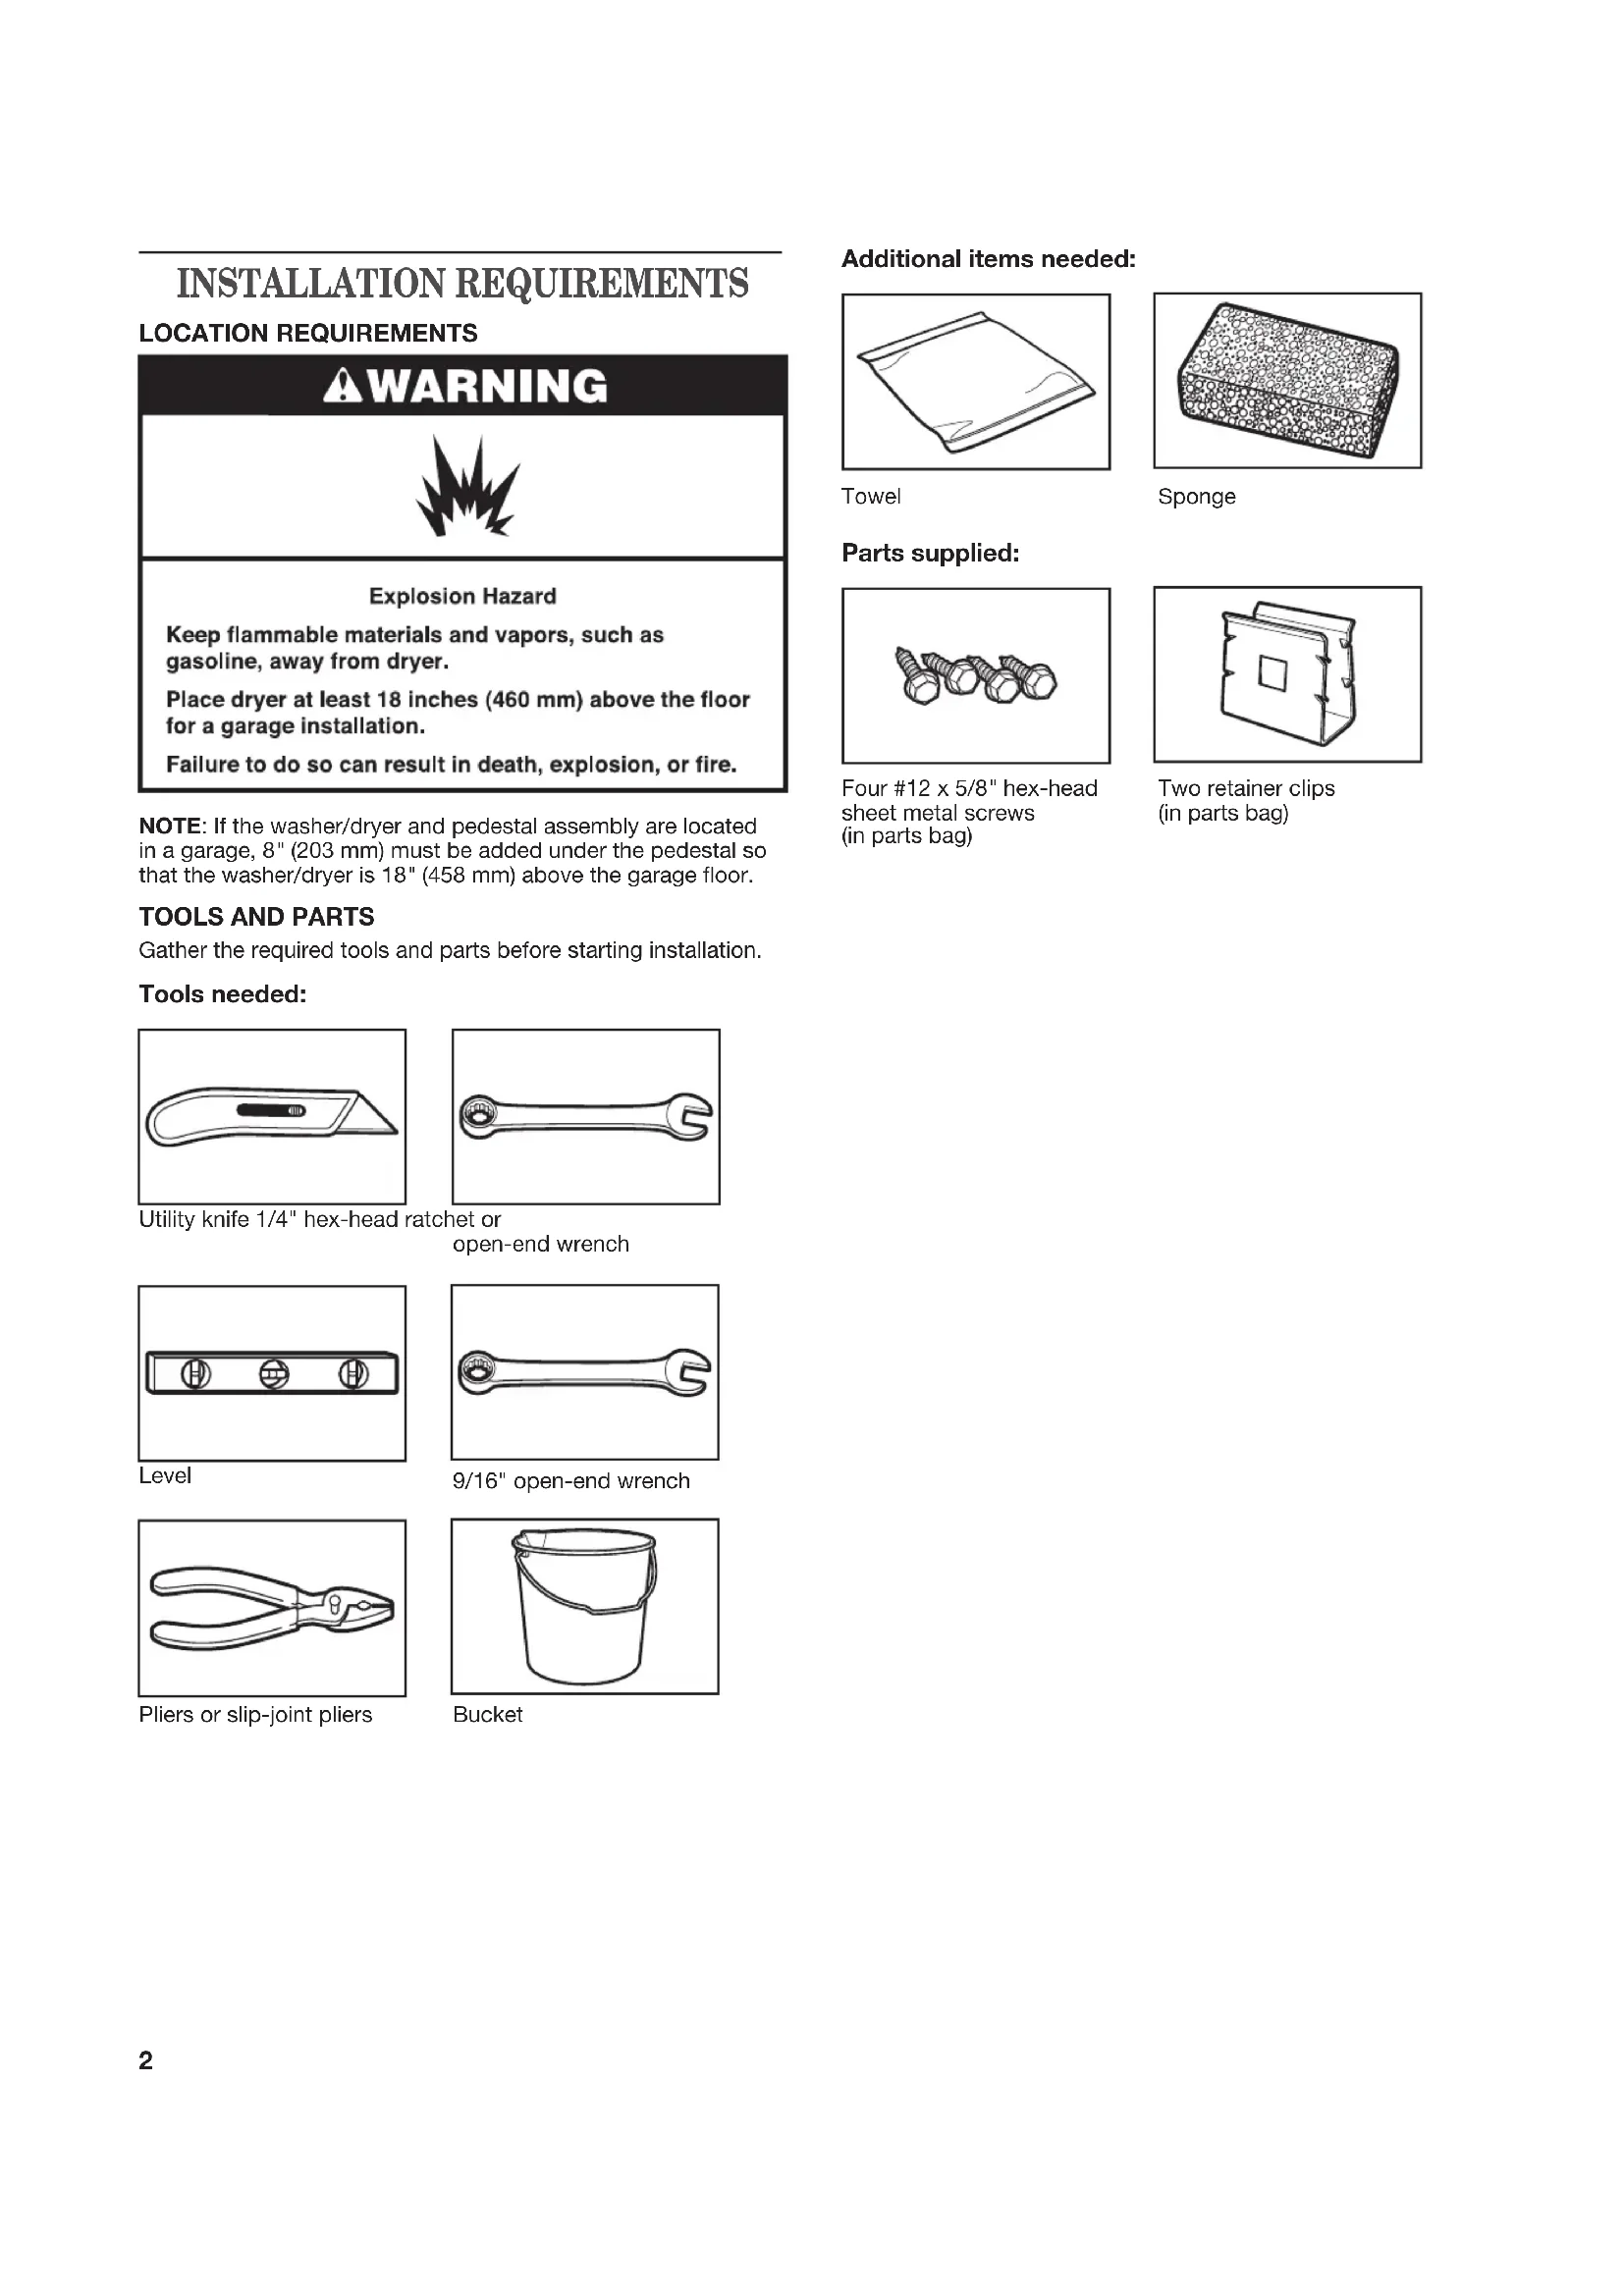
Gather the required tools and parts before starting installation. Tools needed: Additional items needed: Four #12 x 5/8" hex-head sheet metal screws (in parts bag) Two retainer clips (in parts bag) Parts supplied:3 Uninstalling your gas dryer
1. Unplug the power supply cord.
2. Turn off the gas supply.
3. Pull the dryer away from the wall enough to loosen the vent
clamp. Loosen the clamp and gently remove the exhaust vent from the dryer exhaust outlet.
4. Disconnect the exible gas supply line from the dryer. Put a
piece of tape over the open ends of the gas line connection ttings.
5. Pull the dryer away from the wall so that it can be tipped on
6. To avoid oor damage and ease installation and handling,
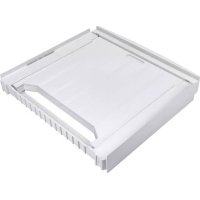
unfold the empty pedestal box at and place it next to the dryer. Lay the dryer on its back (make sure that the power supply cord is not under the dryer) so that the cardboard is under the entire lower back edge of the dryer. Go to “Installing the Pedestal”. Installation of new washer/dryer INSTALLATION INSTRUCTIONS
BEFORE INSTALLING PEDESTAL
IMPORTANT: If your washer and dryer are already installed, they must be uninstalled. Uninstalling your washer To avoid possible damage to the washer, the transport bolts on the back of the washer must be in place before installing the pedestal. For more information on transport bolts, see “Remove Transport System” in washer Use and Care Guide. NOTE: If the washer is to be transported, call your local service center. To avoid suspension and structural damage, your washer must be properly set up for relocation by a certied technician.
1. Turn off the hot and cold water faucets.
2. Unplug the power supply cord.
3. Slowly loosen the ll hoses at the faucets to relieve the water
pressure. Use a sponge or towel to absorb the released water.
4. Remove the “HOT” and “COLD” ll hoses from the back of the
washer. Drain the water from the hoses into a bucket.
5. Remove the drain hose from the standpipe or laundry tub
and drain any water remaining in the hose into a bucket.
6. Pull the washer away from the wall so it can be tipped on its
7. To avoid oor damage and ease installation and handling,
unfold the empty pedestal box at and place it next to the washer. Lay the washer on its back (make sure that the power supply cord is not under the washer) so that the cardboard is under the entire lower back edge of the washer.
8. An additional small amount of water will drain out of the
washer when it is tipped back. Go to “Installing the Pedestal”. Uninstalling your electric dryer
1. Unplug the power supply cord.
2. Pull the dryer away from the wall enough to loosen the vent
clamp. Loosen the clamp and gently remove the exhaust vent from the dryer exhaust outlet.
3. Pull the dryer away from the wall so that it can be tipped on
4. To avoid oor damage and ease installation and handling,
unfold the empty pedestal box at and place it next to the dryer. Lay the dryer on its back (make sure that the power supply cord is not under the dryer) so that the cardboard is under the entire lower back edge of the dryer. Go to “Installing the Pedestal”. If your washer/dryer is still in the packaging: Washer: Cut plastic lm along dotted cut line around the base. Do not remove the packaging. Dryer: Cut carton around top and down corners along dotted cut lines. Lay all four carton sides on oor. Discard carton top and corner posts.
Follow these instructions to install the pedestal on a washer or dryer.
2. Washer transport bolts
Make sure that all four spacer pads are in place on the top of the pedestal. Spacer pads reduce vibration between the pedestal and the washer/dryer. NOTE: If your washer/dryer has feet installed, remove them.
1. Locate spacer pads
Partially install two of the #12 x 5/8" hex-head sheet metal screws in the lower holes. Leave a space of about 3/8" (10 mm) between the screw head and the bottom of the washer/dryer.
2. Prepare the washer/dryer
Move the pedestal against the washer/dryer bottom. Slide the pedestal’s keyhole slots over the lower two partially installed screws. Position the pedestal toward the front of the washer/dryer and install the two remaining hex-head sheet metal screws. Do not tighten completely. Locate the transport bolts on rear of washer. Transport bolts must remain in washer while pedestal is installed. When laying the washer on its back, hold the base down on the oor. Do not remove the plastic lm, corner posts, or top cap.5
5. Align sides of pedestal
Align the sides of the pedestal so that they are even with the sides of the washer/dryer. Reach inside the pedestal opening and securely tighten all four pedestal screws.
7. Stand the washer/dryer upright
Tip the washer/dryer back to its upright position. Remove and discard any remaining packaging material.
COMPLETE THE INSTALLATION
Follow the installation instructions that came with your model to nish installing or reinstalling your washer/dryer (i.e., hoses, vents, etc.). NOTE: Be sure to remove the transport bolts from the back of the washer.
8. Move close to nal location
of washer/dryer Not Level LEVEL Not Level Place level here Place a level on top edges of washer/dryer, checking each side and front. Rock washer/dryer back and forth to make sure all four feet make solid contact with oor. If not level, adjust pedestal feet up or down, repeating as necessary. The pedestal arrives with the feet tight against the bottom of the unit. Using a 1/4" hex-head ratchet or open-end wrench, lower the feet approximately 1" (25 mm) away from the bottom of the pedestal. 1"(25 mm)
6. Prepare pedestal feet6
Align the front panel with the pedestal and snap in place. NOTE: Follow the “Showroom Display Kit Installation Instructions” if you wish to use the two retainer clips included in the parts bag. Discard the retainer clips if not used.
12. Install pedestal front panel
36" (914 mm) tall models, place wide edge of front panel on bottom 38" (965 mm) tall models, place wide edge of front panel on top
11. Securely tighten jam nuts
When the washer/dryer is level, use a 9/16" open-end wrench to securely tighten all four jam nuts against the pedestal. IMPORTANT: The jam nuts must be tightened to avoid vibration. Locate the 1/4" hex-head screws on the top of each pedestal foot. Reach inside the pedestal and use a 1/4" hex-head ratchet or open-end wrench to adjust the feet up or down as needed to level the washer/dryer.
WHIRLPOOL CORPORATION PEDESTAL WARRANTY
Dealer name_________________________________________ Address_____________________________________________ Phone number________________________________________ Model number________________________________________ Serial number ________________________________________ Purchase date________________________________________ Keep this book and your sales slip together for future reference. You must provide proof of purchase or installation date for in-warranty service. Write down the following information about your major appliance to better help you obtain assistance or service if you ever need it. You will need to know your complete model number and serial number. You can find this information on the model and serial number label locate d on the product. Before you call for Service This pedestal must be installed only with the appropriate Whirlpool
front-load washer or dryer. This pedestal must be operated according to the instructions provided with your Whirlpool or Maytag front-load washer or drye r’s Owner’s manual or Use and Care Guide. Before you call for service, please locate your model and serial number for both the pedestal and the corresponding Whirlpool or Maytag front-load washer or dryer. For any pedestal purchased for use with a Whirlpool or Maytag front-load washer or dryer, the Whirlpool Corporation Pedestal Warranty applies.
ONE-YEAR LIMITED WARRANTY
For one year from the date of purchase, when this appliance is operated and maintained according to instructions attached to or furnished with the product and is used with the appropriate Whirlpool Corporation front-load washer or dryer, Whirlpool or Whirlpool Canada (hereafter “Whirlpool”) will pay for factory specified replacement parts and repair labor to correct defects in m aterials or workmanship. Service must be provided by a Whirlpool designated service company.
ITEMS WHIRLPOOL WILL NOT PAY FOR
1. Se rvice calls to correct the installation of your appliance, to instruct you how to use your appliance, to replace or repair house fuses or to correct house wiring or plumbing.
2. Repairs when your appliance is used for other than normal, single-family household use.
3. Damage resulting from accident, alteration, misuse, abuse, fire, flood, a c
ts of God, improper installation, installation not in accordance with electrical or plumbing codes, or use of products not approved by Whirlpool.
4. Replacement pa rts or repair labor costs for units ope rated outside the United States or Canada.
5. Pickup and delivery. This appliance is designed to be repaired in the home.
6. Repairs to parts or systems resulting from unauthorized modifications made to the appliance.
7. Expenses for travel and transportation for product
service in remote locations. 8. The removal and reinstalla tion of your appliance if it is installed in an inaccessible location or is not installed in accordance with published installation instructions. DISCLAIMER OF IMPLIED WARRANTIES; LIMITATION OF REMEDIES DISCLAIMER OF IMPLIED WARRANTIES; LIMITATION OF REMEDIES CUSTOMER'S SOLE AND EXCLUSIVE REMEDY UNDER THIS LIMITED WARRANTY SHALL BE PRODUCT REPAIR AS
PROVIDED HEREIN. IMPLIED WARRANTIES, INCLUDING WARRAN
IC LEGAL RIGHTS AND YOU MAY ALSO HAVE OTHER RIGHTS, WHICH VARY FROM STATE TO STATE OR PROVINCE TO PROVINCE. Outside the 50 United States and Canada, this warranty does not apply. Conta ct your authorized Whirlpool dealer to de termine if another warranty applies. If you need service , in the U.S.A., call 1-800-422-1230. In Canada , call 1-800-807-6777. 4/068
LAUNDRY PRODUCT WARRANTY
Before you call for Service If this laundry product was purchased at Sears Laundry Product Warranty” applies (see following). If this laundry product was purchased elsewhere, the “Whirlpool Corporation Laundry Product Warranty” applies (see following). Please have your sales receipt available when you call Whirlpool Corporation for service under the “Whirlpool Corporation Laundry Product Warranty.” KENMORE
LAUNDRY PRODUCT WARRANTY
ONE YEAR LIMITED WARRANTY
When installed, operated and maintained according to all instructions supplied with the product, if this laundry product fails due to a defect in material or workmanship within one year from the date of purchase, call 1-800-4-MY-HOME to arrange for free repair. If this laundry product is used for other than private family purposes, this warranty applies for only 90 days from the date of purchase. THI S WARRANTY COVERS ONLY DEFECTS IN MATERIAL AND WORKMANSHIP. SEARS WILL NOT PAY FOR:
1. Expendable items that can wear out from normal use,
including but not limited to rs, belts, light bulbs, and bags.
2. A service technician to instruct the user in correct product
installation, operation or maintenance.
3. A service technician to clean or maintain this product.
4. Damage to or failure of this product if it is not installed, operated or maintained according to all instructions supplied with the product.
5. Damage to or failure of this product resulting from accident,
abuse, misuse or use for other than its intended purpose.6. Damage to or failure of this product caused by the use of detergents, cleaners, chemicals or utensils other than those recommended in all instructions supplied with the product.7. Damage to or failure of parts or systems resulting from unauthorized modications made to this product.DISCLAIMER OF IMPLIED WARRANTIES; LIMITATION OF REMEDIESCustomer's sole and exclusive remedy under this limited warranty shall be product repair as provided herein. Implied warranties, including warranties of merchantability or tness for a particular purpose, are limited to one year or the shortest period allowed by law. Sears shall not be liable for incidental or consequential damages. Some states and provinces do not allow the exclusion or limitation of incidental or consequential damages, or limitations on the duration of implied warranties of merchantability or tness, so these exclusions or limitations may not apply to you.This warranty applies only while this laundry product is used in the United States and Canada.This warranty gives you spec legal rights, and you may also have other rights which vary from state to state.Sears, Roebuck and Co.Hoffman Estates, IL 60179Sears Canada Inc.Toronto, Ontario, Canada M5B 2B8 PRODUCT RECORD In the space below, record your complete model number, serial number, and purchase date. You can nd this information on the model and serial number label located on the product.Have this information available to help you obtain assistance or service more quickly whenever you contact Sears concerning your laundry product. Model number __ __ __.__________________________________________Serial number __________________________________________________Purchase date __________________________________________________Save these instructions and your sales receipt for future reference.