Perfect Mix KB5031 - Blender KRUPS - Free user manual and instructions
Find the device manual for free Perfect Mix KB5031 KRUPS in PDF.
User questions about Perfect Mix KB5031 KRUPS
0 question about this device. Answer the ones you know or ask your own.
Ask a new question about this device
Download the instructions for your Blender in PDF format for free! Find your manual Perfect Mix KB5031 - KRUPS and take your electronic device back in hand. On this page are published all the documents necessary for the use of your device. Perfect Mix KB5031 by KRUPS.
USER MANUAL Perfect Mix KB5031 KRUPS
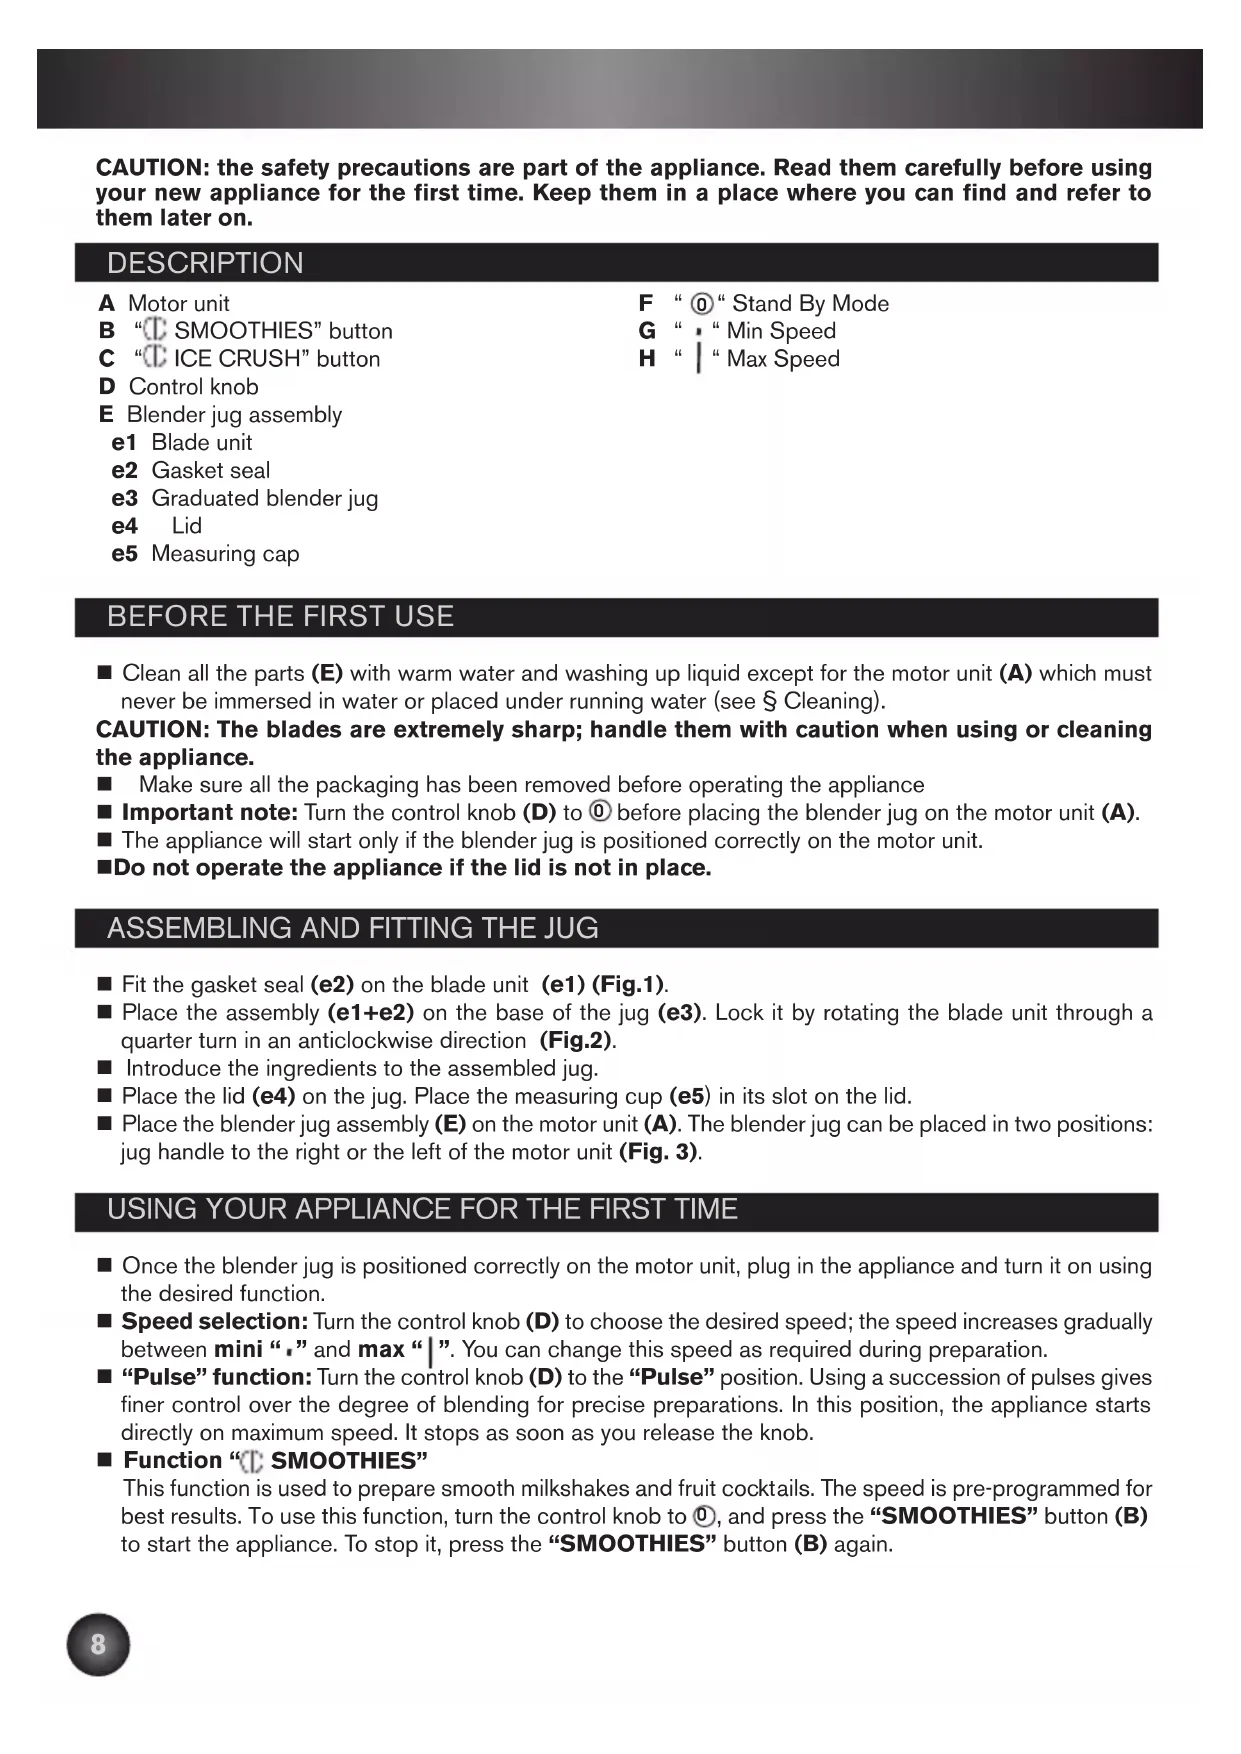
CAUTION: the safety precautions are part of the appliance. Read them carefully before using your new appliance for the first time. Keep them in a place where you can find and refer to them later on.
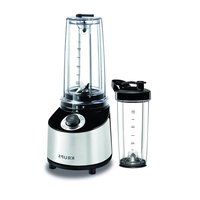
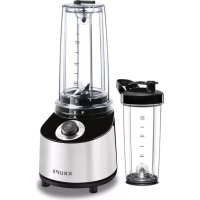
DESCRIPTION
A Motor unit
B "SMOOTHIES" button
C ICE CRUSH" button
D Control knob
E Blender jug assembly
F " ① " Stand By Mode
G“·“Min Speed
H " | " Max Speed
BEFORE THE FIRST USE
- Clean all the parts (E) with warm water and washing up liquid except for the motor unit (A) which must never be immersed in water or placed under running water (see § Cleaning).
CAUTION: The blades are extremely sharp; handle them with caution when using or cleaning the appliance.
Make sure all the packaging has been removed before operating the appliance
Important note: Turn the control knob (D) to ① before placing the blender jug on the motor unit (A).
The appliance will start only if the blender jug is positioned correctly on the motor unit.
■Do not operate the appliance if the lid is not in place.
ASSEMBLING AND FITTING THE JUG
Fit the gasket seal (e2) on the blade unit (e1) (Fig.1).
- Place the assembly (e1 + e2) on the base of the jug (e3). Lock it by rotating the blade unit through a quarter turn in an anticlockwise direction (Fig.2).
Introduce the ingredients to the assembled jug.
Place the lid (e4) on the jug. Place the measuring cup (e5) in its slot on the lid.
- Place the blender jug assembly (E) on the motor unit (A). The blender jug can be placed in two positions: jug handle to the right or the left of the motor unit (Fig. 3).
USING YOUR APPLIANCE FOR THE FIRST TIME
Once the blender jug is positioned correctly on the motor unit, plug in the appliance and turn it on using the desired function.
■ Speed selection: Turn the control knob (D) to choose the desired speed; the speed increases gradually between mini “,” and max “|”. You can change this speed as required during preparation.
■ "Pulse" function: Turn the control knob (D) to the "Pulse" position. Using a succession of pulses gives finer control over the degree of blending for precise preparations. In this position, the appliance starts directly on maximum speed. It stops as soon as you release the knob.
Function "SMOOTHIES"
This function is used to prepare smooth milkshakes and fruit cocktails. The speed is pre-programmed for best results. To use this function, turn the control knob to ①, and press the "SMOOTHIES" button (B) to start the appliance. To stop it, press the "SMOOTHIES" button (B) again.
Function ICE CRUSH
You can use this function to crush ice finely with pre-programmed operating cycles and speed. To use this function, turn the control knob to ① , and press the "ICE CRUSH" button (C) to start the appliance. To stop it, press the "ICE CRUSH" button (C) again.
■ Your appliance comes with a microprocessor that controls and analyses the operating power. If the load becomes too high, your appliance will stop automatically. To restart your appliance, turn the control knob to ① , unplug the appliance and remove some of the ingredients from the blender jug. Allow your appliance to cool down to room temperature. Plug it in again. You can then select the desired speed or function to complete your preparation.
ADVICE
Depending on the nature of the ingredients, you can use the blender jug to prepare up to
*1.5 L for thick mixtures
*1.25 L for liquid preparations
You can prepare finely blended soups, cream soups, stewed fruit, light batter (pancakes, fritters, Yorkshire pudding batter, etc.), milkshakes, smoothies, cocktails, etc.
If ingredients stick to the sides of the jug when blending, stop the appliance. Remove the blender jug from the motor unit, and push the food down onto the blades using a spatula and put your blender jug back to continue your preparation.
Always pour the liquid ingredients into the blender jug first, before adding the solid ingredients, without exceeding the maximum level.
To add ingredients while blending, remove the measuring cup (e5) from the lid (e4) and add the ingredients through the feeder hole.
■ For finely crushed ice, use a maximum of 6 ice cubes using "ICE CRUSH" (C) function. There is no need to add water.
RECIPE
Carrot soup with cumin: Ingredients:
- 780 g carrots, cut into cube of 15mm × 15mm
- 720 ml of water
- 1 teaspoon cumin
Salt and pepper
Put the carrot pieces in the glass jar and add the water. Mix in max " |" speed for 1 min. Turn off the appliance. Pour the mixture into a saucepan, add the cumin and cook for about 30 min. You can add water during cooking for a thinner soup. Salt and pepper according your taste.
CLEANING
Unplug the appliance and remove the blender jug.
The blades are extremely sharp; handle them with caution.
To clean the motor unit (A), use a moist cloth. Dry it carefully.
■ Never immerse the motor unit (A) in water or any other liquid and do not put it under running water.
For easy cleaning, be sure to wash the removable parts in warm water and washing up liquid immediately after use.
The blender jug (E) can be washed in the dishwasher using the ECONOMY or QUICK WASH programme.
To clean the blender jug (E) easily, unlock the blade unit (c1) by rotating it through a quarter turn in the clockwise direction. Remove the gasket seal (e2) and clean all an parts under running water or in the dishwasher.
WHAT TO DO IF YOUR APPLIANCE DOES NOT WORK
| PROBLEMS | CAUSES SOLUTIONS | |
| Appliance does not work | The plug is not connected | Connect the appliance to a socket with the same voltage as that on the rating plate of the appliance. |
| The blender jug is not positioned correctly on the motor unit | Check that the blender jug is positioned properly on the motor unit as explained in the leaflet. | |
| The appliance stopped while in use | Overload Follow the instructions in § F | First use. |
| Excessive vibrations | The product is not placed on a flat surface | Place the appliance on a flat surface. |
| Volume of ingredients is too high | Reduce the quantity of ingredients processed. | |
| Leak from the lid | Volume of ingredients is too high | Reduce the quantity of ingredients processed. |
| The lid is not correctly positioned | Place the lid correctly on the blender jug. | |
| Leak at the bottom of the blender jug | The blender jug gasket seal (e2) is not positioned correctly or is absent | Reposition the gasket seal and lock the blade holder correctly. |
| The blade does not turn easily | Pieces of food too large or too hard Liquid has been blended that was too hot and distorted the gasket seal | Replace the gasket seal with a new one. Reduce the size or quantity of ingredients processed. Add liquid. |
YOUR APPLIANCE STILL DOES NOT WORK?
Contact an approved service centre (see list in service booklet).
“SMOOTHIES" jg 10 gall g kill
MOOTHIES"
C
gall lcll gaaagll ola JaoiW .sacr wg ylac cdl dssd aal gldo Jaoi
A
Jg j 1111111111111111111111111111111111
1
gJ 1
cl 1
A
A
A
A
A
A
A
A
A
A
A
A
A
A
A
A
A
A
A
A
A
A
A
A
A
A
A
A
A
A
A
A
A
A
A
A
A
A
A
A
A
A
A
A
A
A
A
A
A
A
B
E E E E E E E E E E E E E E E E E E E E E E E E E E E E E E E E E E E E E E E E E E E E E E E E E E E E E E E E E E E E E E E E E E E E E E E E E E E E E E E E E E E E E E E E E E E E
J 1 1 1 1 1 1 1 1 1 1 1 1 1 1 1 1 1 1 1 1 1 1
eaiie jia a
e5
$$ \text {i d} \quad \text {i d} \quad \text {i d} \quad \text {i d} \quad \text {i d} \quad \text {i d} \quad \text {i d} \quad \text {i d} \quad \text {i d} \quad \text {i d} \quad \text {i d} \quad \text {i d} \quad \text {i d} \quad \text {i} < < \text {(①)} > > - F $$
$$ \text {l i d} \quad \text {i c} \quad \text {j u l l} \quad “ _ {i} - G $$
$$ \left. \text {s w a l l} \right. \text {a c} \text {j u n i t} ^ {\prime \prime} - H $$
A
$$ (\text {O} ^ {\prime \prime} \text {a d} \text {a l l b i d} \text {d} \text {i} ^ {\prime \prime}) j - B $$
$$ (\alpha^ {\prime \prime} \text {二} \text {一} \text {一} \text {一} \text {一} \text {一} \text {一} \text {一} \text {一} \text {一} \text {一} \text {一} \text {一} \text {一} \text {一} \text {一} \text {一} \text {一} \text {一} \text {一} \text {一} \text {—} \text {—} \text {—} \text {—} \text {—} \text {—} \text {—} \text {—} \text {—} \text {—} \text {—} \text {—} \text {—} \text {—} \text {—} \text {—} \text {—} \text {—} \text {—} \text {—} \text {一} \text {一} \text {一} \text {一} \text {一} \text {一} \text {一} \text {一} \text {一} \text {一} \text {一} \text {一} \text {一} \text {一} \text {一} \text {一} \text {一} \text {一} $$
$$ \overline {{S}} \overline {{S}} \overline {{S}} \overline {{S}} - D $$
$$ \therefore \text {i} _ {1} \leq \text {j} _ {2} \leq \text {a} _ {3} \leq \text {e} _ {4} \leq \dots - E $$
$$ \begin{array}{c} \text {J u a i l} \ \text {e 1} \end{array} $$
$$ \text {b i l l} \quad e 2 $$
$$ e 3 $$
$$ e 4 $$
gJ1 1
gclllyjB jy (A) 100000000000000000000000000000000000000000000000
$$ \left(\frac {1}{2} \frac {1}{2} \frac {1}{2} \frac {1}{2} \frac {1}{2} \frac {1}{2} \frac {1}{2} \frac {1}{2} \frac {1}{2} \frac {1}{2} \frac {1}{2} \frac {1}{2} \frac {1}{2} \frac {1}{2} \frac {1}{2} \frac {\dots}{2}\right) $$
i 1
AalaauiyE gaii jai jai jai jai jai
① 空 all (D) all 100
$$ \therefore \mathrm {i} l _ {b o} \mathrm {j} S a, \mathrm {j} $$
$$ \therefore b > 1 $$
(e5)J (e4)
" 1000000000000000000000000000000000000000000000000000000000000000000000
J 11111111111111111111111111111111
“pulse" (D) :(pse
a e jll 1 1 1 1 1 1 1 1 1 1 1 1 1 1 1 1 1 1 1 1
J 1
www.krups.com
FR p.5-7
EN p.8-10
DE .11-13
NL .p.14-16
ES p. 17-19
IT p. 20 - 22
PT p. 23 - 25
DA .p.26-28
FI .p.29-31
NO .p.32-34
SV p. 35 - 37
AR .40-38