IAN 270543 - Other kitchen appliances AURIOL - Free user manual and instructions
Find the device manual for free IAN 270543 AURIOL in PDF.



| Product type | Digital timer (digital countdown timer) |
| Brand | Auriol |
| Model | IAN 270543 |
| Power supply | 2 LR44 button cell batteries (1.5 V each), 3 V |
| Display | Digital screen |
| Timer range | 1 second to 99 hours 59 minutes 59 seconds |
| Stopwatch range | 99 hours 59 minutes 59 seconds |
| Number of simultaneous timers | 3 (T1, T2, T3) |
| Main functions | Clock (12/24h), timer, stopwatch, memory function |
| Mounting | Foldable stand and magnet on back |
| Dimensions (approx.) | 80 x 60 x 20 mm |
| Weight (approx.) | 50 g (without batteries) |
| Case material | Plastic |
| Care and cleaning | Clean the exterior with a soft, dry cloth |
| Safety instructions | Do not expose to moisture, use only the specified battery type, observe polarity |
| Warranty | 3 years |
| Package contents | 1 digital timer, 2 LR44 batteries (inserted), 1 instruction manual |
| Reset | RESET button (hole on back) to be activated with a pointed tool |
| Battery replacement | Open the cover on the back, remove used batteries, insert new LR44 batteries observing polarity |
Frequently Asked Questions - IAN 270543 AURIOL
User questions about IAN 270543 AURIOL
0 question about this device. Answer the ones you know or ask your own.
Ask a new question about this device
Download the instructions for your Other kitchen appliances in PDF format for free! Find your manual IAN 270543 - AURIOL and take your electronic device back in hand. On this page are published all the documents necessary for the use of your device. IAN 270543 by AURIOL.
USER MANUAL IAN 270543 AURIOL
Operation and Safety Notes
F
AJASTINKELLO
GB/IEOperation and Safety NotesPage 5
Description of parts and features.. Page 6
Technical data Page 7
Included items.. Page 7
General safety instructions.. Page 7
Safety instructions for batteries.. 8
Before initial use.. 9
Setting up the device . Page 10
Operation
Modes of the device.. Page 10
Clock mode . Page 11
Timer mode.. Page 12
Memory function
Memory function of individual timers.. Page 13
Memory function for all timers . Page 14
Changing the batteries.. Page 14
Troubleshooting Page 15
Cleaning and care.. Page 15
Disposal.. Page 15
Warranty . Page 16
Kitchen Timer
- Proper use
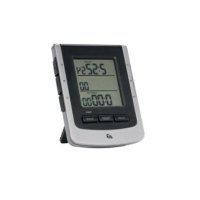
The digital timer is suitable for the acoustic display of simultaneous running of various time periods. In addition, it has a time display as well as a stopwatch. The device is suitable for indoor use at normal room temperature.
Description of parts and features
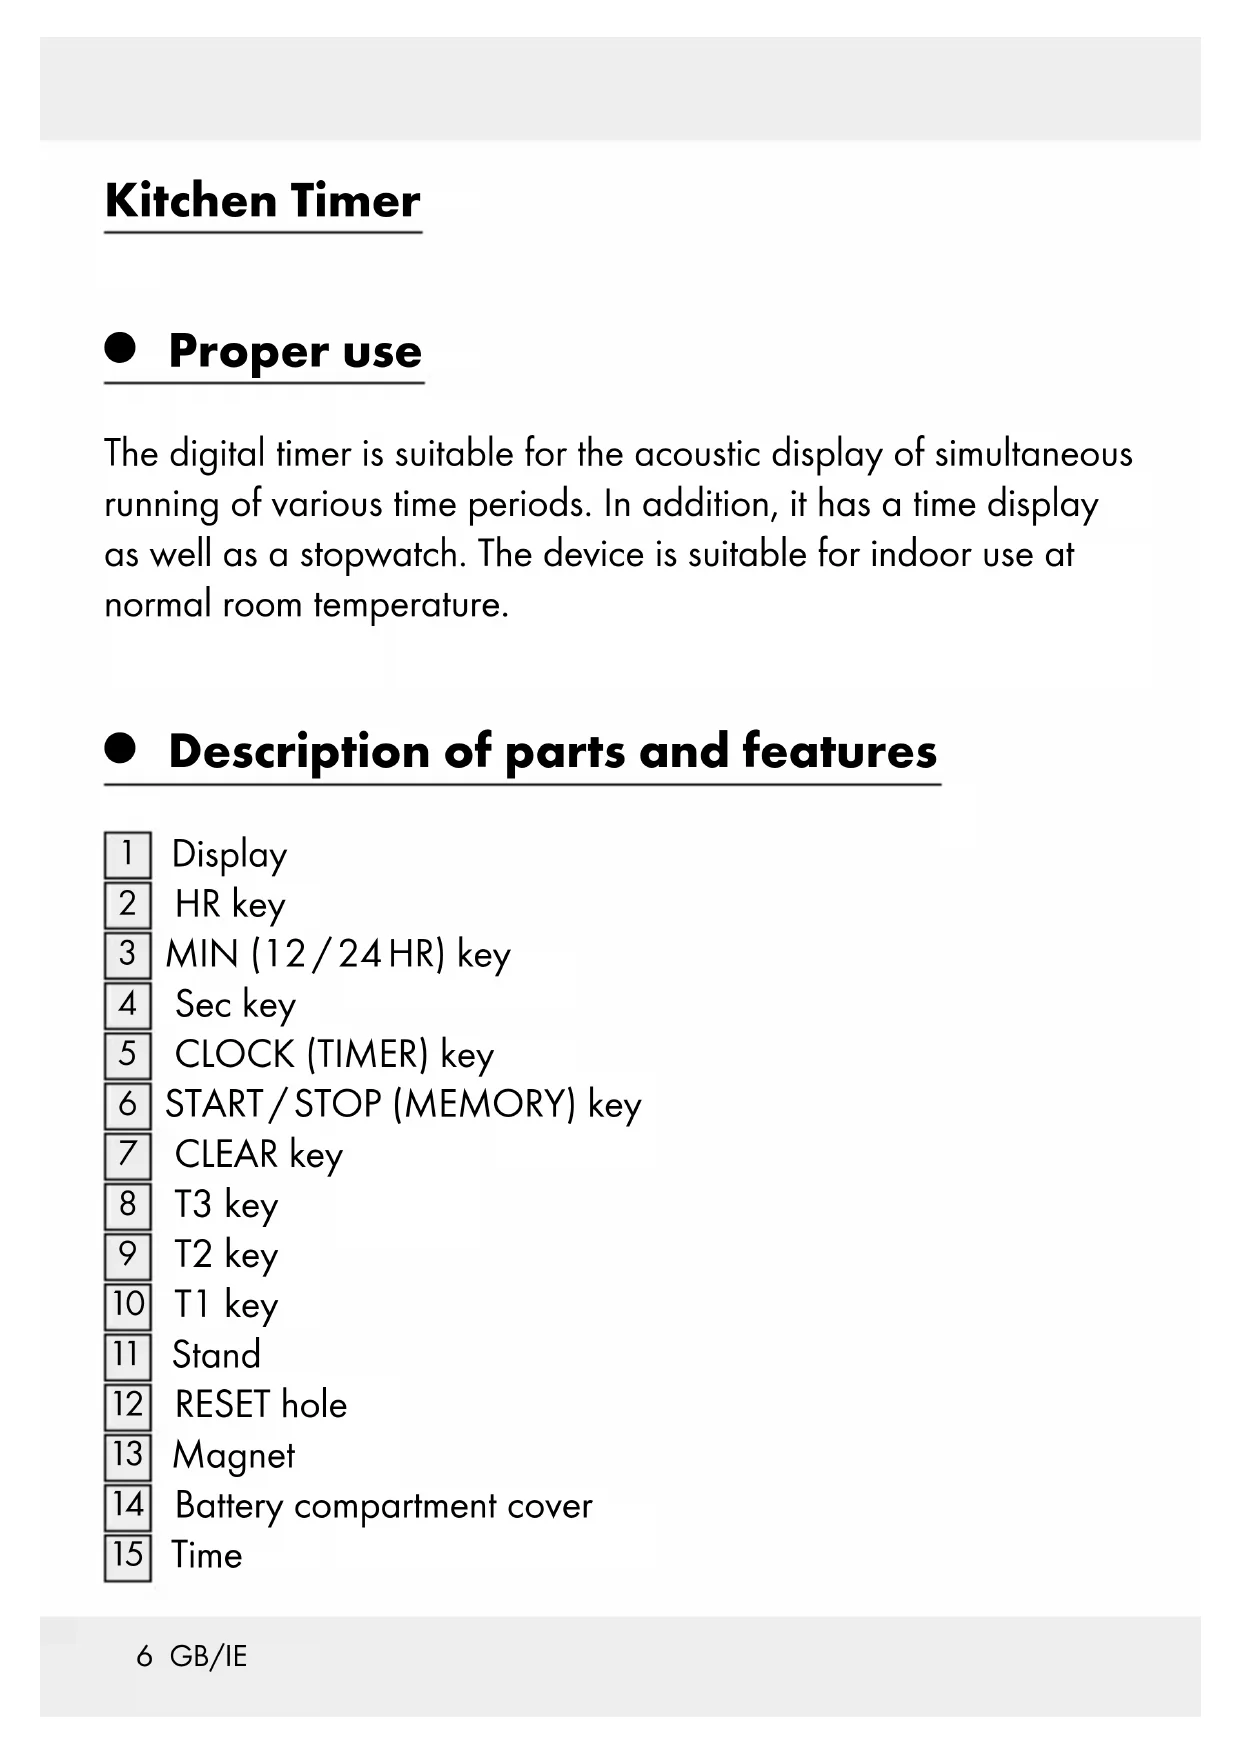
1 Display
2 HR key
3 MIN (12/24HR) key
4 Sec key
5 CLOCK (TIMER) key
6 START/STOP (MEMORY) key
7 CLEAR key
8 T3 key
9 T2 key
10 T1 key
11 Stand
12 RESET hole
13 Magnet
14 Battery compartment cover
15 Time
| 16 | Hundreds of seconds |
| 17 | Stopwatch |
| 18 | Timer 1 |
| 19 | Timer 2 |
| 20 | Timer 3 |
- Technical data
Operating voltage: 3 V
Battery type: 2 × 1.5 ~V , button cells, type LR44
Countdown area: 1 s - 99 h: 59 min: 59 s
Count up area: 99 h: 59 min: 59 s
- Included items
1 digital timer
2 batteries, type LR44 (already installed)
1 set of operating instructions

General safety instructions
Before using the product, please familiarise yourself with all of the safety information and instructions for use! When passing this product on to others, please also include all the documents!
Check the product for damage before use! Never use a damaged product!
Do not expose the product to moisture! This may damage it.
This appliance may be used by children age 8 years and up, as well as by persons with reduced physical, sensory or mental capacities, or lacking experience and/or knowledge, so long as they are supervised or instructed in the safe use of the appliance and understand the associated risks. Children should not be allowed to play with the appliance. Cleaning and user maintenance should not be performed by children without supervision.
- Safety instructions for batteries

WARNING!
DANGER TO LIFE! Batteries are not intended
for children. If accidentally swallowed seek immediate medical attention!

EXPLOSION HAZARD! Never recharge nonrechargeable batteries, short-circuit and / or open batteries!
Never throw batteries into fire or water!
Do not exert mechanical loads to batteries!
Risk of battery leakage
In the event of a battery leak, immediately remove it from the device to prevent damage!
Avoid contact with the skin, eyes and mucous membranes! In the event of contact with battery acid, thoroughly flush the affected area with plenty of clean water and seek immediate medical attention!
Only use the same type of batteries! Do not mix used and new batteries!
Avoid extreme conditions and temperatures which may impact batteries, e.g. on radiators!
Remove the batteries from the device if they have not been used for a long period!
Risk of equipment damage
Only use the specified battery type!
When inserting the battery ensure the correct polarity! This is shown in the battery compartment!
If necessary, clean the battery and device contacts before inserting the battery!
Promptly remove drained batteries from the product!
- Before initial use
Before initial use, remove the protective film from the device display 1.
An insulating strip protrudes from beneath the battery compartment lid [14].
- Open the battery compartment cover by pushing it downwards. Remove the insulation strip.
Close the battery compartment cover again.
Your digital timer is now ready for operation.
- Setting up the device
You can set up the device on horizontal, flat surfaces, by folding the stand [11] downwards (see Fig. B). Alternatively, you can use the magnet [13] to fasten the device to magnetic surfaces.
Operation
- Modes of the device
The digital time has two modes, which are displayed at the top of the display 1.
Press the CLOCK (TIMER) key 5 to switch back and forth between the Clock and Timer modes.
Clock mode
In Clock mode, the time is shown in the top field of the display 1. The bottom two fields show the stopwatch time (Fig. C).
Setting the time
In Clock mode, press and hold down the CLOCK (TIMER) key 5 for 3 seconds. The top field of the display 1 flashes.
Press the SEC key 4, the MIN key 3 or the HR key 2 to change the displayed values for seconds (SEC), minutes (MIN) or hours (HR) in steps.
TIP: Press and hold the key to make the numbers change more quickly.
Press the CLOCK (TIMER) key briefly, in order to confirm the set time. The time does not flash.
Press MIN (12/24 HR) key 3 to switch 12 or 24 HR mode.
Activating the stopwatch
In Clock mode, press the START / STOP (MEMORY) key 6. The stopwatch begins in the bottom section of the display 1 and shows the expired seconds, minutes and hours. The hundredths of a second are counted in the middle section of the display.
Press the START / STOP (MEMORY) key to halt the stopwatch or to reactivate counting.
□ When you have halted the stopwatch, you can reset it to 0 by pressing the CLEAR key 7 .
- Timer mode
In Timer mode, 3 time fields appear. A timer is provided in each of the three fields (Fig. D).
Setting the desired time
Press and hold the T1 key 10 for 3 seconds. The field next to the key flashes, thus signalling that a time can be set.
Press the SEC key 4, the MIN key 3 or the HR key 2 to change the displayed values for seconds (SEC), minutes (MIN) or hours (HR) in steps.
TIP: Press and hold the key to make the numbers change more quickly.
Press the T1 key briefly to confirm your setting. The display of Timer 1 stops flashing and shows the set time.
Set the timers next to the T2 and / or T3 keys in the same way.
Activating set timers
The timer is in Timer mode and the selected timer displays the selected time.
Press the T1 key again to activate the topmost timer. The counter now begins counting down to 0. When the set time has elapsed, a signal tone will sound for the period of one minute. The timer display flashes, the message „TIME'S UP“
flashes in the top left-hand corner above the timer and the timer begins counting up.
Press the T1 key or the START / STOP (MEMORY) key to stop the timer's counting operation and the acoustic signal.
Press the CLEAR key 7 to reset the counter to 0.
Set the timers next to the T2 9 and / or T3 keys 8 in the same way.
Interrupting the sequence of a timer
Press the key next to the appropriate timer (T1, T2 or T3 key) to stop the time sequence of the appropriate counter at any time, and also to reactivate it.
- Memory function
Memory function of individual timers
Each timer saves the most recently selected time. Pressing the T1, T2 or T3 key 10, 9 or 8 in Timer mode opens the most recently selected time for the appropriate timer in the display 1.
Press the appropriate T1, T2 or T3 key again to activate the timer belonging to this key.
Press the appropriate T1, T2 or T3 key to stop the acoustic signal.
Memory function for all timers
Press the START / STOP (MEMORY) key 6 to open the most recently selected times for all three timers.
Press the START / STOP (MEMORY) key again to start all 3 times simultaneously. The acoustic signal can now be interrupted using the appropriate T key (T1, T2, T3) or the START / STOP (MEMORY) key.
□ After all 3 times have elapsed, press the CLEAR key to reset the countdowns 1 to 3 to 0, one after another.
- Changing the batteries
Note: If the legibility of the 1 decreases due to diminishing contrast, then the inserted batteries are discharged and must be replaced.
- Open the battery compartment cover 14 on the rear side of the device by pushing it downwards.
Remove the old batteries. Use a thin, pointed object to lever the batteries out of the battery compartment.
Note:Make sure you insert the batteries the right way round (polarity). This is shown above the battery compartment.
- Close the battery compartment cover again, so that it engages audibly.
- Troubleshooting
The device contains delicate electronic components. For this reason it is possible that it can be disrupted by radio transmitting equipment in the immediate vicinity. If the display 1 indicates a problem, move such objects away from it.
Electrostatic discharges can lead to malfunctions. In such cases, insert a thin, pointed object (e.g. the wire of a paperclip) into the RESET hole [12] and push it in gently. The device will briefly activate all the displays and will reset itself.
- Cleaning and care
The device should only be cleaned on the outside with a soft dry cloth.
- Disposal

The packaging is made of environmentally friendly materials, which may be disposed of through your local recycling facilities.
Contact your municipal authorities for details on how to dispose of your worn-out product.
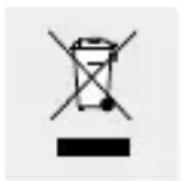
In the interest of the environment, do not throw out your product with your household refuse. Take it to a suitable centre where it can be disposed of properly. Information on collection points and their opening hours can be obtained from your local authority.
Defective or used batteries must be recycled in accordance with Directive 2006/66/EC. Return batteries and/or the device via the recycling facilities provided.
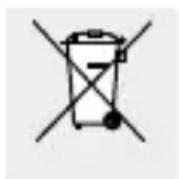
Never dispose of batteries in your household waste. They may contain toxic heavy metals and are subject to hazardous waste regulations. The chemical symbols of the
heavy metals are: Cd = cadmium, Hg = mercury, Pb = lead. Therefore dispose of used batteries through your municipal collection site.
Warranty
The device has been manufactured to strict quality guidelines and meticulously examined before delivery. In the event of product defects you have legal rights against the retailer of this product. Your legal rights are not limited in any way by our warranty detailed below.
The warranty for this device is 3 years from the date of purchase. Should this device show any fault in materials or manufacture within
3 years from the date of purchase, we will repair or replace it - at our choice - free of charge to you.
The warranty period begins on the date of purchase. Please keep the original sales receipt in a safe location. This document is required as your proof of purchase. This warranty becomes void if the device has been damaged or improperly used or maintained.
The warranty applies to faults in material or manufacture. This warranty does not cover product parts subject to normal wear, thus possibly considered consumables (e.g. batteries) or for damage to fragile parts, e.g. switches, rechargeable batteries or glass parts.
C
WAARSCHUWING! LEVENSGEVAAR! Houd batterijen
- AJASTINKELLO
- Operation
- Memory function
- Kitchen Timer
- - Proper use
- Description of parts and features
- - Technical data
- - Included items
- General safety instructions
- - Safety instructions for batteries
- WARNING!
- DANGER TO LIFE! Batteries are not intended
- Risk of battery leakage
- Risk of equipment damage
- - Before initial use
- - Setting up the device
- - Modes of the device
- Clock mode
- Setting the time
- Activating the stopwatch
- - Timer mode
- Setting the desired time
- Activating set timers
- Interrupting the sequence of a timer
- - Memory function
- Memory function of individual timers
- Memory function for all timers
- - Changing the batteries
- - Troubleshooting
- - Cleaning and care
- - Disposal
- Warranty
- WAARSCHUWING! LEVENSGEVAAR! Houd batterijen
Brand : AURIOL
Model : IAN 270543
Category : Other kitchen appliances