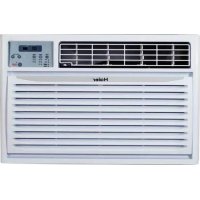
HTWR12VCK - Air Conditioning HAIER - Free user manual and instructions
Find the device manual for free HTWR12VCK HAIER in PDF.
Download the instructions for your Air Conditioning in PDF format for free! Find your manual HTWR12VCK - HAIER and take your electronic device back in hand. On this page are published all the documents necessary for the use of your device. HTWR12VCK by HAIER.
USER MANUAL HTWR12VCK HAIER
/LPSLH]DGHO¿OWURGHDLUH
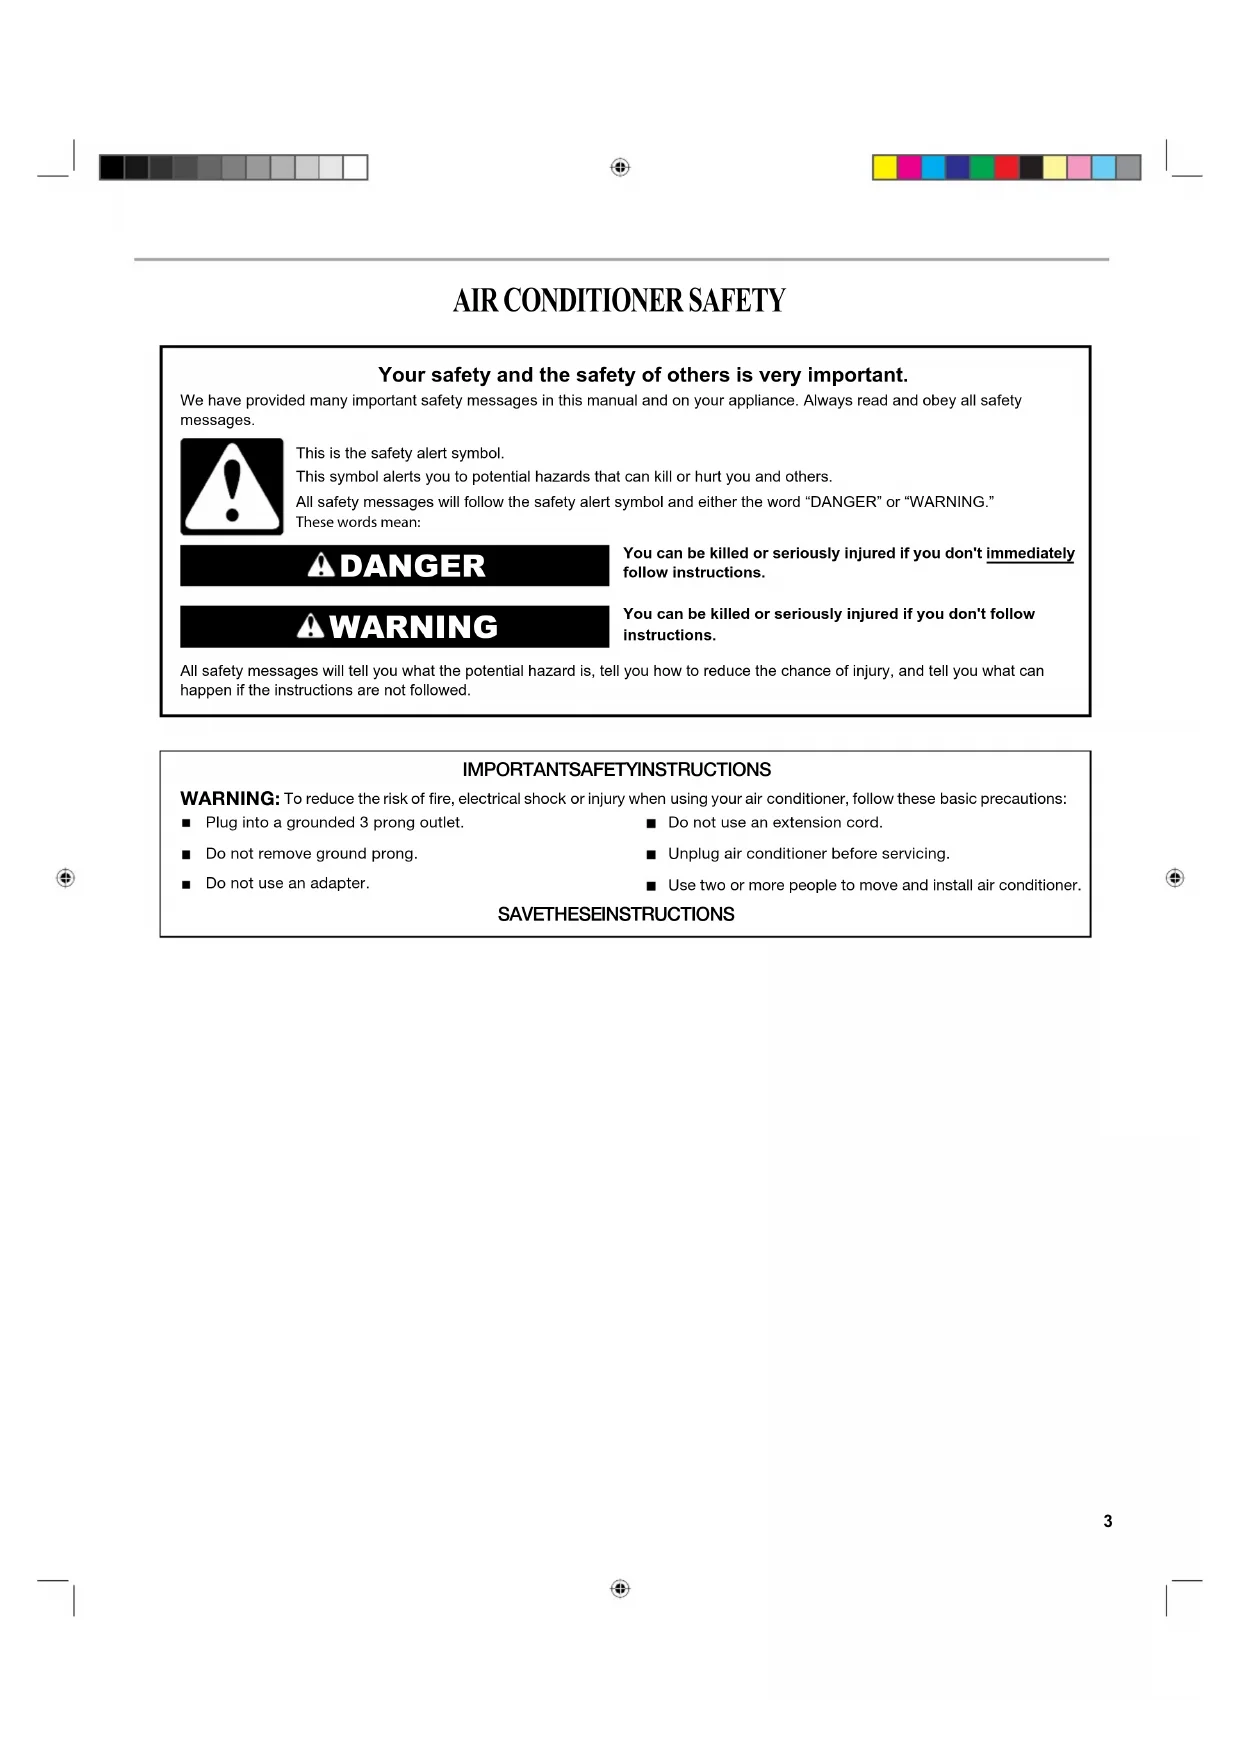
You can be killed or seriously injured if you don't immediately You can be killed or seriously injured if you don't follow All safety messages will tell you what the potential hazard is, tell you how to reduce the chance of injury, and tell you what can happen if the instructions are not followed. Your safety and the safety of others is very important. We have provided many important safety messages in this manual and on your appliance. Always read and obey all safety messages.This is the safety alert symbol.This symbol alerts you to potential hazards that can kill or hurt you and others.All safety messages will follow the safety alert symbol and either the word “DANGER” or “WARNING.”These words mean:follow instructions.instructions. DANGER WARNING
To reduce the risk of fire, electrical shock or injury when using your air conditioner, follow these basic precautions:
SAVE THESE INSTRUCTIONS
Unplug air conditioner before servicing.Use two or more people to move and install air conditioner.Plug into a grounded 3 prong outlet.Do not remove ground prong.Do not use an adapter.Do not use an extension cord.INSTALLATION INSTRUCTIONS Remove old air conditioner and inspect sleeve for the following:Insallation--Make sure that sleeve is securely installed and in sound structural condition.Dimensions--Measure the size to make sure the air conditioner ZLOO¿WSlope--There should be a rearward slope for condensate to drain from the rear of the sleeve.Chece against Fig.A.There are sharp edges that can cause serious cuts.When lifting the air conditioner,it is HEAVY. Use 2 peoples to lift. CAUTION For New Construction install Haier Wall Sleeve.Manufacturer--So the method of installation can be determined.If the installation and slope are suspect,then removal and correct installation of a Haier Wall Sleeve,is recommended.Check the conetents of the accessories supplied with your air conditioner as shown below:
How to install 1.Identify the existing wall sleeve before installing the unit from the listed below.Note:All wall sleeves used to mount the new Air Conditioner must be in sound structural condition and have a rear grilleWKDWVHFXUHO\DWWDFKHVWRVOHHYHRUUHDUÀDQJHWKDWVHUYHVDVDstop for the Air conditioner.2.Clean the interior of the sleeve (do not disturb seals).3.Repaint the sleeve if needed.4.On 25 13/32”-26”sleeves:Replace the existing louvered grille with the new one supplied in the package,shown in the Fig.B
10Fig.BMounting tabs can be bent or cut off if not needed.Please usethe correct holes to match the sleeve.Fig.COn 26 3/4”-27” sleeves:Use existing rear grille and redirect louversto 60 angle as shown in Fig.C 5.If the depth of your existing wall sleeve is less than or equal WR´VNLSWRVWHS2WKHUZLVHFXWWKHEDIÀHVDQGWKHVXSSRUWblocks according to length“A” in the table below.6.Remove the backing from the support blocks and attach them to the inside of the wall sleeve as shown FIG E.Slide the EDIÀHLQWRVROWVRIWKHVXSSRUWEORFNV8.Install the 1”x1 1/2”x84”long stuffer seal between the wall sleeve and the unit.9.To assemble trim,snap the tab of each piece into the slot of the other piece as shown below.2-Trim frames are supplied ZLWKXQLWXVHWKHWULPIUDPHWKDWEHVW¿WV\RXUVOHHYH6OLGHWULPRYHUWKHIURQWRIWKHDLUFRQGLWLRQHUXQWLOWULPLVÀXVKwith sleeve as shown below.Note:Be sure to route the cord through the trim frame before placing the trim frame on the unit.7.Install the new unit into the wall sleeve. Depth“D” of the existing wall sleeve(inches) Length“A” (inches) 20<D<20 20 <D<21 21 <D<24
2. Press POWER to turn on the air conditioner. The Power
indicator light will turn on. NOTE: When the air conditioner is plugged in, the LED display will show “88” for 3 seconds. After the air conditioner is turned on for
WKH¿UVWWLPHWKHGLVSOD\ZLOOVKRZWKHFXUUHQWURRPWHPSHUDWXUH
and the fan is set to Low speed. After the unit is plugged in, but before the unit is turned on, press and hold the POWER button for 5 seconds to switch the temperature display between Fahrenheit (F) and Celsius(C) degrees.
3. Select mode. See “Mode.”
4. Select fan speed. See “Fan Speed.”
5. Set temperature. See “Temperature.”
1. Press MODE until you see the indicator light glow for the
2. Choose Fan, Cool, Energy Saver or Dehum.
ʄ Fan—Only the fan runs. Press SPEED to select High, Med or Low fan speed. The display shows the current room temperature. ʄ Cool—Cools the room. Press SPEED to select High, Med or Low fan speed. Press the TEMP/TIME up or down arrow button to adjust the temperature. ʄ Energy Saver—Fan runs only when cooling is needed. Press SPEED to select High, Med or Low fan speed. Because the fan does not circulate the room air continuously, less energy is used, but the room air is not circulated as often. ʄ Dehum—Dries the room. The air conditioner automatically selects the temperature. NOTE: ʄ Dehum mode should not be used to cool the room.ʄ In Dehum mode,Please do not operate the speed button.
1. Press FAN SPEED until you see the indicator light glow for
the desired setting.
OFF CHECKFILTERPOWERON/OFF SPEED HIGH MED LOW POWERON/OFF MODE FAN COOL ENERGYSAVERDEHUM Operating your air conditioner properly helps you to obtain the best possible results. This section explains proper air conditioner operation. IMPORTANT: ʄ If you turn off the air conditioner, wait at least 3 minutes before turning it back on. This keeps the air conditioner from blowing a fuse or tripping a circuit breaker. ʄ Do not try to operate your air conditioner in the Cool mode when outside temperature is below 61°F (16°C). The inside evaporator coil will freeze up, and the air conditioner will not operate properly.
Starting Your Air Conditioner Mode Fan Speed 6ʄ Press the TEMP/TIME up arrow button to raise the temperature. Each time you press or hold the TEMP/TIME up arrow button, the temperature will go up 1ºF until it reaches 86°F (30°C). NOTE: After 5 seconds, the display will show the current room temperature. ʄ Press the TEMP/TIME down arrow button to lower the temperature. Each time you press or hold the TEMP/TIME down arrow button, the temperature will go down 1ºF until it reaches 61°F (16°C). NOTE: After 5 seconds, the display will show the current room temperature. To set the Timer for a 1-hour to 24-hour delay until the air conditioner turns off (the air conditioner must be On):
3UHVV7,0(57LPHU2))LQGLFDWRUOLJKWZLOOÀDVK'LVSOD\ZLOO
show remaining hours before the air conditioner will turn off.
2. Press the TEMP/TIME up or down arrow button to change the
delay time from 1 hour to 24 hours.
3. After 5 seconds, Timer OFF indicator light will remain on.
Display will show the current room temperature. To set the Timer to turn on the air conditioner, keeping previous settings:
show remaining hours before the air conditioner will turn on.
3. Press the TEMP/TIME up or down arrow button to change the
delay time from 1 hour to 24 hours.
4. Timer On indicator light will remain on.
To set the Timer to turn on the air conditioner, changing the previous settings:
1. Turn on the air conditioner.
2. Adjust the mode to Fan, Cool, Energy Saver or Dehum.
4. Adjust the temperature between 61ºF and 86ºF (16ºC and
show remaining hours before the air conditioner will turn on.
6. Press the TEMP/TIME up or down arrow button to change the
delay time from 1 hour to 24 hours.
7. Timer On indicator light will remain on.
To clear Timer delay program: NOTE: Air conditioner can be either on or off.
1. Press TEMP/TIME once after it has been programmed.
Display will show remaining time.
2. While the display is showing the remaining time, press TIMER
untill Timer indicator light turns off. To see or change the remaining time (in hours): Timer Off :
1. Press TEMP/TIME once after it has been programmed.
Display on the air conditioner control panel will show remaining time.
2. While the display is showing the remaining time, press
the TEMP/TIME up or down arrow button to increase or decrease the time.
3. After 5 seconds, the display on the air conditioner control
panel will show the current room temperature. Timer On :
1. Display on the air conditioner control panel will show
2. While the display is showing the remaining time, press the
RESET CHECKFILTER 7To set the Timer for a 1-hour to 24-hour delay before the air conditioner is turned off (the air conditioner must be On): 1. Press TIMER. Timer OFF indicator light on the air conditioner FRQWUROSDQHOZLOOÀDVK2. Press the TEMP/TIME up or down arrow button to change the delay time from 1 hour to 24 hours.3. After 5 seconds, Timer OFF indicator light on the air conditioner control panel will remain on.To set Timer to turn on the air conditioner, keeping previous settings:1. Turn off the air conditioner.2. Press TIMER. Timer On indicator light on the air conditioner FRQWUROSDQHOZLOOÀDVK3. Press the TEMP/TIME up or down arrow button to change the delay time from 1 hour to 24 hours.4. After 5 seconds, Timer On indicator light on the air conditioner control panel will remain on.To set Timer to turn on the air conditioner, changing the previous settings:1. Turn on the air conditioner.2. Adjust the mode to Fan, Cool, Energy Saver or Dehum.3. For Fan, Cool or Energy Saver mode, adjust the fan speed to High, Med or Low.ON/OFF MODE
SPEEDTIMERTEMP/TIMETEMP/TIME
MODE SPEED ON/OFF TIMER TEMP/TIME TEMP/TIME NOTE: Remote control may differ in appearance.NOTE: One CR2025 battery (included) powers the remote control. Replace battery after 6 months of use, or when the remote control starts to lose power.Press ON/OFF to turn on the air conditioner.Press MODE to choose Fan, Cool, Energy Saver or Dehum.Press SPEED to choose High, Med or Low.PowerTemperatureTimerʄ Press the TEMP/TIME up arrow button to raise the temperature. Each time you press or hold the TEMP/TIME up arrow button, the temperature will go up 1ºF until it reaches 86°F (30°C).ʄ Press the TEMP/TIME down arrow button to lower the temperature. Each time you press or hold the TEMP/TIME down arrow button, the temperature will go down 1ºF until it reaches 61°F (16°C). Mode Speed Using the Remote Control 8Your new air conditioner is designed to give you many years of dependable service. This section tells you how to clean and care for your air conditioner properly.
WKHDLU¿OWHr. When your air conditioner is operating normally, you may hear sounds such as: ʄ Droplets of water hitting the condenser, causing a pinging or clicking sound. The water droplets help cool the condenser. ʄ Air movement from the fan.ʄ Clicks from the thermostat cycle.ʄ Vibrations or noise due to poor wall or window construction.ʄ A high-pitched hum or pulsating noise caused by the modern KLJKHI¿FLHQF\FRPSUHVVRUF\FOLQJRQDQGRff. Normal Sounds Cleaning theAir Filter
ChangingAir Direction 4-Way Air Flow:The air directional louvers let you control the
GLUHFWLRQRIWKHDLUÀRZWRWKHGHVLUHGGLUHFWLRQ7KHDLUÀRZFDQEH
directed up-down,left-right.
4. Adjust the temperature between 61ºF and 86ºF (16ºC and
before the air conditioner will turn on.
will remain on. To clear Timer delay program: NOTE: Air conditioner can be either on or off.
1. Press TIMER once after it has been programmed. Display on
the air conditioner control panel will show remaining time. While the display is showing the remaining time, press TIMER untill Timer indicator light turns off. To see or change the remaining time (in hours): Timer Off :
1. Press TEMP/TIME once after it has been programmed.
Display on the air conditioner control panel will show remaining time. While the display is showing the remaining time, press the TEMP/TIME up or down arrow button to increase or decrease the time.
3. After 5 seconds, the display on the air conditioner control
panel will show the current room temperature. Timer On :
1. Display on the air conditioner control panel will show
remaining time. :KLOHWKHGLVSOD\LVVKRZLQJWKHUHPDLQLQJWLPHSUHVVWKH TEMP/TIME up or down arrow button to increase or decrease the time.
Aʄ The power supply cord has tripped (Reset button has popped out). Press and release RESET (listen for click; Reset button will latch and on some devices, a green light will turn on) to resume operation. ʄ A household fuse has blown, or circuit breaker has tripped. Replace the fuse or reset the circuit breaker. If the problem continues, call an electrician. See “Electrical Requirements.” ʄ The Power button has not been pressed or the Mode control knob is turned to Off. Press POWER or turn the Mode control knob to an active setting. ʄ The local power has failed. Wait for power to be restored. ʄ Too many appliances are being used on the same circuit. Unplug or relocate appliances that share the same circuit. ʄ Time-delay fuse or circuit breaker of the wrong capacity is being used. Replace with a time-delay fuse or circuit breaker of the correct capacity. See “Electrical Requirements.” Before calling for service, try the suggestions below to see whether you can solve your problem without outside help. Air Conditioner Will Not Operate Air conditioner blows fuses or trips circuit breakers ʄ The power supply cord is unplugged. Plug into a grounded 3 prong outlet. See “Electrical Requirements.”
1. Turn off the air conditioner.
2. Clean the front panel with a soft, damp cloth.
3. Air dry the front panel completely.
4. Turn on the air conditioner.
Your air conditioner needs annual maintenance to help ensure steady, top performance throughout the year. Call your local authorized dealer to schedule an annual checkup. The expense of an annual inspection is your responsibility.
8VHDYDFXXPFOHDQHUWRFOHDQDLU¿OWHU,IWKHDLU¿OWHULVYHU\
dirty, wash it in warm water with a mild detergent. Do not
5. Close the front panel.
6. Turn on the air conditioner.
Cleaning the Front Panel Annual Maintenance Air Conditioner TROUBLE SHOOTING 10ʄ Disturbances in your electrical current can trip (Reset button will pop out) the power supply cord. Press and release RESET (listen for click; Reset button will latch and on some devices, a green light will turn on) to resume operation. ʄ Electrical overloading, overheating, cord pinching or aging can trip (Reset button will pop out) the power supply cord. After correcting the problem, press and release RESET (listen for click; Reset button will latch and on some devices, a green light will turn on) to resume operation. NOTE: A damaged power supply cord must be replaced with a new power supply cord obtained from the product manufacturer and must not be repaired. ʄ The air conditioner is not properly sized for your room. Check the cooling capabilities of your room air conditioner. Room air conditioners are not designed to cool multiple rooms.
ʄ 7KH¿OWHULVGLUW\RUREVWUXFWHGE\GHEULV&OHDQWKH¿OWHU
ʄ There is excessive heat or moisture (open container cooking, showers, etc.) in the room. Use a fan to exhaust heat or moisture from the room. Try not to use heatproducing appliances during the hottest part of the day. ʄ The louvers are blocked. Install the air conditioner in a location where the louvers are free from curtains, blinds, furniture, etc. ʄ The outside temperature is below 65°F (18°C). Do not try to operate your air conditioner in the cooling mode when the outside temperature is below 65°F (18°C). ʄ The temperature of the room you are trying to cool is extremely hot. Allow extra time for the air conditioner to cool off a very hot room. ʄ Windows or doors to the outside are open. Close all windows and doors. ʄ The Temperature control is not at a cool enough setting. Adjust the TEMP/TIME control to a cooler setting by pressing the minus button to reduce the temperature. Set the Fan Speed control to the highest setting. ʄ The current air conditioner replaced an older model. The
XVHRIPRUHHI¿FLHQWFRPSRQHQWVPD\FDXVHWKHDLUFRQGLWLRQHU
to run longer than an older model, but the total energy consumption will be less. Newer air conditioners do not emit the “blast” of cold air you may be accustomed to from older air conditioners, but this is not an indication of lesser cooling FDSDFLW\RUHI¿FLHQF\5HIHUWRWKHHI¿FLHQF\UDWLQJ((5DQG capacity rating (in Btu/h) marked on the air conditioner. ʄ The air conditioner is in a heavily occupied room, or heatproducing appliances are in use in the room. Use exhaust vent fans while cooking or bathing and try not to use heatproducing appliances during the hottest part of the day. A higher capacity air conditioner may be required, depending on the size of the room being cooled. ʄ The air conditioner is not properly leveled. The air conditioner should slope slightly downward toward the outside. Level the air conditioner to provide a downward slope toward the outside to ensure proper drainage. See the Installation Instructions. NOTE: Do not drill a hole into the bottom of the metal base and condensate pan. ʄ An extension cord is being used. Do not use an extension cord with this or any other appliance. ʄ You are trying to restart the air conditioner too soon after turning off the air conditioner. Wait at least 3 minutes after turning off the air conditioner before trying to restart the air conditioner. Air conditioner power supply cord trips (Reset button pops out) Air conditioner cycles on and off too much or does not cool room in cooling mode Air conditioner seems to run too much Water drips from cabinet into your house
11ASSISTANCE OR SERVICE
Before calling for assistance or service, please check“Troubleshooting.” It may save you the cost of a service call. Ifyou still need help, follow the instructions below.When calling, please know the purchase date and the completemodel and serial number of your appliance. This information willhelp us to better respond to your request. If you need replacement parts If you need to order replacement parts, we recommend that youXVHRQO\IDFWRU\VSHFL¿HGUHSODFHPHQWSDUWV)DFWRU\VSHFL¿HGUHSODFHPHQWSDUWVZLOO¿WULJKWDQGZRUNULJKWEHFDXVHWKH\DUHmade with the same precision used to build every new appliance.7RORFDWHIDFWRU\VSHFL¿HGUHSODFHPHQWSDUWVLQ\RXUDUHDFDOOyour nearest designated service center. Please record your model’s information. Whenever you call to request service on your appliance, youneed to know your complete model number and serial number. Visit www.haieramerica.com or call Haier America toll free: 1-877-337-3639. Our consultants provide assistance with: ʄ)HDWXUHVDQGVSHFL¿FDWLRQVRQRXUDSSOLDQFHVʄ Installation information.ʄ Use and maintenance procedures.ʄ Repair parts sales.ʄ Referrals to repair parts distributors, and service companies.Manufacturer-authorized service technicians are trained toIXO¿OOWKHSURGXFWZDUUDQW\DQGSURYLGHDIWHUZDUUDQW\VHUYLFH anywhere in the United States. Visit www.haieramerica.com or call Haier America toll free: 1-877-337-3639. Our consultants provide assistance with: ʄ)HDWXUHVDQGVSHFL¿FDWLRQVRQRXUDSSOLDQFHVʄ Installation information.ʄ Use and maintenance procedures.ʄ Repair parts sales.ʄ Referrals to repair parts distributors, and service companies.Manufacturer-authorized service technicians are trained toIXO¿OOWKHSURGXFWZDUUDQW\DQGSURYLGHDIWHUZDUUDQW\VHUYLFH anywhere in the Canada. For Further Assistance If you need further assistance, you can write with any questionsor concerns to:Haier America1356 BroadwayNew York, NY 10018Please include a daytime phone number in your correspondence. For Further Assistance If you need further assistance, you can write with any questionsor concerns to:Haier America1356 BroadwayNew York, NY 10018Please include a daytime phone number in your correspondence.<RXFDQ¿QGWKLVLQIRUPDWLRQRQWKHPRGHODQGVHULDOQXPEHUlabel. See “Electrical Requirements” for the location of the modeland serial number label.Please record the model and serial number information below.Also, record the purchase date of your appliance and the store’sname, address, and telephone number.Model Number________________________________________Serial Number ________________________________________Purchase Date________________________________________Store Name __________________________________________Store Address ________________________________________Store Phone _________________________________________Keep this book and the sales slip together for future reference. In the U.S.A. In Canada
12ONE YEAR LIMITED WARRANTY
This warranty covers all defects in workmanship or material for the mechanical and electrical parts (including labor costs) contained in this product for a period of 12 months from the date of purchase. For commercial or rental application, the warranty is 90 days. You must keep and be able to provide your original sales receipt as proof of the date of purchase. FIVE YEAR LIMITED WARRANTY ON THE SEALED SYSTEM The sealed system and compressor (hermetic compressor, condenser and evaporator) contained in this product is for a period of 5 years from the date of purchase (excluding labor costs after the initial 12-month period). In commercial or rental use, the additional limited compressor warranty is for 1 year and 9 months (excluding labor costs after the initial 90-day period). You must keep and be able to provide your original sales receipt as proof of the date of purchase.
The original retail purchaser of this product.
Haier America will repair or replace any mechanical, electrical part or the compressor, which proves defective in normal household use for a period of 12 months. Haier America will repair or replace (excluding labor costs) the sealed system and compressor (parts only) for an additional 4-year period.
HOW CAN YOU GET SERVICE
Contact your nearest manufacturer-authorized Service Depot. For the name of the Service Depot nearest you, contact Haier America at 1-877-337-3639. All service must be performed by a manufacturer-authorized Service Depot.
THIS WARRANTY DOES NOT COVER
1. Damages from improper installation.
2. Damages in shipping.
3. Defects other than manufacturing.
4. Damages from misuse, abuse, accident, alteration, lack of proper care and maintenance or incorrect current or voltage.
5. Damage from other than household use.
6. Damages from service by other than an authorized dealer or service center.
7. Decorative trims or replaceable light bulbs.
8. Labor, service, transportation and shipping charges for the removal of defective parts and installation of replacement parts beyond the initial 12-month period. 9. Credit or refund for products over 30 days past date of purchase, or for any loss or injury caused by the product or defects to the product including but not limited to incidental or consequential damages. 10. Food loss for food spoiled as a direct result of mechanical failure of a product or of any delay in providing service, repair or replacement.
11. Refurbished product purchased as/like new or second-hand.
THIS LIMITED WARRANTY IS GIVEN IN LIEU OF ALL OTHER WARRANTIES, EXPRESS OR IMPLIED, INCLUDING THE WARRANTIES OF MERCHANTABILITY AND FITNESS FOR A PARTICULAR PURPOSE. The remedy provided in this warranty is exclusive and is granted in lieu of all other remedies. This warranty does not cover incidental or consequential damages. Some states do not allow the exclusion of incidental or consequential damages, so this limitation may not apply to you. Some states do not allow limitations on how long an implied warranty lasts, so this limitation may not apply to you. This ZDUUDQW\JLYHV\RXVSHFL¿FOHJDOULJKWVDQG\RXPD\DOVRKDYHRWKHUULJKWVZKLFKYDU\IURPVWDWHWRVWDWH This warranty covers units within the continental United States, Canada and Puerto Rico. LIMITED WARRANTY