
CMCPR320 - Scissors Craftsman - Free user manual and instructions
Find the device manual for free CMCPR320 Craftsman in PDF.
| Product type | Cordless pole pruner |
| Brand | Craftsman |
| Model | CMCPR320 |
| Power source | 20V Max lithium-ion battery |
| Maximum cutting diameter | 32 mm (1.25 in) |
| Pole length | Approx. 2.7 m (9 ft) |
| Pivoting head | 180° (7 lockable positions) |
| Blade material | Tempered steel |
| Intended use | Residential branch pruning |
| Branch removal hook | Yes |
| Wall storage system | Versatrack™ (integrated hook) |
| Lock-off button | Yes (safety against accidental starts) |
| Blade guard | Yes (cover included) |
| Maintenance | Regular cleaning, lubrication, occasional sharpening |
| Recommended accessories | Replacement blade DWZPRB300 |
| Warranty | 3-year limited |
Frequently Asked Questions - CMCPR320 Craftsman
User questions about CMCPR320 Craftsman
0 question about this device. Answer the ones you know or ask your own.
Ask a new question about this device
Download the instructions for your Scissors in PDF format for free! Find your manual CMCPR320 - Craftsman and take your electronic device back in hand. On this page are published all the documents necessary for the use of your device. CMCPR320 by Craftsman.
USER MANUAL CMCPR320 Craftsman
1 Handle assembly
2 Folding assembly
3 Pruner assembly
4 Pole hinge
5 Trigger switch
6 Lock off button
7 Main handle
Cutting blade
9 Fixed blade
10 Branch removal hook
11 Blade lock knob
12 Pivot button
13 Foam gripper
14 Threaded sleeve
15 VersaTrackTM hang hook
16 Battery
17 Battery release button
18 Blade cover
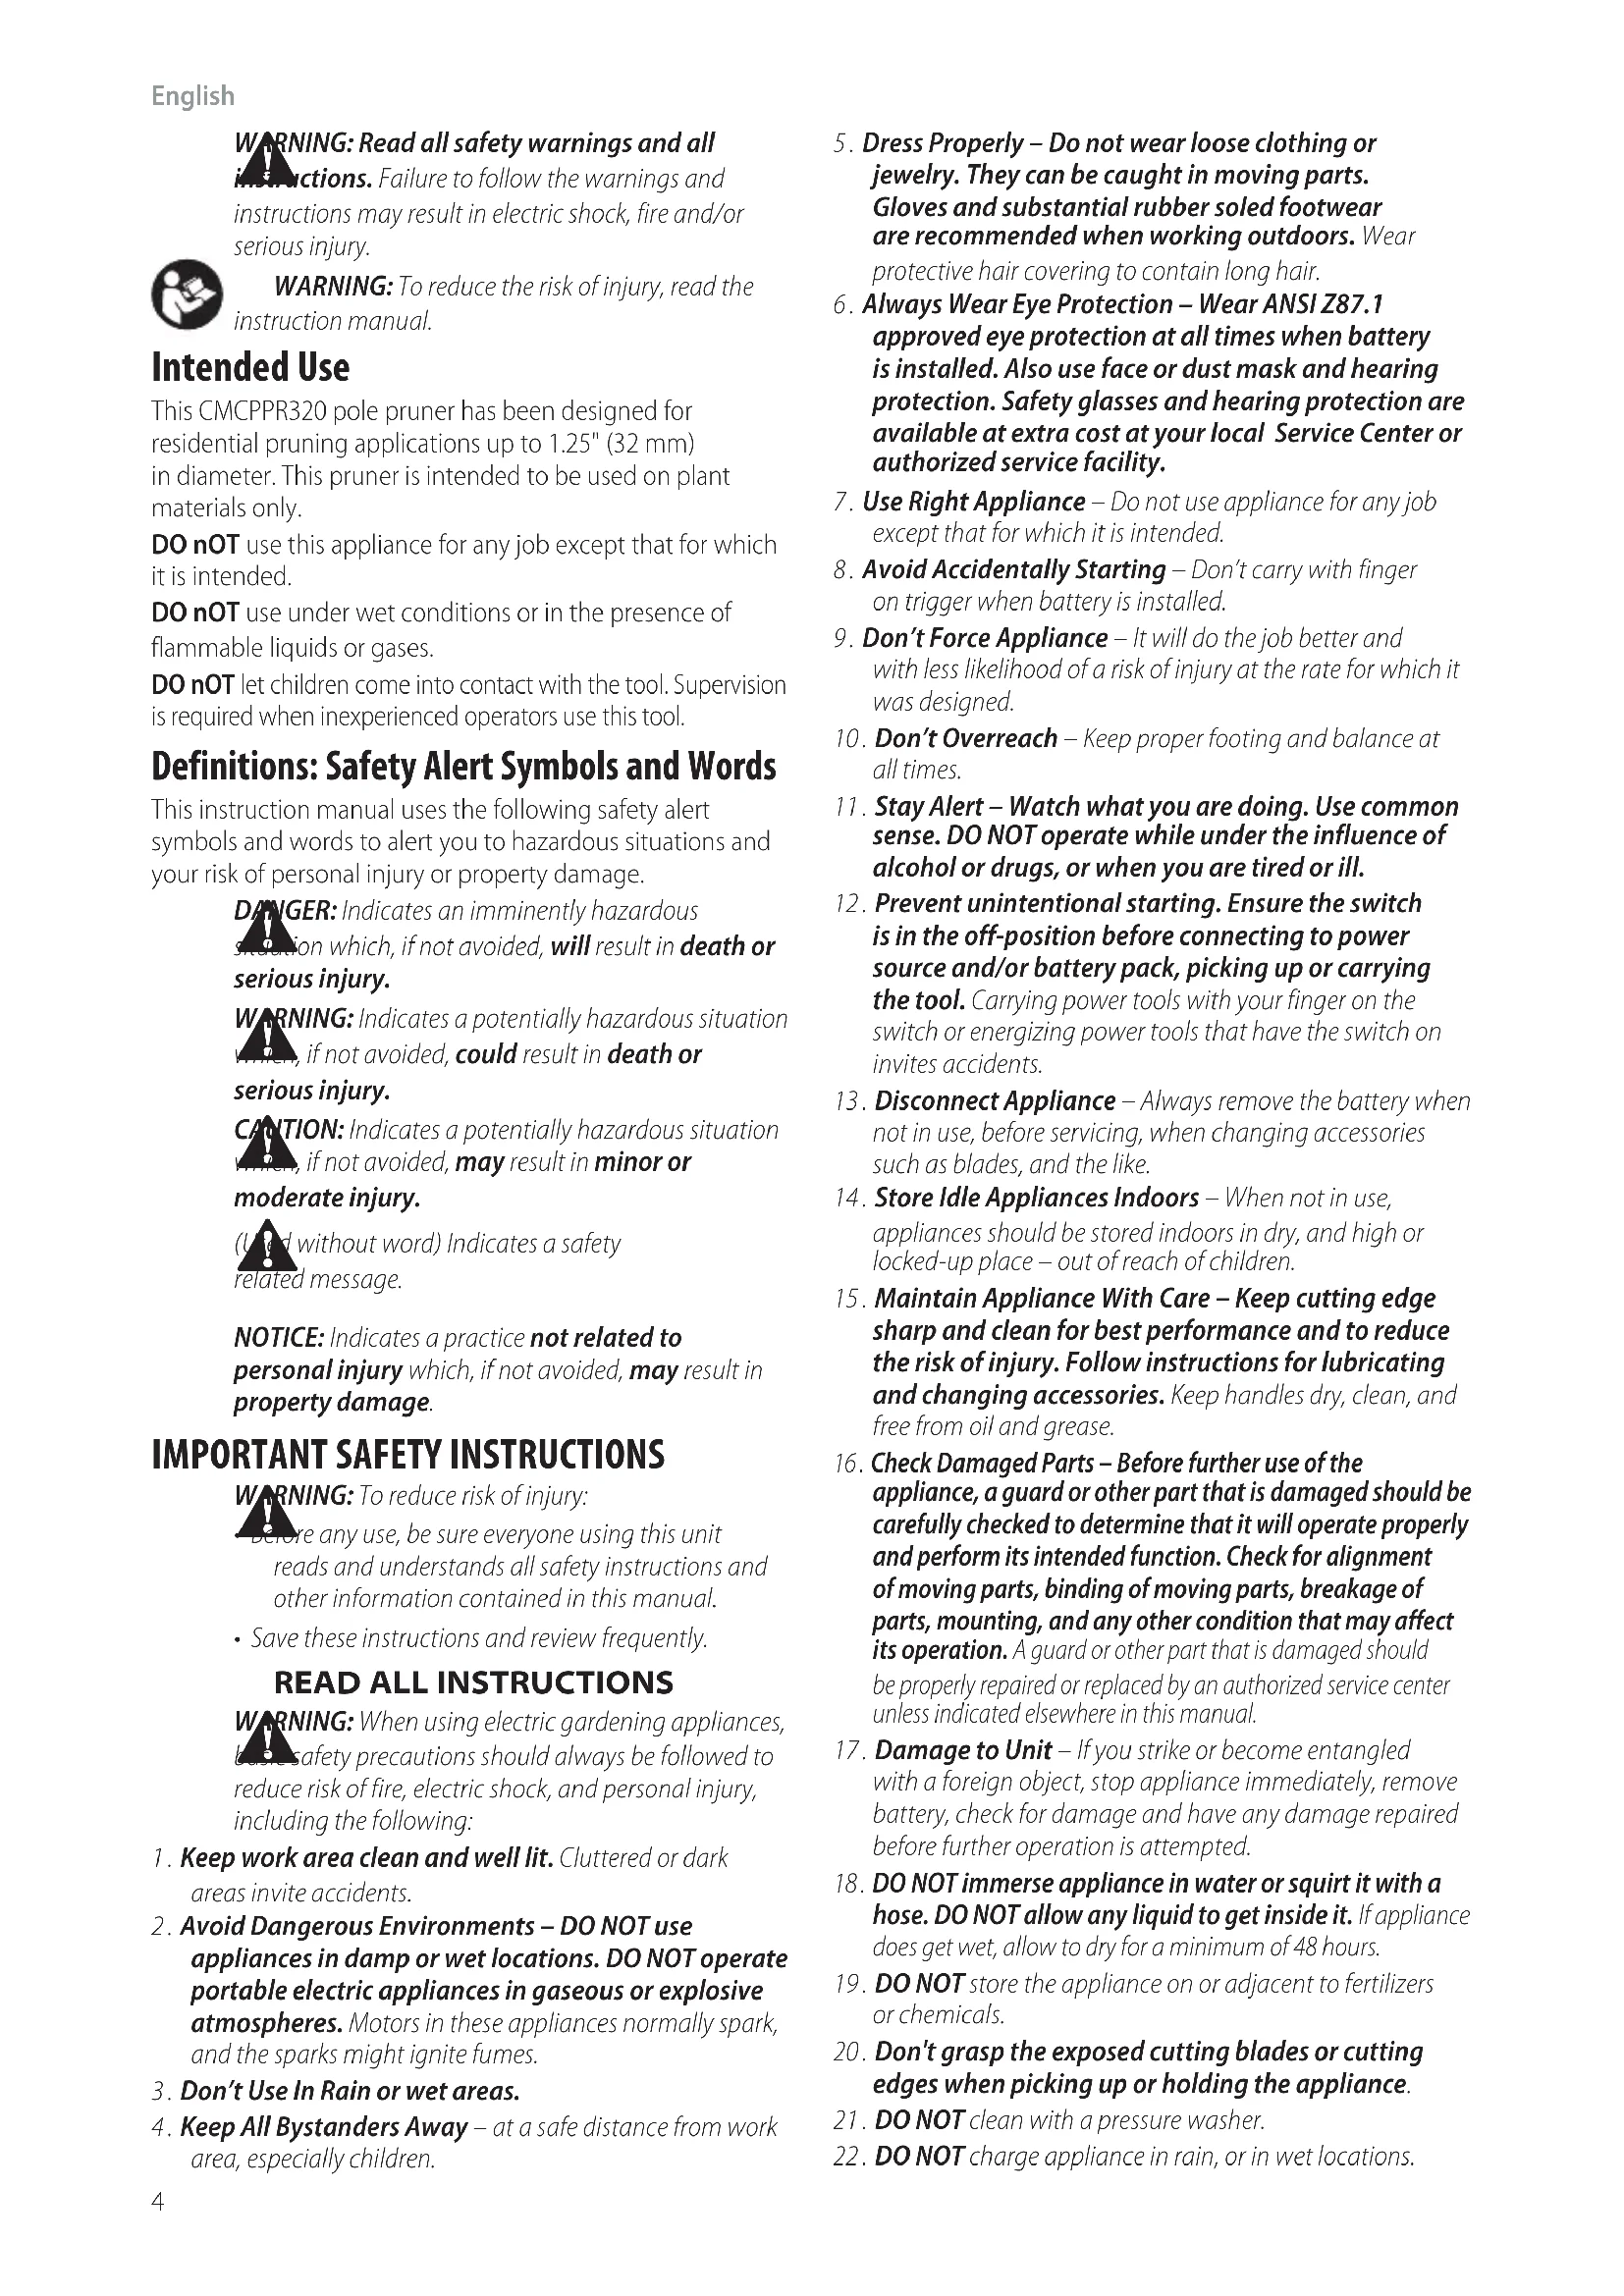
WARNING: Read all safety warnings and all instructions. Failure to follow the warnings and instructions may result in electric shock, fire and/or serious injury.

WARNING: To reduce the risk of injury, read the instruction manual.
Intended Use
This CMCPPPR320 pole pruner has been designed for residential pruning applications up to 1.25^ (32 mm) in diameter. This pruner is intended to be used on plant materials only.
DO not use this appliance for any job except that for which it is intended.
DO nOT use under wet conditions or in the presence of flammable liquids or gases.
DO nOT let children come into contact with the tool. Supervision is required when inexperienced operators use this tool.
Definitions: Safety Alert Symbols and Words
This instruction manual uses the following safety alert symbols and words to alert you to hazardous situations and your risk of personal injury or property damage.
DANGER: Indicates an imminently hazardous situation which, if not avoided, will result in death or serious injury.
WARNING: Indicates a potentially hazardous situation.
WRONG, if not avoided, could result in death or serious injury.
CAUTION: Indicates a potentially hazardous situation, if not avoided, may result in minor or moderate injury.
(Used without word) Indicates a safety related message.
NOTICE: Indicates a practice not related to personal injury which, if not avoided, may result in property damage.
IMPORTANT SAFETY INSTRUCTIONS
WARNING: To reduce risk of injury:
Before any use, be sure everyone using this unit reads and understands all safety instructions and other information contained in this manual.
- Save these instructions and review frequently.
READ ALL INSTRUCTIONS
WARNING: When using electric gardening appliances, the safety precautions should always be followed to reduce risk of fire, electric shock, and personal injury, including the following:
- Keep work area clean and well lit. Cluttered or dark areas invite accidents.
- Avoid Dangerous Environments - DO NOT use appliances in damp or wet locations. DO NOT operate portable electric appliances in gaseous or explosive atmospheres. Motors in these appliances normally spark, and the sparks might ignite fumes.
3.Don't Use In Rain or wet areas. -
Keep All Bystanders Away - at a safe distance from work area, especially children.
-
Dress Properly - Do not wear loose clothing or jewelry. They can be caught in moving parts. Gloves and substantial rubber soled footwear are recommended when working outdoors. Wear protective hair covering to contain long hair.
- Always Wear Eye Protection - Wear ANSI Z87.1 approved eye protection at all times when battery is installed. Also use face or dust mask and hearing protection. Safety glasses and hearing protection are available at extra cost at your local Service Center or authorized service facility.
- Use Right Appliance - Do not use appliance for any job except that for which it is intended.
- Avoid Accidentally Starting - Don't carry with finger on trigger when battery is installed.
- Don't Force Appliance - It will do the job better and with less likelihood of a risk of injury at the rate for which it was designed.
- Don't Overreach - Keep proper footing and balance at all times.
- Stay Alert - Watch what you are doing. Use common sense. DO NOT operate while under the influence of alcohol or drugs, or when you are tired or ill.
- Prevent unintentional starting. Ensure the switch is in the off-position before connecting to power source and/or battery pack, picking up or carrying the tool. Carrying power tools with your finger on the switch or energizing power tools that have the switch on invites accidents.
- Disconnect Appliance - Always remove the battery when not in use, before servicing, when changing accessories such as blades, and the like.
- Store Idle Appliances Indoors - When not in use, appliances should be stored indoors in dry, and high or locked-up place - out of reach of children.
- Maintain Appliance With Care - Keep cutting edge sharp and clean for best performance and to reduce the risk of injury. Follow instructions for lubricating and changing accessories. Keep handles dry, clean, and free from oil and grease.
- Check Damaged Parts - Before further use of the appliance, a guard or other part that is damaged should be carefully checked to determine that it will operate properly and perform its intended function. Check for alignment of moving parts, binding of moving parts, breakage of parts, mounting, and any other condition that may affect its operation. A guard or other part that is damaged should be properly repaired or replaced by an authorized service center unless indicated elsewhere in this manual.
- Damage to Unit - If you strike or become entangled with a foreign object, stop appliance immediately, remove battery, check for damage and have any damage repaired before further operation is attempted.
- DO NOT immerse appliance in water or squirt it with a hose. DO NOT allow any liquid to get inside it. If appliance does get wet, allow to dry for a minimum of 48 hours.
- DO NOT store the appliance on or adjacent to fertilizers or chemicals.
- Don't grasp the exposed cutting blades or cutting edges when picking up or holding the appliance.
- DO NOT clean with a pressure washer.
-
DO NOT charge appliance in rain, or in wet locations.
-
DO NOT use battery-operated appliance in rain.
- Remove or disconnect battery before servicing, cleaning or removing material from the gardening appliance.
- Do not let familiarity gained from frequent use of tools allow you to become complacent and ignore tool safety principles. A careless action can cause severe injury within a fraction of a second.
- Do not use the power tool if the switch does not turn it on and off. Any power tool that cannot be controlled with the switch is dangerous and must be repaired.
- Store idle power tools out of the reach of children and do not allow persons unfamiliar with the power tool or these instructions to operate the power tool. Power tools are dangerous in the hands of untrained users.
- SERVICE- Have your power tool serviced by a qualified repair person using only identical replacement parts. This will ensure that the safety of the power tool is maintained.
- When battery pack is not in use, keep it away from other metal objects, like paper clips, coins, keys, nails, screws or other small metal objects, that can make a connection from one terminal to another. Shorting the battery terminals together may cause burns or a fire.
- Under abusive conditions, liquid may be ejected from the battery; avoid contact. If contact accidentally occurs, flush with water. If liquid contacts eyes, additionally seek medical help. Liquid ejected from the battery may cause irritation or burns.
- Do not use a battery pack or appliance that is damaged or modified. Damaged or modified batteries may exhibit unpredictable behavior resulting in fire, explosion or risk of injury.
- Do not expose a battery pack or appliance to fire or excessive temperature. Exposure to fire or temperature above 265^ (129^) may cause explosion.
SAVE THESE INSTRUCTIONS
SPECIFIC SAFETY RULES
WARNING - Do not operate near electrical power
The unit has not been designed to provide protection from electric shock in the event of contact with overhead electric lines, Consult local regulations for safe distances from overhead electric power lines and ensure that the operating position is safe and secure before operating the pole pruner.
- For safe operation, read and understand all instructions before using the pole pruner. Follow all safety instructions. Failure to follow all safety instructions listed below, can result in serious personal injury.
- Watch what you are doing. Use common sense. Do not operate pole pruner when you are tired.
- Use pole pruner for pruning tree branches only. Do not use pole pruner for purposes not intended. Do not use for pruning other items.
- Do not use the pole saw in bad weather conditions, especially when there is a risk of lightning. This decreases the risk of being struck by lightning.
- Only well-instructed adults should operate pole pruner. Never allow children to operate.
-
Do not allow children or untrained individuals to use this unit.
-
Wear the following safety gear when operating pole pruner:
-
heavy-duty gloves
- steel-toed safety footwear with non-skid soles
- safety glasses, goggles or face screen
- safety hard hat
-
face or dust mask (if working in dusty areas)
-
Wear heavy long pants and boots. Do not wear loose fitting clothing, short pants, jewelry of any kind, or go barefoot.
- Secure long hair to prevent entanglement in any moving parts.
- Before pruning, always provide the following:
clear work area
- secure footing
planned retreat path from falling limbs
- Inspect tree before trimming. Make allowance for branches to fall freely to the ground.
- Do not use your pole pruner to fell saplings.
While Operating Pole Pruner

ER: To reduce the risk of electric shock do not
wet surfaces. Do not expose to rain. Store indoors.

ER: Avoid Unintentional Starting - with
installed, do not carry appliance with with finger switch. Be sure switch is off when installing battery.
- Hold the tool using only the designated gripping surfaces: one hand on the main handle and one hand on the foam gripper.
- Stay alert. Use common sense while operating the unit.
- Keep work area clean. Cluttered areas invite injuries.
Always remove battery from pole pruner when finished pruning or when left unattended. - Keep children, animals and bystanders at least 50^ (15 m) away from pole pruner. Only pole pruner user should be in work area.
- Do not grasp the exposed pruner cutting blade when picking up or holding the pole pruner.
- Keep finger off trigger until ready to make cut.
- Keep all parts of body away from cutting blade when pole pruner is running.
- Do not force pole pruner while pruning. Apply light pressure. It will do the job better and safer at the rate for which it was intended.
- Carry pole pruner from one place to another:
with battery removed,
- fingers off/away from trigger,
- by holding pole at balance point, and
-
with the cutting blade to rear and with blade cover attached.
-
Do not operate in poor lighting.
-
Keep firm footing and balance. Do not overreach. Overreaching can result in loss of balance.
-
Keep all parts of your body away from any moving part.
- Do not, under any circumstance, use any attachment or accessory on this product, which was not provided with the product, or identified as appropriate for use with this product in this instruction manual.
- Inspect pole pruner before each use and after dropping or other impacts. Ensure there are no significant defects or damage.
Do Not Operate Pole Pruner:
- while under the influence of alcohol, medication, or drugs.
-in rain or in damp or wet areas. - where highly flammable liquids or gases are present.
- if pole pruner is damaged, adjusted incorrectly, or not fully and securely assembled.
-
if trigger does not turn pole pruner on and off. Cutting blade must stop moving when you release trigger. Have faulty switch replaced by authorized service center. See Accessories under Maintenance.
-
while in a hurry.
- while in a tree or on a ladder.
- while on aerial booms, buckets or platforms.
-during high wind or storming weather.
GENERAL SAFETY RULES
DANGER: Shock Hazard. Serious injury or death from electrocution if power lines are contacted. Never use near any electrical source, wires, or power lines.
WARNING: For safe operation read and understand the instruction manual. Wear face shield (and/or safety glasses) and hard hat to protect against falling debris. Always have a clear work area, retreat path, and be aware of limb/branch location to avoid falling limbs and debris. Keep bystanders 50^ (15m) away when operating pruner. To reduce the risk of electric shock do not use on wet surfaces. Do not expose to rain. Store indoors.
- To protect yourself from falling branches do not stand directly under the branch or limb being cut. This unit should not be held at an angle over 60^ from ground level.
- Keep the handles dry, clean, and free of oil.
Service
- Tool service must be performed only by qualified repair personnel. Service or maintenance performed by unqualified personnel could result in a risk of injury. Refer to the Maintenance section of this manual.
- When servicing a tool, use only identical replacement parts. Follow instructions in the Maintenance section of this manual. Use of unauthorized parts or failure to follow maintenance instructions may create a risk of electric shock or injury.
Storage
- Store indoors. The best storage place is one that is cool and dry away from direct sunlight, excess heat or cold and out of the reach of children.
Additional Safety Information
WARNING: Never modify the power tool or any part of image or personal injury could result.
WARNING: ALWAYS use safety glasses. Everyday eyeglasses are NOT safety glasses. Also use face or dust mask if operation is dusty. ALWAYS WEAR CERTIFIED SAFETY EQUIPMENT:
ANSI Z87.1 eye protection (CAN/CSA Z94.3)
ANSI S12.6 (S3.19) hearing protection,
- NIOSH/OSHA/MSHA respiratory protection.
WARNING: Some dust contains chemicals known to
State of California to cause cancer, birth defects or other reproductive harm. Some examples of these chemicals are:
- compounds in fertilizers,
- compounds in insecticides, herbicides and pesticides,
- arsenic and chromium from chemically treated lumber.
To reduce your exposure to these chemicals, wear approved safety equipment such as dust masks that are specially designed to filter out microscopic particles.
- Avoid prolonged contact with dust from power sanding, sawing, grinding, drilling, and other construction activities. Wear protective clothing and wash exposed areas with soap and water. Allowing dust to get into your mouth, eyes, or lie on the skin may promote absorption of harmful chemicals.
WARNING: Use of this tool can generate and/ or a perforate dust, which may cause serious and permanent respiratory or other injury. Always use NIOSH/OSHA approved respiratory protection.
- Air vents often cover moving parts and should be avoided. Loose clothes, jewelry or long hair can be caught in moving parts.
The label on your tool may include the following symbols. The symbols and their definitions are as follows:
BPM... .beats per minute
V..... volts
min.........minutes
= = or DC.........direct current
.../min..per minute
RPM.......revolutionsper minute
A. . . . . . . . . . . . . . . . . . . . . . . . . . . . . . . . . . . . . . . . . . . . . . . . . . . . . . . . . . . . . . . . . . . . . . . . . . . . .
Hz .........hertz
W.....watts
Wh...watt hours
n0............no load speed
n............rated speed
A .safety alert symbol
wearrespiratory protection
... wear eye protection
Class II Construction (double insulated)
...wearhearing protection
...readall documentation
do not expose to rain
avoid staring at light
or AC....alternating current Ah.. amphours
CSPM...cut strokes per minute
ASSEMBLY AND ADJUSTMENTS
WARNING: To reduce the risk of serious personal injury, turn unit off and remove the battery pack before making any adjustments or removing/ installing attachments or accessories. An accident start-up can cause injury.
Joining Pruner Assembly to the Handle Assembly (Fig. A, C-F)
WARNING: Sharp moving blade. To prevent accidental operation, ensure that battery is disconnected from the handle and that the protective blade cover is in place on the chain before performing the following operations. Failure to do this could result in serious personal injury.
WARNING: Always check to make sure that the sleeve is completely threaded on and that the red threads are no longer visible. Not threading the sleeve completely on could result in the folding assembly becoming disconnected creating a hazardous condition. Periodically check the connections to ensure that no red threads are visible.
The three assemblies that make up the pole pruner are keyed to ensure correct assembly. If an assembly does not smoothly attach to another do not force fit. Combining the handle assembly 1, folding assembly 2 and the pruner assembly 3 creates a pole pruner that is approximately 9^ (2.7m) in length as shown in Fig.B.
- Align the button 19 on the outside of the coupling end of the folding assembly 2 with the button hole 20 on the coupling end of pruner assembly 3. Refer to Fig. C. Push the two sections completely together until the button 19 pops into the button hole 20 securing it into position. Refer to Fig. B.
- Align the button 21 on the outside of the coupling end of the folding assembly 2 with the button hole 22 on the coupling end of handle assembly 1. Refer to Fig. D. Push the two sections completely together until the button 21 pops into the button hole 22 securing it into position. Refer to Fig. B.
- Straighten the folding assembly 2 together as shown in Fig. E.
- Slide the threaded sleeve 14 onto the folding assembly 2 down as far as possible and rotate the threaded sleeve 14 clockwise until it stops and completely covers the threads as shown in Fig. F.
Folding the Pole Pruner (Fig. E)
WARNING: Sharp moving blade. To prevent accidental operation, ensure that battery is disconnected from the handle and that the protective blade cover is in place on the cutting blade before performing the following operations. Failure to do this could result in serious personal injury.
- Rest the CMCPPR320 on the ground and grasp the threaded sleeve 14 on the folding assembly 2 and loosen the threaded sleeve by twisting it counterclockwise. Slide the threaded sleeve 14 away and toward the pruner assembly 3.
- Fold the folding assembly 2 apart as shown in Fig. E.
Transporting Pole Pruner (Fig. G)
Always remove the battery pack 16 from the handle and cover the cutting blade 8 with the blade cover 17 when transporting the pole pruner.
OPERATION
WARNING: To reduce the risk of serious personal injury, turn unit off and remove the battery pack before making any adjustments or removing/ installing attachments or accessories. An accidental start-up can cause injury.
Installing and Removing the Battery Pack (Fig. H)
W R NING: Ensure the tool/appliance is in the off position before inserting the battery pack.
NOTE: For best results, make sure your battery pack is fully charged.
- To install the battery pack 16 into the tool handle, align the battery pack with the rails inside the tool's handle and slide it into the handle until the battery pack is firmly seated in the tool and ensure that it does not disengage.
- To remove the battery pack from the tool, press the battery pack release button 17 and firmly pull the battery pack out of the tool handle.
Proper Hand Position (Fig. I)
WARNING: To reduce the risk of serious personal injury, ALWAYS use proper hand position as shown.
WARNING: To reduce the risk of serious personal injury, ALWAYS hold securely in anticipation of a sudden reaction.
Proper hand position requires one hand on the main handle 7 and one hand on the foam gripper 13.
On/Off Switch (Fig. I, J)
Always be sure of your footing and grip the pole pruner firmly with both hands with the thumb and fingers encircling the main handle 7 and one hand on the foam gripper 13.
- To turn the tool ON, push the lock-off button 6 down and then squeeze the trigger switch 5 with your fingers as shown in Fig. J.
- To turn the tool OFF, release the trigger trigger switch 5.
Pivoting the Pruner Head (Fig. A, L)
The pruner head pivots 180^ and can be locked into seven different positions within that range. Wear gloves to avoid being pinched, do not grab the blade.
WARNING: REMOVE THE BATTERY before attempting to pivot the pruner head. Ensure the pruner head is locked into position before operating.
To Pivot the Pruner Head
- With one hand firmly gripping the pruner head, use the other hand to press the pivot lock button 12 and rotate the motor housing to pivot the pruner head.
- Lock the pruner head into one of the seven operating positions as shown in Fig. L. To lock the pruner head into place, release your grip on the pivot lock button 12. Check to make sure that pruner head is locked into position by trying to move the motor housing. If it is not locked, rotate it to the nearest lock position.
Branch Removal Hook (Fig. A)
CAIION:The branch removal hook is not a belt hook.
Your pole pruner includes a branch removal hook 10 for the intended purpose of helping to remove small to moderately sized pruned branches.
Pole Pruner Trimming/Pruning (Fig. A, K)
DANGER: Keep hands and other body parts away to the blade. Contact with the blade will result in serious personal injury.
WARNING: To guard against injury, observe the following: Head instruction manual before using. Save instruction manual.
- Check the shrub for foreign objects such as wires or fences before each use.
- Keep one hand grip the main handle firmly with the other hand on the foam gripper with the thumb and fingers encircling them. Don't overreach.
- Do not use under wet conditions.
CAUTION: Do not use blade to cut branches greater than 1.25^ (32 mm). Use the pruner only for cutting normal branches less than 1.25^ (32 mm) in diameter around houses and buildings.
IMPORTANT: Never operate a pole pruner that is damaged or improperly adjusted or that is not completely and securely assembled. Be sure that the cutting blade 8 stops moving when the trigger switch is released. Never adjust the cutting blade 8 when the motor is operating or the battery is attached.
WINGNS:
- Never stand directly under the limb you are cutting.
Always position yourself out of the path of falling debris. - Always wear head, eye, foot and body protection.
Wearing body protection helps reduce the risk of injury when operating this unit. - Always use two hands when operating the extended reach pruner. Hold the extended reach pruner with both hands to avoid loss of control.
- Never stand on a ladder or other unstable support while using the pole pruner. Always avoid any position which can cause you to loose your balance and cause severe injury.
- Keep other persons at least 50^ (15 m) from the work area. Distractions can cause you to lose control.
- Electrocution Hazard. To prevent shock, do not operate within 50^ (15 m) of overhead electrical lines. Always check surrounding area for hidden electrical lines.
- Do not hold pole pruner switch handle above shoulder height.
Working Position (Fig. I, J)
Maintain proper footing and balance and do not overreach. Wear safety goggles, non-skid footwear and gloves when pruning. Hold the tool firmly. Always hold the pruner, as shown in Fig. I. Refer to Proper Hand Position for more information. Never hold the tool by the blades.
- Position the branch to be cut between the cutting blade 8 and fixed blade 9.
- Push the lock off button 6 down and then squeeze the trigger switch 5.
- The cutting blade 8 will make a cut cycle and cut the branch off.
- Release the trigger switch. NOTE: If more branches need to be cut, at the same time, the lock-off switch 6 can be held down and
actuate the trigger switch 5 as needed. Otherwise, repeat steps 1-4.
Removing and Installing Blade (Fig. M)
DANGER: To reduce the risk of serious personal injury, turn unit off, remove battery pack before making any adjustments or removing/installing attachments or accessories. An accidental start-up can cause serious personal injury.
DANGER: RISK OF INJURY. WHEN REASSEMBLING ADE SYSTEM,ENSURE EACH PART IS REINSTALLED CORRECTLY,AS DESCRIBED BELOW. IMPROPER ASSEMBLY OF THE BLADE OR OTHER PART OF THE BLADE SYSTEM CAN CAUSE SERIOUS INJURY
WARNING: Use gloves and proper eye protection. Be careful of the sharp edges on the blade.
Replacement blades are available from your nearest authorized service center. This pruner requires replacement blade DWZPRB300.
- Remove the battery.
- Wear proper eye protection and gloves and be careful not to cut yourself.
- Place the product on a smooth, level surface.
- Using the blade lock knob 11 remove the cutting blade screw 23 and nut 24 as shown in Fig. M.
- Remove the cutting blade 8 as shown in Fig. M.
- Install the new cutting blade. NOTE: Ensure the cutting edge faces toward the fixed cutting blade as shown in Fig. M.
- Insert the cutting blade screw 23 through the cutting blade and into the nut 24.
- Use the blade lock knob 11 to fully tighten the cutting blade screw 23.
Blade Maintenance (Fig. N)
WARNING: Use gloves and proper eye protection while removing, sharpening, and installing blade.
The cutting blades are made from high quality, hardened steel and with normal usage, they will not require sharpening. However, if you accidentally hit a wire fence, stones, glass, or other hard objects, you may put a nick in the blade. There is no need to remove this nick as long as it does not interfere with the movement of the blade. If you drop the trimmer, carefully inspect it for damage. If the blade is bent, housing cracked, handles broken or if you see any other condition that may affect the tool's operation contact your local authorized service center for repairs before putting it back into use.
- Remove the battery.
- Remove blade from pruner. See instructions for Removing and Installing Blade.
- Wear proper eye protection and gloves and be careful not to cut yourself.
- Secure blade 8 in a vise 25 as shown in Fig. N.
- Carefully file the cutting edge 26 of the cutting blade with a fine tooth file 27 (not included) or sharpening
stone (not included), maintaining the angle of the original cutting edge of the cutting blade.
- Inspect the edge of the fixed blade and remove any burrs with a fine tooth file.
- Install sharpened cutting blade as described in the Removing and Installing Blade section.
Blade Lubrication (Fig. A)
- After use, remove the battery 16.
- Carefully apply a resin solvent to the exposed blades.
Storage (Fig. A)
- After use, remove the battery and install blade cover.
- Keeping your hands away from the blade, and store in a dry location, away from the reach of children.
MAINTENANCE
WARNING: To reduce the risk of serious personal injury, turn unit off and remove the battery pack before making any adjustments or removing/ installing attachments or accessories. An accidental start-up can cause injury.
Your CRAFTSMAN power tool has been designed to operate over a long period of time with a minimum of maintenance. Continuous satisfactory operation depends upon proper tool care and regular cleaning.
Cleaning
WARNING: Blow dirt and dust out of all air vents with dry air at least once a week. To minimize the risk of eye injury, always wear ANSI Z87.1 approved eye protection when performing this procedure.
WARNING: Never use solvents or other harsh chemicals for cleaning the non-metallic parts of the tool. These chemicals may weaken the plastic materials used in these parts. Use a cloth dampened only with water and mild soap. Never let any liquid get inside the tool; never immerse any part of the tool into a liquid.
Accessories
WARNING: Since accessories, other than those used by CRAFTSMAN, have not been tested with this product, use of such accessories with this product could be hazardous. To reduce the risk of injury, only CRAFTSMAN-recommended accessories should be used with this product.
Recommended accessories for use with your product are available at extra cost from your local dealer or authorized service center. If you need assistance in locating any accessory, please contact CRAFTSMAN. Call 1-888-331-4569.
VersatrackTM (Fig. O)
WARNING: To reduce the risk of serious personal injury, turn unit off and remove the battery pack before making any adjustments or removing/ installing attachments or accessories. An accidental start-up can cause injury.
WARNING: To reduce the risk of serious personal injury, do not use a damaged VersatrackTM hang hook or VersatrackTM Trackwall. A damaged VersatrackTM hang hook or VersatrackTM Trackwall will not support the weight of the tool.
WARNING: To reduce the risk of serious personal injury, DO NOT suspend tool overhead or suspend objects from the hang hook. ONLY suspend tool on the VersatrackTM Trackwall using the hang hook.
WARNING: Ensure that the tool weight does not exceed the maximum rated weight of 20 lb (9 kg) for the selected VersatrackTM hook.
WARNING: When hanging objects on a Versatrack™ wall rail, adequately space the tools in order to not exceed 75 lb (35 kg) per linear foot.
IMPORTAnT: Versatrack™ accessories mount compatible tools securely to the Versatrack™ Trackwall system.
- Turn the tool off, remove the battery pack and accessories.
CAUTION: Any product with exposed cutting teeth must have them covered securely if it is to be on the VersatrackTM Trackwall.
- Flip or pull open the integral hang hook 15. It clicks when locked into position.
- Mount the integral hang hook to the VersatrackTM Trackwall.
nOTE: Versatrack™ accessories for use with your tool are available at extra cost from your local dealer or authorized service center. If you need assistance in locating any accessory, please contact CRAFTSMAN, call 1-888-331-4569.
Repairs
The charger and batteries are not serviceable. There are no serviceable parts inside the charger or battery pack.
WARNING: To assure product SAFETY and RELIABILITY, repairs, maintenance and adjustment (including brush inspection and replacement, when applicable) should be performed by a factory service center or an authorized service center. Always use identical replacement parts.
ENGLISH
Register Online
Thank you for your purchase. Register your product now for:
- WARRANTY SERVICE: Registering your product will help you obtain more efficient warranty service in case there is a problem with your product.
- CONFIRMATION OF OWNERSHIP: In case of an insurance loss, such as fire, flood or theft, your registration of ownership will serve as your proof of purchase.
FOR YOUR SAFETY: Registering your product will allow us to contact you in the unlikely event a safety notification is required under the Federal Consumer Safety Act.
Register online at www.craftsman.com/account/login.
Three-Year Limited Warranty
For warranty terms, go to www.craftsman.com/pages/warranty.
To request a written copy of the warranty terms, contact: Customer Service at CRAFTSMAN, 701 East Joppa Road, Towson, MD 21286 or call 1-888-331-4569.
LATIN AMERICA: This warranty does not apply to products sold in Latin America. For products sold in Latin America, see country-specific warranty information contained in the packaging, call the local company, or see website for warranty information.
FREE WARNING LABEL REPLACEMENT: If your warning labels become illegible or are missing, call 1-888-331-4569 for a free replacement.
www.craftsman.com/pages/warranty
Col. Santa Fe Alvaro Obregon,
Ciudad de Mexico, Mexico.
C.P 01210
TEL(52)553267100
R.F.C.BDE8106261W7
Registrar en Linea
NOTE: DO NOT charge when the battery pack is below 40^ F (4.5^ C) or above 104^ F (40^ C). Do not store or use the tool and battery pack in locations where the temperature may reach or exceed 104^ F (40^ C).
- Intended Use
- Definitions: Safety Alert Symbols and Words
- IMPORTANT SAFETY INSTRUCTIONS
- READ ALL INSTRUCTIONS
- SAVE THESE INSTRUCTIONS
- SPECIFIC SAFETY RULES
- While Operating Pole Pruner
- Do Not Operate Pole Pruner:
- GENERAL SAFETY RULES
- Service
- Storage
- Additional Safety Information
- ASSEMBLY AND ADJUSTMENTS
- Joining Pruner Assembly to the Handle Assembly (Fig. A, C-F)
- Folding the Pole Pruner (Fig. E)
- Transporting Pole Pruner (Fig. G)
- OPERATION
- Installing and Removing the Battery Pack (Fig. H)
- Proper Hand Position (Fig. I)
- On/Off Switch (Fig. I, J)
- Pivoting the Pruner Head (Fig. A, L)
- To Pivot the Pruner Head
- Branch Removal Hook (Fig. A)
- Pole Pruner Trimming/Pruning (Fig. A, K)
- WINGNS:
- Working Position (Fig. I, J)
- Removing and Installing Blade (Fig. M)
- Replacement blades are available from your nearest authorized service center. This pruner requires replacement blade DWZPRB300.
- Blade Maintenance (Fig. N)
- Blade Lubrication (Fig. A)
- Storage (Fig. A)
- MAINTENANCE
- Cleaning
- Accessories
- VersatrackTM (Fig. O)
- Repairs
- ENGLISH
- Register Online
- Three-Year Limited Warranty
- www.craftsman.com/pages/warranty
- Registrar en Linea
Brand : Craftsman
Model : CMCPR320
Category : Scissors