
CSWSQ485TWMCE84 - Tumble dryer CANDY - Free user manual and instructions
Find the device manual for free CSWSQ485TWMCE84 CANDY in PDF.
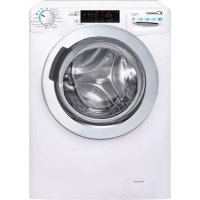



| Product type | Condenser dryer with heat pump |
| Drying capacity | 8 kg |
| Energy class | A++ |
| Dimensions (height x width x depth) | 85 x 60 x 60 cm |
| Net weight | approx. 40 kg |
| Electrical supply | 230 V ~ 50 Hz |
| Power consumption | 800 W (heating) + 200 W (motor) |
| Drum type | Stainless steel Anti-crease drum |
| Noise level | 65 dB(A) |
| Drying programs | Cotton, Synthetics, Delicates, Quick 30 min, Easy iron, etc. |
| Special functions | Delayed start, Gentle drying, Delayed end, Child lock |
| Filters and maintenance | Removable lint filter, Self-cleaning condenser (indicator) |
| Safety system | Automatic shut-off in case of overheating, door lock |
| Door reversibility | Yes (instructions provided in the manual) |
| Required repair tools | Torx T25 key, 7 mm wrench, flat and Phillips screwdrivers, pliers |
| Available spare parts | Door lock, door gasket, hinge, belt, heating element, capacitor |
| Repairability index | 8.4/10 (according to Candy official index) |
Frequently Asked Questions - CSWSQ485TWMCE84 CANDY
User questions about CSWSQ485TWMCE84 CANDY
0 question about this device. Answer the ones you know or ask your own.
Ask a new question about this device
Download the instructions for your Tumble dryer in PDF format for free! Find your manual CSWSQ485TWMCE84 - CANDY and take your electronic device back in hand. On this page are published all the documents necessary for the use of your device. CSWSQ485TWMCE84 by CANDY.
USER MANUAL CSWSQ485TWMCE84 CANDY
HATCH-GATE TYPE 1
1.
2.
3.
1.
2.
3.
4.
1.
3.
4.
5.
6.
1.
2.
3.
4.
5.
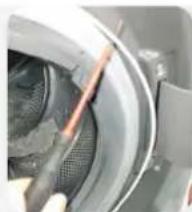
Remove the pin
6.
7.
8.
9.
DOOR LATCH TYPE 1
TOOLS: PHILLIPS SCREWDRIVER, PLIERS, FLATHEAD SCREWDRIVER
1.
2.
3.
4.
5.
6.
1.
2.
3.
4.
5.
6.
7.
8.
9.
DOOR SEAL
INSTRUCTIONS
DOOR SEAL
1.
2.
3.
4.
5.
6.
7.
8.
9.
1.
2.
3.
COVER TYPE 1
TOOLS: TORX KEY 25
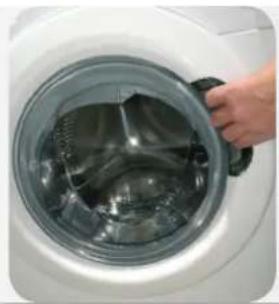
1.
Open the door
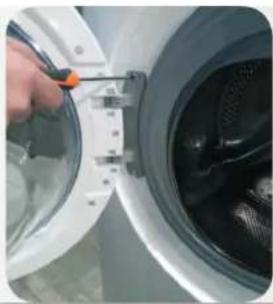
2.
3.
1.
Open the door
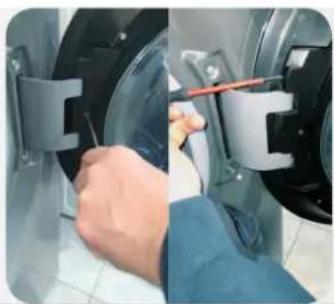
2.
3.
4.
CURTAIN TYPE 1 TOOLS: TORX KEY 25
1.
Open the door
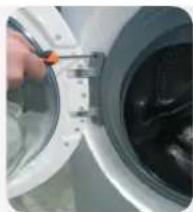
2.
3.
4.
5.
6.
1.
Open the door
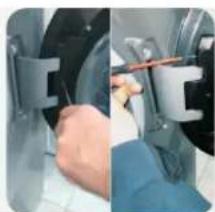
2.
3.
4.
5.
Remove the pin
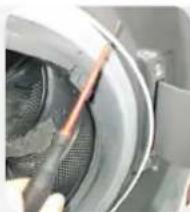
6.
Remove the door clip
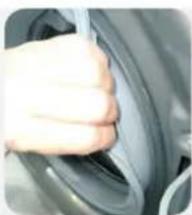
7.
8.
9.
DOOR LOCK TYPE 1
TOOLS: PHILLIPS SCREWDRIVER, PLIERS, FLAT SCREWDRIVER
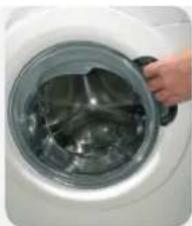
1.
Open the door
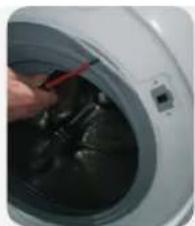
2.
3.
4.
5.
6.
1.
Open the door
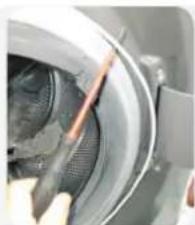
2.
3.
4.
5.
6.
7.
8.
9.
DOOR SEAL
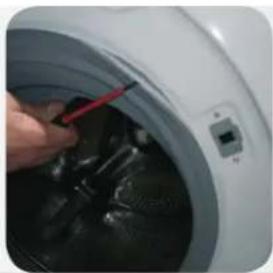
TOOLS: TORX KEY, PLIERS, FLAT SCREWDRIVER, TWO 7 TUBULAR WRENCHES
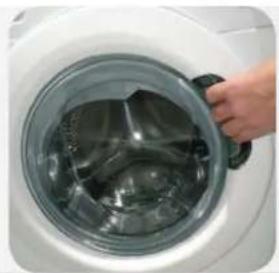
1.
Open the door
2.
3.
4.
5.
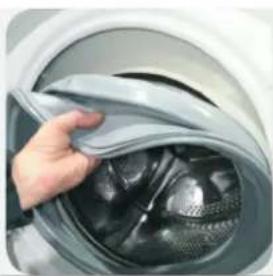
Remove the seal
6.
7.
8.
9.
DETERGENT DISPENSER
INSTRUCTIONS
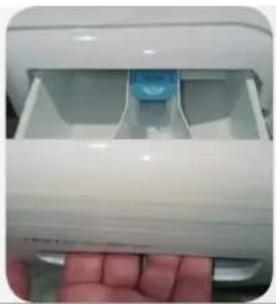
DETERGENT DISPENSER
1.
2.
3.
DOOR
INSTRUCTIONS
DOOR TYPE 1
1.
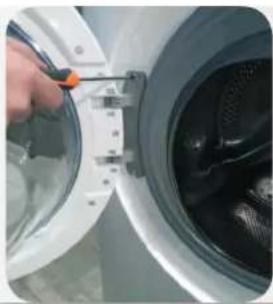
Open the door
2.
3.
1.
Open the door
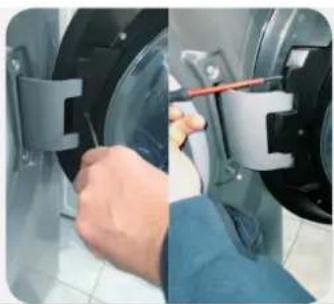
2.
3.
4.
HINGE TYPE 1
1.
Open the door
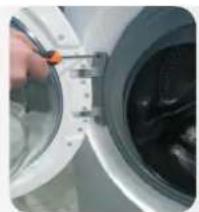
2.
3.
4.
5.
6.
1.
Open the door
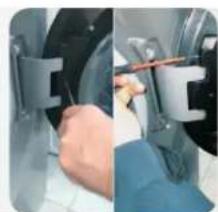
2.
3.
4.
5.
6.
7.
8.
9
DOOR LOCK
INSTRUCTIONS
DOOR LOCK TYPE 1
1.
Open the door
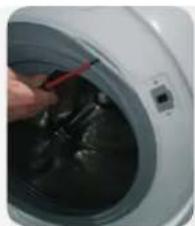
2.
3.
4.
5.
6.
1.
Open the door
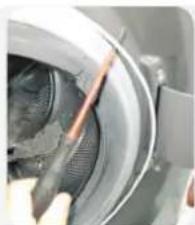
2.
3.
4.
5.
6.
7.
8.
9.
DOOR SEAL
INSTRUCTIONS
DOOR SEAL
1.
Open the door
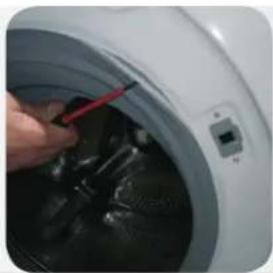
2.
3.
4.
5.
6.
7.
8.
9.
DETERGENT DRAWER
INSTRUCTIONS
DETERGENT DRAWER
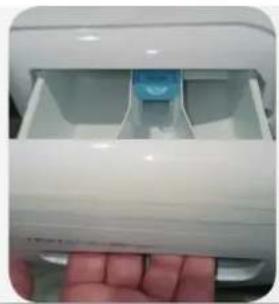
1.
2.
3.
MENTESEΣ TYPE 1
1.
3.
4.
5.
6.
1.
2.
3.
4.
5.
Remove the pin
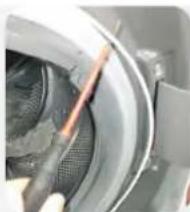
6.
8.
9.
1.
2.
3.
4.
5.
6.
1.
2.
3.
4.
5.
6.
7.
8.
9.
DOOR INTERFERENCE
INSTRUCTIONS
DOOR INTERFERENCE
1.
2.
3.
4.
5.
6.
7.
8.
9.
1.
2.
3.
PORTHOLE
INSTRUCTIONS
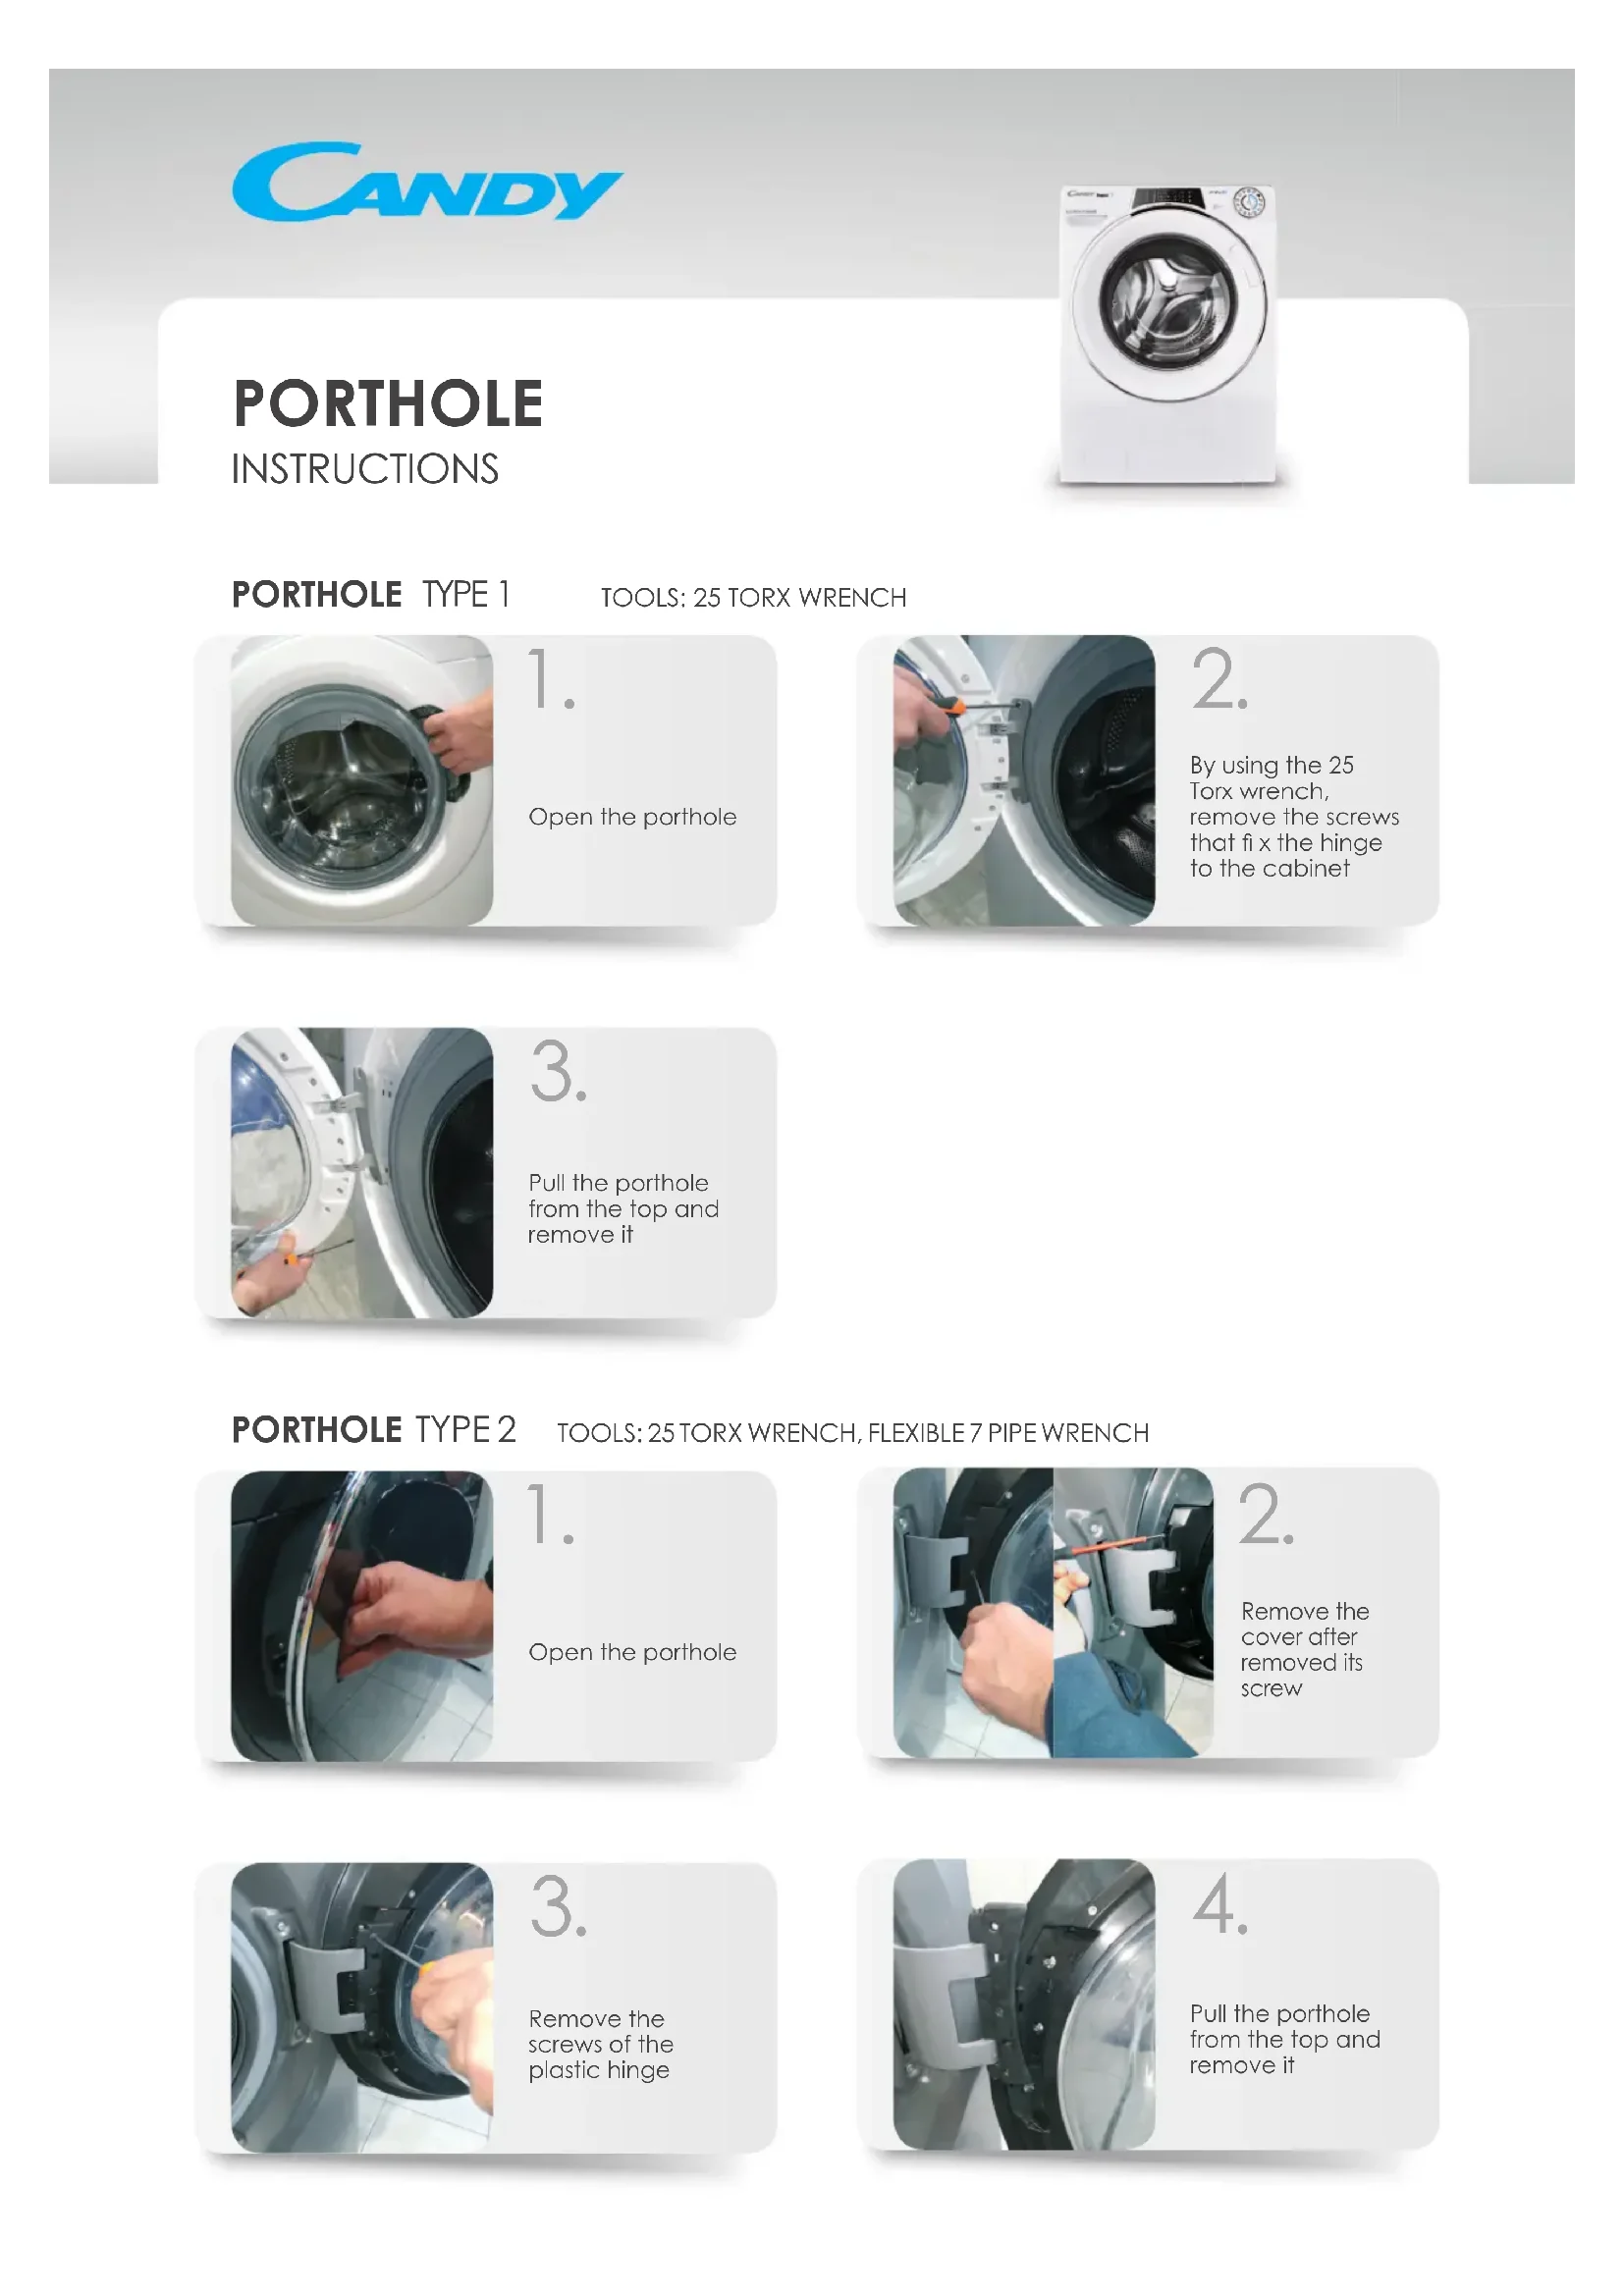
PORTHOLE TYPE 1
TOOLS: 25 TORX WRENCH
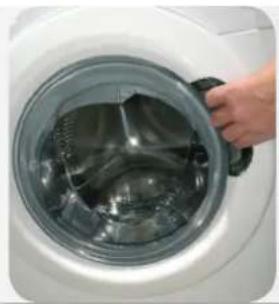
1.
Open the porthole
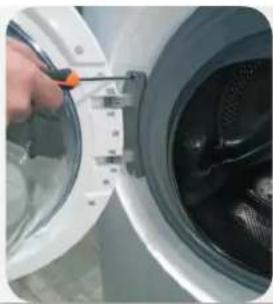
2.
By using the 25 Torx wrench, remove the screws that fix the hinge to the cabinet
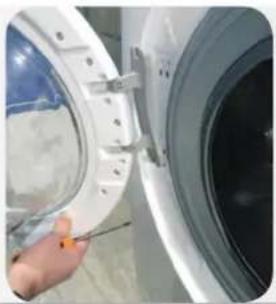
3.
Pull the porthole from the top and remove it
PORTHOLE TYPE 2
TOOLS: 25 TORX WRENCH, FLEXIBLE 7 PIPE WRENCH
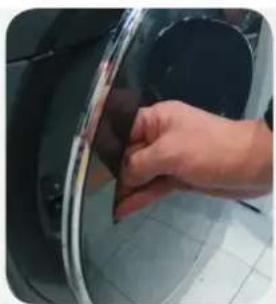
1.
Open the porthole
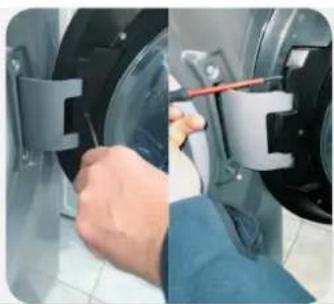
2.
Remove the cover after removed its screw
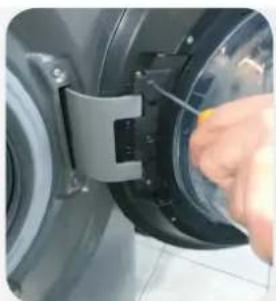
3.
Remove the screws of the plastic hinge
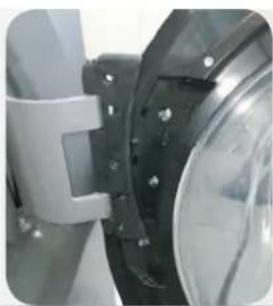
4.
Pull the porthole from the top and remove it
HINGE
INSTRUCTIONS
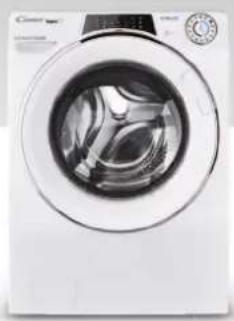
HINGE TYPE 1 TOOLS: 25 TORX WRENCH
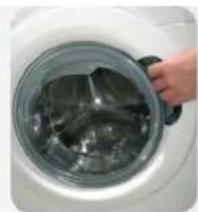
1.
Open the porthole
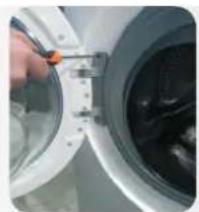
2.
By using the 25 pipe wrench, remove the screws that fix the hinge to the cabinet
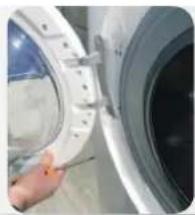
3.
Pull the porthole from the top and remove it
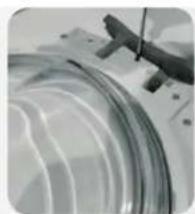
4.
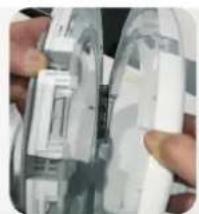
Remove all the screws of the porthole
5.
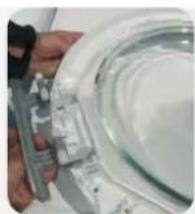
Separate the frame from the counter frame
6.
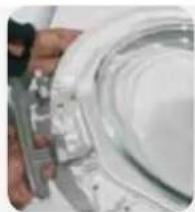
Replace the hinge, taking care not to lose the bushes
HINGE TYPE 2 TOOLS: 25 TORX WRENCH, FLEXIBLE 7 PIPE WRENCH
1.
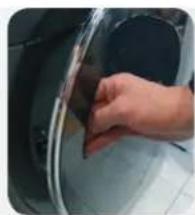
Open the porthole
2.
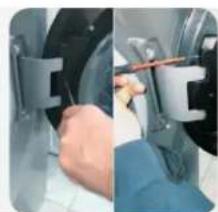
Remove the cover after removing its screw
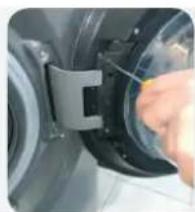
3.
Remove the screws of the plastic hinge
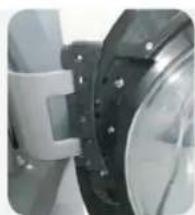
4.
Pull the porthole from the top and remove it
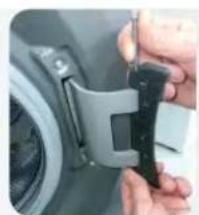
5.
Remove the pin
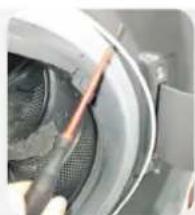
6.
Remove the door clip
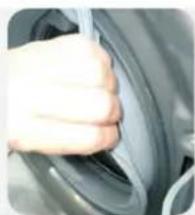
7.
Once the strap is removed, detach the flap from the gasket to allow access to the inside of the product.
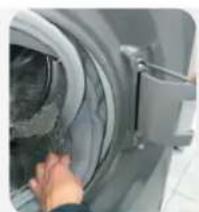
8.
Remove the external screws from the hinge.
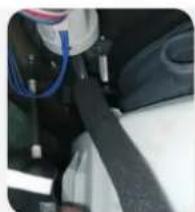
9.
Remove the screws inside the cabinet with the 7 pipe wrench. Remove the hinge.
DOOR LOCK
INSTRUCTIONS
DOOR LOCK TYPE 1
TOOLS: CROSS-HEADED SCREWDRIVER, TONG, FLAT SCREWDRIVER
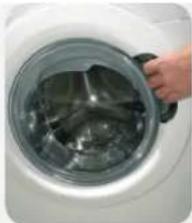
1.
Open the porthole.
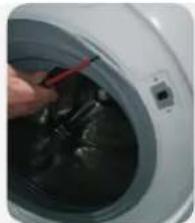
2.
Use the flat screwdriver for leverage, and remove the external clamp.
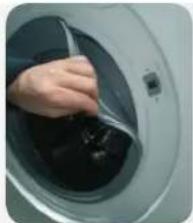
3.
Once the clamp is removed, detach the flap from the gasket, to allow access to the inside of the product
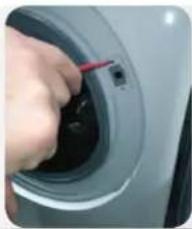
4.
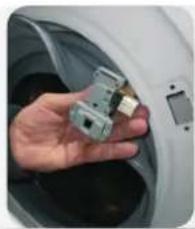
By using Torx wrench, remove the fixing screws of the door lock, and press its buckle.
5.
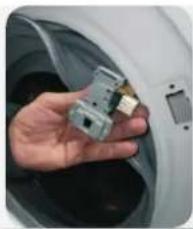
Remove the door lock
6.
Disconnect the wiring, in case of "faston", pay attention to do not invert the wiring
DOOR LOCK TYPE 2
TOOLS: CROSS-HEADED SCREWDRIVER, TONG, FLAT SCREWDRIVER
1.
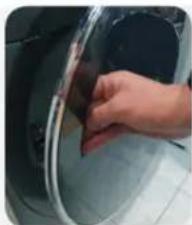
Open the porthole
2.
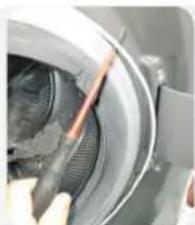
Use the flat screwdriver for leverage, and remove the external clamp
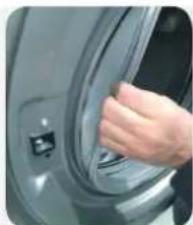
3.
Once the clamp is removed, detach the flap from the gasket to allow access to the inside of the product.
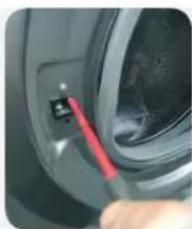
4.
Using a Torx wrench, remove the fixing screws of the door lock.
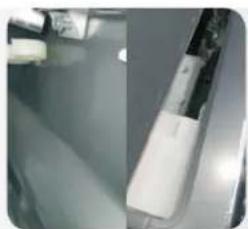
5.
Disassemble the work top and trims.
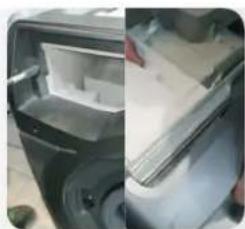
6.
Disassemble the dispenser and bezel.
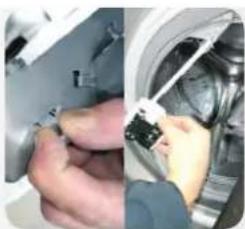
7.
Remove the door lock.
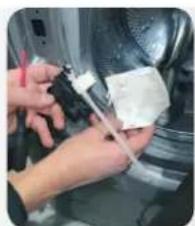
8.
Remove the water protection.
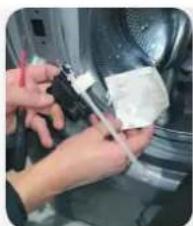
9.
Replace the door lock, paying attention to the mechanical linkage of the emergency opening and the electrical connections.
DOOR'S GASKET
INSTRUCTIONS
DOOR'S GASKET
TOOLS: TORX WRENCH, TONG, FLAT SCREWDRIVER, TWO 7 PIPE WRENCHES
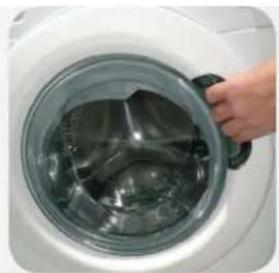
1.
Open the porthole.
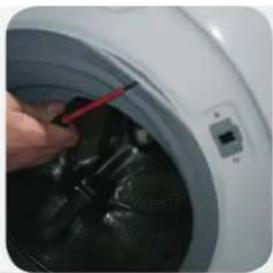
2.
Use the flat screwdriver for leverage, and remove the external clamp.
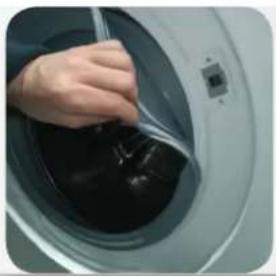
3.
Once the clamp is removed, detach the flap from the gasket, to allow access to the inside of the product.
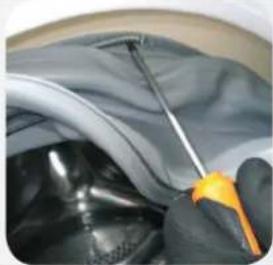
4.
By using a flat screwdriver, remove the clamp on the tube.
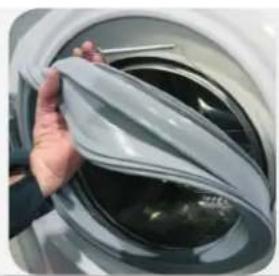
5.
Remove the gasket.
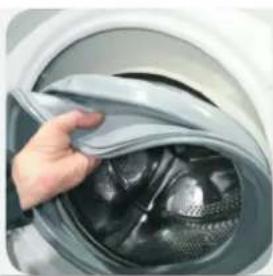
6.
Place the new gasket, paying attention to the positioning notches.
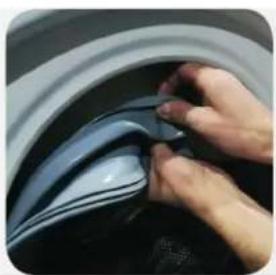
7.
Insert wiring clamp on the tube side
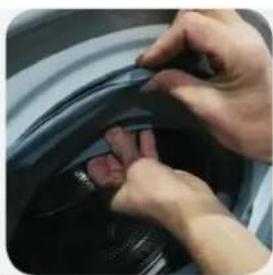
8.
Tighten the clamp flush on the tube by using the tooling
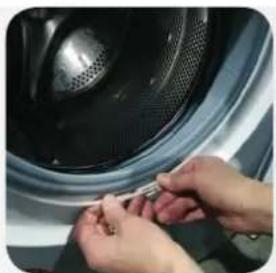
9.
Fit the gasket on the cabinet. Fix the external clamp and tighten it (if needed with tong)
DETERGENT DRAWER
INSTRUCTIONS
DETERGENT DRAWER
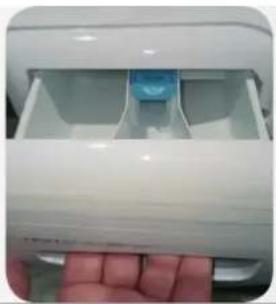
1.
Open the detergent drawer
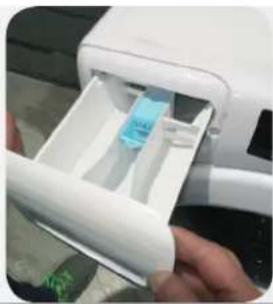
2.
By using two hands, pull it out firmly
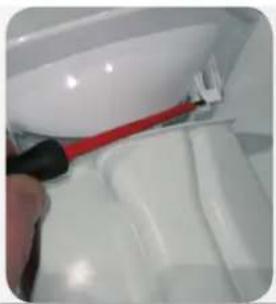
3.
Unhook the mask from the detergent drawer, being careful not to break the hooks
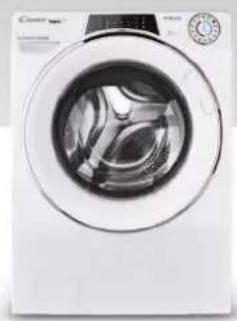
PUERTAFRONTAL
INSTRUCTIONS
1.
2.
3.
1.
2.
3.
4.
1.
2.
3.
4.
5.
6.
1.
2.
3.
4.
5.
Remove the pin
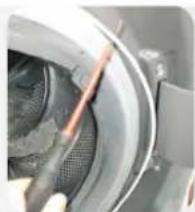
6.
7.
8.
9.
DOOR LOCK
INSTRUCTIONS
1.
2.
3.
4.
5.
6.
1.
2.
3.
4.
5.
6.
7.
8.
9.
1.
2.
3.
4.
5.
Remove the packaging
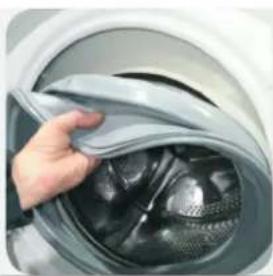
6.
7.
8.
9.
1.
2.
3.
HUBLOT
INSTRUCTIONS
HUBLOT TYPE 1
TOOLS: TORX KEY NO. 25
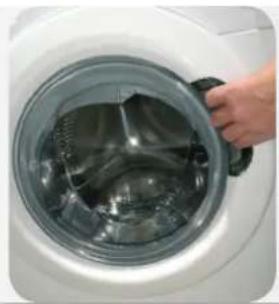
1.
Open the porthole
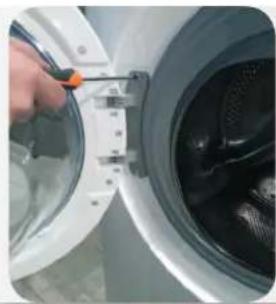
2.
3.
1.
Open the porthole
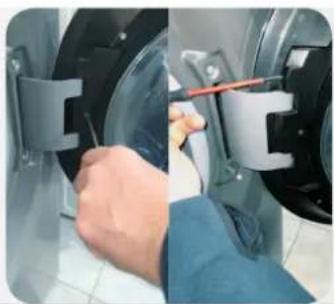
2.
3.
4.
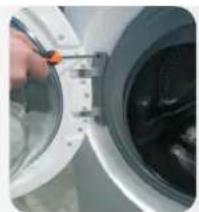
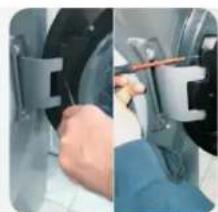
HINGE TYPE 1
TOOLS: TORX WRENCH No. 25
1.
Open the porthole
2.
3.
4.
5.
6.
1.
Open the porthole
2.
3.
4.
5.
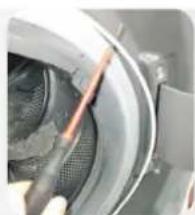
Remove the rod
6.
7.
8.
9.
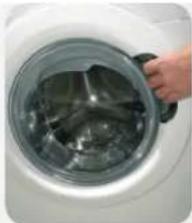
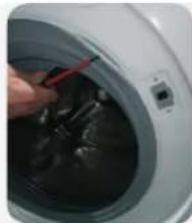
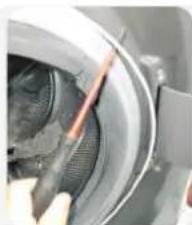
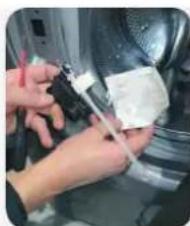
DOOR LOCK TYPE 1
TOOLS: PHILLIPS SCREWDRIVER, PLIERS, FLAT SCREWDRIVER
1.
Open the porthole
2.
3.
4.
5.
6.
1.
Open the porthole
2.
3.
4.
5.
6.
7.
8.
Remove the leak protection
9.
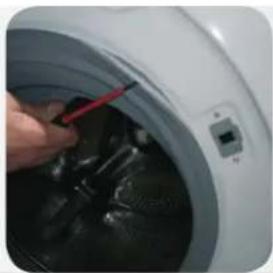
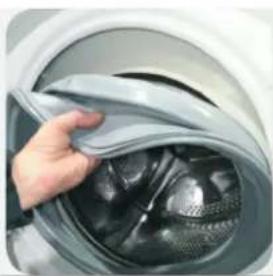
DOOR SEAL
TOOLS: TORX WRENCH, PLIERS, FLAT SCREWDRIVER, TWO ADJUSTABLE WRENCHES NO. 7
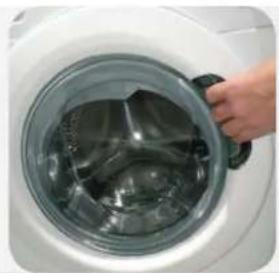
1.
Open the porthole
2.
3.
4.
5.
Remove the seal
6.
7.
8.
9.
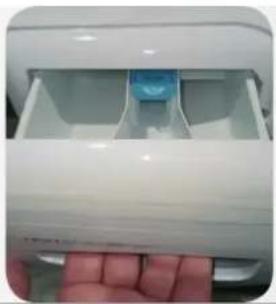
DETERGENT DRAWER
INSTRUCTIONS
DETERGENT DRAWER
1.
2.
3.
WINDOW
INSTRUCTIONS
WINDOW TYPE 1
TOOLS: TORX KEY 25
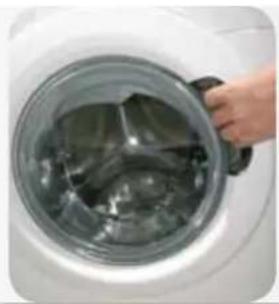
1.
Open the window
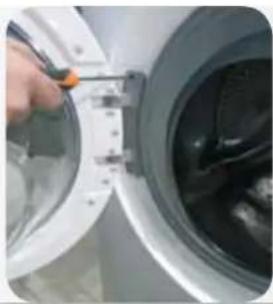
2.
Using the
Torx key 25
Tilt the screws that
secure the hinge
to the housing
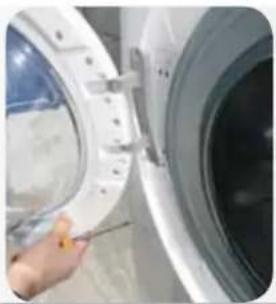
3.
Pull the window
from the top and
remove it
WINDOW TYPE 2
TOOLS: TORX WRENCH 25, FLEXIBLE PIPE WRENCH 7
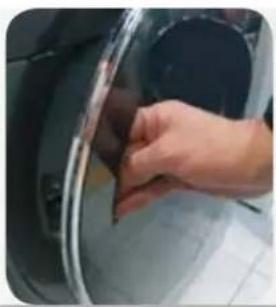
1.
Open the window
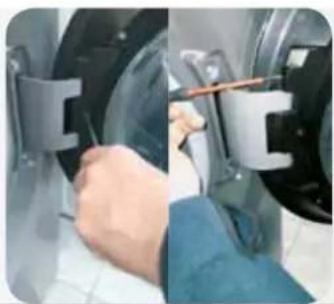
2.
Remove the cover after removing its screw
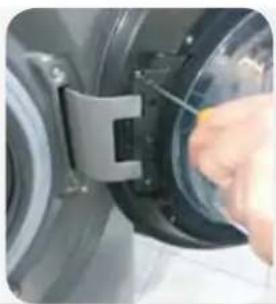
3.
4.
Pull the window from the top and remove it
HINGE
INSTRUCTIONS
HINGE TYPE 1 TOOLS: TORX KEY 25
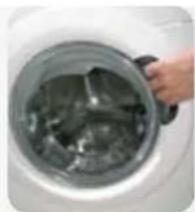
1.
Open the window
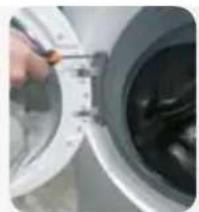
2.
3.
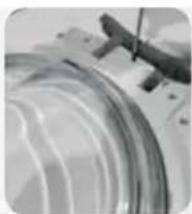
Pull the window from the top and remove it
4.
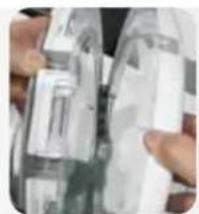
Remove all window screws
5.
Separate the frame from the subframe
6.
1.
Open the window
2.
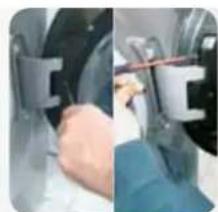
Remove the cover after removing its screw
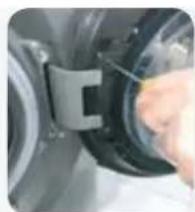
3.
4.
Pull the window from the top and remove it
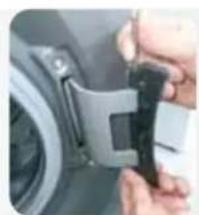
5.
Remove the pin
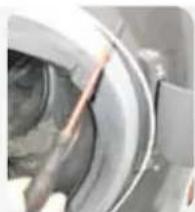
6.
Remove the clip on the door
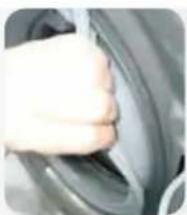
7.
8.
9.
Remove the screws from the inside of the housing using a 7 mm socket wrench. Remove the hinge
DOOR LOCK
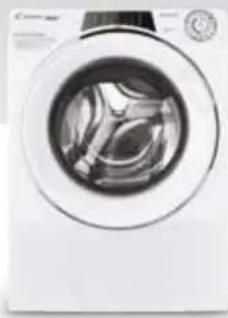
DOOR LOCK TYPE 1
TOOLS: PHILLIPS SCREWDRIVER, PLIERS, FLAT SCREWDRIVER
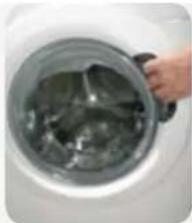
1.
Open the window
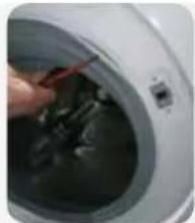
2.
3.
4.
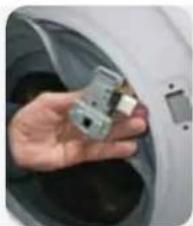
Using a Torx key, remove the door lock mounting screws and press the clip.
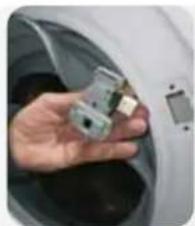
5.
Remove the door lock
6.
Disconnect the wiring, and in the case of "faston" connectors, be careful not to reverse the wiring
DOOR LOCK TYPE 2
TOOLS: PHILLIPS SCREWDRIVER, PLIERS, FLAT SCREWDRIVER
1.
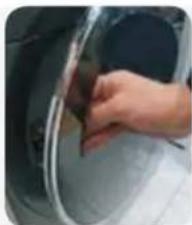
Open the window
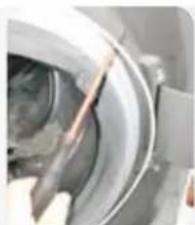
2.
3.
4.
Using a Torx wrench, remove the door lock retaining screws
5.
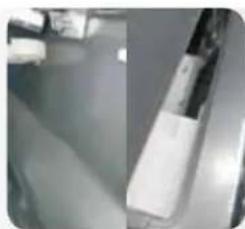
Disassemble the upper working part and trims
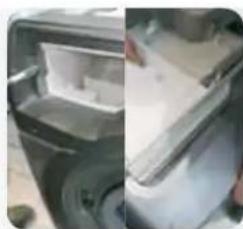
6.
Disassemble the dispenser and frame
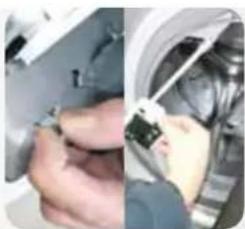
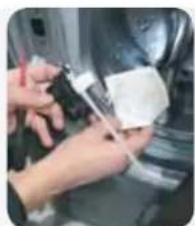
7.
Remove the door lock
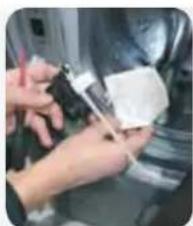
8.
Remove the water guard
9.
DOOR SEAL
INSTRUCTIONS
DOOR SEAL
TOOLS: TORX WRENCH, PLIERS, SCREWDRIVER, TWO PIPE WRENCHES 7
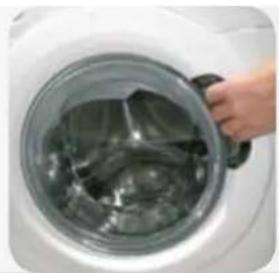
1.
Open the window
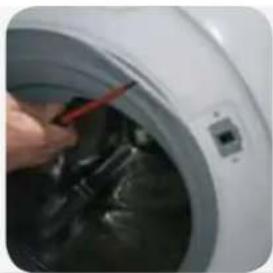
2.
3.
4.
5.
Remove the seal
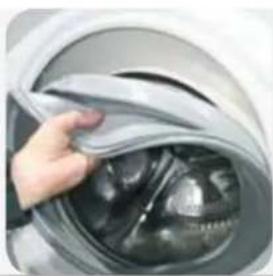
6.
7.
8.
Using the tools, tighten the clamp on the pipe
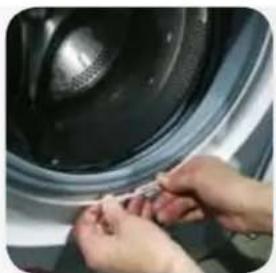
9.
Place the gasket on the housing. Attach the outer clip and tighten it (use pliers if necessary)
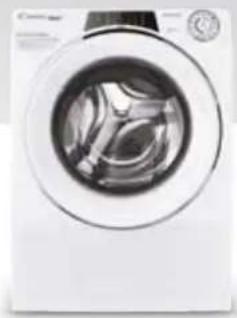
DETERGENT DRAWER
INSTRUCTIONS
DETERGENT DRAWER
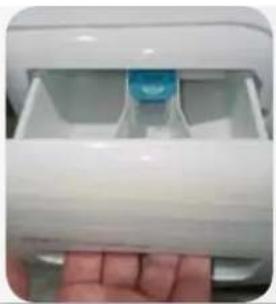
1.
Open the detergent drawer
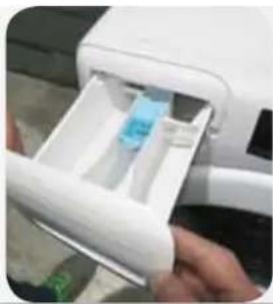
2.
3.
Unhook the mask from the detergent drawer and be careful that the hooks do not break
Porthole
INSTRUCTIONS
PORTHOLE TYPE 1 TOOLS: TORX T25 SCREWDRIVER
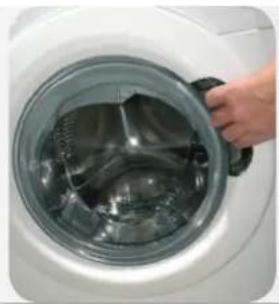
1.
Open the porthole
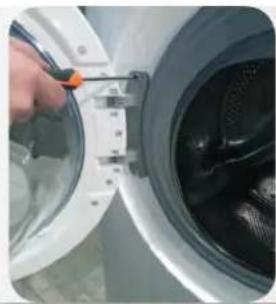
2.
3.
1.
Open the porthole
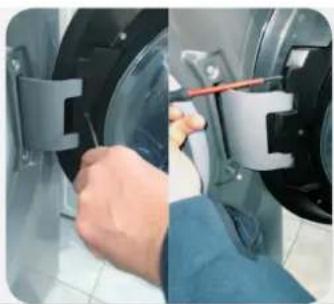
2.
3.
4.
HINGE TYPE 1
TOOLS: TORX SCREWDRIVER T25
1.
Open the porthole
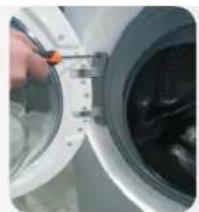
2.
3.
4.
5.
6.
1.
Open the porthole
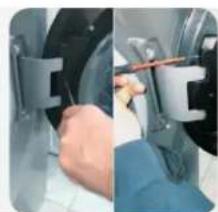
2.
3.
4.
5.
Remove the pin
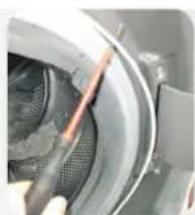
6.
7.
8.
9.
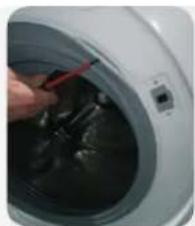
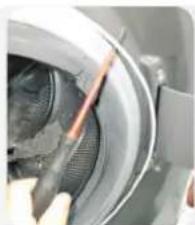
SAFETY LOCKING OF THE DOOR TYPE 1
TOOLS: PHILLIPS SCREWDRIVER, PLIERS, FLAT SCREWDRIVER
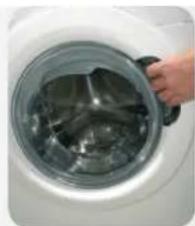
1.
Open the porthole
2.
3.
4.
5.
6.
1.
Open the porthole
2.
3.
4.
5.
6.
7.
8.
9.
DOOR GASKET
INSTRUCTIONS
DOOR GASKET
TOOLS: TORX SCREWDRIVER, PLIERS, FLAT SCREWDRIVER, TWO ADJUSTABLE WRENCHES 7
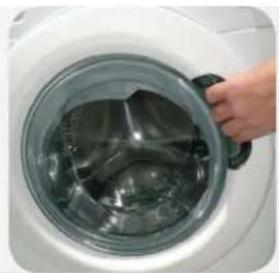
1.
Open the porthole
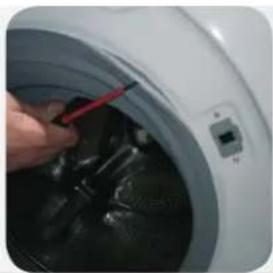
2.
3.
4.
5.
6.
7.
8.
9.
DETERGENT DRAWER
INSTRUCTIONS
DETERGENT DRAWER
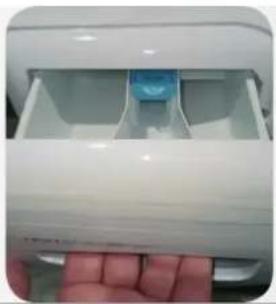
1.
2.
3.
1.
Open the door glass
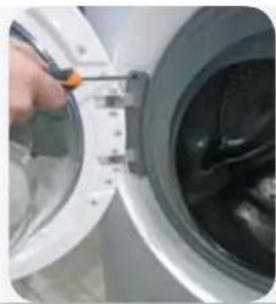
2.
3.
1.
Open the door glass
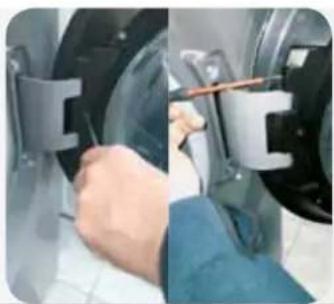
2.
3.
4.
HINGE TYPE 1
1.
Open the door glass
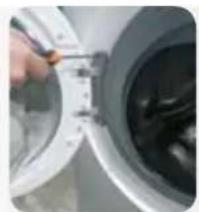
2.
3.
4.
5.
6.
1.
Open the door glass
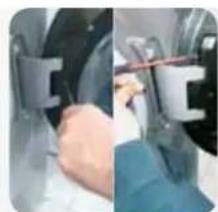
2.
3.
4.
5.
Remove the pin
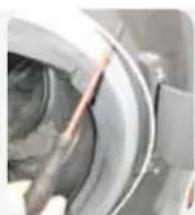
6.
7.
8.
9.
DOOR LOCK
INSTRUCTIONS
DOOR LOCK TYPE 1
TOOLS: PHILLIPS SCREWDRIVER, PLIERS, FLAT SCREWDRIVER
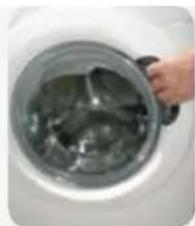
1.
Open the door glass
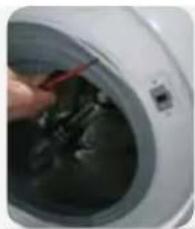
2.
3.
4.
5.
6.
1.
Open the door glass
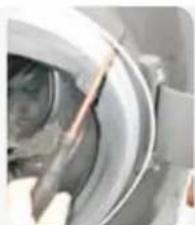
2.
3.
4.
5.
6.
Disassemble the dispenser and the ring
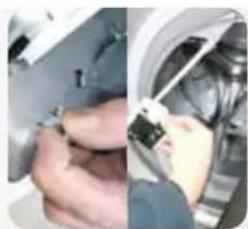
7.
8.
9.
DOOR GASKET
INSTRUCTIONS
DOOR GASKET
TOOLS: TORX WRENCH, PLIERS, FLAT SCREWDRIVER, TWO 7MM WRENCHES
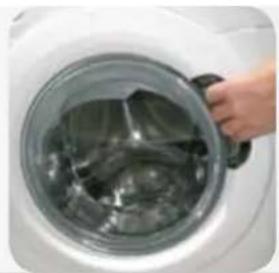
1.
Open the door glass
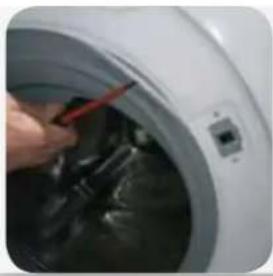
2.
3.
4.
5.
6.
7.
8.
9.
DETERGENT DRAWER
INSTRUCTIONS
DETERGENT DRAWER
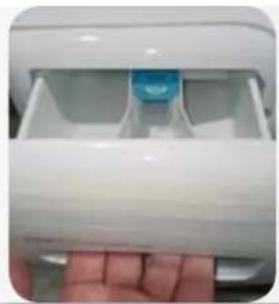
1.
Open the detergent drawer
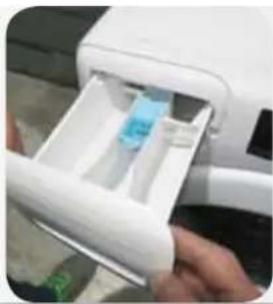
2.
3.
WINDOW
INSTRUCTIONS
WINDOW TYPE 1
TOOLS: TORX KEY 25
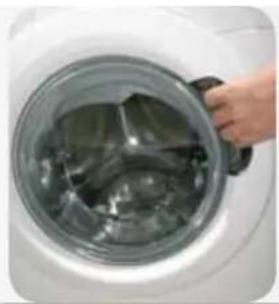
1.
Open the window
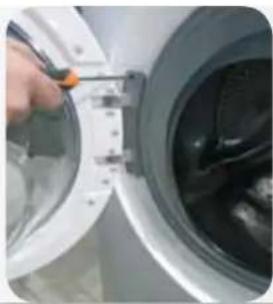
2.
3.
1.
Open the window
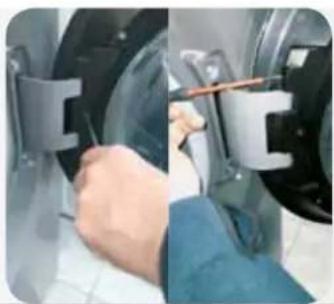
2.
3.
4.
TYPE 1 TOOLS: TORX KEY 25
1.
Open the window
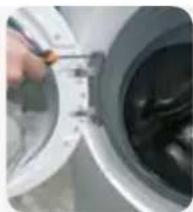
2.
3.
4.
5.
6.
1.
Open the window
2.
3.
4.
5.
Remove the pin
6.
7.
8.
9.
DOOR LOCK TYPE 1
TOOLS: PHILLIPS SCREWDRIVER, PLIERS, FLAT SCREWDRIVER
1.
Open the window
2.
3.
4.
5.
6.
1.
Open the window
2.
3.
4.
5.
6.
7.
8.
9.
DOOR SEAL
INSTRUCTIONS
DOOR SEAL
TOOLS: TORX KEY, PLIERS, FLAT SCREWDRIVER, TWO PIPE WRENCHES 7
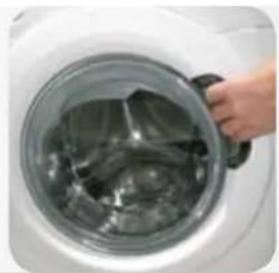
1.
Open the window
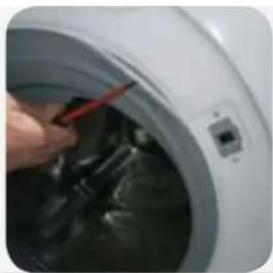
2.
3.
4.
5.
Remove the gasket
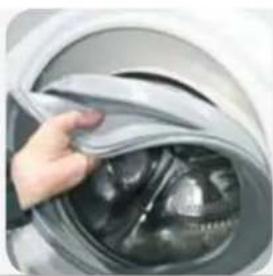
6.
7.
8.
9.
DETERGENT DRAWER
INSTRUCTIONS
DETERGENT DRAWER
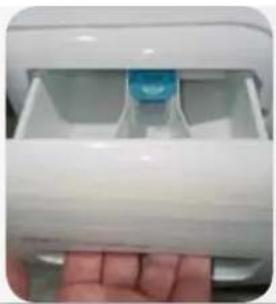
1.
2.
3.
PORTA
INSTRUCTIONS
DOOR TYPE 1
TOOLS: TORQUE WRENCH 25
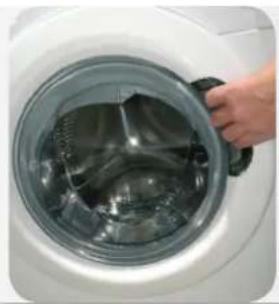
1.
Open the door
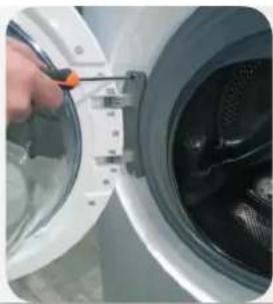
2.
Using the torque wrench 25, remove the screws that fix the hinge to the machine
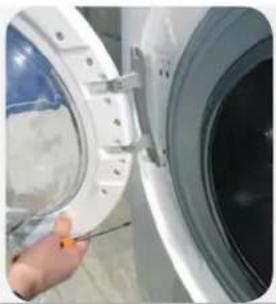
3.
1.
Open the door
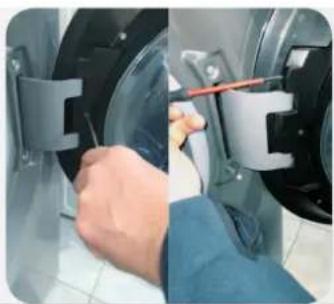
2.
3.
4.
HINGE TYPE 1
TOOLS: TORQUE WRENCH 25
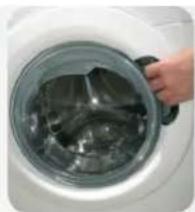
1.
Open the door
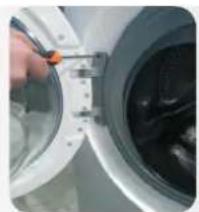
2.
Using the 25 mm wrench, remove the screws that fix the hinge to the machine.
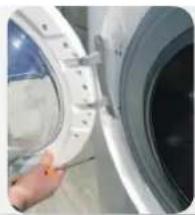
3.
4.
5.
6.
1.
Open the door
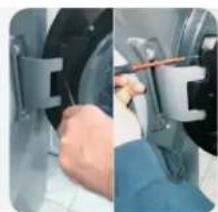
2.
3.
4.
5.
Remove the pin
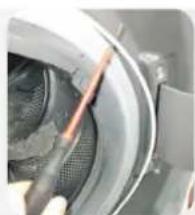
6.
7.
8.
9.
DOOR LOCK
INSTRUCTIONS
DOOR LOCK TYPE 1
TOOLS: PHILLIPS SCREWDRIVER, PLIERS, FLATHEAD SCREWDRIVER
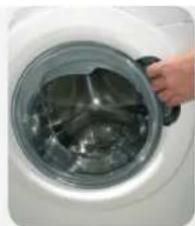
1.
Open the door
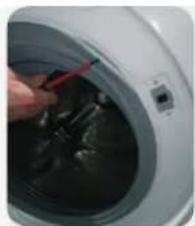
2.
3.
4.
5.
6.
1.
Open the door
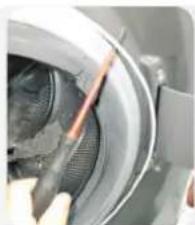
2.
3.
4.
5.
6.
7.
8.
9.
DOOR SEAL
INSTRUCTIONS
DOOR SEAL
TOOLS: TORQUE WRENCH, PLIERS, FLAT-HEAD SCREWDRIVER, TWO 7-INCH PIPE WRENCHES
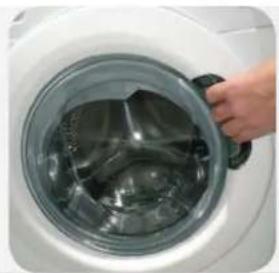
1.
Open the door
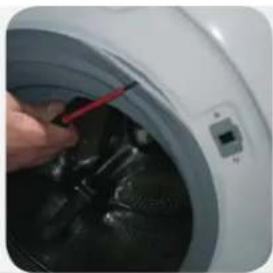
2.
3.
4.
5.
Remove the seal
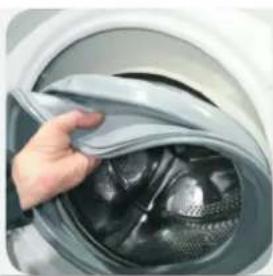
6.
7.
8.
9.
DETERGENT DRAWER
INSTRUCTIONS
DETERGENT DRAWER
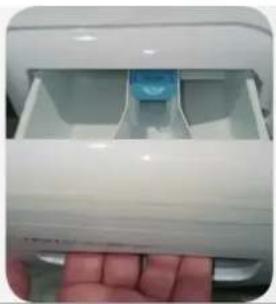
1.
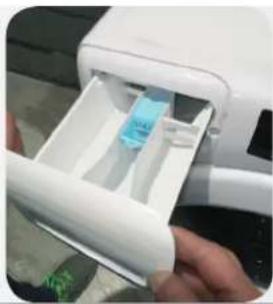
Open the detergent drawer
2.
3.
WINDOW
INSTRUCTIONS
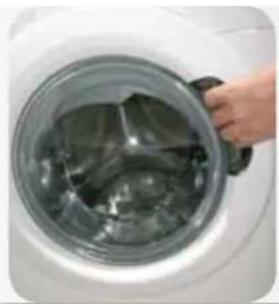
WINDOW TYPE 1 TOOLS: WRENCH No. 25
1.
2.
3.
1.
2.
3.
4.
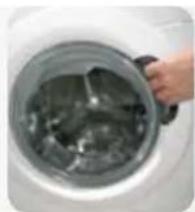
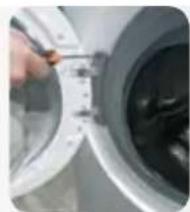
HINGE TYPE 1 TOOLS: WRENCH No. 25
1.
Open the window
2.
3.
4.
5.
Separate the frame from the counter-frame
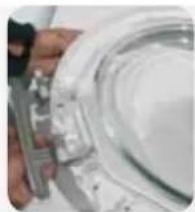
6.
1.
Open the window
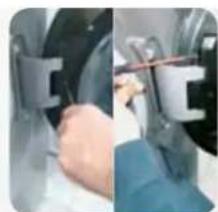
2.
3.
4.
5.
6.
Remove the door flange
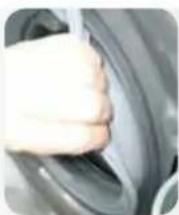
7.
8.
Remove the external screws of the hinge.
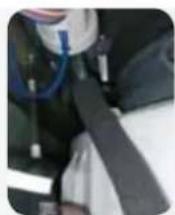
9.
DOOR CLOSING SYSTEM
INSTRUCTIONS
DOOR CLOSING SYSTEM TYPE 1
TOOLS: PHILLIPS SCREWDRIVER, PLIERS, FLAT-HEAD SCREWDRIVER
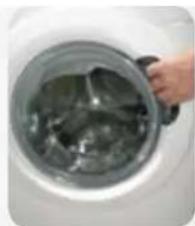
1.
Open the window.
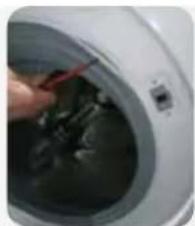
2.
3.
4.
5.
6.
1.
Open the window
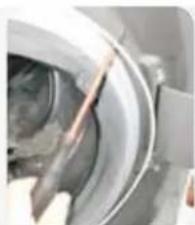
2.
3.
4.
5.
6.
7.
8.
9.
DOOR SEAL
INSTRUCTIONS
DOOR SEAL
TOOLS: TORX WRENCH, PLIERS, FLAT-HEAD SCREWDRIVER, TWO NO. 7 PIPE WRENCHES
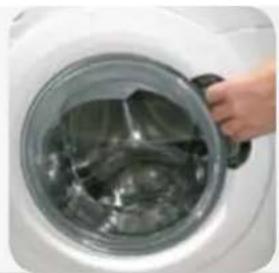
1.
Open the window
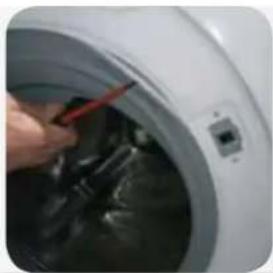
2.
3.
4.
5.
Remove the drawer
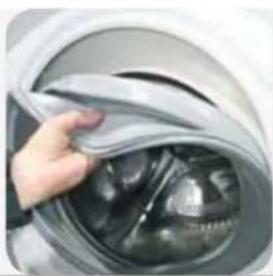
6.
7.
8.
9.
DETERGENT DRAWER
INSTRUCTIONS
DETERGENT DRAWER
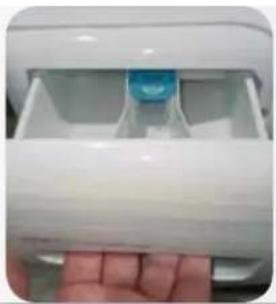
1.
2.
3.
ENTRANCE DOORS
INSTRUCTIONS
ENTRANCE DOORS TYPE 1
TOOLS: TORX KEY 25
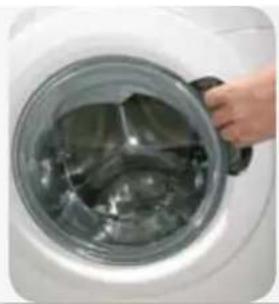
1.
Open the doors
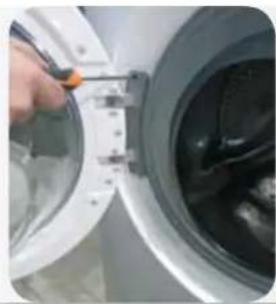
2.
Using the
torx key 25
remove the screws,
3.
1.
Open the doors
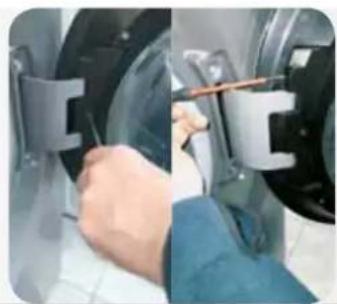
2.
Remove
cover then,
after you have removed
its screws
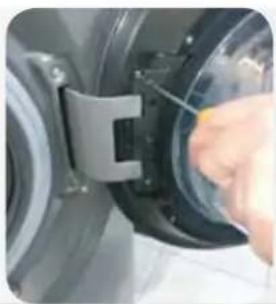
3.
4.
HINGE TYPE 1 TOOL: TORX KEY 25
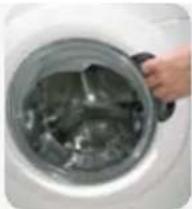
1.
Open the door
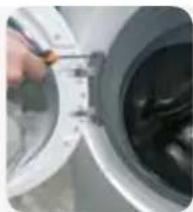
2.
3.
4.
5.
6.
1.
Open the door
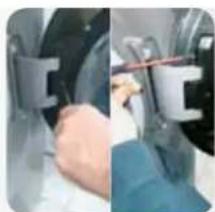
2.
Remove the cover after removing its screws
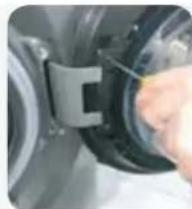
3.
4.
5.
Remove the pin
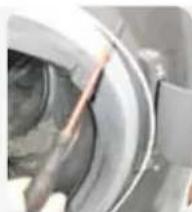
6.
8.
Remove the outer screws from the hinge
9.
Remove the screws inside the cabinet with a 7mm socket wrench. Remove the hinge
DOOR CLOSER
INSTRUCTIONS
DOOR CLOSER TYPE 1
TOOLS: PHILLIPS SCREWDRIVER, PLIERS, FLAT SCREWDRIVER
1.
Open the door.
2.
3.
4.
Using a Torx wrench, remove the mounting screws on the door latch and press on its catch.
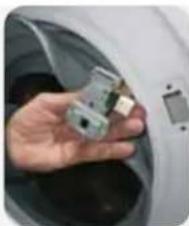
5.
Remove the door latch.
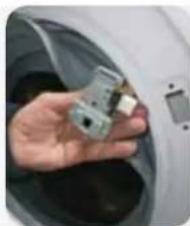
6.
1.
Open the door.
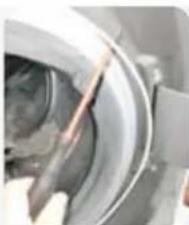
2.
3.
4.
5.
Disassemble the top part and covers
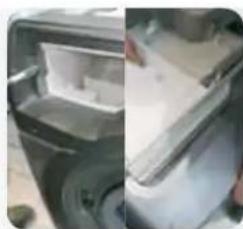
6.
Disassemble the distributor and frame
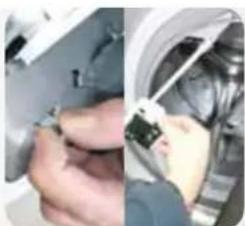
7.
Remove the door lock
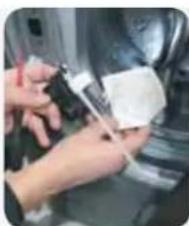
8.
9.
DOOR SEAL
INSTRUCTIONS
DOOR SEAL
TOOLS: TORX WRENCH, PLIERS, FLAT SCREWDRIVER, TWO PIPE WRENCHES 7
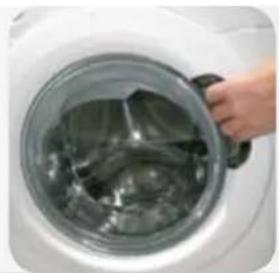
1.
Open the door
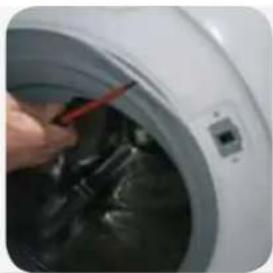
2.
3.
4.
5.
Remove the seal
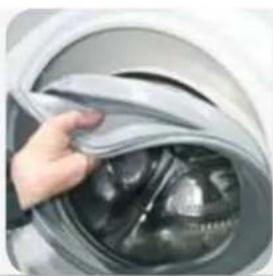
6.
Install the new seal, being careful with the installation notches
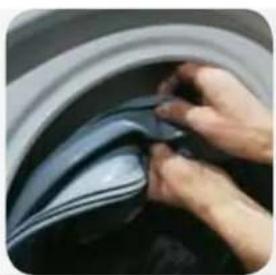
7.
Set the wiring clip on the side of the pipe
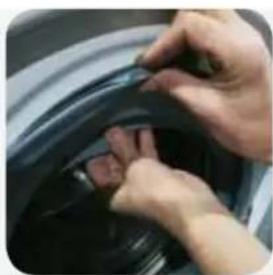
8.
9.
DETERGENT DRAWER
INSTRUCTIONS
DETERGENT DRAWER
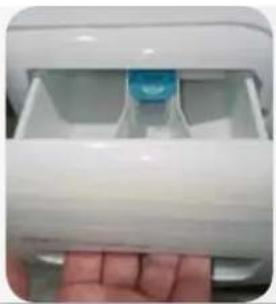
1.
Open the detergent drawer
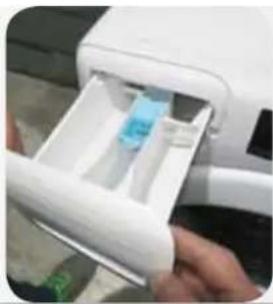
2.
3.
Remove the detergent drawer cover by pulling it off, being careful not to break the clips.
DOORS
INSTRUCTIONS
DOOR TYPE 1
TOOLS: TORX KEY 25
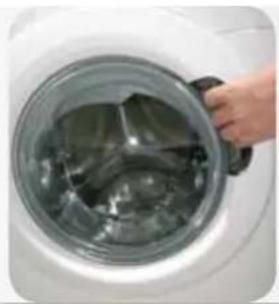
1.
Open the door
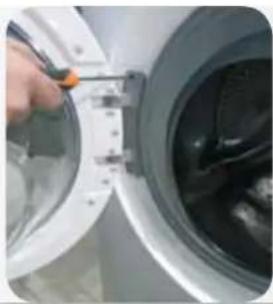
2.
3.
1.
Open the door
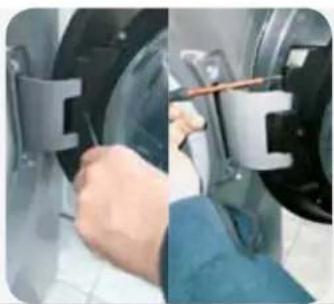
2.
3.
4.
HINGE TYPE 1 TOOLS: TORX 25 WRENCH
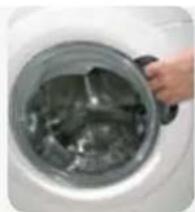
1.
Open the door
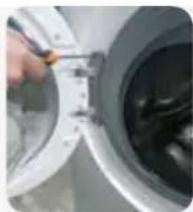
2.
3.
4.
5.
Separate the frame from the holder
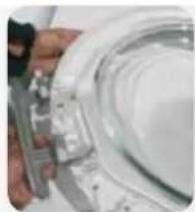
6.
Replace the hinge, being careful not to lose the bushings
HINGE TYPE 2 TOOLS: TORX 25 WRENCH, FLEXIBLE, 7 TUBE WRENCH
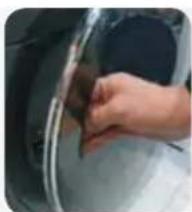
1.
Open the door
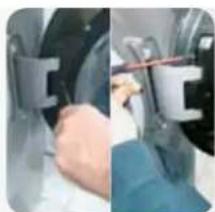
2.
3.
4.
5.
Pull out the pin
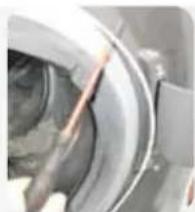
6.
Pull out the door latch
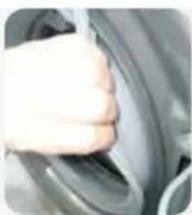
7.
8.
9.
DOOR LOCK TYPE 1
TOOLS: PHILLIPS SCREWDRIVER, PLIERS, FLAT SCREWDRIVER
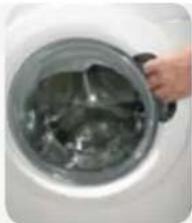
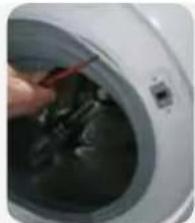
1.
Open the door
2.
3.
4.
5.
6.
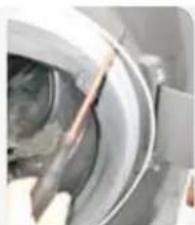
1.
Open the door
2.
3.
4.
5.
6.
7.
8.
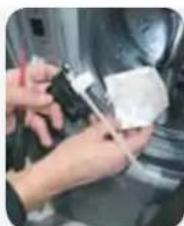
Replace the water protection
9.
DOOR SEAL
INSTRUCTIONS
DOOR SEAL
TOOLS: TORX KEY, PLIERS, FLAT SCREWDRIVER, TWO 7 TUBULAR WRENCHES
1.
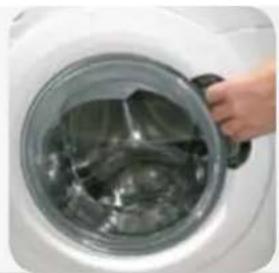
Open the door
2.
3.
4.
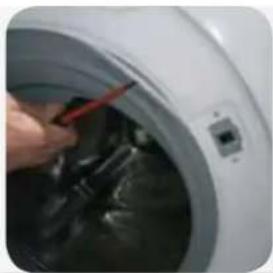
Using a flat screwdriver, remove the clamp on the tube
5.
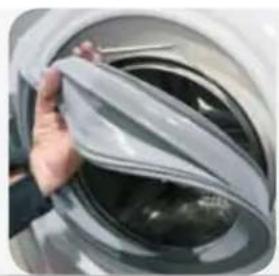
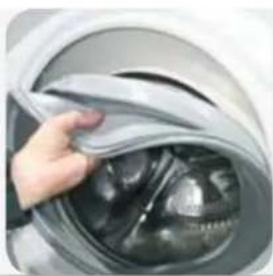
Remove the seal
6.
7.
8.
9.
DETERGENT DISPENSER
INSTRUCTIONS
DETERGENT DRAWER
1.
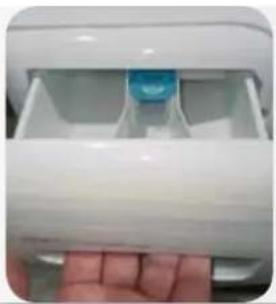
Open the detergent drawer
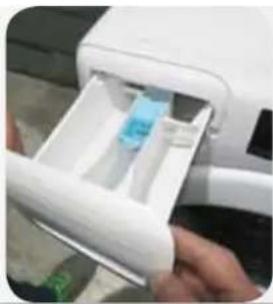
2.
Pull it out firmly with both hands
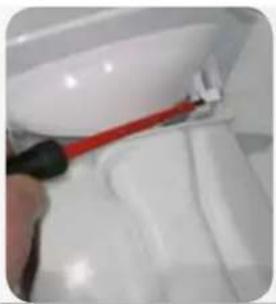
3.
GLASS DOOR
INSTRUCTIONS
GLASS DOOR TYPE 1
TOOL: 25 HEX KEY
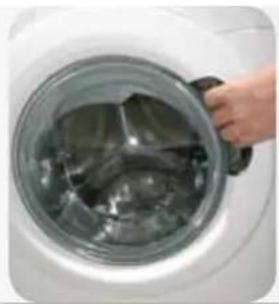
1.
Open the glass door
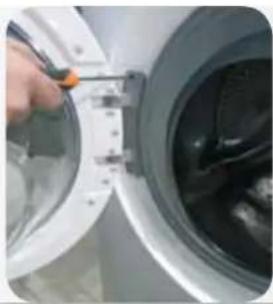
2.
3.
Pull the doors from the top and remove them.
GLASS DOOR TYPE 2
TOOLS: 25 HEX KEY, FLEXIBLE PLUMBER'S WRENCH 7
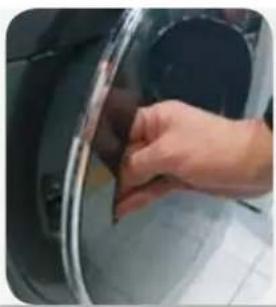
1.
Open the glass doors.
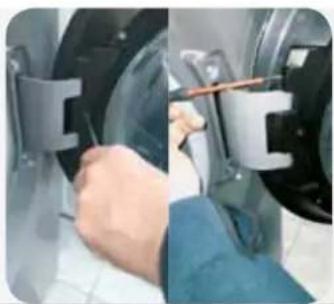
2.
Remove the cover after unscrewing its screw.
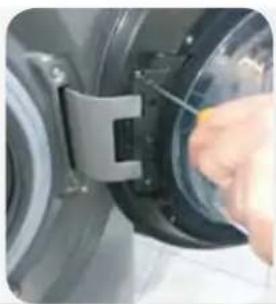
3.
4.
Pull the doors from the top and remove them.
HINGE
INSTRUCTIONS
HINGE TYPE 1 TOOLS: 25 HEX KEY
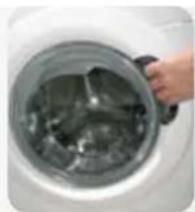
1.
Open the glass doors.
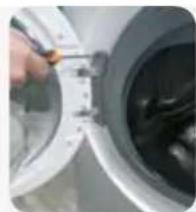
2.
3.
Pull the doors from the top and remove them
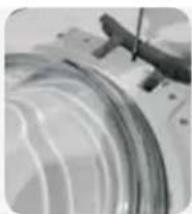
4.
5.
Separate the frame from the counter-frame
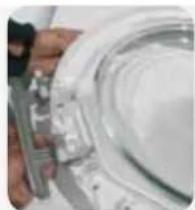
6.
Replace the hinge, being careful not to lose the bushings
HINGE TYPE 2 TOOL: 25 ALLEN KEY, FLEXIBLE PLUMBER'S WRENCH 7
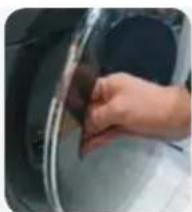
1.
Open the glass doors
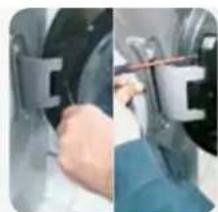
2.
Remove the cover after unscrewing its screw
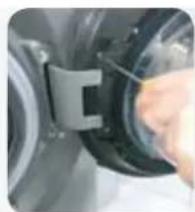
3.
4.
Pull the doors from the top and remove them.
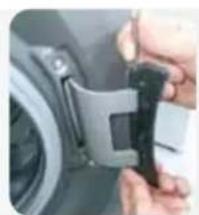
5.
Remove the pin.
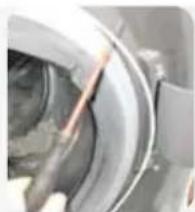
6.
Remove the door latch.
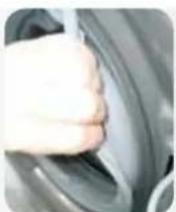
7.
Once the tape is removed, separate the cover from the gasket to allow access to the interior of the product.
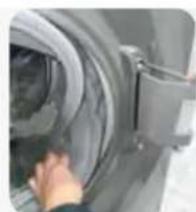
8.
Remove the external screws from the hinge.
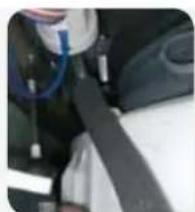
9.
Remove the screws from the inner part of the cabinet using a 7 mm wrench. Remove the hinge.
LOCK
INSTRUCTIONS
LOCK TYPE 1 TOOLS: PHILLIPS SCREWDRIVER, PLIERS, FLATHEAD SCREWDRIVER
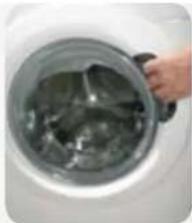
1.
Open the glass door
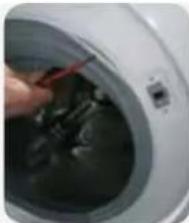
2.
Use a flathead screwdriver as a lever and remove the outer clamp
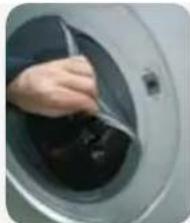
3.
Once the clamp is removed, separate the cover from the gasket to gain access to the interior of the product
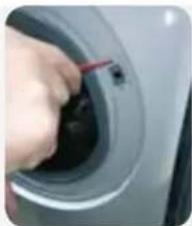
4.
Using an Allen key, remove the lock's mounting screws on the door and press its latch.
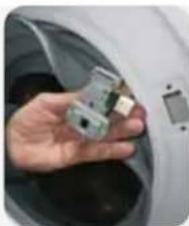
5.
Remove the lock
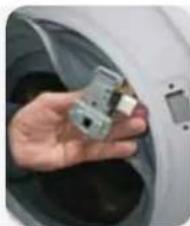
6.
Disconnect the wiring; in the case of a crimp contact, be careful not to reverse the wiring
LOCK TYPE 2 TOOL: PHILLIPS SCREWDRIVER, PLIERS, FLATHEAD SCREWDRIVER
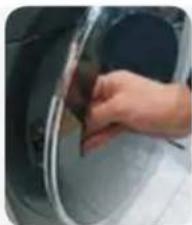
1.
Open the glass door
2.
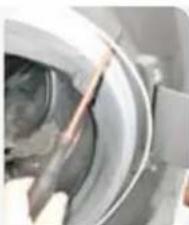
Use a regular screwdriver as a lever and remove the outer clamp
3.
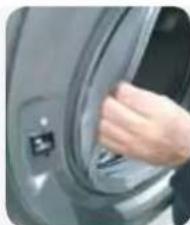
Once the clamp is removed, separate the cover from the gasket to access the inside of the product
4.
5.
6.
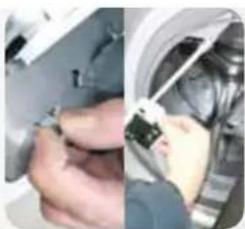
Disassemble the dispenser and frame
7.
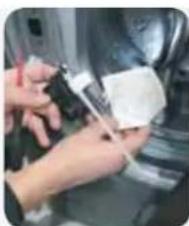
Remove the lock
8.
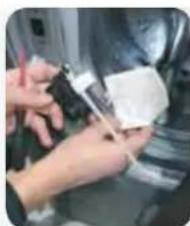
Remove the water guard
9.
Replace the door lock, paying attention to the mechanical emergency opening link and the electrical connection
DOOR GASKET
INSTRUCTIONS
DOOR SEAL
TOOLS: ALLEN KEY, PLIERS, FLATHEAD SCREWDRIVER, TWO PIPE WRENCHES 7
1.
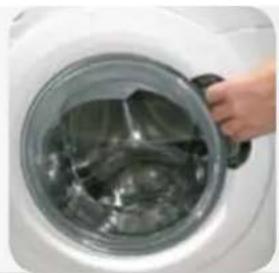
Open the glass door
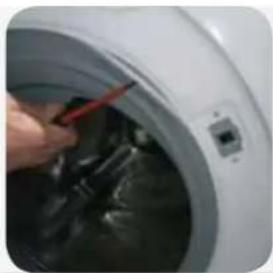
2.
Use a flathead screwdriver as a lever and remove the outer clamp
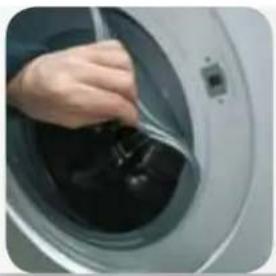
3.
Once the clamp is removed, detach the cover from the seal to allow access to the interior of the product
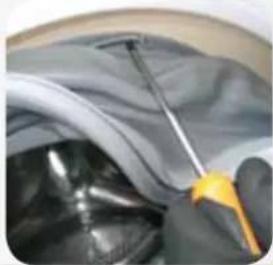
4.
Using a flathead screwdriver, remove the clamp from the pipe
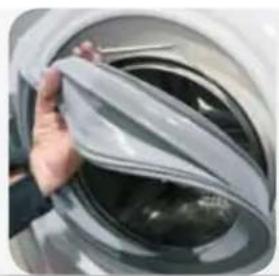
5.
Remove the seal
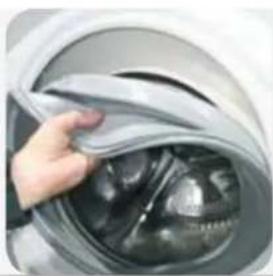
6.
Install the new seal, paying attention to the positioning notches
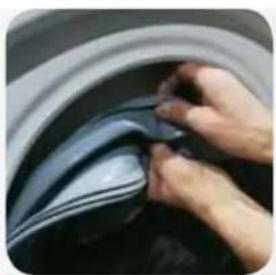
7.
Place the wiring clamp on the pipe side.
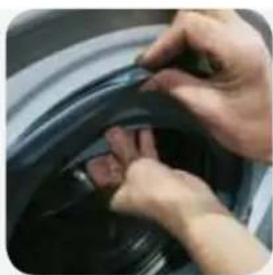
8.
Using a tool, tighten the clamps on the pipe.
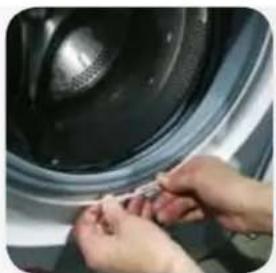
9.
Place the gasket on the cabinet. Fix the external clamp and tighten it (if necessary, use pliers).
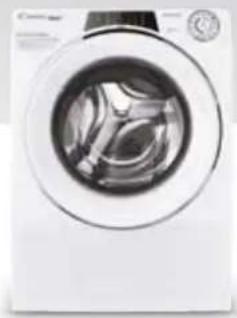
DETERGENT DRAWER
INSTRUCTIONS
DETERGENT DRAWER
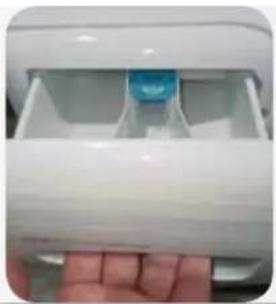
1.
Open the detergent drawer.
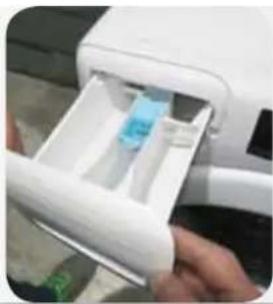
2.
3.
Unhook the detergent drawer mask, being careful not to break the hooks.
MAZGAL
INSTRUCTIONS
HINGE TYPE 1
TOOLS: 25 TORX WRENCH
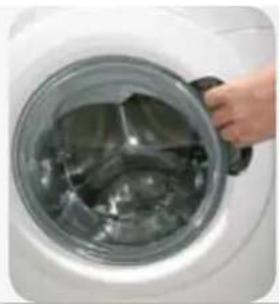
1.
Open the hinge
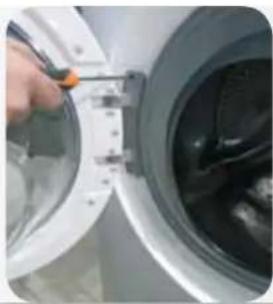
2.
3.
1.
Open the hinge
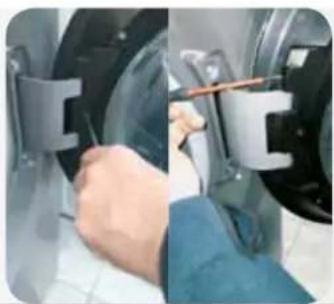
2.
3.
4.
HINGE TYPE 1 TOOLS: 25 TORX WRENCH
1.
Open the hinge
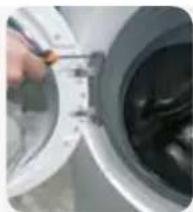
2.
3.
4.
5.
6.
1.
Open the valve
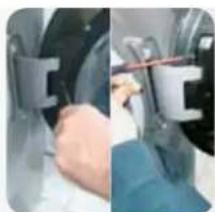
2.
3.
4.
5.
Remove the pin
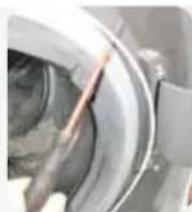
6.
7.
8.
9.
DOOR LOCK TYPE 1 VEHICLES: PHILLIPS SCREWDRIVER, PLIERS, FLAT SCREWDRIVER
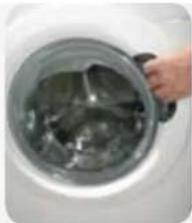
1.
Open the drain plug
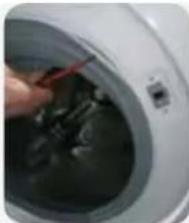
2.
3.
4.
5.
6.
1.
Open the drain plug
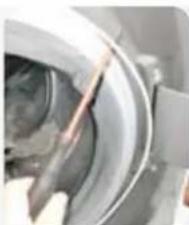
2.
3.
4.
5.
6.
7.
8.
9.
DOOR GASKET
INSTRUCTIONS
DOOR GASKET
TOOLS: TORX WRENCH, PLIERS, FLAT SCREWDRIVER, TWO 7 PIPE WRENCHES
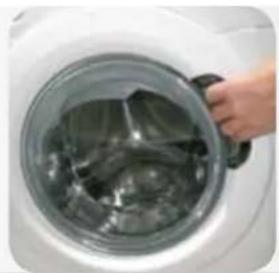
1.
Open the drain
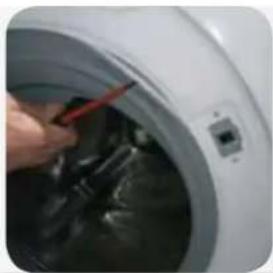
2.
3.
4.
5.
Remove the gasket
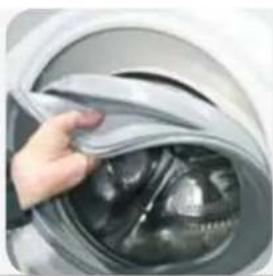
6.
7.
8.
9.
DETERGENT DRAWER
INSTRUCTIONS
DETERGENT DRAWER
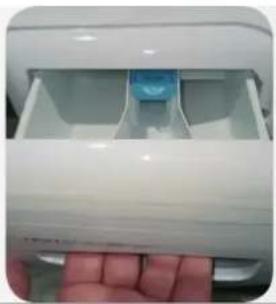
1.
2.
3.
- HATCH-GATE TYPE
- DOOR LATCH TYPE
- DOOR SEAL
- COVER TYPE
- TOOLS: TORX KEY
- CURTAIN TYPE 1 TOOLS: TORX KEY
- DOOR LOCK TYPE
- DETERGENT DISPENSER
- DOOR
- INSTRUCTIONS
- DOOR TYPE
- HINGE TYPE
- DOOR LOCK
- DETERGENT DRAWER
- MENTESEΣ TYPE
- DOOR INTERFERENCE
- PORTHOLE
- PORTHOLE TYPE
- HINGE
- HINGE TYPE 1 TOOLS: 25 TORX WRENCH
- HINGE TYPE 2 TOOLS: 25 TORX WRENCH, FLEXIBLE 7 PIPE WRENCH
- TOOLS: CROSS-HEADED SCREWDRIVER, TONG, FLAT SCREWDRIVER
- DOOR'S GASKET
- PUERTAFRONTAL
- HUBLOT
- HUBLOT TYPE
- TOOLS: TORX WRENCH NO
- TOOLS: PHILLIPS SCREWDRIVER, PLIERS, FLAT SCREWDRIVER
- WINDOW
- HINGE TYPE 1 TOOLS: TORX KEY
- PORTHOLE TYPE 1 TOOLS: TORX T25 SCREWDRIVER
- TOOLS: TORX SCREWDRIVER T
- SAFETY LOCKING OF THE DOOR TYPE
- DOOR GASKET
- WINDOW TYPE
- TYPE 1 TOOLS: TORX KEY
- PORTA
- TOOLS: TORQUE WRENCH
- WINDOW TYPE 1 TOOLS: WRENCH NO
- HINGE TYPE 1 TOOLS: WRENCH NO
- DOOR CLOSING SYSTEM
- DOOR CLOSING SYSTEM TYPE
- ENTRANCE DOORS
- ENTRANCE DOORS TYPE
- HINGE TYPE 1 TOOL: TORX KEY
- DOOR CLOSER
- DOOR CLOSER TYPE
- DOORS
- HINGE TYPE 1 TOOLS: TORX 25 WRENCH
- HINGE TYPE 2 TOOLS: TORX 25 WRENCH, FLEXIBLE, 7 TUBE WRENCH
- GLASS DOOR
- GLASS DOOR TYPE
- HINGE TYPE 1 TOOLS: 25 HEX KEY
- HINGE TYPE 2 TOOL: 25 ALLEN KEY, FLEXIBLE PLUMBER'S WRENCH
- LOCK
- LOCK TYPE 1 TOOLS: PHILLIPS SCREWDRIVER, PLIERS, FLATHEAD SCREWDRIVER
- LOCK TYPE 2 TOOL: PHILLIPS SCREWDRIVER, PLIERS, FLATHEAD SCREWDRIVER
- MAZGAL
- DOOR LOCK TYPE 1 VEHICLES: PHILLIPS SCREWDRIVER, PLIERS, FLAT SCREWDRIVER
Brand : CANDY
Model : CSWSQ485TWMCE84
Category : Tumble dryer