
LM850D27 - Blender MOULINEX - Free user manual and instructions
Find the device manual for free LM850D27 MOULINEX in PDF.
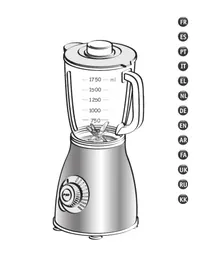



| Brand | Moulinex |
| Model | LM850D27 |
| Product type | Blender |
| Maximum capacity | 1.75 liters |
| Bowl material | Graduated glass |
| Functions | Ice Crush, Smoothie, Pulse, Auto Clean, variable speed |
| Controls | On/off button, rotary selector, dedicated buttons |
| Safety | Safety lock (motor unit), thermal cut-out, automatic shut-off |
| Maximum hot liquid temperature | 80 °C |
| Maximum continuous operating time | 3 minutes |
| Recommended pause between cycles | 1 minute |
| Bowl cleaning | Dishwasher (top rack, ECO or REDUCED SALT program) |
| Motor unit cleaning | Damp cloth (do not immerse) |
| Washable removable parts | Bowl, lid, cap, blade, seal |
| Power supply | 220-240 V (estimate) |
Frequently Asked Questions - LM850D27 MOULINEX
User questions about LM850D27 MOULINEX
0 question about this device. Answer the ones you know or ask your own.
Ask a new question about this device
Download the instructions for your Blender in PDF format for free! Find your manual LM850D27 - MOULINEX and take your electronic device back in hand. On this page are published all the documents necessary for the use of your device. LM850D27 by MOULINEX.
USER MANUAL LM850D27 MOULINEX
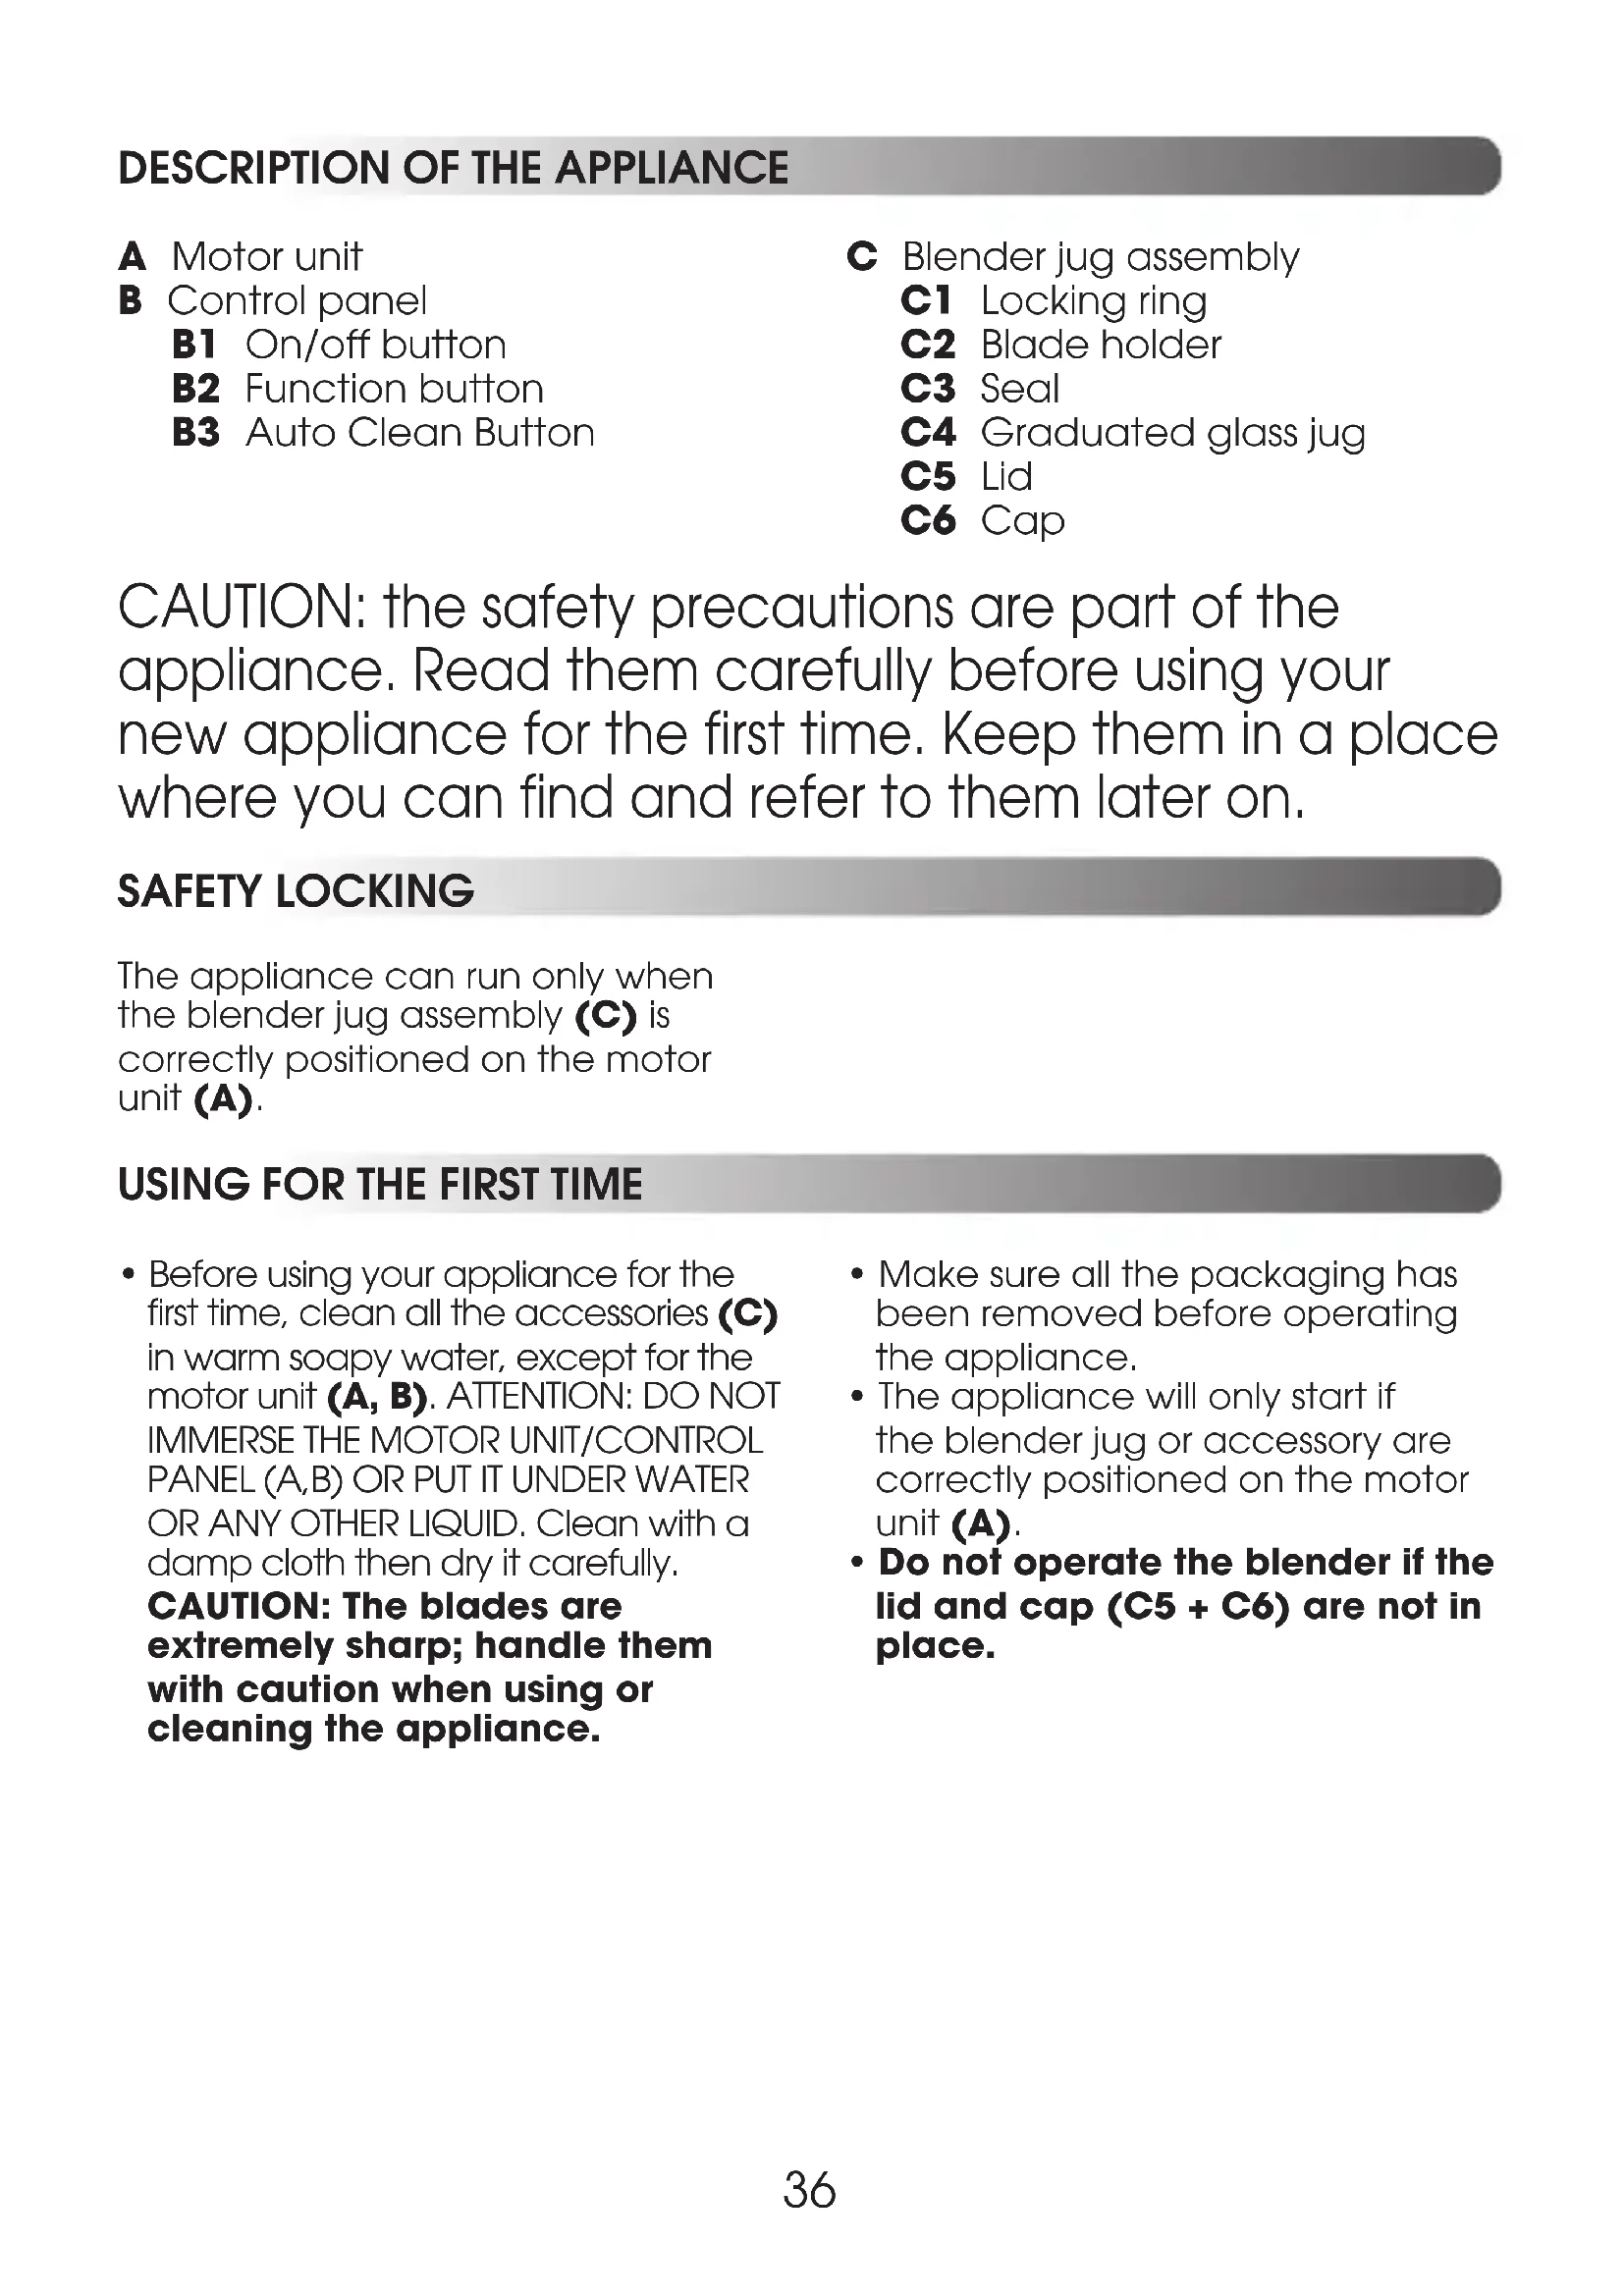
DESCRIPTION OF THE APPLIANCE
CLEANING THE APPLIANCE
DESCRIPTION OF THE APPLIANCE
A Motor unit B Control panel B1 On/off button B2 Function button B3 Auto Clean Button
C Blender jug assembly
C1 Locking ring C2 Blade holder C3 Seal C4 Graduated glass jug C5 Lid C6 Cap
CAUTION: the safety precautions are part of the appliance. Read them carefully before using your new appliance for the first time. Keep them in a place where you can find and refer to them later on.
SAFETY LOCKING
The appliance can run only when the blender jug assembly (C) is correctly positioned on the motor unit (A).
USING FOR THE FIRST TIME
- Before using your appliance for the first time, clean all the accessories (C) in warm soapy water, except for the motor unit (A, B). ATTENTION: DO NOT IMMERSE THE MOTOR UNIT/CONTROL PANEL (A,B) OR PUT IT UNDER WATER OR ANY OTHER LIQUID. Clean with a damp cloth then dry it carefully.
CAUTION: The blades are extremely sharp; handle them with caution when using or cleaning the appliance.
- Make sure all the packaging has been removed before operating the appliance.
- The appliance will only start if the blender jug or accessory are correctly positioned on the motor unit (A).
- Do not operate the blender if the lid and cap (C5 + C6) are not in place.
- Moisten the seal (C3) and position it correctly onto the blade unit (C1).
- Place the assembly (C1+C3) on the base of the jug (C4). Lock it by rotating the blade unit through a quarter turn in the anticlockwise direction. (Fig. 2).
- Place the ingredients into the assembled jug without exceeding the maximum level indicated:
* 1.75 litres
- Fit the lid (C5) on the jug. Place the measuring cap (C6) in its recess on the lid.
- Place the blender jug assembly (C) on the motor unit (A).
- Make sure that the appliance has been switched off and position the jug on the motor unit so that the notches of the jug engage with the grooves on the motor unit. Check that the jug is positioned horizontally and the appliance is on a flat, stable, heat-resistant surface away from sources of heat or water splashes.
- The blender motor runs the blades at high speed in order to ensure thorough mixing. Consequently, it is important that the blender is always placed on a flat, dry surface before it is operated. Check that the jug is positioned correctly on the motor unit. If not, the blender will not operate.
- Never use the blender for more than 3 minutes at a time. Let the blender rest for 1 minute before you operate it again (in order to avoid overheating).
Caution: leaks can occur if the jug is not locked correctly.
- Plug in the appliance and turn the function selector to "program", and the indicator lights of the on/
Press the off button and the function buttons start flashing. Choose the optional program function using the "ice crush", "smoothie", or "auto-clean" buttons. Each function has a programmed processing time (see more under the different functions), but blending can be stopped manually by pressing the on/off button in the middle of the function selector. The blender also has a variable speed selector that is activated by turning the function button to the min-max setting.
- Your appliance is equipped with a thermal cut-out. In case of overheating, your appliance will turn off automatically. Disconnect the appliance and let it cool down for about 30 minutes, then resume use.
Functions of the blender:
Ice crush: Put max 200 g of ice cubes in the jug. The blender works in pulse intervals for approx. 1 minute unless it is switched off manually by means of the on/off button or by pressing the ice crush button.
Smoothie: The blender works at various speeds alternating for approx. 1 minute unless it is switched off manually by means of the on/off button or by pressing the smoothie button.
Auto Clean: This function allows you to clean the jug. Add 1250ml of warm water and a drop of washing up liquid inside the blender jug. Press Autoclean button.
The blender works at various speeds alternating for 45 seconds, unless it is switched off manually by means of the on/off button or by pressing the Autoclean button again. Then rinse thoroughly.
Min-max speed: The blender has a variable speed setting. Start at a low speed and increase if needed. Note that ice crush, smoothie and the auto clean functions cannot be activated, when you use the variable speed function. Turn the function selector to the required speed and start the blending by means of the on/off button. Switch off the blender by pressing the on/off button in the middle of the function button and turn the function button back to 0.
- We recommend that you experiment to find the speed that is best for the ingredients to be mixed. Always check on the mixing and switch off the appliance, when the desired result has been obtained. Always unplug after use.
- Never remove the glass jug while the motor is on.
NOTE! Do not operate the blender with only dry ingredients (e.g. nuts) in the jug, as this may damage the blender. Always add a small amount of liquid before you operate the appliance.
Mixing of hot liquid
- The glass jug can withstand hot ingredients and hot liquids/ soups. Be careful if hot liquid is poured into the blender as it can be ejected out of the appliance due to a sudden build up of steam. In order to avoid this, proceed as follows:
- The temperature of the liquid in the blender should not exceed 80°C.
- Fill the jug half way up with the desired ingredients (e.g. vegetables, etc.).
- Operate the blender at MIN setting and pour the liquid (hot stock, cream or similar) slowly through the opening in the lid. Do not switch off the
blender while doing this. If the blender is switched off when the jug contains hot liquid and is restarted, pressure from the bottom may cause the lid to eject due to the high rotation of the motor.
- If the blender has been switched off during the above process and needs to be restarted, place a towel, oven glove or similar over the jug and hold it down with your hand. When operating the blender remember that hot liquid may be ejected.
- Hot liquids alone must not be processed in the blender, since the pressure in the jug will be too high. Important! We do not recommend that you mix only frozen berries/frozen fruit alone as they may freeze to a lump and block the blades.
- If you want to add more ingredients or liquid during use, you can do so, but make sure that the blades have stopped before you remove the cap or the entire lid. Make sure that the ingredients to be added are not too viscous or too dry or heavy for the motor to process. You may add some additional liquid through the hole in the lid if the mixture seems heavy or you could scrape the mixture towards the blade using a rubber spatula.
MAKE SURE THAT THE LID AND CAP HAVE BEEN REFITTED BEFORE YOU RESTART THE BLENDER! Important! After blending ice cubes the glass jug should only be cleaned in lukewarm water, as the jug will have cooled, and hot water may cause thermal shock to the glass and make it shatter.
- Recipe Carrot and Cumin Soup: Ingredients:
- 700 g carrots, cut into cubes of 15 mm x 15 mm
- 1050 ml cold water or stock
- 1 teaspoon ground cumin
- salt and freshly ground black pepper
Put the carrot pieces in the glass jug and add the water or stock. Process on max speed for 3 minutes maximum. Turn off the appliance. Pour the mixture into a saucepan, add the cumin and simmer for about 30 min. You can add water during cooking for a thinner soup. Add salt and pepper according your taste.
CLEANING YOUR APPLIANCE
- Unplug the appliance and remove the blender jug assembly (C).
- Handle the blender unit (C1) with caution: the blades on the blender jug are sharp.
- Remove the jug and rinse it and the lid under running water.
- To clean the motor unit (A), use a damp cloth. Dry it carefully.
- Never immerse the motor unit (A) in running water.
- For easy cleaning, wash the removable parts in water and a little washing-up liquid immediately after use. Alternatively, use the Auto Clean program (see page 67).
- To clean the blender jug (C) easily, unlock the blade unit (C1) by rotating it through a quarter turn in the clockwise direction. Remove the seal (C3). Clean the locking ring (C1), blade holder (C2) and seal (C3) under running water or in the dishwasher on the upper rack using the "ECO" program (except the seal - C3 which is not dishwasher safe).
- The glass jug (C4) can be cleaned in the dishwasher on the upper rack - use the 'ECO' or 'LOW SALT' program.
WHAT TO DO IF YOUR APPLIANCE DOES NOT WORK?
| Problems Causes Solutions | ||
| Product does not work. | The plug is not fitted correctly into the socket. | Plug the appliance into a socket and switch on. |
| The jug or accessory is not correctly positioned or locked on the motor unit. | Check that the jug or accessories are correctly positioned and locked onto the motor unit as shown in the figure in the manual. | |
| Excessive vibrations. | The product is not placed on a flat, stable, heat-resistant surface. | Place the product on a flat surface. |
| Volume of ingredients is too high. | Reduce the quantity of ingredients processed. | |
| Leak from the lid. | Volume of ingredients is too high. | Reduce the quantity of ingredients processed. |
| The lid is not correctly positioned. | Lock the lid correctly on the blender jug. | |
| Leak from the base of the blender jug. | The blender jug gasket (C3) is not positioned correctly or is missing. | Reposition the gasket and lock the blade holder correctly. |
| The blade does not turn easily. | Pieces of food too large or too hard. | Reduce the size or quantity of ingredients processed. Add liquid. |
| Impossible to lock the blade unit with the gasket (C1-C2+C3) on the jug (C4). | The gasket (C3) is not positioned correctly. | Reposition the gasket. |
Your blender still does not work?
Contact an approved service centre (see list in service booklet).
80 15 700
1050y1 y 1b2y1.3 Jg 1050y1 y 1b2y1 Jg 1050y1 y 1b2y1 Jg 1050y1 y 1b2y1 Jg 1050y1 y 1b2y1 Jg 1050y1 y 1b2y1 Jg 1050y1 y 1b2y1 Jg 1050y1 y 1b
cXeI cRgLoaLl 1sI aIbIy I biaI aIiIooIe! yRgurall no Cnag gl aiaa Jaaai - aibillkssas Jalglln lks - slll all lo gnl jolq
1 1
y j 111 111 111 111 111 111 111 111
jglll 30 2d 2g 2g
:blil
200 1 Jbbl. 1 aI aI bI aI dI aI dI aI dI aI dI aI dI aI dI aI dI aI dI aI dI aI dI aI dI aI dI aI dI aI dI aI dI aI dI aI dI aI dI aI dI aI dI aI dI aI dI aI dI aI dI aI dI aI da I da I da I da I da I da I da I da I da I da I da I da I da I da I da I da I da I da I da I da I da I da I da I da I da I da I da I da I da I da I da I da I da I da I da I da I da I da I da I da I da I da I da I da I da I da I da I da I da I da I da
i 1250 a 1250 1250 1250 1250 1250 1250 1250 1250 1250 1250 1250 1250 1250 1250 1250 1250 1250 1250 1250 1250 1250 1250 1250 1250 125
45 1e jll l 10 10 10 10 10 10 10 10 10 10 10 10 10
120 120 120 120 120 120 120 120 120 120 120 120 120 120 120 120 120 120 120 120 120 120 120 120 120 120
(C1)
J. (C4)
j·J 1
175*
.(A)
1 1
j 1
1 1
1 1
a a a a a a a a a a a a a a a a a a a a a a a a a
(ab)
e 15
Therefore, 2^3 + 1 = 5
"program" 100
Jrj1 1
"smoothie" (s) "ice crush" (a) "interval" (w)
A,B)
y
Y·(C5+C6) 1
.
Therefore, AS = 2
J 1 J 1 J 1 J 1 J
2g 1200000000000000000000000000000000000000000000000000000000000
1 115 1000
x15
Therefore, the area of triangle BCD equals the area of triangle COD plus the area of triangle BDO minus the area of triangle BOC.
.
(C4)0j (C1+C3) joo. 2
1.75*
·Jz 15 (C6) jj(C6)
(A)
24 150000000000000000000000000000000000000000000000
J5 4 J5 bX1 j1 j1ab1 g2a 4 J5 bgl a5 cwwg a3jii d.2jdl g Jr S 5 5 5 5 5 5 .2g 4dil j5 45il j1 j1 dill A .2g 4dil j5 45il j1 dill A .2g 4dil j5 45il j1 dill A .2g 4dil j5 45il j1 dill A
jS bgl 1 j 1 j 1 j 1 j 1 j 1 j 1 j 1 j 1 j 1 j 1 j 1 j 1 j 1 j 1 j 1 j 1 j 1 j 1 j 1 j 1 j 1 j 1 j 1 j 1 j 1 j 1 j 1 j 1 j 1 j 1 j 1 j 1 j 1 j
"program" 1 ()"on/off" 4 J S S S S S S S S S S S S S S S S S S
·
∴ 1/2 < a/b < 3/5
G
·
FA
C1 C2 4 C3 C4 2rJg C5 C6
A B B1 B2 B3
1 1
i
sL 1000000000000000000000000000000000000000000000000000000000000
J 1
1 45 45 45 45 45 45 45 45 45 45 45 45 45 45 45 45 45 45 45 45 45 45 45 45 45 45 45 45 45 45 45 45 45 45
·j54j1j 4a4a4a44
g jyj (C) jjpl .A,B) g jy j 4i jai iia iia iia iia iia iia iia iia iia iia iia iia iia iia iia iia iia iia iia iia iia iia iia
ONIC PUNJADY
A Motopn6Jok B NaheIb ynpaBnHn B1 Khonka YbIMKH./BnMKH. B2 KhoNka Bn6opy yHKnii B3 KhoIka aBTOMaTHUHOrO OuIeHHJ
C BneHepB 36opi
C1ΦikcyuoyeKilbue C2 Tpimau Hoxa C3 YuJIbHIOBaIbHe KJIbUe C4 CknaHa yaa 3 rpaDyIOBaHHaM C5 Kpwnka C6 Kpnka dna HanoBHeHHa
WARNING: Read the instructions before using the appliance. Before using the appliance, carefully read the instructions for use. Keep the instructions for future reference.
SAFETY LOCK
The appliance will only operate if the jug is correctly placed on the motor unit.
Does your blender not work?
Contact the service center (see service booklet).
DESCRIPTION OF THE DEVICE
MOTOR UNIT BLOCK
B1 On/Off button B2 Function button B3 Automatic cleaning button
JUG BLOCK
C1 Fixing ring C2 Blade holder C3 Seal C4 Glass jug C5 Lid C6 Lid opening
WARNING! Compliance with safety rules is mandatory when using the device. Carefully read them before first use of the new device. Keep them in an accessible place for future use.
SAFETY LOCK
The device only works when the jug block (C) is correctly placed on the motor unit (A).
FIRST USE


- DESCRIPTION OF THE APPLIANCE
- CLEANING THE APPLIANCE
- SAFETY LOCKING
- USING FOR THE FIRST TIME
- LITRES
- CAUTION: LEAKS CAN OCCUR IF THE JUG IS NOT LOCKED CORRECTLY
- FUNCTIONS OF THE BLENDER
- MIXING OF HOT LIQUID
- CLEANING YOUR APPLIANCE
- WHAT TO DO IF YOUR APPLIANCE DOES NOT WORK
- YOUR BLENDER STILL DOES NOT WORK
- ONIC PUNJADY
- SAFETY LOCK
- DOES YOUR BLENDER NOT WORK
- DESCRIPTION OF THE DEVICE
- FIRST USE
Brand : MOULINEX
Model : LM850D27
Category : Blender