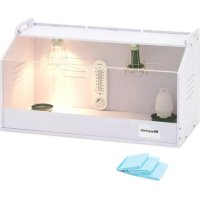
WIECB200 - Chicken incubator Wiesenfield - Free user manual and instructions
Find the device manual for free WIECB200 Wiesenfield in PDF.



| Product Type | Incubator for chickens (chicken brooder) |
| Model | WIECB200 (WIE-CB-200) |
| Brand | Wiesenfield |
| Dimensions | 78 x 40 x 42 cm |
| Weight | 7 kg |
| Power Supply | 230 V~, 50/60 Hz, cable length 1.7 m |
| Heating Lamp Power | 50 W (E27) |
| Lighting Lamp Power | 25 W (E27) |
| Number of Sockets | 2 (E27) |
| Dimmer | Yes, for each lamp |
| Thermometer | Included |
| Drinker | Ball-type poultry drinker |
| Feeder | Bowl included |
| Floor Mat | Included |
| Anti-Burn Cover | Yes |
| Housing Material | White panels (material not specified, likely plastic) |
| Acrylic Cover | Transparent for front and top |
| Maintenance | Regular cleaning of floor mat and accessories |
| Safety | Anti-burn cover; use only identical UVB heating lamps as replacements |
| Spare Parts | Lamps, dimmers, drinker, feeder, floor mat, acrylic cover |
| Repairability | Simple assembly/disassembly with screws; standard parts available |
| Recommended Use | For newborn chicks and young poultry |
Frequently Asked Questions - WIECB200 Wiesenfield
User questions about WIECB200 Wiesenfield
0 question about this device. Answer the ones you know or ask your own.
Ask a new question about this device
Download the instructions for your Chicken incubator in PDF format for free! Find your manual WIECB200 - Wiesenfield and take your electronic device back in hand. On this page are published all the documents necessary for the use of your device. WIECB200 by Wiesenfield.
USER MANUAL WIECB200 Wiesenfield
natural_image
Close-up of a metallic connector or terminal with a central hub and wires, labeled 'A' in the top-left corner (no other text or symbols visible)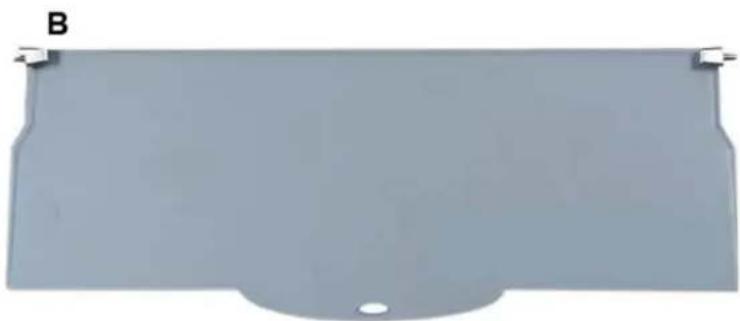
natural_image
Metal plate with a small hole and labeled point B (no text or symbols on the plate itself)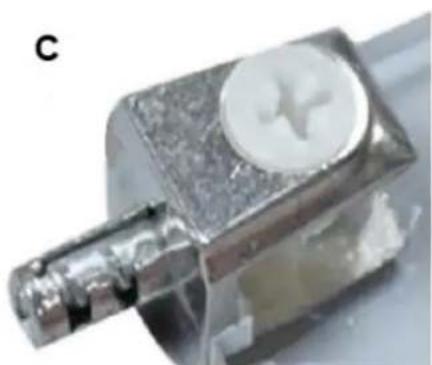
natural_image
Close-up of a metallic mechanical component with a circular top and threaded shaft (no visible text or symbols)This User Manual has been translated for your convenience using machine translation. Reasonable efforts have been made to provide an accurate translation; however, no automated translation is perfect nor is it intended to replace human translators. The official User Manual is the English version. Any discrepancies or differences created in the translation are not binding and have no legal effect for compliance or enforcement purposes. If any questions arise related to the accuracy of the information contained in the User Manual, please refer to the English version of those contents which is the official version.
1. Technical data
| Parameter description Parameter value | ||
| Product name | Chicken Brooder | Chicken Brooder |
| Model | WIE-CB-100 | WIE-CB-200 |
| Lamp holder | E27 x 1 | E27 x 2 |
| Power | 25W (Lighting lamp) / 50W (Heating lamp) | 25W (Lighting lamp) / 50W (Heating lamp) |
| Voltage/Frequency | 230V~ 50/60 Hz | 230V~ 50/60 Hz |
| Cable length [m] | 1.7 | 1.7 |
| Weight | 3.15 kg | 7 kg |
| Dimension | 48 x 30 x 32 cm | 78 x 40 x 42 cm |
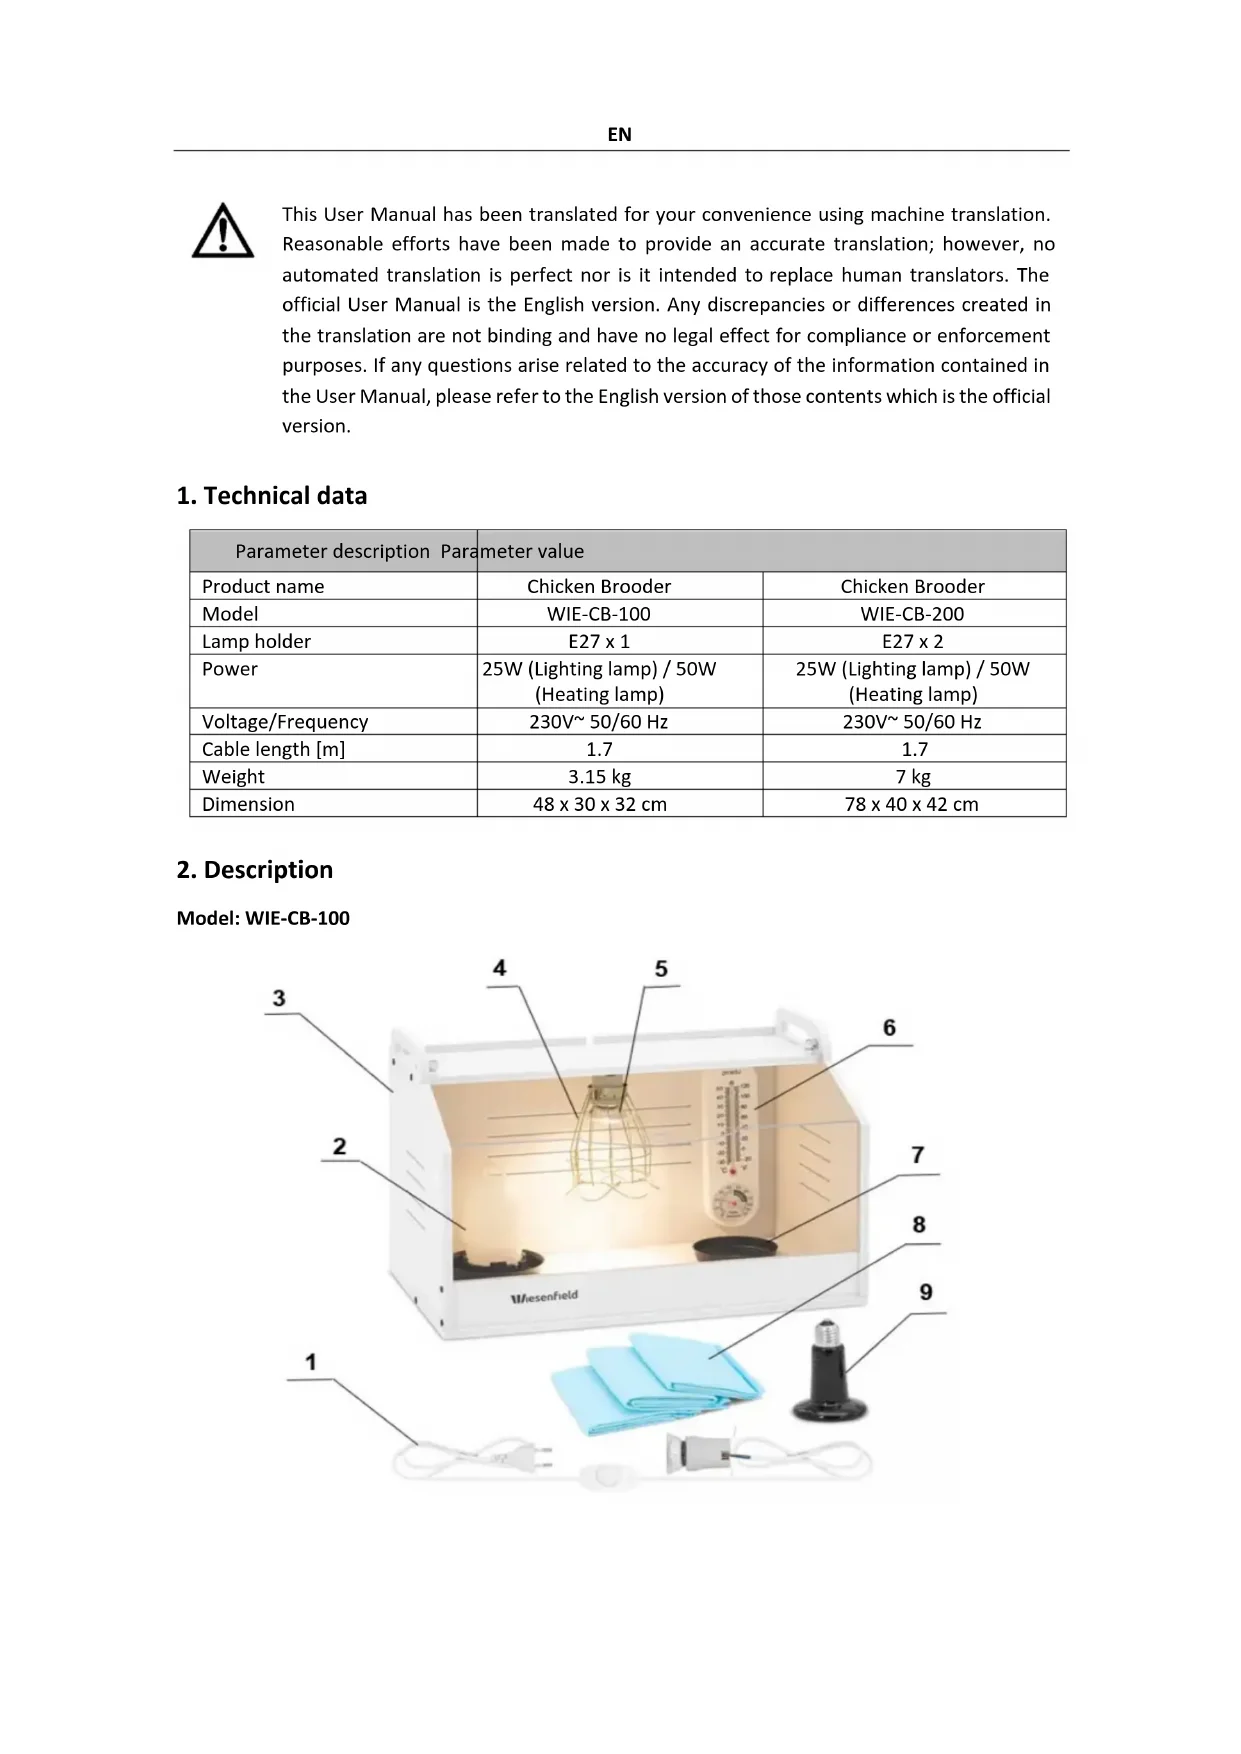
2. Description
Model: WIE-CB-100

1 - Power cable
2 - Ball type poultry drinker
3 - Housing
4 - Anti-scald cover
5 - Lamp with dimmer
6 - Thermometer
7 - Feeding bowl
8 - Floor mats
9 – Heating lamp with dimmer
Model: WIE-CB-200
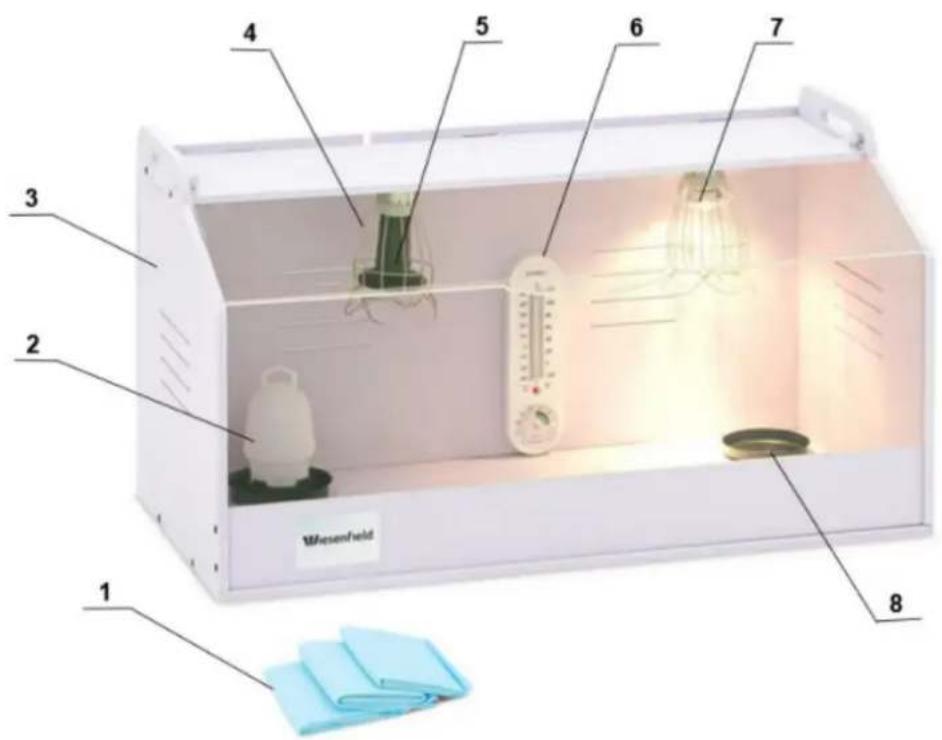
1 - Floor mats
2 - Ball type poultry drinker
3 – Housing
4 - Anti-scald cover
5 – Heating lamp with dimmer
6 - Thermometer
7 - Lamp with dimmer
8 - Feeding bowl
3. Assembly parts (with the small model as example)
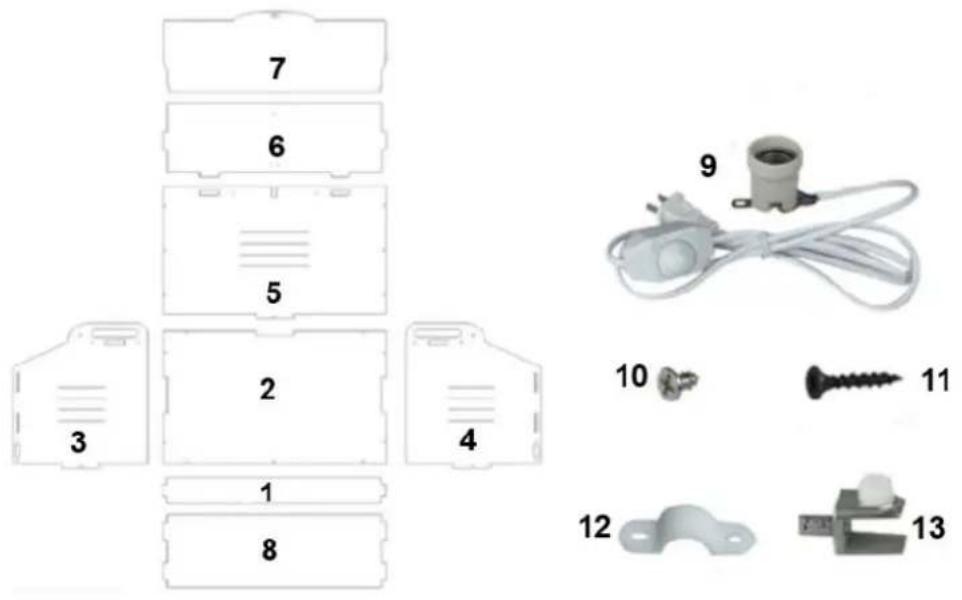
1 - Front plate
2 - Floor plate
3 - Side plate
4 - Side plate
5 - Back plate
6 - Upper plate
7 – Transparent acrylic cover
8 – Transparent acrylic front cover
9 - Lamp socket with line (x1)
10 - Short screw (x4)
11 - Long screw (x28)
12 - Cable holder (x1)
13 - Shaft (x2)
4. Assembly instructions (with the small model as example)
- Fix the lamp socket with two short screws to the upper plate. Use the line holder and 2 short screws to fix the cable as shown in figure A.
- Remove the protective film from the acrylic covers (7, 8). Use a screwdriver to fix the two shafts (figure C) to the acrylic cover (7), as shown in figure B.

natural_image
Close-up of a metallic mechanical component with a circular top and stem, mounted on a plain white background (no text or symbols visible)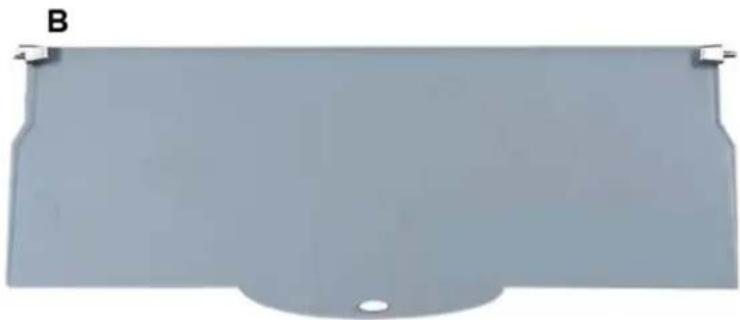
natural_image
Metal plate with a small hole and mounting bracket, labeled 'B' in the top-left corner (no other text or symbols)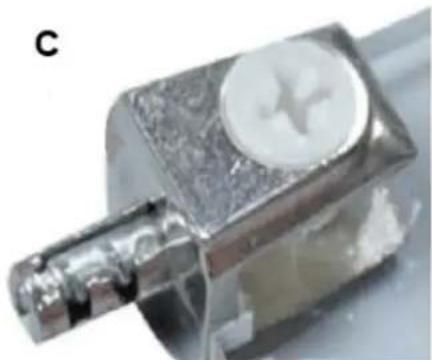
natural_image
Close-up of a metallic mechanical component with a circular button and threaded shaft (no visible text or symbols)- A assemble the brooder starting with the white plates. Attach the top plate (6) with the cable through the U-shaped channel to the back plate (5).
- After assembling the housing properly, screw the long screws into the holes in the outer walls of the brooder, so that 5 screws are attached to the left and right-side plates, 9 screws to the back plate and 9 screws to the floor plate (28 screws in total).
5. Warnings
- This product is delivered with a UVB heat lamp, which is a type of heat source that simulates the sun and has beneficial effects for animals. In case it breaks, it should be replaced with one with the same characteristics. Under no circumstances, use energy-saving lamps, LED lights and other cold light sources.
- When using a chicken brooder, do not rely solely on the thermometer. It is best to observe the activity status of the chicken: if the animals do not like to move and shrink into a ball, it is recommended to increase the brightness of the light; if they open their mouths to breathe and avoid the light, reduce the brightness of the light.
- Newly hatched chickens and birds will not automatically drink water from the drinker, you can pick up the chickens with your hands and put their beak in the water for two or three seconds, then put them next to the drinker so that they learn to use it.
-
Newly hatched chickens must learn to use automatic feeders. At the beginning, you can sprinkle feed into the brooder, and the chickens will feed automatically. When the temperature is high during the day, it is possible to take the chickens out of the brooder and feed them using a feeder.
-
Apply a small amount of adhesive tape to fix the urine pad around the wall. In this way, the chickens do not remove the pad or access the floor, and feeding takes place in a dry and clean manner.
- To avoid excessive temperatures inside the box during the summer, it is recommended to open the top lid to improve air circulation. In winter, it is often necessary to cover the lid to achieve a better insulating effect.

natural_image
Close-up of a metallic mechanical component with a circular top and stem, mounted on a plain white background (no text or symbols visible)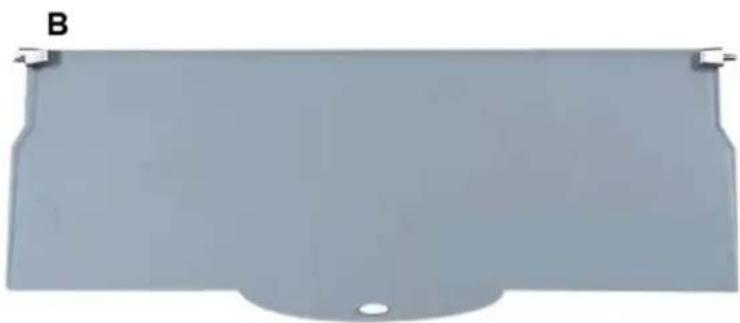
natural_image
Metal plate with a small hole and mounting bracket, labeled 'B' in the top-left corner (no other text or symbols)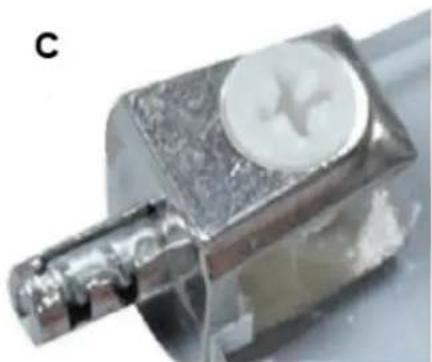
natural_image
Close-up of a metallic mechanical component with a circular button and threaded shaft (no visible text or symbols)natural_image
Close-up of a metallic mechanical component with a central hub and stem, labeled 'A' in the top-left corner (no other text or symbols visible)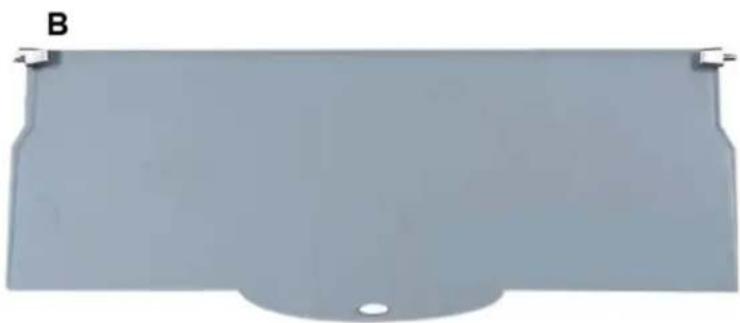
natural_image
Metal plate with a small hole and two small tabs at the top (no text or symbols visible)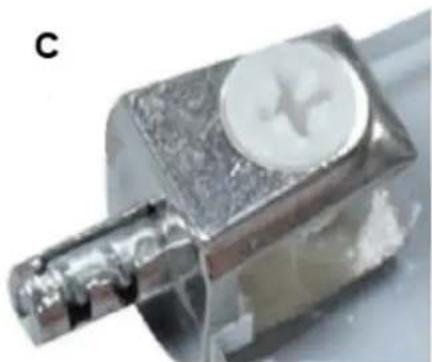
natural_image
Close-up of a metallic mechanical component with a circular button and threaded shaft (no visible text or symbols)natural_image
Close-up of a metallic mechanical component with a circular top and stem, mounted on a plain white background (no text or symbols visible)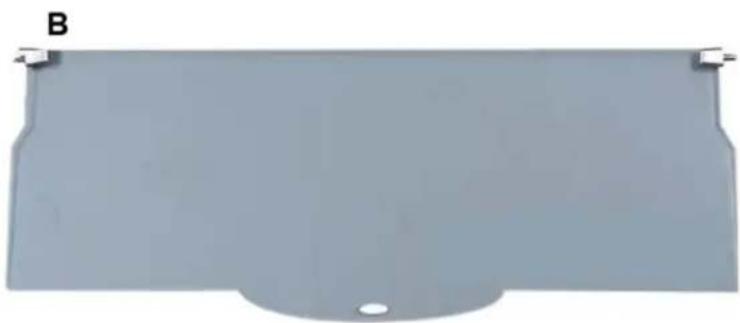
natural_image
Metal plate with a small hole and two small tabs at the top (no text or symbols visible)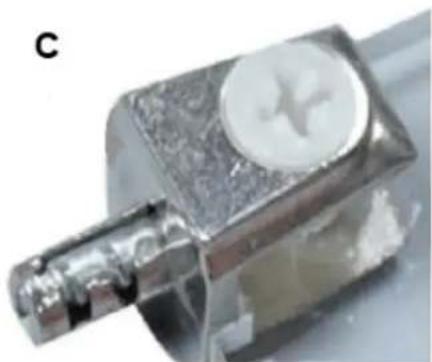
natural_image
Close-up of a metallic mechanical component with a circular button and threaded shaft (no visible text or symbols)natural_image
Close-up of a metallic mechanical component with a circular top and stem, mounted on a plain white background (no text or symbols visible)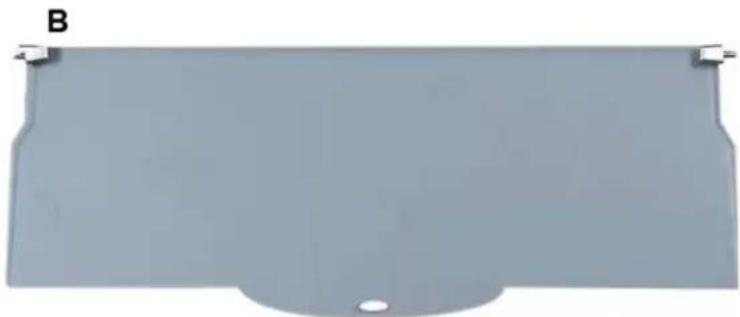
natural_image
Metal plate with a small hole and mounting bracket, labeled 'B' in the top-left corner (no other text or symbols)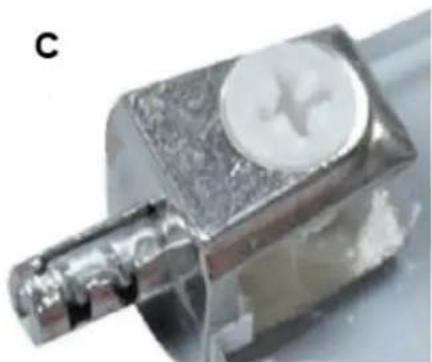
natural_image
Close-up of a metallic mechanical component with a circular button and threaded shaft (no visible text or symbols)natural_image
Close-up of a metallic mechanical component with a central hub and stem, labeled 'A' in the top-left corner (no other text or symbols visible)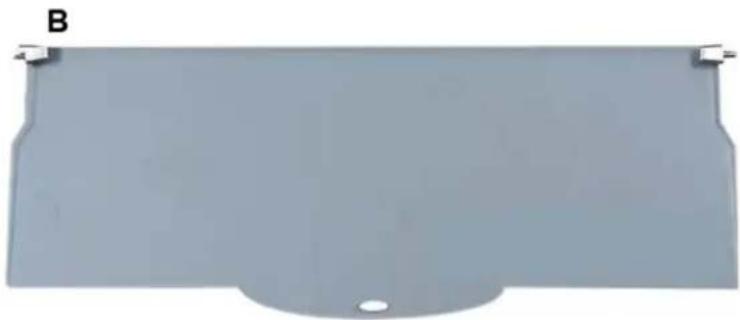
natural_image
Metal plate with a small hole and mounting bracket, labeled 'B' in the top-left corner (no other text or symbols)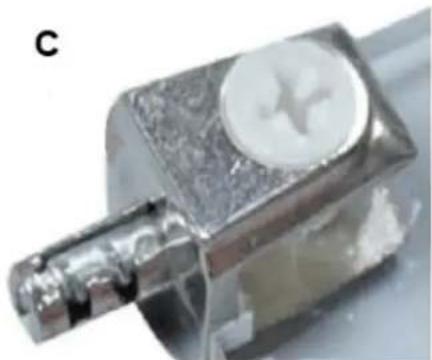
natural_image
Close-up of a metallic mechanical component with a circular button and threaded shaft (no visible text or symbols)natural_image
Close-up of a metallic mechanical component with a circular top and stem, mounted on a plain white background (no text or symbols visible)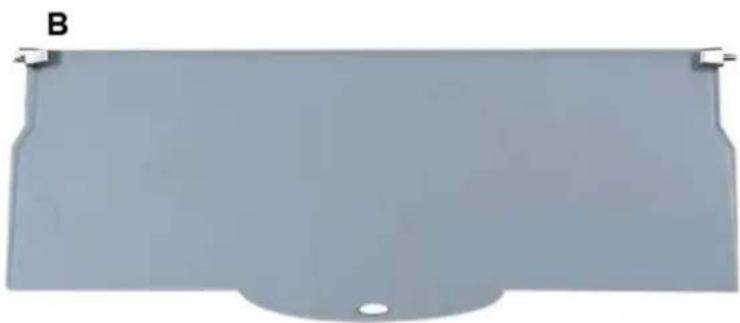
natural_image
Metal plate with a small hole and two small tabs at the top (no text or symbols visible)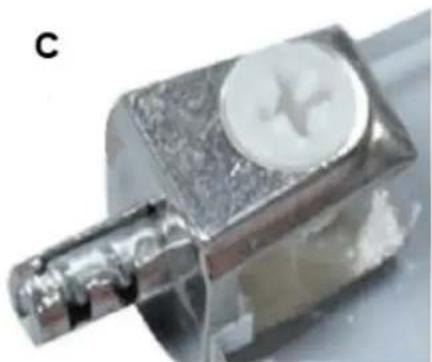
natural_image
Close-up of a metallic mechanical component with a circular button and threaded shaft (no visible text or symbols)natural_image
Close-up of a metallic mechanical component with a central hub and stem, labeled 'A' in the top-left corner (no other text or symbols visible)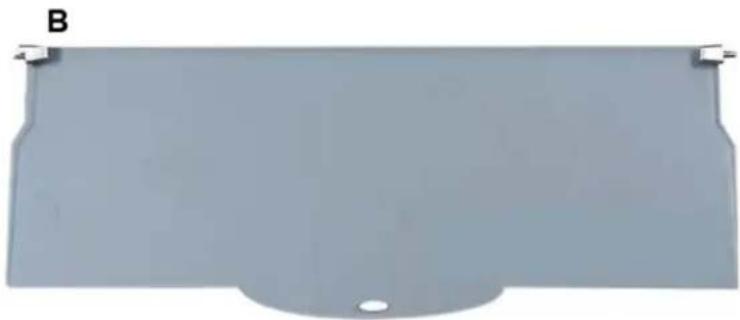
natural_image
Metal plate with a small hole and mounting bracket, labeled 'B' in the top-left corner (no other text or symbols)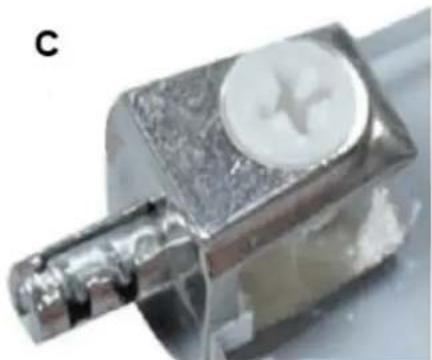
natural_image
Close-up of a metallic mechanical component with a circular button and threaded shaft (no visible text or symbols)natural_image
Close-up of a metallic mechanical component with a central hub and stem, labeled 'A' in the top-left corner (no other text or symbols visible)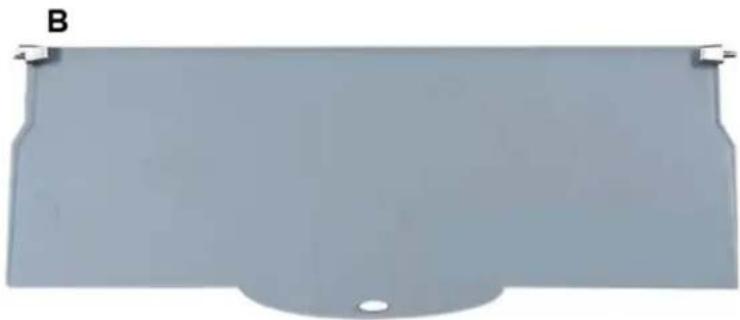
natural_image
Metal plate with a small hole and mounting bracket, labeled 'B' in the top-left corner (no other text or symbols)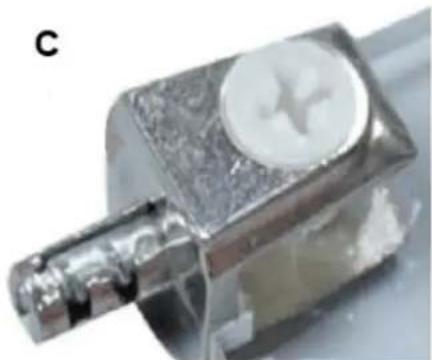
natural_image
Close-up of a metallic mechanical component with a circular button and threaded shaft (no visible text or symbols)natural_image
Close-up of a metallic mechanical component with a central hub and stem, labeled 'A' in the top-left corner (no other text or symbols visible)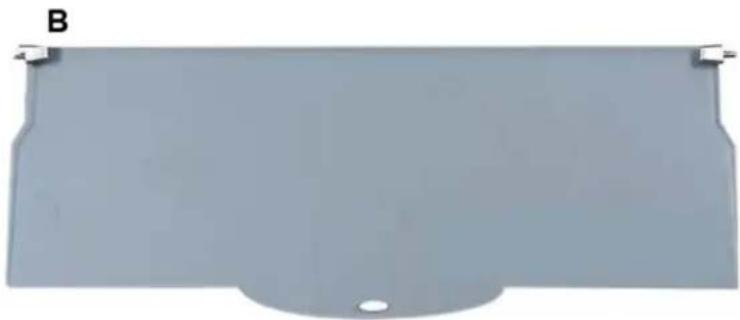
natural_image
Metal plate with a small hole and mounting bracket, labeled 'B' in the top-left corner (no other text or symbols)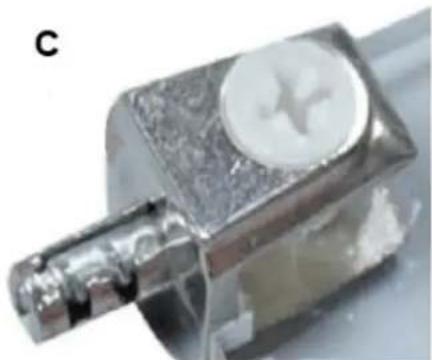
natural_image
Close-up of a metallic mechanical component with a circular button and threaded shaft (no visible text or symbols)natural_image
Close-up of a metallic mechanical component with a central hub and stem, mounted on a plain white background (no text or symbols visible)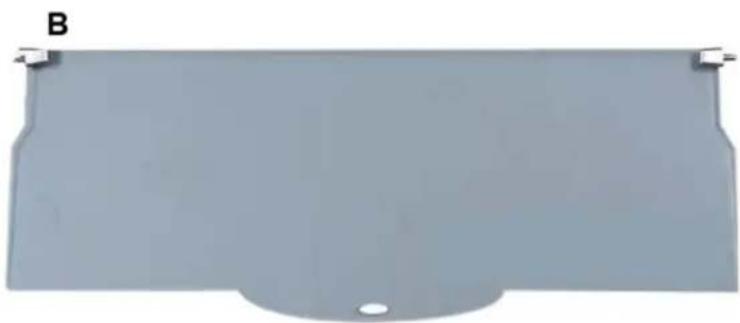
natural_image
Metal plate with a small hole and mounting bracket, labeled 'B' in the top-left corner (no other text or symbols)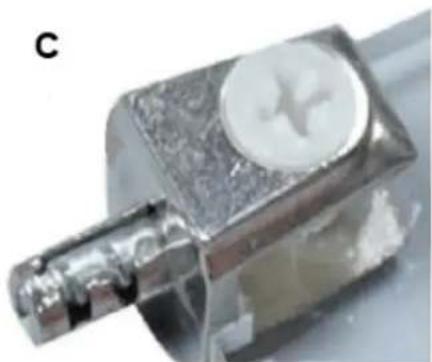
natural_image
Close-up of a metallic mechanical component with a circular button and threaded shaft (no visible text or symbols)natural_image
Close-up of a metallic mechanical component with a central hub and stem, labeled 'A' in the top-left corner (no other text or symbols visible)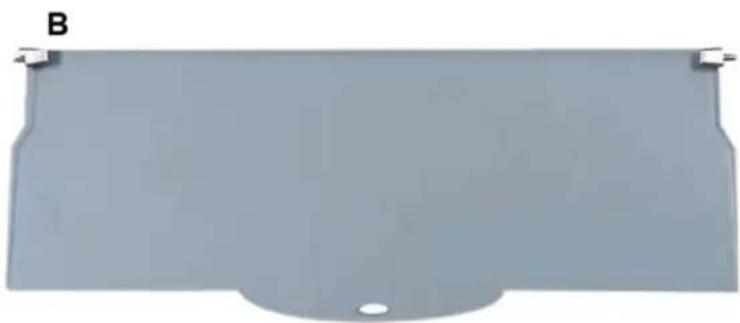
natural_image
Metal plate with a small hole and two small clips, labeled 'B' in the top-left corner (no other text or symbols)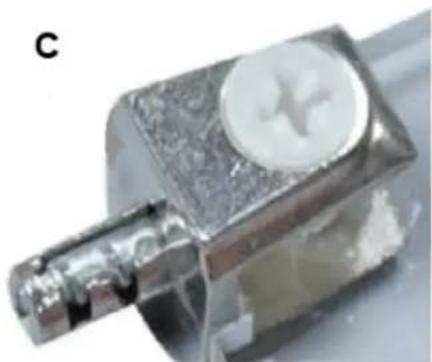
natural_image
Close-up of a metallic mechanical component with a circular button and threaded shaft (no visible text or symbols)natural_image
Close-up of a metallic mechanical component with a central hub and stem, labeled 'A' in the top-left corner (no other text or symbols visible)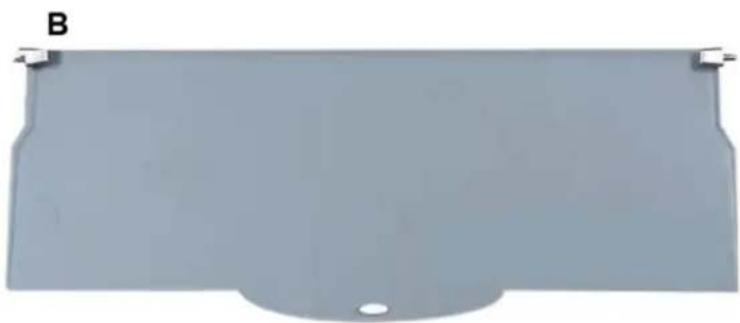
natural_image
Metal plate with a small hole and two small tabs at the top (no text or symbols visible)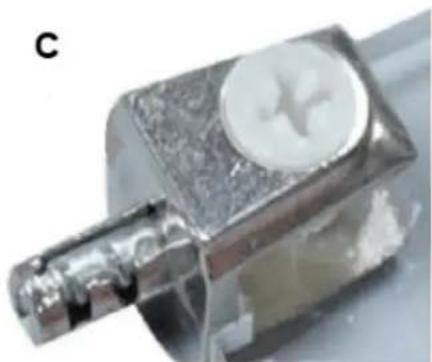
natural_image
Close-up of a metallic mechanical component with a circular button and threaded shaft (no visible text or symbols)natural_image
Close-up of a metallic mechanical component with a central hub and stem, labeled 'A' in the top-left corner (no other text or symbols visible)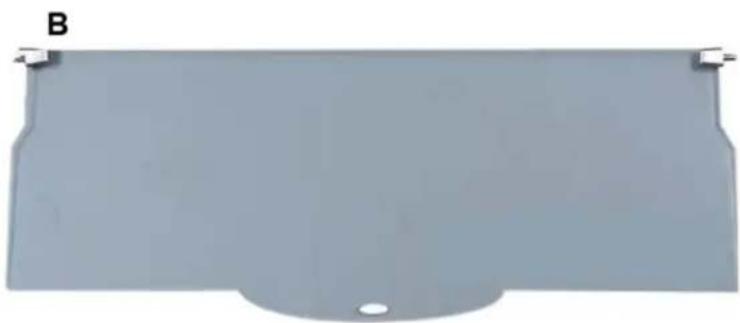
natural_image
Metal plate with a small hole and two small tabs at the top (no text or symbols visible)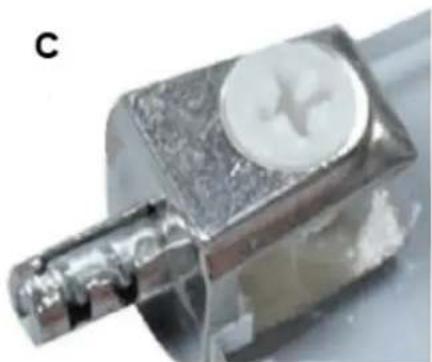
natural_image
Close-up of a metallic mechanical component with a circular button and threaded shaft (no visible text or symbols)natural_image
Close-up of a metallic mechanical component with a central hub and stem, labeled 'A' in the top-left corner (no other text or symbols visible)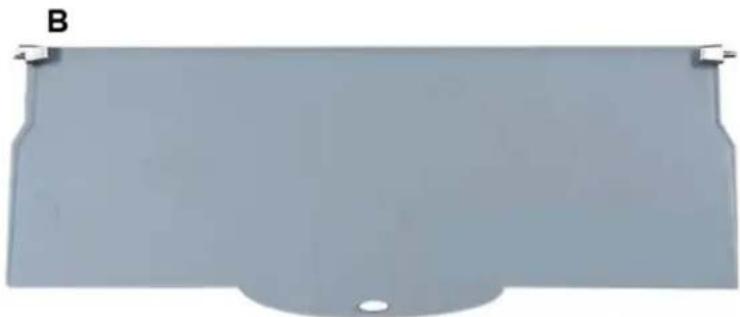
natural_image
Metal plate with a small hole and mounting bracket, labeled 'B' in the top-left corner (no other text or symbols)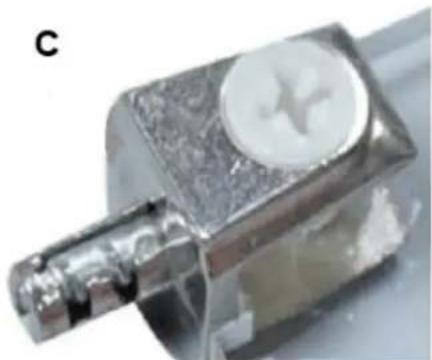
natural_image
Close-up of a metallic mechanical component with a circular button and threaded shaft (no visible text or symbols)natural_image
Close-up of a metallic connector or terminal with a central hub and wires, labeled 'A' in the top-left corner (no other text or symbols visible)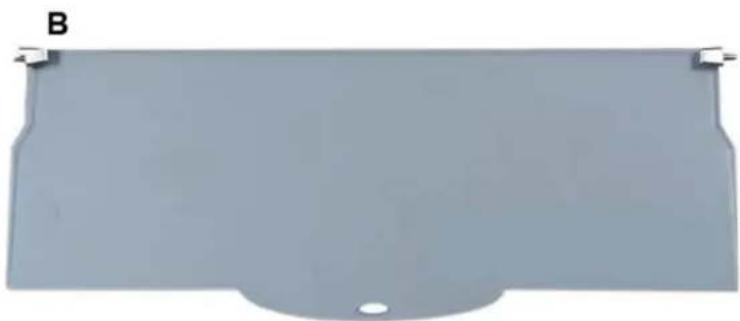
natural_image
Metal plate with a small hole and mounting bracket, labeled 'B' in the top-left corner (no other text or symbols)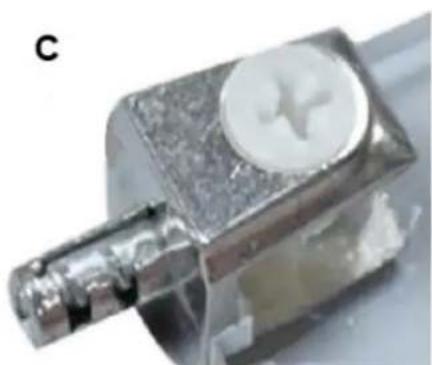
natural_image
Close-up of a metallic mechanical component with a circular top and threaded shaft (no visible text or symbols)natural_image
Close-up of a metallic mechanical component with a circular top and stem, mounted on a plain white background (no text or symbols visible)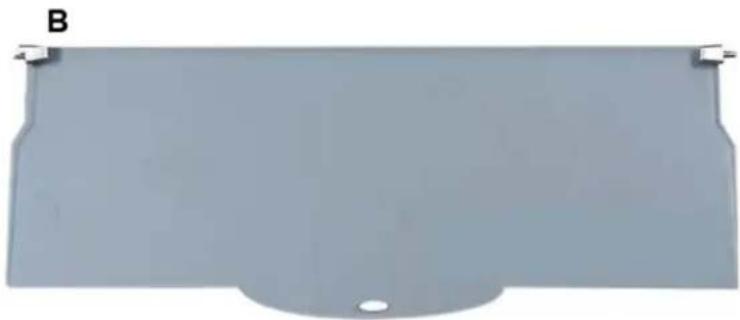
natural_image
Metal plate with a small hole and mounting bracket, labeled 'B' in the top-left corner (no other text or symbols)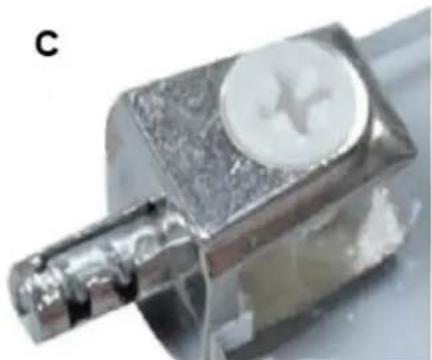
natural_image
Close-up of a metallic mechanical component with a circular button and threaded shaft (no visible text or symbols)- Sastavite brooder počevši od bijelih ploča. Pričvrstite gornju ploču (6) kabelom kroz kanal u obliku slova U na stražnju ploču (5).
- Nakon pravilnog sastavljanja kućišta, zavrnite dugačke vijke u rupe na vanjskim stijenkama grijača, tako da 5 vijaka bude pričvršćeno na lijevu i desnu bočnu ploču, 9 vijaka na stražnju ploču i 9 vijaka na podnu ploču (28 vijaka ukupno).
5. Upozorenja
natural_image
Close-up of a metallic mechanical component with a central hub and stem, labeled 'A' in the top-left corner (no other text or symbols visible)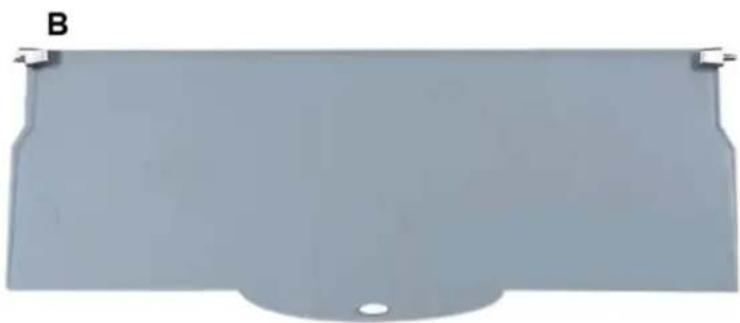
natural_image
Metal plate with a small hole and two small tabs at the top (no text or symbols visible)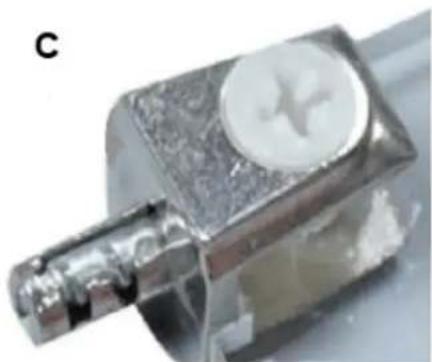
natural_image
Close-up of a metallic mechanical component with a circular button and threaded shaft (no visible text or symbols)natural_image
Close-up of a metallic mechanical component with a circular top and stem, mounted on a plain white background (no text or symbols visible)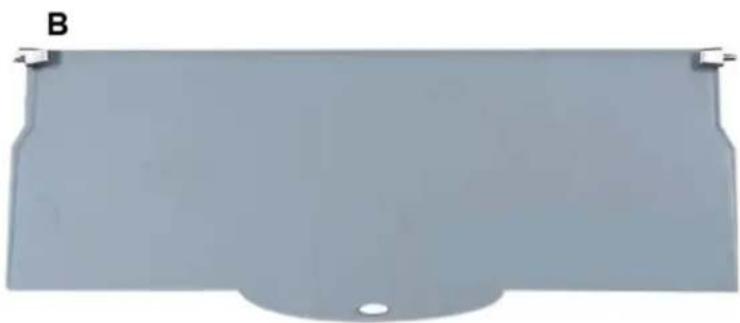
natural_image
Metal plate with a small hole and two small tabs at the top (no text or symbols visible)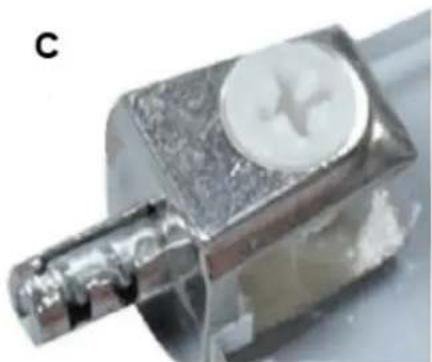
natural_image
Close-up of a metallic mechanical component with a circular button and threaded shaft (no visible text or symbols)natural_image
Close-up of a metallic mechanical component with a circular top and stem, mounted on a plain white background (no text or symbols visible)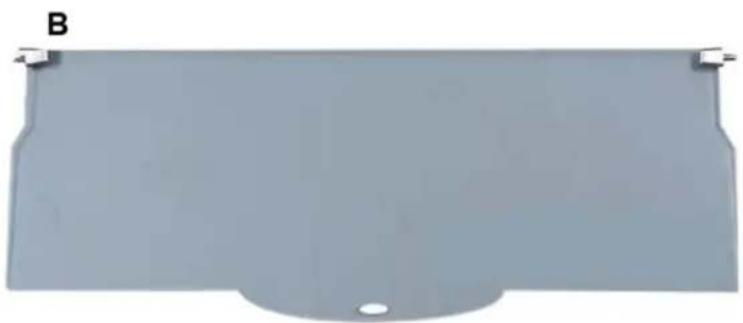
natural_image
Metal plate with a small hole and mounting bracket, labeled 'B' in the top-left corner (no other text or symbols)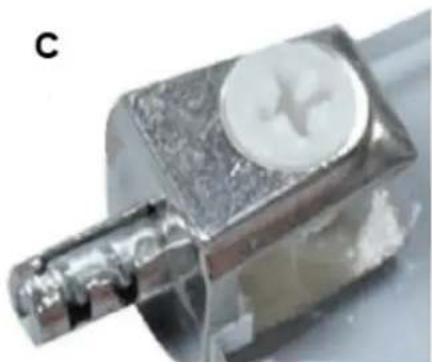
natural_image
Close-up of a metallic mechanical component with a circular button and threaded shaft (no visible text or symbols)For the disposal of the device please consider and act according to the national and local rules and regulations.
CONTACT
expondo Polska sp. z o.o. sp. k.

Brand : Wiesenfield
Model : WIECB200
Category : Chicken incubator