ASR 2050 - Vacuum Cleaner METABO - Free user manual and instructions
Find the device manual for free ASR 2050 METABO in PDF.

| Product Type | Multi-purpose Vacuum Cleaner |
| Brand | Metabo |
| Model | ASR 2050 |
| Intended Use | Dry and liquid suction (dust, solids, non-flammable liquids up to 60°C) |
| Tank Capacity | 50 liters |
| Power Supply | Mains, grounded plug, 16 A protection |
| Operating Mode | Manual (I), Automatic (A), Automatic with filter cleaning (R A) |
| Filter Cleaning | Automatic or manual electromagnetic |
| Filter Type | Filter cartridges (compliant with BIA C) + washable motor protection filter |
| Paper Filter Bag | Suitable for dry suction (FB 50) |
| Sound Level | May exceed 80 dB(A) - wear hearing protection |
| Automatic Shut-off | For liquids: motor stops when tank is full (float) |
| Power Tool Socket | Automatic vacuum control (max total current I_max) |
| Filtercontrol Indicator | Indicates filter clogging |
| Maintenance | Regular filter cleaning, wash tank and accessories with water |
| Safety | Do not vacuum flammable substances, do not use outdoors in wet weather, disconnect before maintenance |
| Included Accessories | Carrying handle, castors to be mounted, hose, nozzles, tubes (depending on version) |
| Spare Parts | Use only genuine Metabo parts |
| Repairs | By an authorized Metabo specialist |
| Environmental Protection | Recyclable, do not dispose of with household waste (WEEE) |
Frequently Asked Questions - ASR 2050 METABO
User questions about ASR 2050 METABO
0 question about this device. Answer the ones you know or ask your own.
Ask a new question about this device
Download the instructions for your Vacuum Cleaner in PDF format for free! Find your manual ASR 2050 - METABO and take your electronic device back in hand. On this page are published all the documents necessary for the use of your device. ASR 2050 by METABO.
USER MANUAL ASR 2050 METABO
natural_image
Two industrial vacuum cleaner machines with coiled hoses, no visible text or symbols

natural_image
Icon of a person reading a book inside a circle (no text or symbols)ENG Original instructions.... 10
(F) Notice originale.... 15
Director Product Engineering & Quality
Responsible Person for Documentation
© 2010 Metabowerke GmbH, 72622 Nürtingen, Germany
14
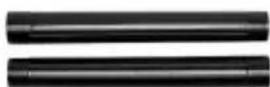
ø 35 mm 6.30 245
15
ø 35 mm 6.30 323
16
ø 35 mm 6.30 246
17

ø 35 mm 6.30 324
18

natural_image
Three identical mechanical components with no visible text or symbolsø 35 mm 270 mm 6.30 328
19
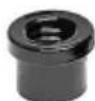
ø 35/58 mm 6.30 316
20
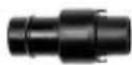
ø 35/35 mm 6.30 898
21
natural_image
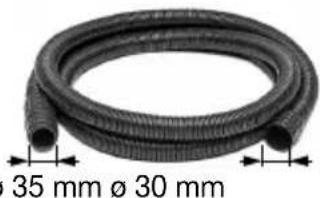
Coiled black rubber hose with two flanged ends, showing thickness and diameter (no text or symbols)5 m 6.31 592
22

ø 35 mm 6.31 593
23

natural_image
Coiled industrial hose with black connectors (no text or symbols visible)ø 58 mm 3 m 6.30 312
24

ø 58 mm 6.30 365
25
ø 58 mm 6.30 867
0,4 m
26
ø 58 mm 6.30 869
27
ø 58 mm 6.30 868
28
ø 58 mm 6.30 870
29
ø 58/38 mm 6.31 364
natural_image
Diagram of mechanical components including a pulley, screw, and pin (no text or labels)7 Benutzung
Original instructions
Dear Customer,
Thank you for the trust you have placed in us by buying a Metabo power tool. Each Metabo power tool is carefully tested and subject to strict quality controls by Metabo's quality assurance. Nevertheless, the service life of a power tool depends to a great extent on you. Please observe the information contained in these instructions and the enclosed documentation. The more carefully you treat your Metabo power tool, the longer it will provide dependable service.
Contents
1 Conformity Declaration
2 Intended Use
3 General Safety Instructions
4 Special Safety Instructions
5 Overview
6 Initial Operation
6.1 Attaching the carrying handle (ASR 2050)
6.2 Fitting wheels (if necessary)
7 Use
7.1 On/Off Switch, Automatic, Vibrator
7.2 Suction
7.3 Dedusting the Filter
7.4 Emptying the Container
7.5 Paper Filter Bag
8 Cleaning
9 Servicing
10 Troubleshooting
11 Accessories
12 Repairs
13 Environmental Protection
14 Technical Specifications
1 Conformity Declaration
We, being solely responsible, hereby declare that this product conforms to the standards and directives specified on page 2.
2 Specified Conditions of Use
These vacuum cleaners are suitable for the vacuuming of dust, solid materials (broken glass, nails etc.), liquids of any kind with the exception of highly inflammable, combustible liquids and material that is hotter than 60 °C.
This tool is not designed for use by persons (including children) with physical, sensory or mental disabilities, or with insufficient experience and/or knowledge, unless they are supervised by a person responsible for their safety, or have
received instructions on how to use the tool by this person.
This product is designed for industrial use.
The user bears sole responsibility for any damage caused by inappropriate use.
Generally accepted accident prevention regulations and the enclosed safety information must be observed.
3 General Safety Information
Before using this power tool, completely read and understand the enclosed safety information and the instructions. Keep all enclosed documentation for future reference, and pass on your power tool only together with this documentation.
4 Special Safety Information

For your own protection and the protection of your power tool, observe the passages marked by this symbol!
The appliance is not suitable for the vacuuming of substances that are harmful to health nor for reducing wood dust in inhaled air.
No inflammable or explosive solvents, material saturated with solvent, dust that represents an explosion hazard, liquids such as petrol, oil, alcohol, thinner or material that is hotter than 60 °C are allowed to be vacuumed. This would cause an explosion and fire hazard ! You are not allowed to use the appliance in the vicinity of inflammable gases or substances.
The plug socket to which the all-purpose vacuum cleaner is connected must have a slow-blow fuse of at least 16 A.
Do not put appliances or accessories into operation, if:-
- The appliance has recognizable damage (cracks/breaks),
- The mains connection lead is defective or shows signs of cracking or aging,
- There is a suspected non-visible defect (after having been dropped).
Do not use any damaged extension leads.
Do not pull the connection lead over any sharp edges and do not kink or pinch it.
Do not point the nozzle, hose or tube at people or animals.
The plug socket on the appliance may be used only for the purposes defined in the usage instructions.

If any foam or water egresses, switch off immediately. Empty the container and, if be, the pleated filter.
Acids, acetone and solvents can corrode the appliance components.
Do not leave the appliance unattended. If there is a long work interruption, disconnect the mains plug.
Prior to any servicing work, clean the appliance. After each use switch off the appliance and pull out the mains plug.
You are not allowed to perform any work other than that described here.
In the event of misuse, improper operation or unprofessional repair work no liability shall be assumed by us for any damage incurred.

Clean the water sensor regularly and check it for signs of damage.

Caution! Do not use the appliance until you have read the Operating Instructions.
If the connection lead of the appliance is damaged, it must be replaced by a special connection lead. See the chapter on Repairs.
Always connect to a socket with protective contact.
The vacuum cleaner should not be used or stored outside in wet conditions.
Never allow children to use the machine.
Children should be supervised to ensure that they do not play with the tool.
Steam cleaners and high-pressure cleaners must not be used to clean the vacuum cleaner.
The inside of the cover must always be kept dry.
Mold contamination can result if the appliance is not cleaned for an extended period, especially if used in areas where foodstuffs are processed: Always clean and disinfect the vacuum cleaner immediately after use.
Never open the appliance outdoors during rain or storms.
Never sit or stand on the appliance.
Arrange the cables and hose so that no-one can trip over them.
The appliance must not be operated in areas with an explosion hazard.
Never insert or remove the mains plug with wet hands.
Only pull on the mains plug, not on the lead.
Dust from material such as paint containing lead, some wood species, minerals and metal may be harmful. Contact with or inhalation of the dust may cause allergic reactions and/or respiratory diseases to the operator or bystanders.
Certain kinds of dust are classified as carcinogenic such as oak and beech dust especially in conjunction with additives for wood conditioning (chromate, wood preservative). Material containing asbestos must only be treated by specialists.
Ensure that the vacuum cleaner is steady.
WARNING - Operating staff must be provided with appropriate instruction on how to use this vacuum cleaner.
WARNING - The vacuum cleaner is not suitable for vacuuming dust that is hazardous to health.
IMPORTANT - This machine must only be stored indoors.
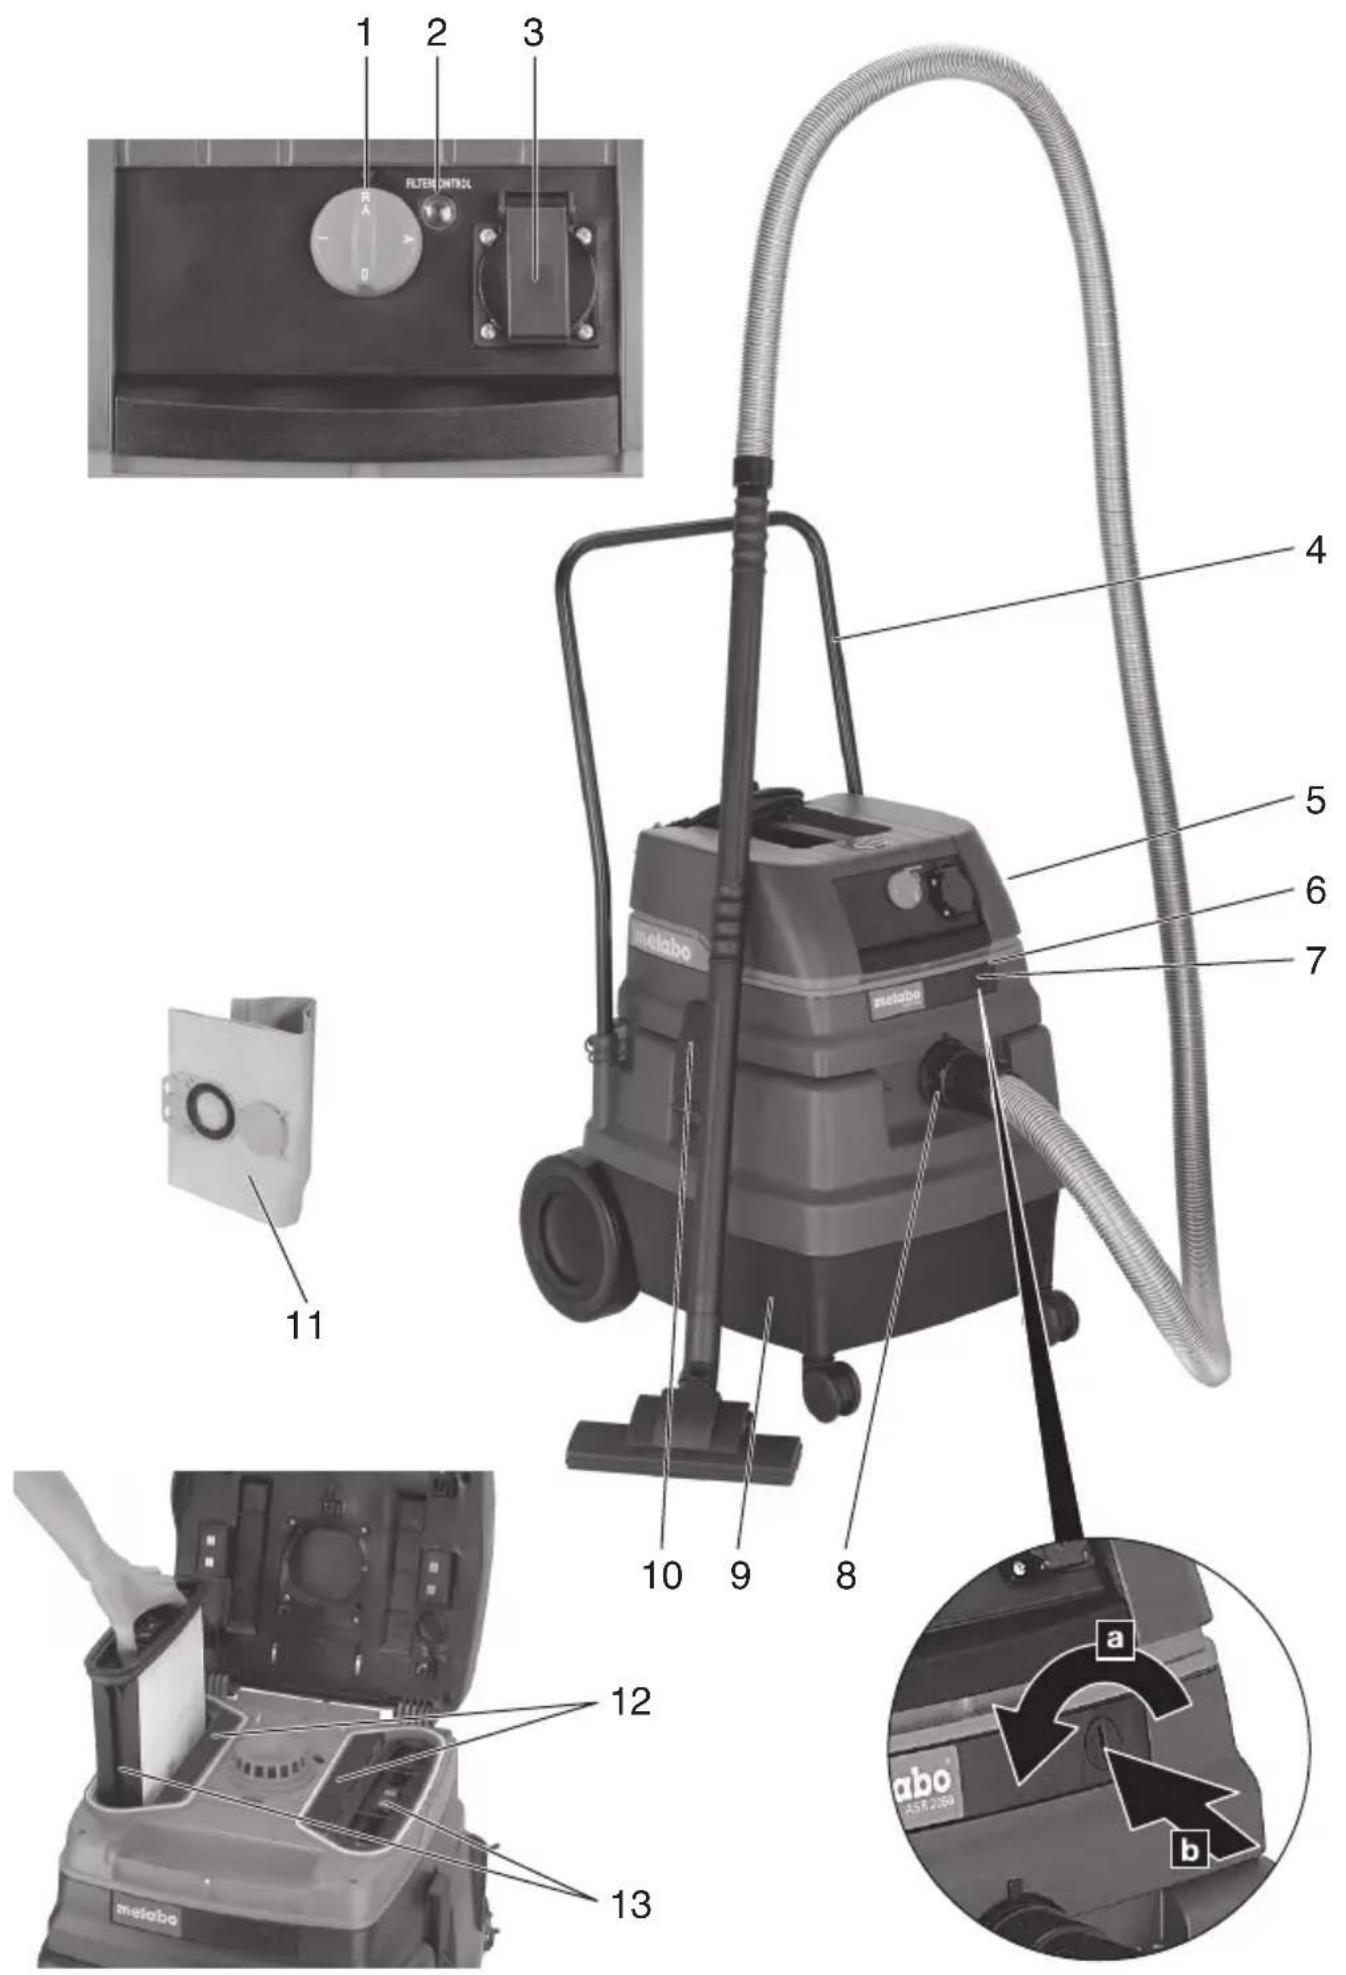
5 Overview
See page 3 (please unfold).
1 Rotary switch On/Off/Automatic/Vibrator
2 "Filtercontrol" lamp
3 Plug socket for power tool
4 Carrying handle *
5 Upper part
6 Locking bar
7 Locking knob
8 Suction opening
9 Container
10 Snap lock
11 Paper filter bag
12 Motor protection filter
13 Filter cartridges ( complying with BIA C)
*equipment-dependent
6 Initial Operation

Before plugging in check to see that the rated mains voltage and mains frequency, as stated on the rating label, match with your power supply.
6.1 Attaching the carrying handle (ASR 2050)
Stick the carrying handle (4) into the support provided for it on the container (9) and secure with the quick-release locks provided.
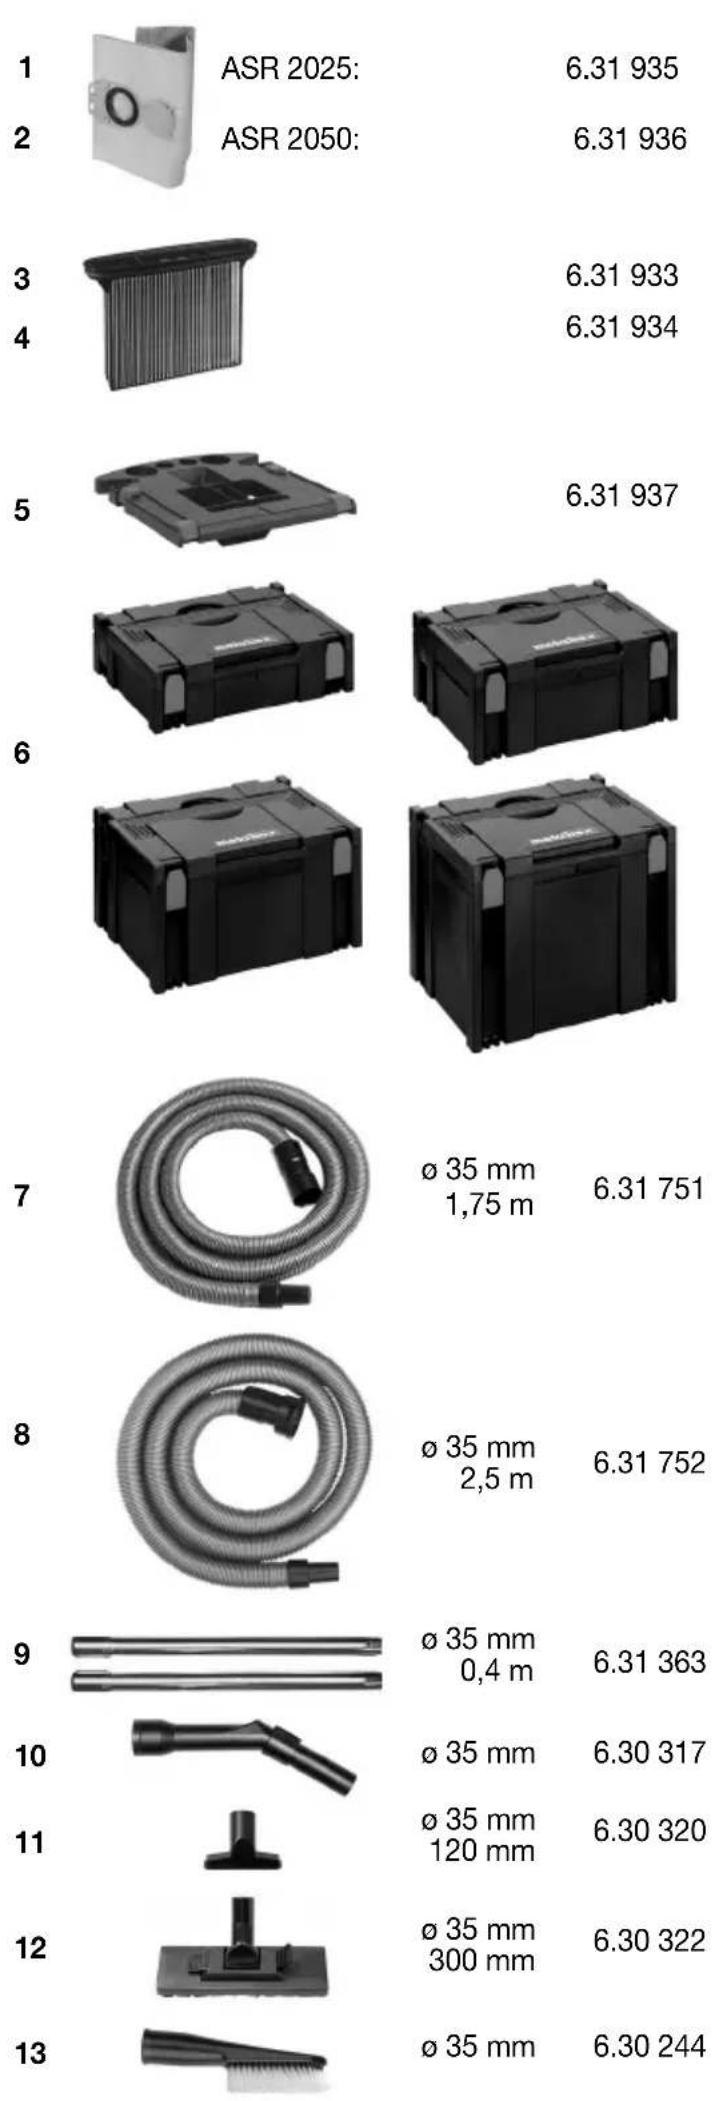
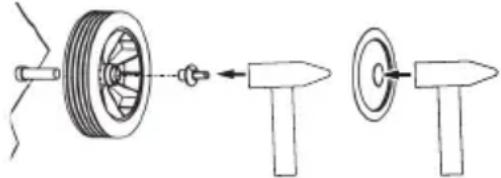
6.2 Fitting wheels (if necessary)
Insert the axles of the guide rollers in the holes in the container until they engage.
Fit the large wheels as shown:
natural_image
Diagram showing mechanical components including a wheel, pin, and target with arrows indicating motion (no text or labels)7 Use
7.1 On/Off switch, automatic, vibrator
Select the mode via switch (1):
0 = Dust extractor off
I = Dust extractor on (manual operation)
A = Automatic On/Off switch:
The dust extractor is turned on and off by a power tool (3) connected to the mains socket.
R A = Automatic On/Off switch and automatic vibrator
- If the switch (1) is turned to position R A, the electromagnetic vibrator switches on. Dust is shaken off the filter. The vibrator switches off automatically after approx. 10 secs.
- In switch position R A, the dust extractor is turned on and off by a power tool (3) connected to the mains socket.
- In switch position R A, the electronics system checks the air flow during operation. If the flow is insufficient due to a contaminated filter, the "Filtercontrol" lamp (2) lights up. During the next work pause of the connected power tool, the electronics system switches the vibrator on automatically for approx. 10 seconds.

The plug socket (3) is designed for connection to a power tool only.

The total maximum permissible current consumption (of dust extractor and connected unit) must not exceed the value I_max (see table, page 2).

Caution! The power tool must be switched off when it is connected.
Regardless of the switch position the plug socket is always live when the mains plug is plugged in.
In switch position "0" the plug socket can be used as an extension lead (e.g. for a lighting fitting).
7.2 Vacuuming
Dry Vacuuming
Vacuum using a dry filter, dry appliance and dry accessories only. In damp condition the dust can adhere and become encrusted.
When vacuuming soot, cement, plaster of Paris, flour or similar dust, insert a paper filter bag.
Always use the paper filter bag together with a filter cartridge.
Wet Vacuuming

Never operate the machine without inserting a filter cassette first (13). The nine may be destroyed and water may also be.
Vacuum without a paper filter bag. The filter cartridges are suitable for wet vacuuming.
The integrated sensor switches off the motor when the container is full. Empty the appliance as described in the section Emptying the Container. If the appliance is not switched off, the restart protection device remains effective. The appliance is not operable again until after is has been switched off and switched back on again.
Before emptying, first of all take the suction hose out of the liquid.
After switching off, some water may run back out of the hose.
If you are going to subsequently dry vacuum, insert a filter. If there is a frequent changeover between dry and wet vacuuming, we recommend the use of a second (replacement) filter.
Filter cartridges made of polyester material are particularly well suited for wet suction. In addition they offer a long service life and very good dedusting properties.
7.3 Dedusting the filter
The electromagnetic vibrator shakes off dust which sticks to the filter cartridge (13). This ensures optimised use of the filter cartridges and lengthens the work cycles.
Turn the switch (1) to the "R A" position.
After using the vibration function, you should wait a few seconds until the dust shaken from the filter has settled.
7.4 Emptying the Container
Switch off the appliance via switch (1).
Pull the mains plug out of the plug socket.
Open the snap locks (10)1.
Remove the upper part (5) and suction hose from the container (9).
Tip out the container or pull the paper filter bag (11) off the suction opening.
7.5 Paper filter bag
Open the latching fasteners (10), remove the upper part (5) from the container (9).
ASR 2025: Hold the paper filter bag (11) on the flange and insert vertically from above into the guide of the suction opening (8) as far as the stop.
ASR 2050: Hold the paper bag filter (11) on the flange and, with its opening, guide it first over the latch at the bottom part of the suction opening (8) then fit up to the stop on the suction opening.
The paper filter bag increases the dust retention capacity, increases the service life of the filter cartridges and enables for hygienic disposal. Use the paper filter bag for dry vacuuming only.
8 Cleaning
Clean the container and accessories with water. Wipe the upper part (5) with a damp cloth.
Allow the filter, container and accessories to dry so that no dust is able to adhere to otherwise damp components.
Before doing any wet vacuuming remove the dry vacuumed material. Doing this will avoid intense soiling and encrustation.
9 Servicing
If the suction power decreases, take the following action:
- Clean the filter cartridges by switching off the electromagnetic vibrator.
- Empty the container or replace the paper filter bag.
- Renew the filter cartridges (13)
Prior to changing the filter, dedust the filter cartridges (13) again.
Use a coin or a similar object to turn the locking knob (7) on the locking bar (6) counter-clockwise through 90° and push the bar (6) to the rear.
Hinge the hood up and take out the filter cartridges (13) upwards.
Put new filter cartridges back in, ensuring that the filters are firmly and cleanly seated.
From time to time the motor protection filter (12) must be cleaned.
To do so, take the filter out of the motor housing. Wash the filter in flowing water and allow it to dry.
Re-insert the filter.
Remove any contamination.
Hinge the hood back down and press it shut.
10 Troubleshooting
Reduction in suction power:
- Filter soiled - clean
• Paper filter full - change - Container full - empty.
- Motor protection filter clogged - clean
- Nozzle, tubes or hose blocked - clean
Appliance will not start:
- Is the plug in the plug socket?
- No power from mains ?
- Mains lead OK ?
• Appliance hood correctly closed? - Has the water sensor cut off?

Do not interfere with the appliance.
Contact an authorized workshop or
Metabo's after-sales service department (see section Repairs)
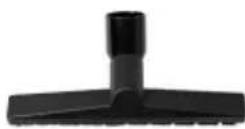
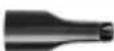
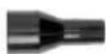
11 Accessories
Use only genuine Metabo accessories.
If you need any accessories, check with your dealer.
For the dealer to select the correct accessory, he needs to know the exact model designation of your power tool.
See page 4.
1 Paper filter bag FB 25 for 25 l container
5 pieces = 1 set
2 Paper filter bag FB 50 for 50 l container
5 pieces = 1 set
3 Filter cartridge FK 4300 cellulose material
2 pieces = 1 set
4 Filter cartridge FKP 4300 polyester material
2 pieces = 1 set
Filter cartridges made of polyester material are particularly well suited for wet suction. In addition they offer a long service life and very good dedusting properties.
5 Metadepot for combination with the Metabox System.
Fitting the Metadepot:
Release the four screw on the handle.
Remove the handle. Fit the Metadepot in the reverse order. The Metadepot allows the dust extractor to be combined with the Metabox system. In addition, the Metadepot can accommodate the extension tubes and connection cable.
6 Metabox system
7 Suction hose
8 Suction hose with revolving joint
9 Suction tubes (2 pieces)
10 Intermediate piece
11 Suction nozzle
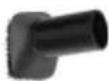
12 Universal nozzle
13 Universal brush
14 Upholstery brush
15 Crevice nozzle
16 Radiator suction brush
17 Rubber nozzle
18 Multi-purpose nozzle
19 Adaptor
20 Connecting piece
21 Suction hose
with connecting piece inner dia. 30 mm
and connecting piece outer dia. 35 mm
22 Connecting piece
23 Suction hose
24 Connecting sleeve
25 Suction tubes
26 Coarse-dirt nozzle
27 Floor nozzle
28 Crevice nozzle
29 Reducing sleeve
12 Repairs
Repairs to electrical tools must be carried out by qualified electricians ONLY!
Use only original Metabo spare parts.
Any Metabo power tool in need of repair can be sent to one of the addresses listed in the spare parts list.
Please attach a description of the fault to the power tool.
13 Environmental Protection
Metabo's packaging can be 100% recycled.
Worn out power tools and accessories contain considerable amounts of valuable raw and plastic materials, which can be recycled.
These instructions are printed on chlorine-free bleached paper.

Only for EU countries: Do not dispose of electric tools together with household waste material! In observance of European
Directive 2002/96/EC on waste electrical and electronic equipment and its implementation in accordance with national law, electric tools that have reached the end of their life must be collected separately and returned to an environmentally compatible recycling facility.
14 Technical Specifications
Explanatory notes on the information on page 2.
Changes due to technological progress reserved.
A = Outer dimensions
P_1 = Rated power consumption
P_2 = Power output
F = Mains frequency
V_1/s = max. volume flow (at blower)
P_U^w = max. vacuum (at blower)
V = Container volume
m = W e i g h
Typical A-weighted sound levels:
L_pA = Sound pressure level
During operation the noise level can exceed 80 dB(A).

Wear ear muffs !
Measured values determined in conformity with EN 60704.
The technical specifications quoted are subject to tolerances (in compliance with the relevant valid standards).
Notice originale
Cher client,
natural_image
Pure mechanical diagram showing a wheel, shaft, and pin assembly without any text or symbols7 Utilisation
natural_image
Diagram showing mechanical components including a wheel, shaft, and pin (no text or labels)7 G e b r u i k
7.1 In-/uitschakelen, automatische regeling, triller
V = volume reservoir
m = gewicht