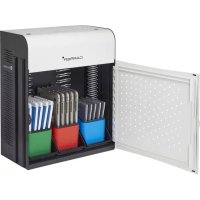
Carrier 15 - Charging station Lockncharge - Free user manual and instructions
Find the device manual for free Carrier 15 Lockncharge in PDF.


User questions about Carrier 15 Lockncharge
0 question about this device. Answer the ones you know or ask your own.
Ask a new question about this device
Download the instructions for your Charging station in PDF format for free! Find your manual Carrier 15 - Lockncharge and take your electronic device back in hand. On this page are published all the documents necessary for the use of your device. Carrier 15 by Lockncharge.
USER MANUAL Carrier 15 Lockncharge
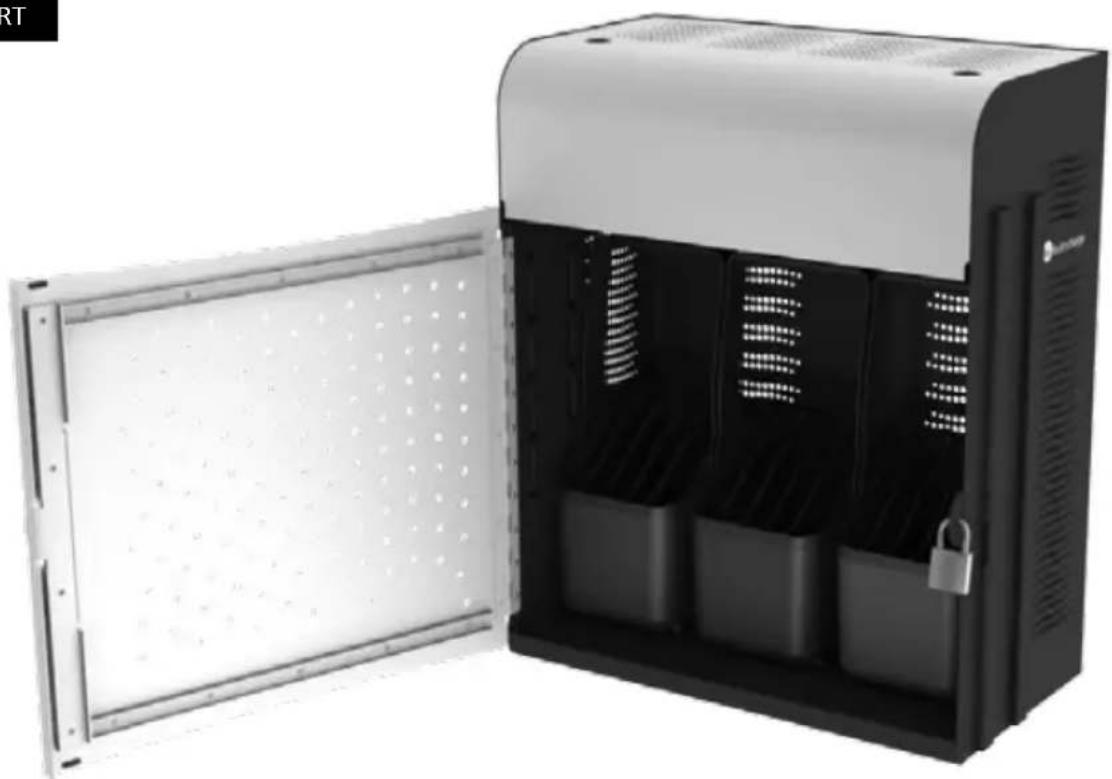
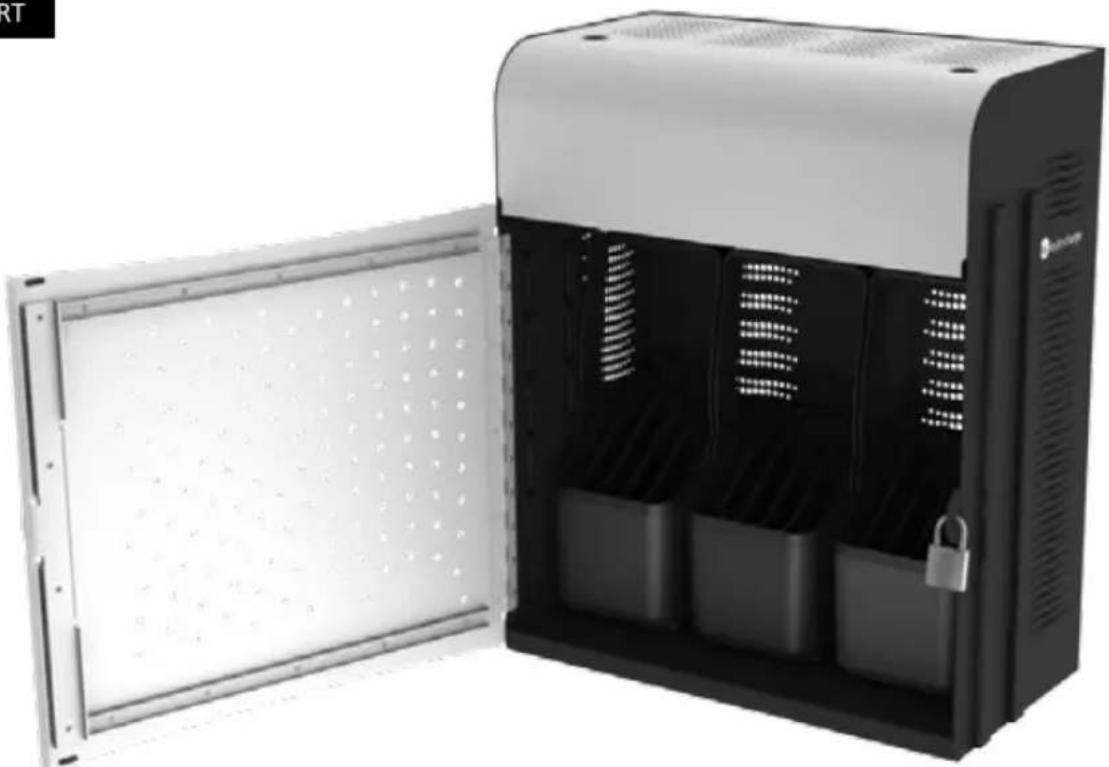
Carrier 15 Charging Station™
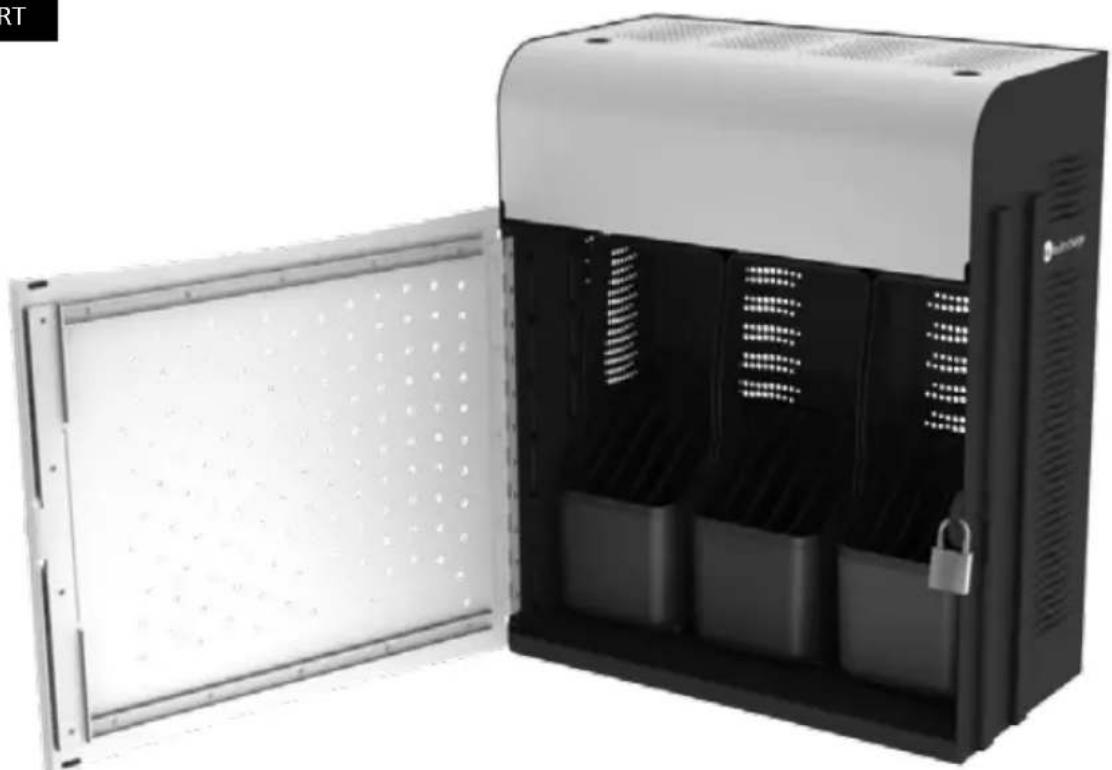

pclocs

lockncharge
Congratulations on your purchase.
Follow these instructions for easy and fast set-up of your Carrier 15 Charging Station.
PC Locs, LocknCharge and the Padlock device are Trademarks of IWS Global Pty Ltd. Copyright IWS Global Pty Ltd, July 2016.
Disclaimer.
This information is the intellectual property of IWS Global Pty Ltd and may not be distributed, duplicated or copied in part or full without the written permission. Since the use of this information, the equipment connected and the conditions by which any IWS Global product is used is beyond the control of IWS Global, it is the obligation of the owner to ensure the correct and safe use of any equipment and product. To the extent that the law permits, any liability which may be incurred as a result of the use or future use of a product manufactured or sold by IWS Global is limited to the cost of repairing or replacing the failed product or component at the discretion of IWS Global either within, or outside of warranty periods, and does not extend to any loss or damage which may be caused as a consequence of misuse or failure of the equipment or product or the information contained herein. IWS Global shall not in any event be liable for economic loss of profits, indirect, special, bodily injuries or consequential damages.
Specifications and images are for illustration purposes only. Final product may differ and is subject to change without notice.
STEP 1 - Unpacking the Carrier 15 Charging Station
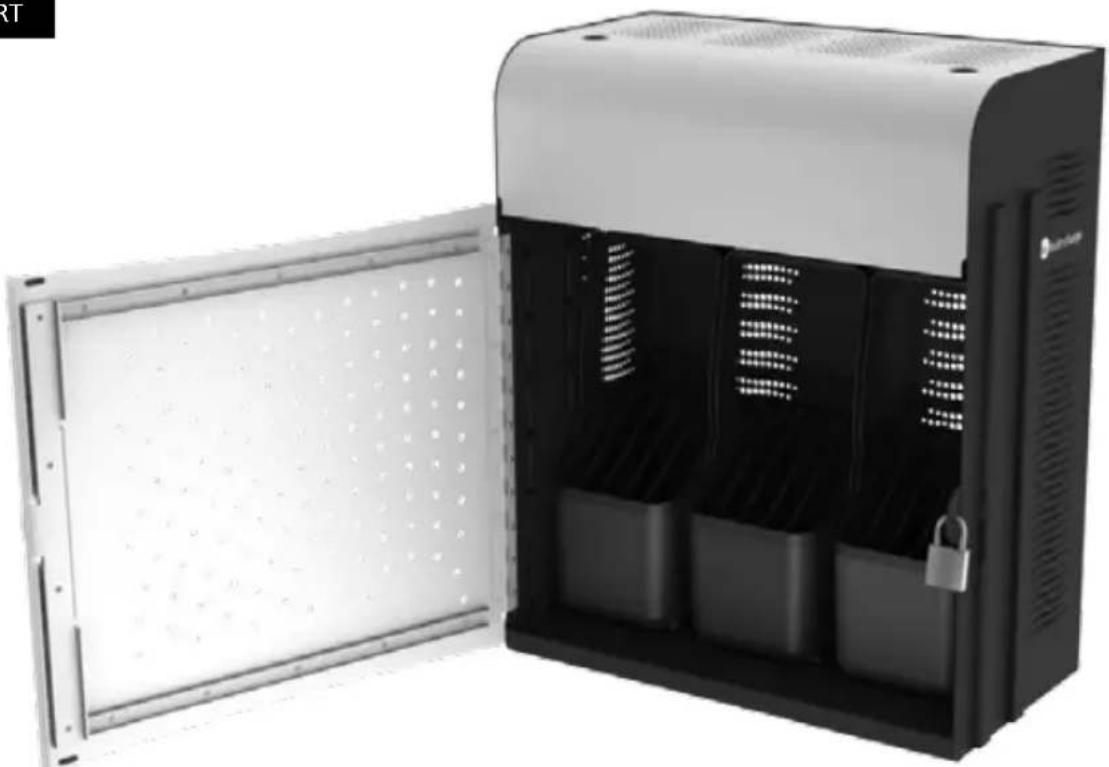
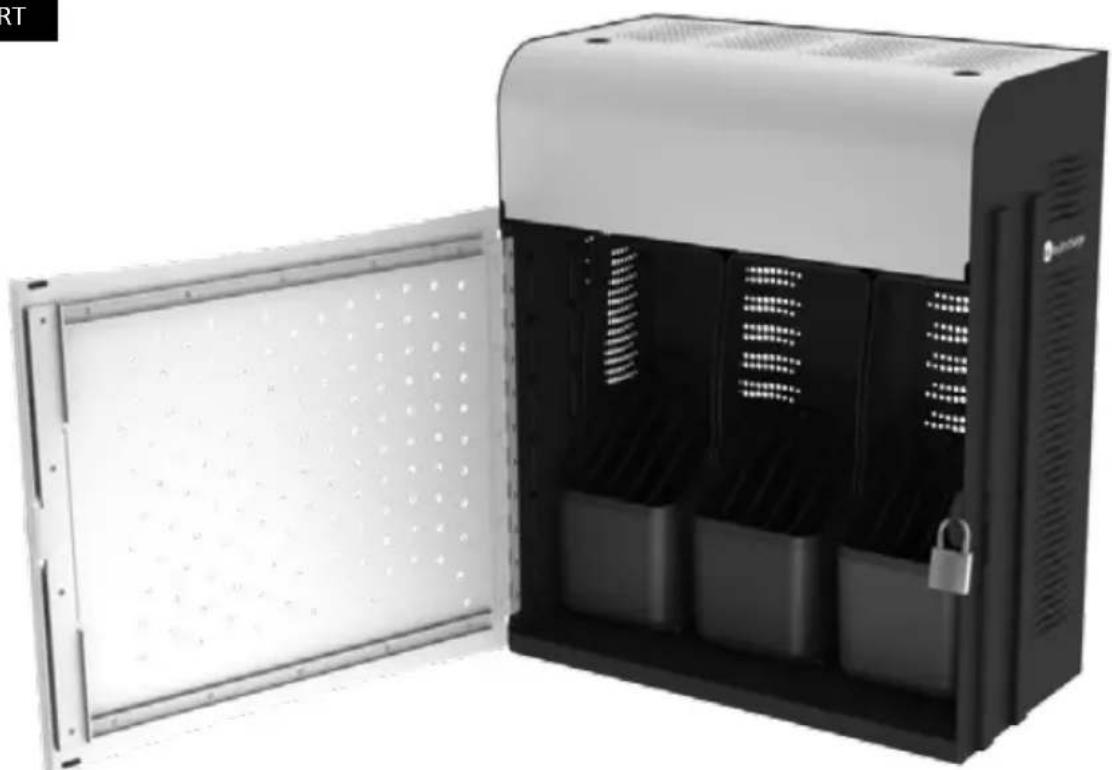
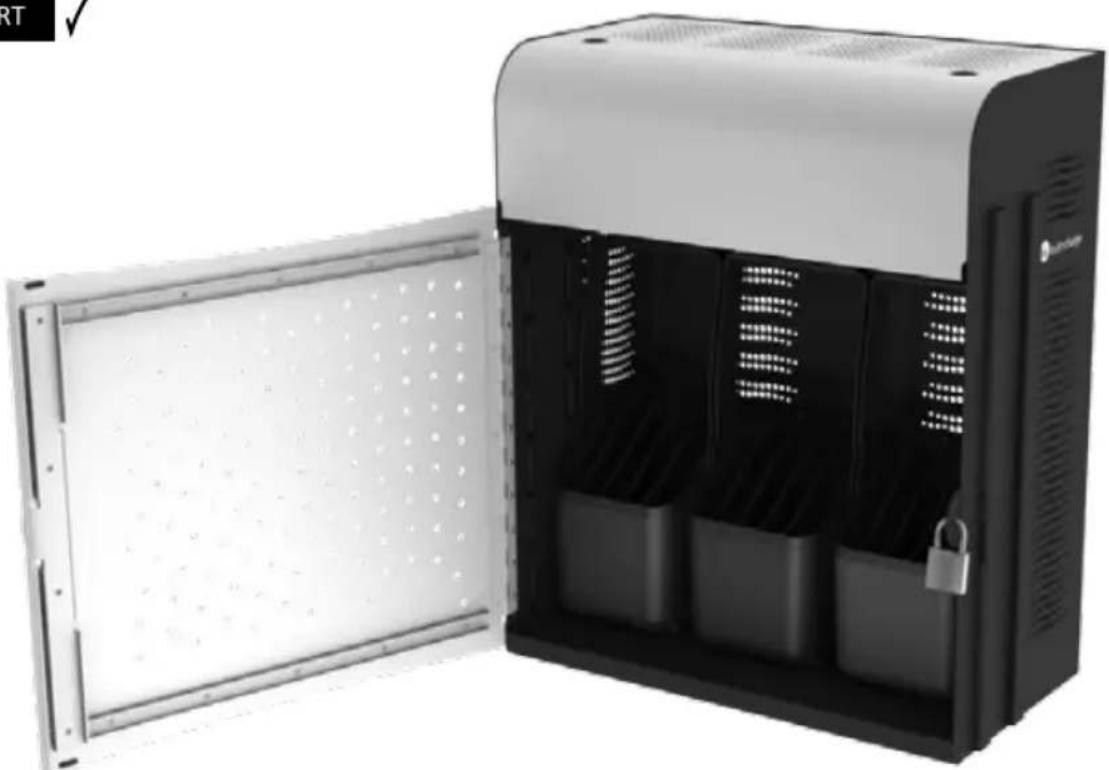
After unpacking, open the door and remove the baskets.
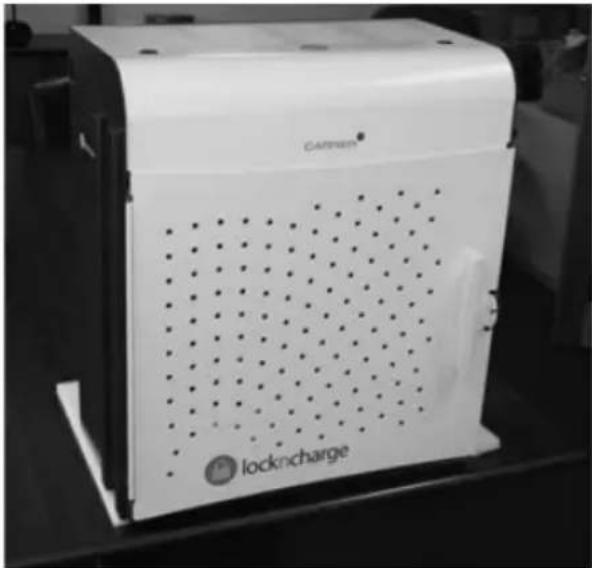
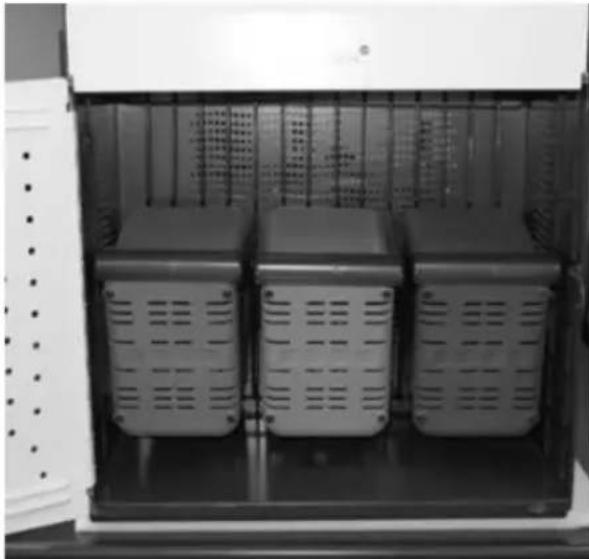
If you have devices that can fit in the plastic baskets, remove the Device Rack and mat, otherwise leave it in place.
STEP 2 - Removing the Device Rack
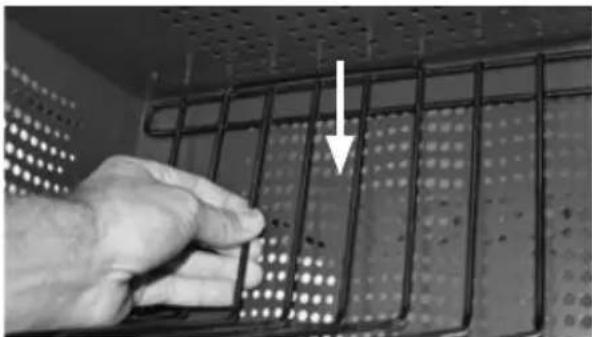
Push the top edge down to release the top of the Stainless Steel Device Rack.
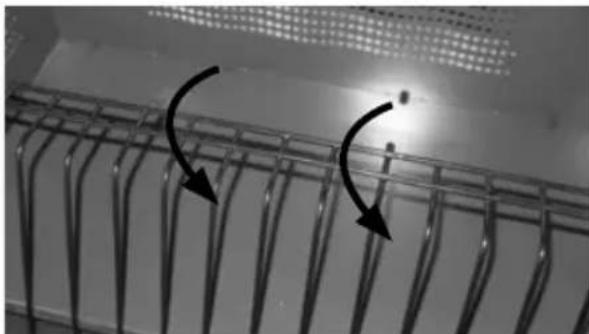
Carefully tilt and lift the bottom of Stainless Steel Device Rack. Avoid scratching the cabinet base.
STEP 3 - Routing the cables
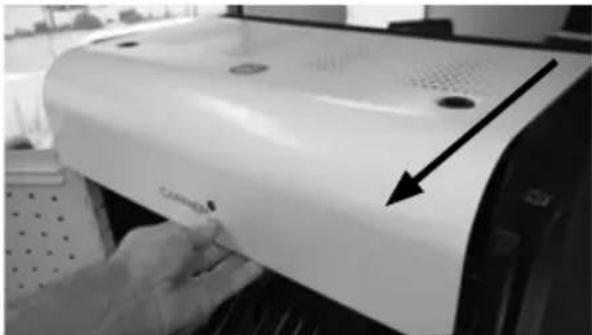
Open the charge compartment by sliding the lid out. NOTE: Door must be open to slide the lid out.
Plug in the device chargers. NOTE: US power outlets pictured for illustration purposes. Country specific outlets will be sent with your product.

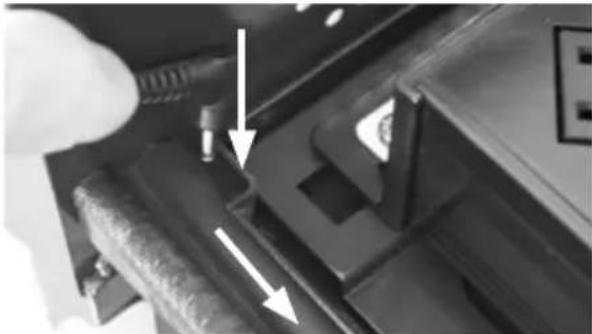
Push the device connector through the hole and then pull along the rubber grip cable holder. Repeat for the remaining device chargers.

STEP 4 - Assembling your devices in the Carrier 15 Charging Station
Place the basket with the devices into the Carrier 15 Charging Station. Connect the cable to the device.
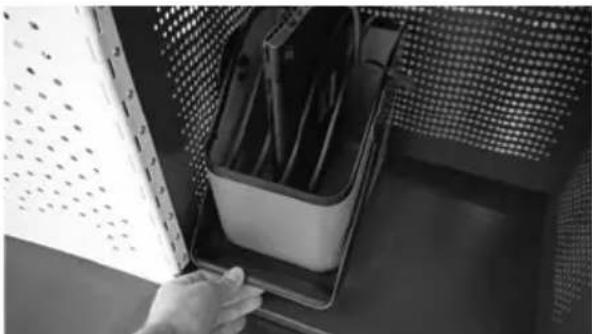
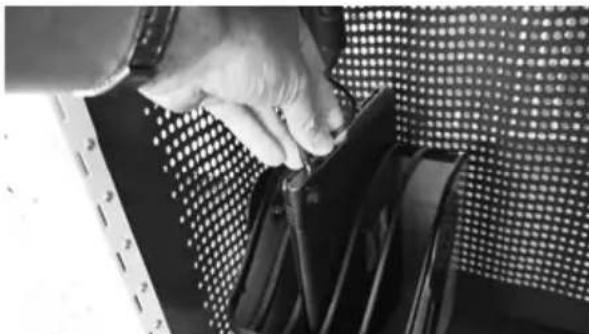
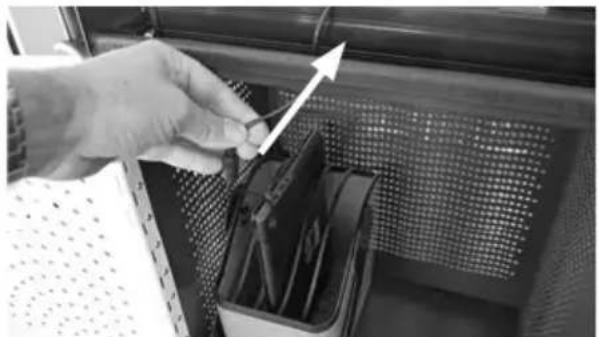
Loop and neaten the excess cable. Adjust the cable length
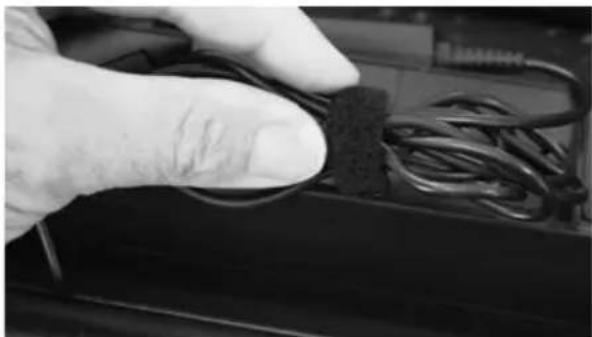
Neatly bundle the excess cable in the charge compartment. The power strips can be slid along the track to create space. Replace the lid over the charge compartment.
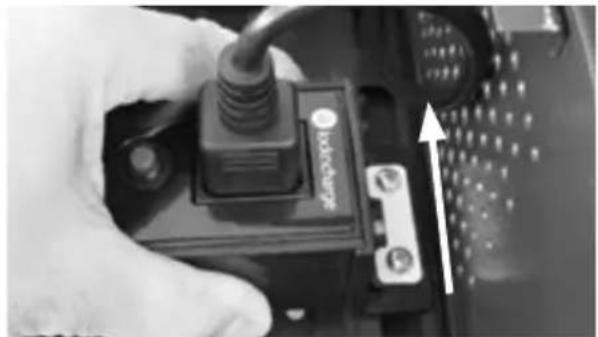
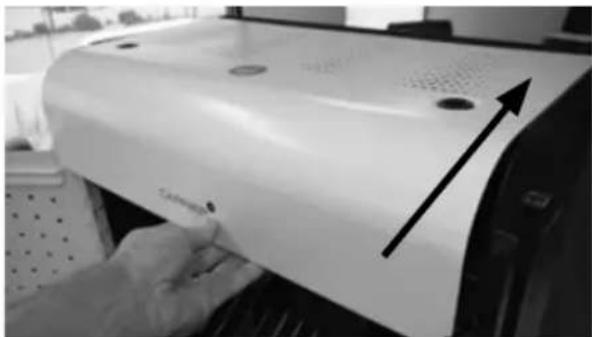
Close the door and use a padlock to secure.
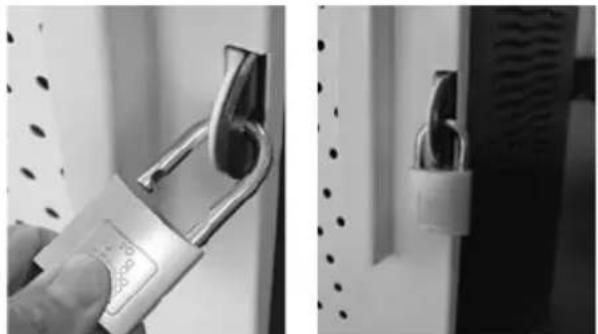
Plug the Carrier 15 Charging Station power cable into the unit, then into the wall socket. Charging will commence automatically (may need to switch the wall outlet "on").
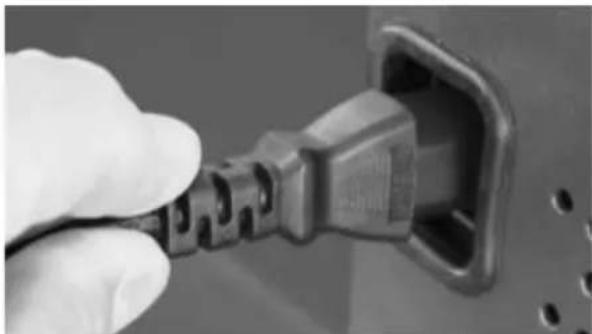
STEP 5 - Mounting the Carrier 15 Charging Station
IMPORTANT: Only a suitably qualified installer may mount this unit. Refer to a structural specialist to determine if the wall you intend to mount this unit on is capable of supporting the fully loaded Carrier 15 Charging Station. When mounting to a wall, ensure that the unit is mounted level or slightly tilted backwards to ensure that the door does not swing open when the padlock is removed. Use washers or other suitable spacers.
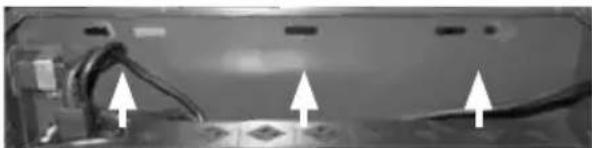
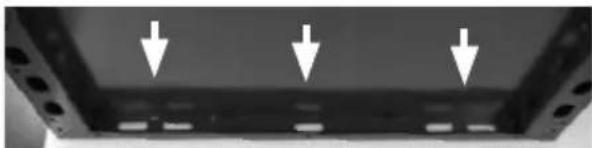
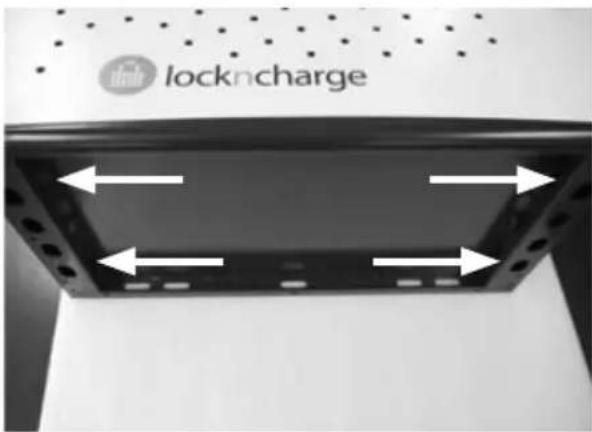
Refer to drilling drawing for correct hole locations.
Note the mounting holes for wall mounting: TOP
Note the mounting holes for wall mounting: BOTTOM
Note the mounting holes for desk mounting:
STEP 6 - Resetting the Power Strips
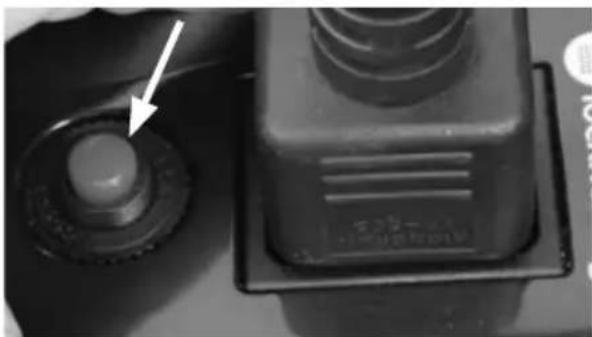
If there is a power surge and the power is tripped in the Carrier 15 Charging Station, press the red reset button on each power strip to reset.
Warranty
PC Locs/LocknCharge warrants the product to be free of defects in design, materials, assembly and craftsmanship from the date of purchase to the original retail purchaser. Evidence of original purchase will be required to obtain warranty service.
In the event that a defect, malfunction or failure occurs or is discovered during the warranty period, PC Locs/LocknCharge will repair or replace, at its option, the products which in the reasonable judgment of PC Locs/LocknCharge are deemed defective. All transportation costs shall be borne by the owner and the risk of loss shall be upon the party initiating the transportation.
The warranty does not apply to any product that has been subject to misuse, tampering, neglect, or accident or as a result of unauthorized alterations or repairs to the product. The warranty is in lieu of all warranties expressed or implied, including the implied warranties of merchantability and fitness for a particular purpose which are expressly excluded or disclaimed. In no event will PC Locs/LocknCharge, their directors, officers, employees, or agents be liable for any harm, consequential, incidental, third party, special or indirect damages whatsoever arising out of the use or inability to use the products even if PCLocs/LocknCharge has been advised of the possibility of such damages. PC Locs/LocknCharge obligation is strictly and exclusively limited to the replacement or repair of any defective products. Some states do not allow the exclusion or limitation of incidental or consequential damages, so the above limitation or exclusion may not apply to you.
Compliances and Approvals
CE (Europe)
SAA (Australia)
UL Compliant (USA and Canada)
KCC (Korea) - pending
SIRIM (Malaysia) - pending
SPRING (Singapore) - pending
BEDIENUNGSANLEITUNG
Carrier 15 Charging Station™


pclocs

lockncharge
SCHRITT 5: Carrier 15 Charging Station montieren
Carrier 15 Charging Station

pclocs

lockncharge
PASO 5 - Montar la Carrier 15 Charging Station
Carrier 15 Charging Station

pclocs

lockncharge
Carrier 15 Charging Station™

pclocs

lockncharge
Carrier 15 Charging Station™

pclocs

lockncharge