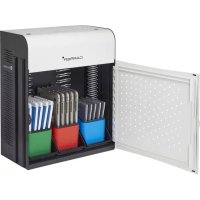
Joey 30 - Uncategorized Lockncharge - Free user manual and instructions
Find the device manual for free Joey 30 Lockncharge in PDF.


User questions about Joey 30 Lockncharge
0 question about this device. Answer the ones you know or ask your own.
Ask a new question about this device
Download the instructions for your Uncategorized in PDF format for free! Find your manual Joey 30 - Lockncharge and take your electronic device back in hand. On this page are published all the documents necessary for the use of your device. Joey 30 by Lockncharge.
USER MANUAL Joey 30 Lockncharge
INSTRUCTIONS: JOEY 30 CART™ (MK2)
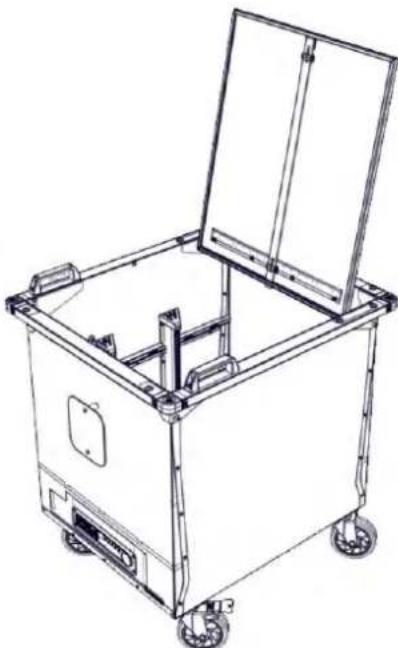
natural_image
Line drawing of a rectangular industrial machine with open lid and wheels (no text or symbols)Congratulations on your purchase.
Follow these instructions for easy and fast set-up of your Joey 30 Cart.
For video instructions, go to https://vimeo.com/144317620

lockncharge

pclocs
Warranty:
PC Locs/LocknCharge warrants the product to be free of defects in design, materials, assembly and craftsmanship from the date of purchase to the original retail purchaser. Evidence of original purchase will be required to obtain warranty service.
In the event that a defect, malfunction or failure occurs or is discovered during the warranty period, PC Locs/LocknCharge will repair or replace, at its option, the products which in the reasonable judgment of PC Locs/LocknCharge are deemed defective. All transportation costs shall be borne by the owner and the risk of loss shall be upon the party initiating the transportation.
The warranty does not apply to any product that has been subject to misuse, tampering, neglect, or accident or as a result of unauthorized alterations or repairs to the product. The warranty is in lieu of all warranties expressed or implied, including the implied warranties of merchantability and fitness for a particular purpose which are expressly excluded or disclaimed. In no event will PC Locs/LocknCharge, their directors, officers, employees, or agents be liable for any harm, consequential, incidental, third party, special or indirect damages whatsoever arising out of the use or inability to use the products even if PC Locs/LocknCharge has been advised of the possibility of such damages.
PC Locs/LocknCharge obligation is strictly and exclusively limited to the replacement or repair of any defective products. Some states do not allow the exclusion or limitation of incidental or consequential damages, so the above limitation or exclusion may not apply to you.
Disclaimer:
This information is the intellectual property of IWS Global Pty Ltd and may not be distributed, duplicated or copied in part or full without the written permission. Since the use of this information, the equipment connected and the conditions by which any IWS Global product is used is beyond the control of IWS Global, it is the obligation of the owner and/or user to determine the correct and safe use of any equipment and product. To the extent that the law permits, any liability which may be incurred as a result of the use or future use of a product manufactured or sold by IWS Global is limited to the cost of repairing or replacing the failed product or component at the discretion of IWS Global either within, or outside of warranty periods, and does not extend to any loss or damage which may be caused as a consequence of misuse or failure of the equipment or product or the information contained herein. IWS Global shall not in any event be liable for economic loss of profits, indirect, special, bodily injuries or consequential damages.
Specifications and images are for illustration purposes only. Final product may differ and is subject to change without notice.
Parts List
Box #1
| Quantity | Item | Image | |
| 2 | Braked castors | 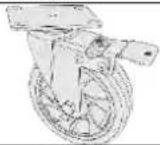 | |
| 2 | Non-braked castors | 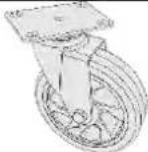 | |
| 16 | M8 Hex-head bolts | 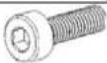 | |
| 16 | M8 flat washers |  | |
| 1 | Hex wrench | 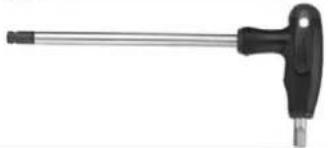 | |
Box #2
| Quantity | Item | Image |
| 1 | Instruction booklet | |
| 2 | Number stickers 1 - 40 | |
| 1 | Electrical Use Guidelines sheet | |
| 30 | Velcro cable ties |  |
| 1 | 3m Extension Power cord(UK version image for illustration only) | 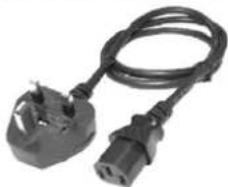 |
| 1 | Remote control for Eco-Timer power board | 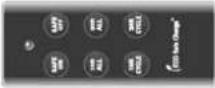 |
| 6 | Plastic dividers | 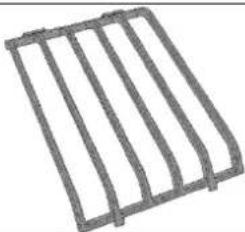 |
| 6 | Plastic divider bases | 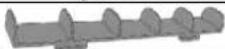 |
| 1 | Key ring |  |
| 1 | Padlock with 2 keys | 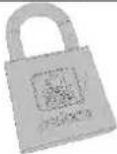 |
| 2 | Pieces of foam tape |
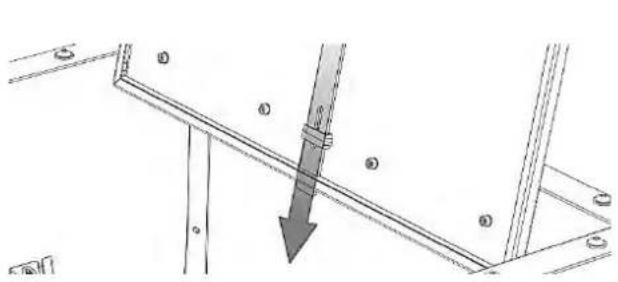
Note: the lid has an anti-slam mechanism... when the lid is open, the green bar drops down to prevent the lid closing
When closing, lift the handle to release the anti-slam mechanism, and gently close the lid
natural_image
Technical diagram showing a structural connection with a downward arrow indicating force or direction (no text or symbols present)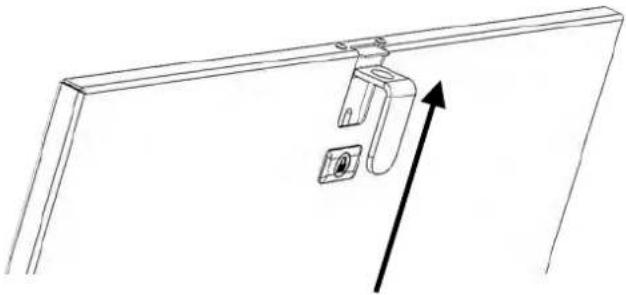
natural_image
Line drawing of a mechanical component with an arrow indicating direction (no text or symbols)WARNING: The correct operation of the lid anti-slam mechanism as described above must be observed to (1) prevent any crushing injury when the lid is lowered for closing, and (2) to prevent damaging the cart and lid.
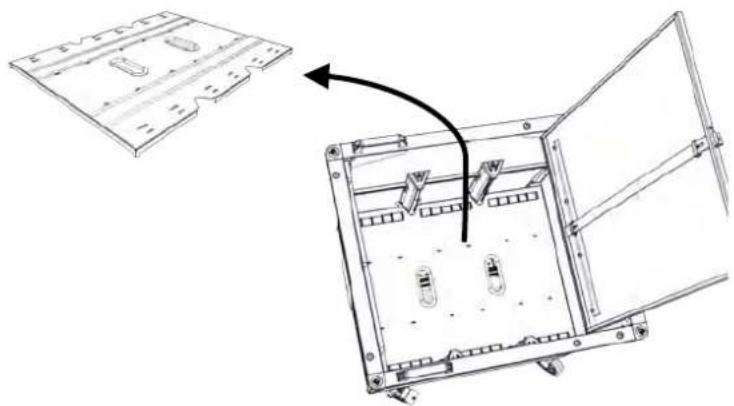
After removing outer packaging open the lid and remove internal components – parts boxes and device shelf
Secure 4 x M8 bolts per wheel with supplied Allen key
Carefully lay the cart on its side and attach the castors.
Ensure brake castors are located under the cart handles.
natural_image
Technical line drawing of an open electrical enclosure with internal components and a separate panel view (no text or symbols)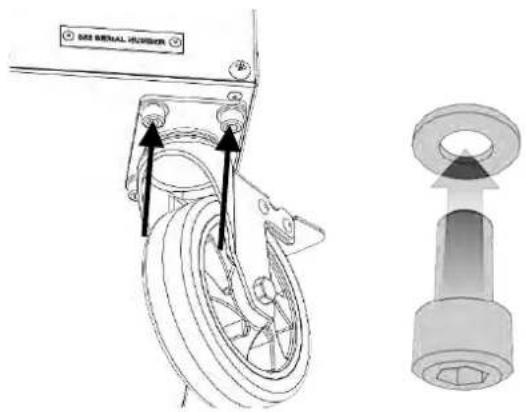
text_image
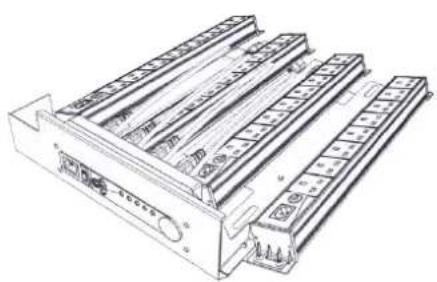
DSS SERIAL HUNBERThis section relates only to customers in Europe, for installation of the power tray
Unpack the Power tray
Open the Cart lid and remove the shelf, then remove 3 thumbwheels
natural_image
Technical line drawing of a rack-mounted device with multiple parallel slots and mounting holes (no text or symbols)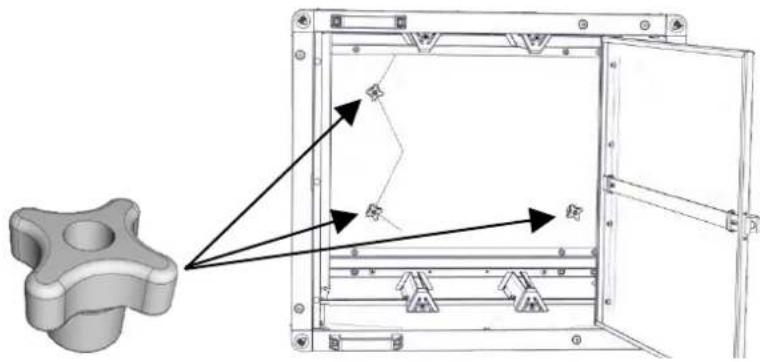
natural_image
Technical diagram of a mechanical assembly with a 3D model and directional arrows indicating movement or force (no text or symbols present)
lockncharge
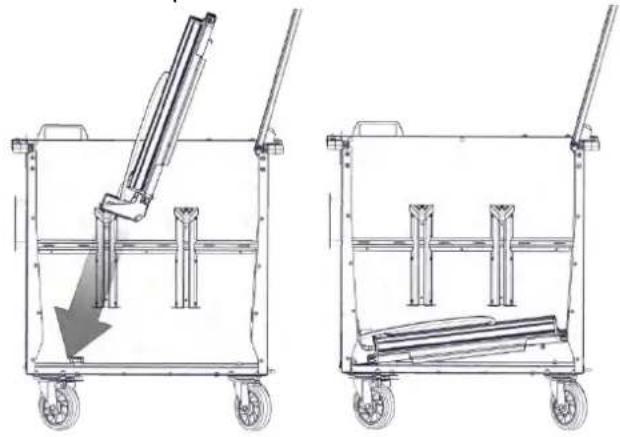
Carefully lower in the power tray into the base of the cart side panel
natural_image
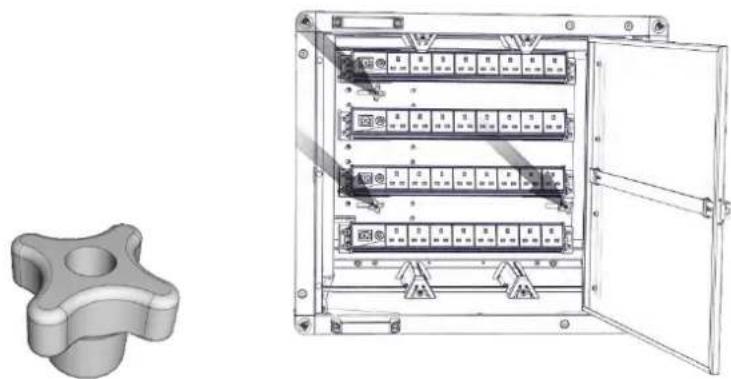
Technical line drawing of two mechanical carts with a handle, showing front and side views (no text or symbols)Attach the thumbwheels to secure
natural_image
Technical illustration of an open electrical control panel with internal components and a 3D mechanical part shown alongside (no text or symbols present)
pclocs
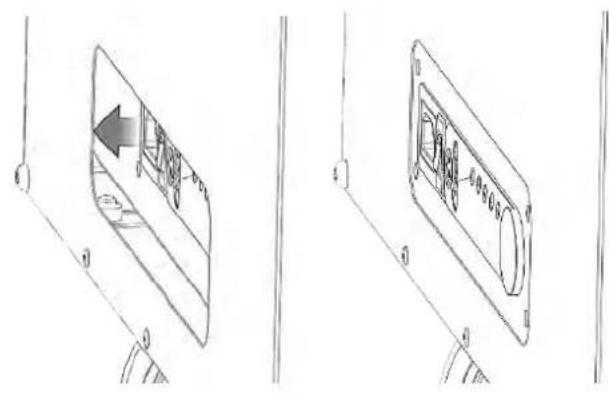
Push the tray forward so the face is flush with the
text_image
Technical diagram showing two views of a device with labeled components and directional arrows indicating motion or assembly.The following sections relates to all customers
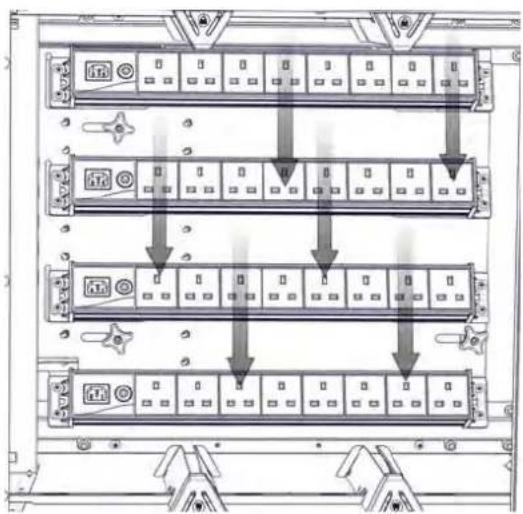
Connect your device chargers
flowchart
graph TD
    A["Switch"] --> B["Component 1"]
    A --> C["Component 2"]
    A --> D["Component 3"]
    A --> E["Component 4"]
    B --> F["Terminal"]
    C --> G["Terminal"]
    D --> H["Terminal"]
    E --> I["Terminal"]
Route the cables through the cable channels
natural_image
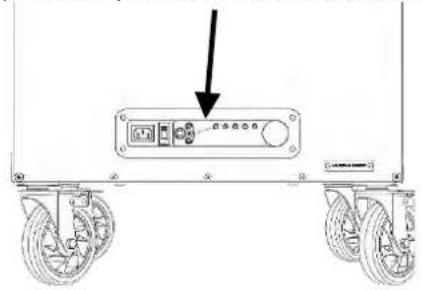
Technical line drawing of a mechanical assembly with two vertical supports and a horizontal base (no text or symbols)Note the ECO Safe Charge™ power board. This is controlled by the remote control provided (see additional instructions)
text_image
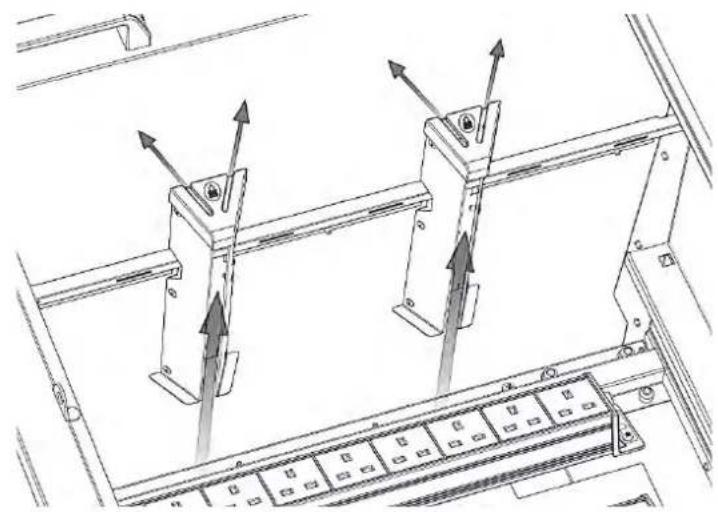
Diagram of a vehicle chassis with two wheels and a control panel, featuring an arrow pointing to the component.Insert device base supports into shelf
natural_image
Technical line drawing of a mechanical assembly with two downward arrows indicating force or movement (no text or symbols)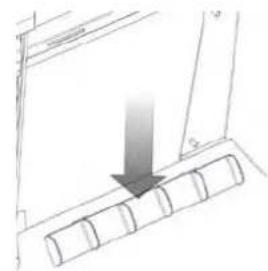
natural_image
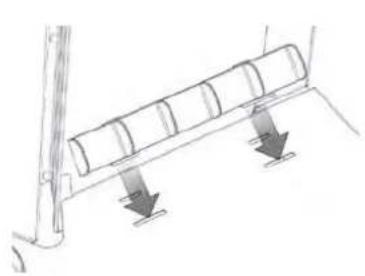
Simple line drawing of a door with a downward arrow pointing to a panel (no text or symbols)"Snap" down with thumb
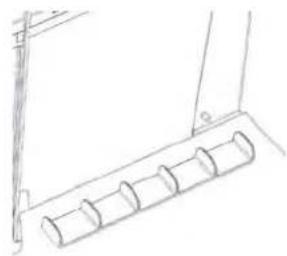
natural_image
Technical line drawing of a mechanical component with cylindrical parts and mounting bracket (no text or symbols)Replace the device shelf
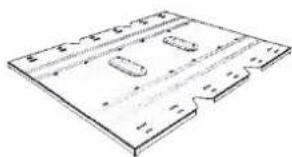
natural_image
Technical line drawing of a rectangular plate with internal cutouts and mounting holes (no text or symbols)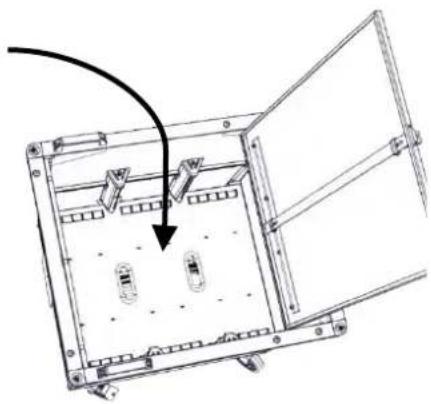
natural_image
Technical line drawing of an open electrical enclosure with internal components and a cable outlet (no text or symbols)Install device divider – top edge first
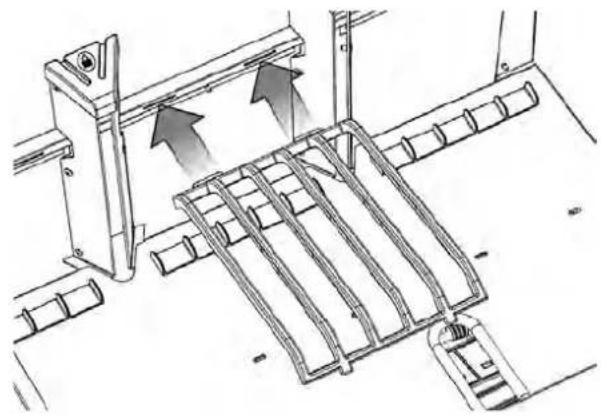
natural_image
Technical line drawing of a mechanical assembly with no visible text or symbols"Snap" down onto the shelf
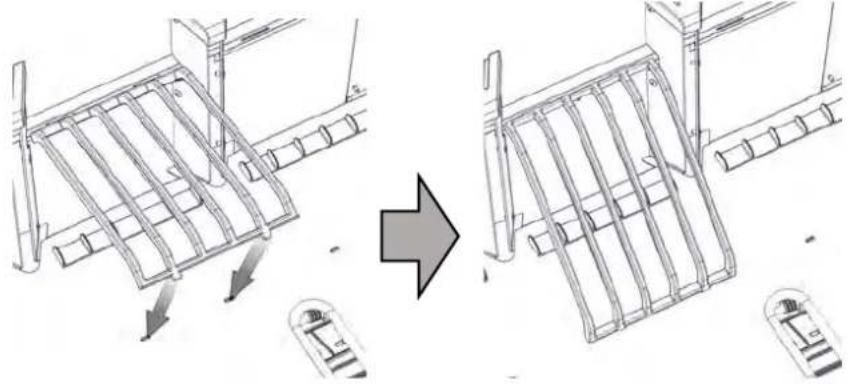
natural_image
Diagram showing structural change of a metal frame structure before and after, with no visible text or symbolsCompleted installation of dividers:
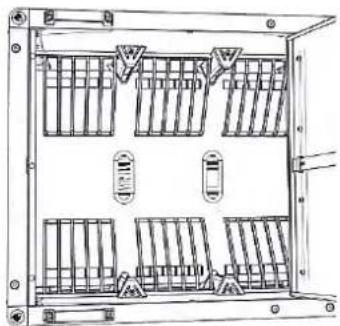
natural_image
Technical line drawing of an electrical enclosure with multiple panel compartments and mounting hardware (no text or symbols)
lockncharge
Install the self-adhesive foam strip. Remove backing and carefully adhere strip onto shelf
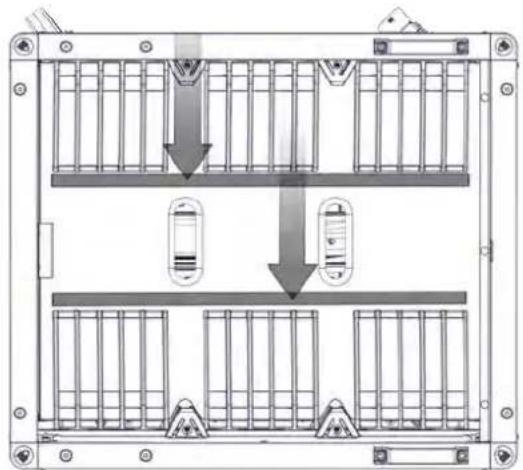
natural_image
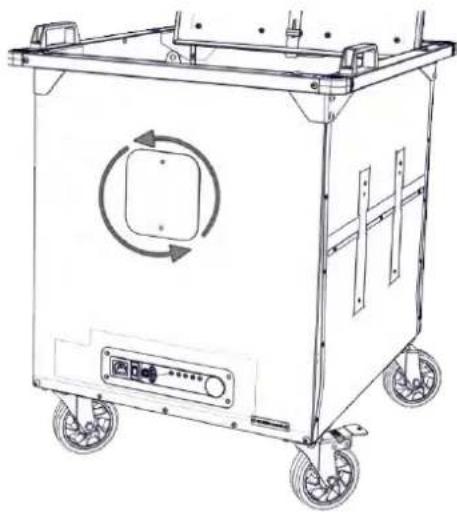
Technical diagram of a multi-level mechanical or electrical enclosure with internal compartments and directional arrows indicating movement (no text or symbols present)Move the cart to where you intend to store and secure it. Use the cable cleat to store the extension power cable. Unwind the power cable and plug into a wall socket
natural_image
Line drawing of a four-wheeled industrial cart with circular and rectangular components, no text or symbols present
pclocs
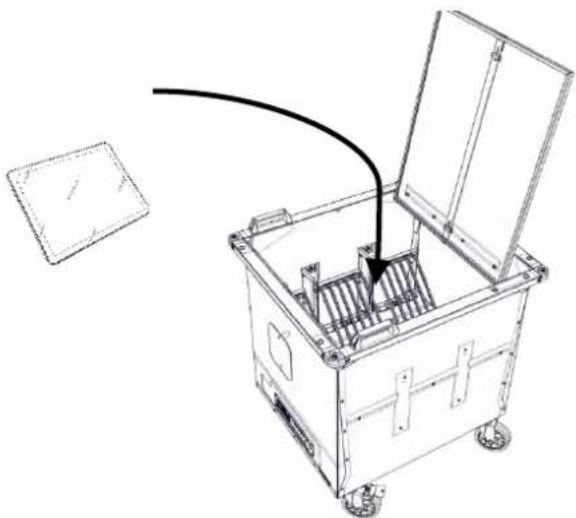
Install your laptop or tablet devices and plug in
natural_image
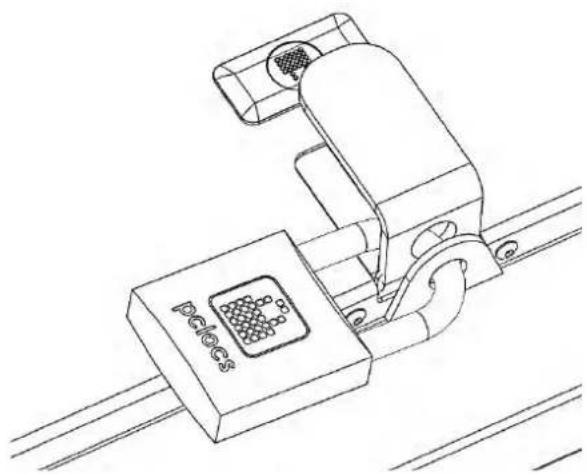
Line drawing of a mechanical device with open lid and internal compartments, no text or symbols presentClose the lid and secure with a padlock
natural_image
Line drawing of a mechanical device with a labeled component (no text or symbols present)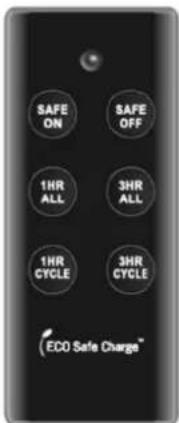
text_image
SAFE ON SAFE OFF 1HR ALL 3HR ALL 1HR CYCLE 3HR CYCLE ECO Safe Charge™Turn on the Joey Cart by pushing the green 'ON' button on the ECO Safe Charge™ power board or by pairing the remote control with the cart.
Pairing the remote control to the Joey Cart:
- Remove the battery tab from the back of the remote control.
- Press and hold the green button on the ECO Safe Charge™ power board until the LED flashes
- Press any button on the remote control.
For detailed ECO Safe Charge™ instructions visit our websites:
www.lockncharge.com (International site) or www.pclocs.com.au (Australia and New Zealand).
For video instructions, go to https://vimeo.com/194627704.