
PG 20 - Electric timer Orbegozo - Free user manual and instructions
Find the device manual for free PG 20 Orbegozo in PDF.
| Product type | Programmable electric timer |
| Brand | Orbegozo |
| Model | PG 20 |
| Supply voltage | 230/240V~50Hz |
| Maximum load | 16A (3600W) |
| Number of programs | Up to 10 programs |
| Operating modes | Manual (ON/OFF) and automatic (AUTO) |
| Display | LCD |
| Random function | Yes (10 to 31 minutes between 6pm and 6am) |
| 12/24 hour mode | Selectable |
| Daylight saving time function | Yes (advances clock by 1 hour) |
| Day combinations | 16 combinations (individual days or groups) |
| Accuracy | +/- 1 minute per month |
| Internal battery | NiMH 1.2V |
| Operating temperature | -10°C to +40°C |
| Minimum setting time | 1 minute |
| Care and cleaning | Wipe with a dry cloth. Do not immerse in water. |
| Safety | Do not exceed 16A. Use a grounded outlet. Do not cover the device. |
| Usage | Indoor |
| Standards | Compliant with directives 2014/35/EU and 2014/30/EU |
Frequently Asked Questions - PG 20 Orbegozo
User questions about PG 20 Orbegozo
0 question about this device. Answer the ones you know or ask your own.
Ask a new question about this device
Download the instructions for your Electric timer in PDF format for free! Find your manual PG 20 - Orbegozo and take your electronic device back in hand. On this page are published all the documents necessary for the use of your device. PG 20 by Orbegozo.
USER MANUAL PG 20 Orbegozo
MO, TU, WE, TH, FR, SA
SU
MO, TU, WE, TH, FR
SA, SU
MO, TU, WE, TH, FR, SA
MO, WE, FR
TU, TH, SA
MO, TU, WE
TH, FR, SA
MO, WE, FR, SU
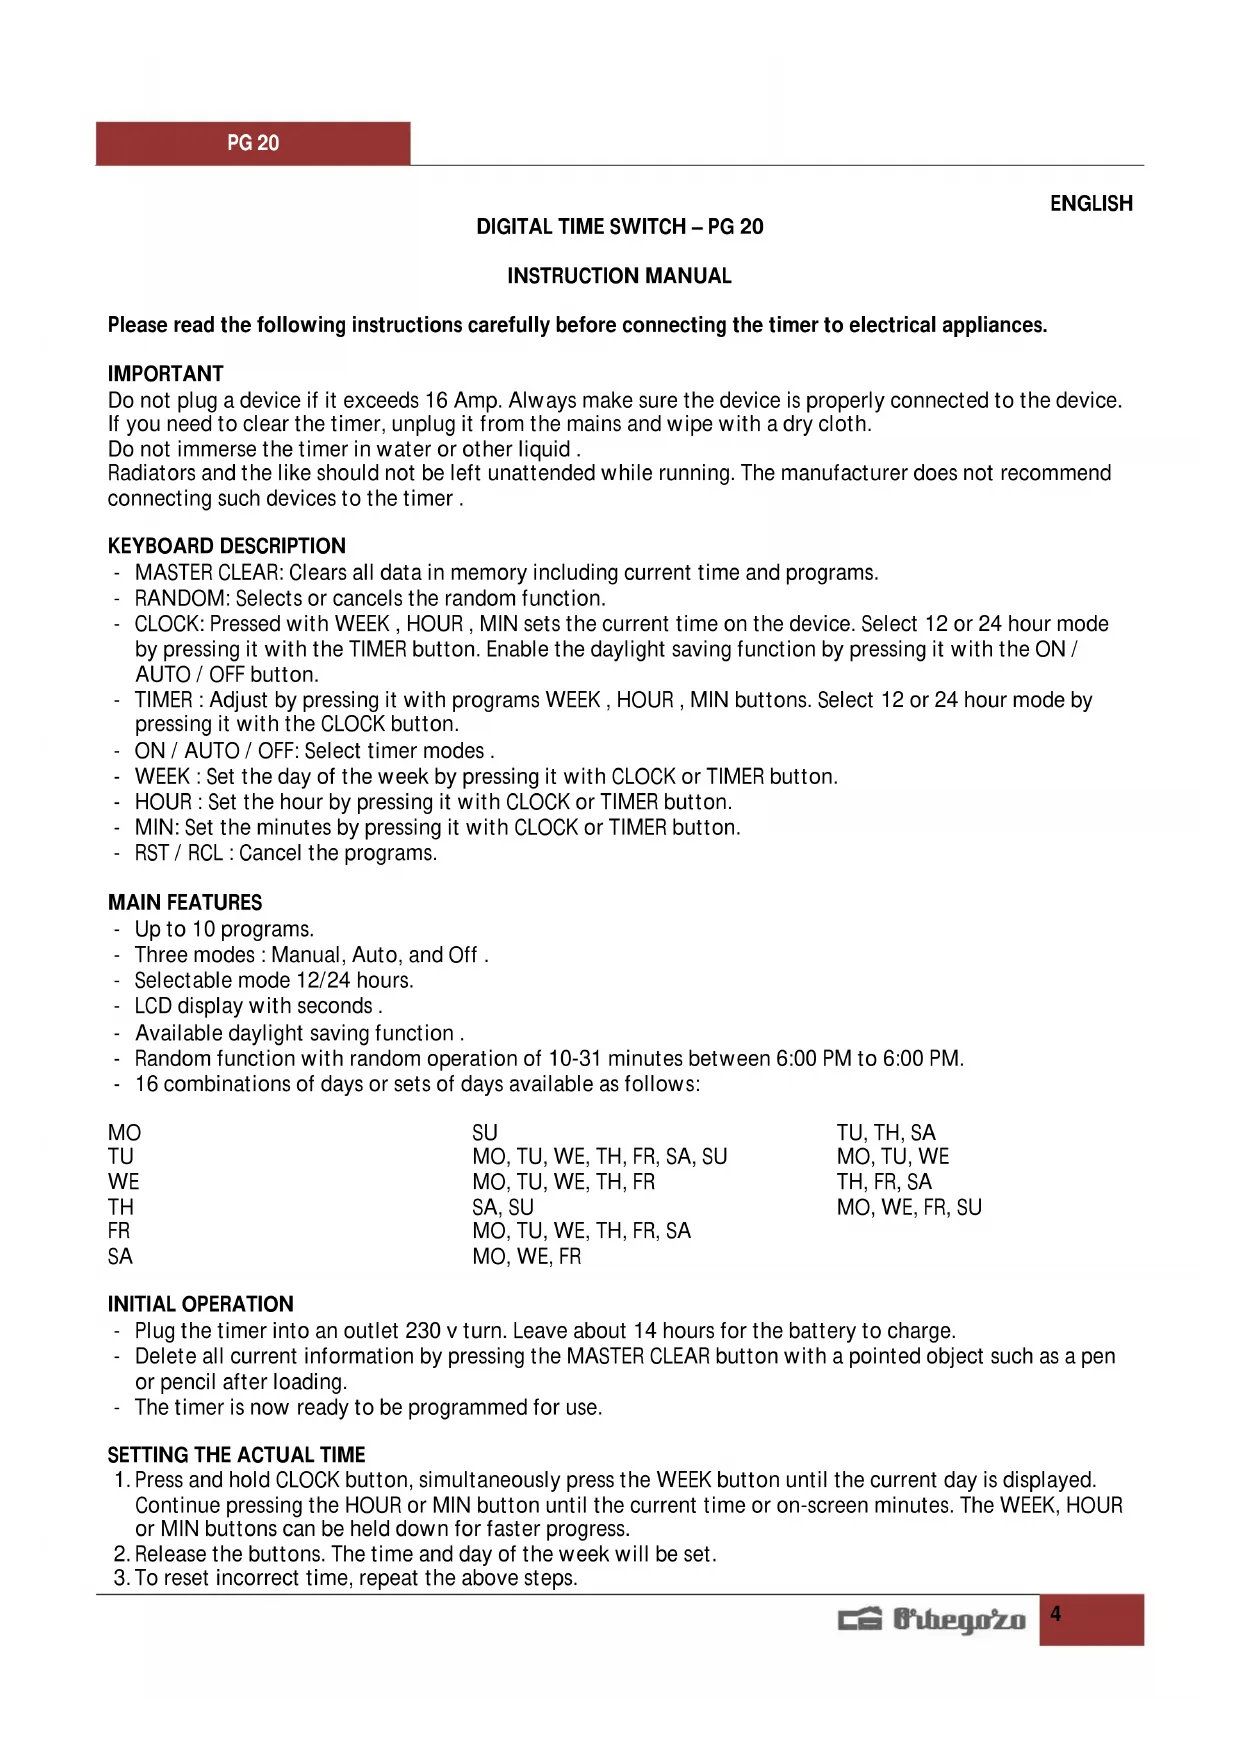
Please read the following instructions carefully before connecting the timer to electrical appliances.
IMPORTANT
Do not plug a device if it exceeds 16 Amp. Always make sure the device is properly connected to the device. If you need to clear the timer, unplug it from the mains and wipe with a dry cloth.
Do not immerse the timer in water or other liquid.
Radiators and the like should not be left unattended while running. The manufacturer does not recommend connecting such devices to the timer.
KEYBOARD DESCRIPTION
- MASTER CLEAR: Clears all data in memory including current time and programs.
- RANDOM: Selects or cancels the random function.
- CLOCK: Pressed with WEEK, HOUR, MIN sets the current time on the device. Select 12 or 24 hour mode by pressing it with the TIMER button. Enable the daylight saving function by pressing it with the ON / AUTO / OFF button.
- TIMER : Adjust by pressing it with programs WEEK , HOUR , MIN buttons. Select 12 or 24 hour mode by pressing it with the CLOCK button.
- ON / AUTO / OFF: Select timer modes.
- WEEK : Set the day of the week by pressing it with CLOCK or TIMER button.
- HOUR : Set the hour by pressing it with CLOCK or TIMER button.
MIN: Set the minutes by pressing it with CLOCK or TIMER button. - RST / RCL: Cancel the programs.
MAIN FEATURES
- Up to 10 programs.
- Three modes : Manual, Auto, and Off .
- Selectable mode 12/24 hours.
- LCD display with seconds.
Available daylight saving function. - Random function with random operation of 10-31 minutes between 6:00 PM to 6:00 PM.
- 16 combinations of days or sets of days available as follows:
MO
SU
TU
MO, TU, WE, TH, FR, SA, SU
WE
MO, TU, WE, TH, FR
TH
SA, SU
FR
MO, TU, WE, TH, FR, SA
SA
MO, WE, FR
TU, TH, SA
MO, TU, WE
TH, FR, SA
MO, WE, FR, SU
INITIAL OPERATION
- Plug the timer into an outlet 230 v turn. Leave about 14 hours for the battery to charge.
- Delete all current information by pressing the MASTER CLEAR button with a pointed object such as a pen or pencil after loading.
- The timer is now ready to be programmed for use.
SETTING THE ACTUAL TIME
- Press and hold CLOCK button, simultaneously press the WEEK button until the current day is displayed. Continue pressing the HOUR or MIN button until the current time or on-screen minutes. The WEEK, HOUR or MIN buttons can be held down for faster progress.
- Release the buttons. The time and day of the week will be set.
- To reset incorrect time, repeat the above steps.
ADJUSTMENT PROGRAMS
TIP: Check the settings of your programs do not overlap.
If adjustments overlapping programs, the timer will run on or off according to the time of the program, not the program number. The programming OFF overrides the programming ON.
- Press the TIMER button. The display shows 1^ON . Now you can make the first start-up setting.
- Press WEEK button to set the day or block of days. Set the time by pressing the HOUR and MIN button.
- Press the TIMER button again to end the first programming and move on to the first setting off. The display shows 1_OFF . Repeat step 2 to make the first setting off.
- Press the TIMER button again to finish off the first set and go to the second option on. Repeat steps 2 and 3 to set other settings. Press the TIMER button and hold for 2 seconds to enter fast forward.
- After completing the settings, press the CLOCK button. The timer is ready to go.
Example: Timer ON and OFF at 17:15 to 22:30 every day.
a. Press TIMER. Appears in the display 1^ON .
b. Press WEEK until the display shows "MO, TU, WE, TH, FR, SA, SU" appears.
c. Press HOUR until 5:00 or 17:00
d. Press MIN until 5:15 or 17:15.
e. Press TIMER. Appears in the display 1_OFF
f. Repeat step c. and d. until the display shows 10:30, and 22:30.
MANUAL SETTING ON / AUTO / OFF
- Press the ON / AUTO / OFF button to switch from one mode to another.
- Programs can only be executed in AUTO mode. When AUTO is selected, the timer works on schedule. In manual mode ON / OFF all programming is ignored and the timer does not work. When the manual mode ON, the output of the controller is always enabled is selected. When the manual mode OFF output is always off programmer is selected.
- When switching from manual mode to AUTO ON, the timer will remain in manual mode until the next ON timer setting activated.
RANDOM FUNCTION
- Press the RANDOM button. The display shows R (RANDOM). The random function is on.
2 . When this feature is enabled , the settings in advance to run 10 to 31 minutes 18:00 to 6:00 - - Press the RANDOM button again to cancel this function. The random function can not be adjusted during the program settings.
- The RANDOM function can only be executed in AUTO mode 18:00 to 6:00 PM.
MODE 12/24 HOURS.
Simultaneously press the CLOCK and TIMER buttons to switch from 12 hours to 24 hours.
SUMMER FEATURE
- Press CLOCK ON / AUTO / OFF simultaneously. Display (Summer Hours) S appears. The clock advances 1 hour.
- Press the two buttons to return to the configuration winter. The clock will be delayed 1 hour. The S symbol will disappear from the display.
SPECS
Voltage 230/240V 50Hz
Max Load 16 (2), 3600W
Minimum setting time of 1 minute.
Operating temperature: -10 to +40 °C.
Accuracy + / - 1 minute per month.
Internal Battery NiMH 1.2V
CAUTIONS
Max power 3600W.
- Do not cover during operation.
- Only use in shock-proof plugs.
- Unplug the time switch when not in use.
- This appliance can be used by children aged from 8 years and above and persons with reduced physical, sensory or mental capabilities or lack of experience and knowledge if they have been given supervision or instruction concerning use of the appliance in a safe way and understand the hazards involved. Children must never play with the appliance. Cleaning and user maintenance must never be carried out by children without supervision.
- Children should be supervised to ensure that they do not play with the appliance.
- Keep the appliance and the cable cord out of the reach of children less than 8 years old.
WARNING: In order to ensure your children's safety, please keep all packaging (plastic bags, boxes, polystyrene etc.) out of their reach. - Do not use the unit with a damaged cord or plug, or if it is not working properly.
- Do not handle the appliance with wet hands.
- Never immerse the appliance in water or any other liquid.
- Make sure the appliance has been unplugged before cleaning.
- This appliance must be installed following the national regulations for electrical installations.
- In case that you need a copy of the instruction manual, you can ask for it writing an email to sonifer@sonifer.es
- WARNING: In case of misuse, there is a risk of possible injury.

Disposal of old electrical appliances.
The European directive 2002/96/EC on Waste Electrical and Electronic Equipment (WEEE), requires that old household electrical appliances must not be disposed of in the normal unsorted municipal waste stream. Old appliances must be collected separately in order to optimize the recovery and
recycling of the materials they contain, and reduce the impact on human health and the environment.
The crossed out "wheeled bin" symbol on the product reminds you of your obligation, that when you dispose of the appliance, it must be separately collected.
Consumers should contact their local authority or retailer for information concerning the correct disposal of their old appliance.
DECLARATION OF CONFORMITY:
This device complies with the requirements of the Low Voltage Directive 2014/35/EU and the requirements of the EMC directive 2014/30/EU.
PROGRAMMEUR DIGITAL - PG 20
FRANÇAIS
MANUEL D'INSTRUCTION
MO, TU, WE, TH, FR, SA
MO, WE, FR
TU, TH, SA
MO, TU, WE
TH, FR, SA
MO, WE, FR, SU
MISE EN SERVICE
DECLARATION DE CONFORMITE:
MO, TU, WE, TH, FR, SA
SA
MO, WE, FR