
DPA140HE3BDB6 - Air Conditioning DANBY - Free user manual and instructions
Find the device manual for free DPA140HE3BDB6 DANBY in PDF.
| Feature | Details |
|---|---|
| Device type | Portable air conditioner |
| Cooling capacity | 14,000 BTU |
| Recommended area | Up to 700 square feet |
| Refrigerant type | R-32 |
| Noise level | 54 dB |
| Additional features | Dehumidification, sleep mode, remote control |
| Dimensions (W x D x H) | 18.5 x 15.5 x 30.5 inches |
| Weight | 75 pounds |
| Energy consumption | Class A energy label |
| Installation | Easy to install with included window kit |
| Maintenance | Washable and reusable filters |
| Safety | Overheat protection |
| Warranty | 1 year on parts |
Frequently Asked Questions - DPA140HE3BDB6 DANBY
Download the instructions for your Air Conditioning in PDF format for free! Find your manual DPA140HE3BDB6 - DANBY and take your electronic device back in hand. On this page are published all the documents necessary for the use of your device. DPA140HE3BDB6 by DANBY.
USER MANUAL DPA140HE3BDB6 DANBY
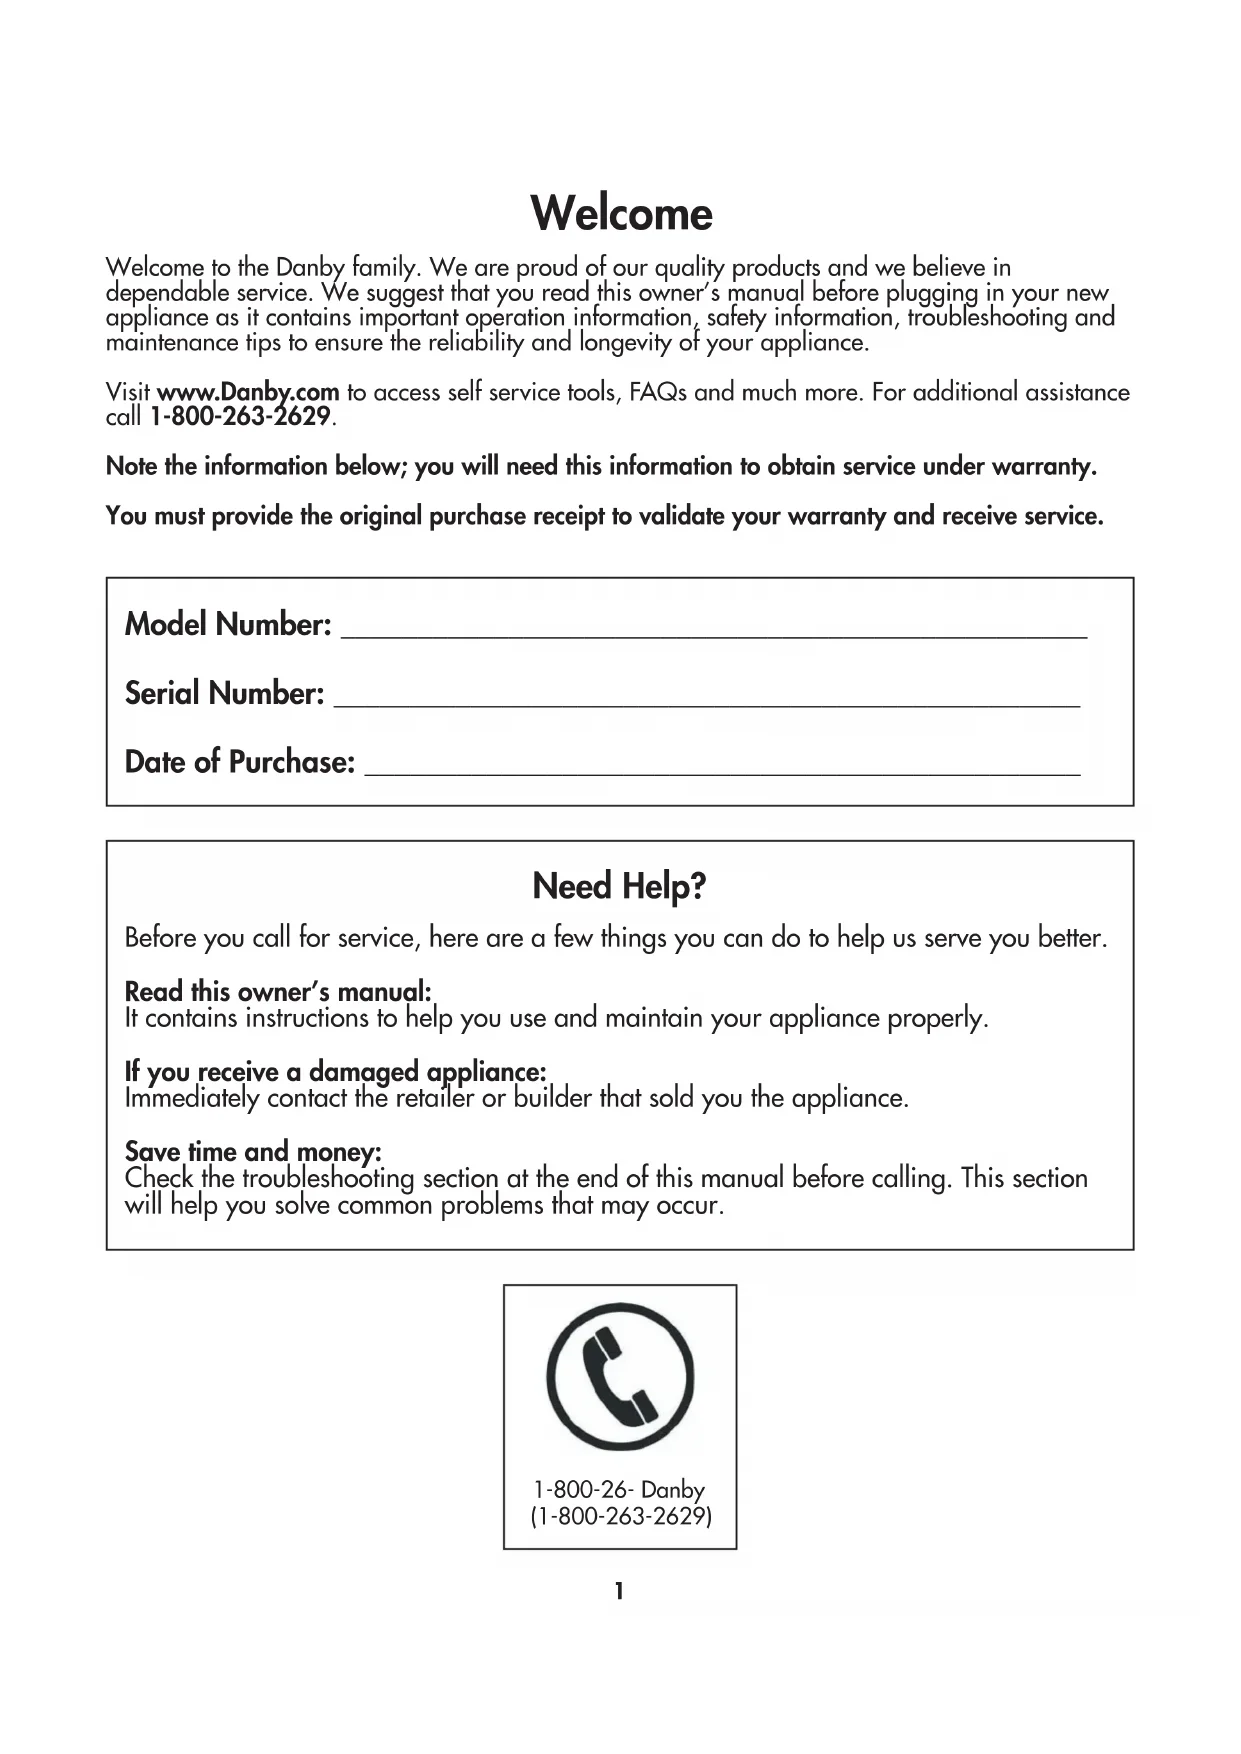
2019.10.31Welcome Welcome to the Danby family. We are proud of our quality products and we believe in dependable service. We suggest that you read this owner’s manual before plugging in your new appliance as it contains important operation information, safety information, troubleshooting and maintenance tips to ensure the reliability and longevity of your appliance. Visit www.Danby.com to access self service tools, FAQs and much more. For additional assistance call 1-800-263-2629. Note the information below; you will need this information to obtain service under warranty. You must provide the original purchase receipt to validate your warranty and receive service. Model Number: _________________________________________________ Serial Number: _________________________________________________ Date of Purchase: _______________________________________________ Need Help? Before you call for service, here are a few things you can do to help us serve you better. Read this owner’s manual: It contains instructions to help you use and maintain your appliance properly. If you receive a damaged appliance: Immediately contact the retailer or builder that sold you the appliance. Save time and money: Check the troubleshooting section at the end of this manual before calling. This section will help you solve common problems that may occur. 1-800-26- Danby(1-800-263-2629) 1SAFETY REQUIREMENTS This appliance is not intended for use by persons (including children) whose physical, sensory or mental capabilities may be different or reduced, or who lack experience or knowledge, unless such persons receive supervision or training to operate the appliance by a person responsible for their safety. Children should be supervised to ensure that they do not play with the appliance. To avoid risk of electric shock, do not operate this appliance in an area that is likely to accumulate standing water. If this condition develops, disconnect the power supply before stepping into the water. Do not store or use combustible materials such as gasoline or other fl ammable vapors or liquids in the vicinity of this or any other appliance. Do not insert fi ngers or other objects into grills or openings in the appliance. Do not cover or block the intake and exhaust openings. Do not operate the appliance without the fi lter installed. Do not operate the appliance near heat sources. This appliance is intended for indoor, residential applications only. Do not use this appliance outdoors. Do not use this appliance for commercial or industrial applications. If the air conditioner is transported on its back or side, it must be allowed to stand upright for 6 hours before plugging in to avoid damage to internal components. Keep the appliance away from walls, furniture and curtains with a clearance of at least 30 cm (12 inches) on all sides. GROUNDING INSTRUCTIONS This appliance must be grounded. Grounding reduces the risk of electrical shock by providing an escape wire for the electrical current. This appliance has a cord that has a grounding wire with a 3-prong plug. The power cord must be plugged into an outlet that is properly grounded. If the outlet is a 2-prong wall outlet, it must be replaced with a properly grounded 3-prong wall outlet. The serial rating plate indicates the voltage and frequency the appliance is designed for. WARNING - Improper use of the grounding plug can result in a risk of electric shock. Consult a qualifi ed electrician or service agent if the grounding instructions are not completely understood, or if doubt exists as to whether the appliance is properly grounded. Do not connect the appliance to extension cords, adapters or together with another appliance in the same wall outlet. Do not splice the power cord. Do not under any circumstances cut or remove the third ground prong from the power cord. If the power supply cord is damaged, it must be replaced by the manufacturer, its service agent or similar qualifi ed person in order to avoid hazard. Important Safety Information
REQUIRED TOOLS 1. Medium sized Phillips screwdriver2. Tape measure or ruler3. Knife or scissors4. Saw (in the event that the window sliders need to be cut to size)
ASSEMBLING THE WINDOW KIT
1. Attach the air outlet adapter and the window slider adapter onto either end of the exhaust hose.2. Insert the air outlet adapter into the back of the appliance by placing over the air exhaust and then twisting in the direction of the arrow to lock into place. 3. Measure the window opening where the window kit will be installed. Assemble as many sliders as necessary to fi t the window.4. If the length of the window requires all three sliders, use two bolts to fasten the sliders at the correct length.5. If the window opening is less that the minimum length of a single slider, use the slider that has the hole in it and cut it to the correct length. Make sure not to cut the end that has the hole as this is necessary to attach the exhaust hose adapter.
ACCESSORIES 1. Air outlet adapter2. Exhaust hose3. Window slider adapter4. 8 Bolts5. Window slider A6. Window slider B and C7. Foam seal A and B (adhesive)8. Foam seal C (non-adhesive)9. Drain hose10. Remote control and batteries
The window kit can be used in either a hung window or a sliding window application. The images at the right are for a hung window. The steps for a sliding window are the same.
1. Cut the adhesive foam seals A and B to the
correct length for the window. Attach them to the window sash and frame as shown.
2. Insert the assembled window slider kit into the
3. Cut the non-adhesive foal seal C to match
the width of the window. Insert the foam seal between the glass and the window frame to prevent air and insects from getting into the room.
4. Attach the window slider adapter to the hole in
the window slider kit. Note: It may be easier to attach the window slider adapter to the window slider kit before placing the kit in the window. Note: Do not over extend or bend the hose as this will impede air fl ow.
4. Handle (both sides)
LOCATION Place the air conditioner on a smooth, level fl oor that is strong enough to support it and all included accessories. Make sure the appliance is level to minimize noise and vibration. The appliance must be installed near a grounded receptacle and the overfl ow drain outlet on the rear of the appliance must be accessible. Do not cover air inlets or outlets or the remote control receiver on the control panel. The appliance requires 45 cm (17.7 inches) of clearance on the front and sides. The appliance requires at least 50 cm (20 inches) of clearance on the back. Rear
1. Remote control holder
3. Increase button: Used to increase the set
4. Mode button: Used to choose the mode; cool,
heat, fan or dry. Press and hold the mode button for 20 seconds to change the temperature scale between Celsius and Fahrenheit.
5. Power button: Used to turn the appliance on or
off. Note: Certain functions can only be accessed through the remote control. CONTROL PANEL
- Low fan is indicated by one bar.
- Medium fan is indicated by two bars.
- High fan is indicated by three bars.
- Auto fan speed is indicated by cycling bars.
- Press the mode button until the snowfl ake icon appears on the display.
- Use the increase and decrease buttons to choose the desired temperature.
- Use the fan button to choose the desired fan speed.
- The temperature can be set within a range of 18 - 32°C (64 - 90°F).
- The exhaust hose should be installed during cool mode to ensure the best results. Dry Mode Choose dry mode to remove excess moisture from the air during periods of high humidity.
- Press the mode button until the “dh” symbol appears on the display.
- The fan speed will be set to auto.
- The exhaust hose should be installed during cool mode to ensure the best results.
- It may be necessary to install the continuous drain hose during dry mode to remove excess water. Fan Mode Choose fan mode to run the internal fan without engaging the cooling function.
- Press the mode button until the fan icon appears on the display.
- Press the fan button to choose the desired fan speed: low, medium or high.
- The exhaust hose does not need to be installed during fan mode. Heat Mode Choose heat mode to set the heating function.
- Press the mode button until the sun icon appears on the display.
- Use the increase and decrease buttons to choose the desired temperature.
- Press the fan button to choose the desired fan speed.
- The temperature can be set within a range of 13 - 27°C (55 - 81°F).
- It may be necessary to install the continuous drain hose during heat mode to remove excess water.OPERATING INSTRUCTIONS
2. Increase button: Used to increase the set
3. Mode button: Used to choose the mode; cool,
on the top of the appliance.
- Press once to begin the swing function.
- Press a second time to stop the louver when it has reached the desired angle.
scale between Celsius and Fahrenheit. Note: The remote control will function within a range of 7 meters (23 feet) of the appliance. TIMER FUNCTION The timer function can be used to turn the appliance on or off after a period of time to conserve energy. The timer function can only be activated by the remote control. To set the timer to turn the appliance off:
1. While the appliance is running, press the timer
button. The time display will fl ash.
2. Press the timer button to choose the number of
hours before the appliance will turn off.
3. Wait 5 seconds to confi rm the setting. The timer
icon will show on the display panel. To set the timer to turn the appliance on:
1. Turn the appliance on and choose the desired
mode and settings. Turn the appliance off.
2. While the appliance is turn off, press the timer
button. The time display will fl ash.
3. Press the timer button to choose the number of
hours before the appliance will turn on.
4. Wait 5 seconds to confi rm the setting. The timer
icon will show on the display panel. Notes: Turning the appliance on or off at any time or adjusting the timer setting to 0 hours will cancel the timer settings SLEEP FUNCTION The sleep function can be used to conserve energy during sleeping hours. The sleep function can only be used during cool mode. When is cool mode, the set temperature will increase by 1 degree per hour for 2 hours. The appliance will hold the new set temperature for 6 hours before automatically returning to normal operation. When in heat mode, the set temperature will increase by 1 degree per hour for 3 hours. The appliance will hold the new set temperature for 5 hours before automatically returning to normal operation. The sleep function can only be activated with the remote control and can be canceled at any time by pressing the sleep button.OPERATING INSTRUCTIONS
The remote control will ship with a battery already installed. To use the remote for the fi rst time, remove the transparent insulating strip from the battery housing by gently pulling it out. The remote control uses battery type CR2025. To replace the remote battery, follow the steps below:
1. Use a pin or similar item to press into the hole
on the battery cover on the back of the remote control. While pressing down with the pin, push the battery cover out.
2. Remove the old battery from the battery cover
and replace with a new battery of the same type. Replace the battery cover in the remote control by pushing inward until it clicks into place. IMPORTANT Do not dispose of batteries as unsorted municipal waste. Refer to local laws for proper disposal of batteries.
This equipment has been tested and found to comply with the limits for a Class B digital device, pursuant to Part 15 of the FCC Rules. These limits are designed to provide reasonable protection against harmful interference in a residential installation. This equipment generates, uses and can radiate radio frequency energy and, if not installed and used in accordance with the instructions, may cause harmful interference to radio communications. However, there is no guarantee that interference will not occur in a particular installation. If this equipment does cause harmful interference to radio or television reception, which can be determined by turning the equipment off and on, the user is encouraged to try to correct the interference by one or more of the following measures:
1. Reorient or relocate the receiving antenna
2. Increase the separation between the equipment
3. Connect the equipment into an outlet on a
circuit different from that to which the receiver is connected
4. Consult the dealer or an experienced radio/TV
technician for help Changes or modifi cations not approved by the party responsible for FCC compliance could void the user’s authority to operate the equipment. This appliance complies with Part 15 of the FCC Rules. Operation is subject to the following conditions:
1. This device may not cause harmful interference.
2. This device must accept any interference
received, including interference that may cause undesired operation. This device complies with Canadian CAN ICES-3
During the dry mode, you may wish to set up the continuous drain option so that the appliance will automatically drain collected water. Ensure that the appliance is turned off and unplugged from the power source before setting up the drain hose. Remove the drain plug and attach the drain hose that was provided with the appliance. Ensure that there are no kinks or bends in the drain hose as this can stop water from draining. Place the open end of the drain hose over the receptacle that the appliance will drain into; this could be a basement fl oor drain, a sink or similar. Remember that there is no drain pump in this appliance, the continuous drain is activated by gravity only. Ensure that the drain hose goes straight down toward the fl oor from the drain connection. If the hose is not positioned directly downwards, water will not drain correctly. WATER DRAINAGE When the internal drain pan becomes full the appliance will stop operating and the display will show error code “Ft”. The air conditioning or dehumidifying action will stop but the fan may continue to operate. There are two methods to drain water from the appliance:
1. Turn the appliance off and unplug it from the
2. Carefully move the appliance to a location
where the water can be drained.
3. Remove the drain plug and allow the water to
4. Replace the bottom drain plug, pressing fi rmly to
ensure a tight fi t and no leaks.
5. The “Ft” error symbol will disappear and the
appliance will resume regular function once power is restored.CARE & MAINTENANCE CLEANING
- Unplug the appliance before cleaning or servicing.
- Clean the cabinet with a lukewarm damp cloth and neutral detergent. Dry the cabinet with a lint-free dry cloth.
- Do not use gasoline, paint thinner or other chemicals to clean the appliance.
- Do not wash the appliance directly under a tap or using a hose. It may cause electrical damage. AIR FILTER There are three fi lters in this appliance that should be cleaned every two weeks to ensure effi cient performance. In households with animals, the air fi lters may need to be cleaned more often and the external grills may need to be wiped to prevent blocked air fl ow. LONG-TERM STORAGE
1. Drain all water from the appliance.
2. Run the appliance on fan mode for half a day in
a warm room to dry the inside of the appliance and prevent mold formation.
3. Turn off the appliance and unplug it, wrap the
cord and bundle it with tape.
4. Remove the battery from the remote control.
5. Clean the air fi lters and reinstall them.
6. Store the appliance in a cool, dark place.
Prolonged exposure to direct sunlight or extreme heat can shorten the lifespan of the appliance. DISPOSAL This appliance should not be treated as regular household waste. Check for local regulatory compliance regarding the approved and safe disposal of this appliance. Do not dispose of batteries as unsorted municipal waste. Refer to local laws for proper disposal of batteries. ERROR CODES Lt - low temperature - the appliance will pause functioning if ice forms on the internal structure; the appliance will resume normal functioning automatically when the ice melts PF - sensor failure - unplug the appliance for 5 minutes to reset the internal sensors; if the error code persists after plugging the appliance back in, please contact consumer care for servicing information Ft - water tray is full - attach drain hose and drain excess water 10TROUBLESHOOTING
PROBLEM POSSIBLE CAUSE
Appliance will not operate • Plug is not fully inserted into the wall outlet
- Blown fuse or circuit breaker Insuffi cient cooling • Air fi lters are dirty
- Appliance size is too small for application Noise • The ground is not level
- Air fi lters are dirty
- Gurgling sounds are normal; this is the refrigerant moving inside the appliance Odors • Formation of mold or mildew on internal wet surfaces
- Place an algaecide tablet in base pan; push the tablet through the grill on the back of the appliance
Danby Consumer Care: 1-800-263-2629 or consumerservice@danby.com Hours of operation: Monday to Thursday 8:30 am - 6:00 pm Eastern Standard Time Friday 8:30 am - 4:00 pm Eastern Standard Time Information in this manual is subject to change without notice.LIMITED IN-HOME APPLIANCE WARRANTY This quality product is warranted to be free from manufacturer’s defects in material and workmanship, provided that the unit is used under the normal operating conditions intended by the manufacturer. This warranty is available only to the person to whom the unit was originally sold by Danby Products Limited (Canada) or Danby Products Inc. (U.S.A.) (hereafter “Danby”) or by an authorized distributor of Danby, and is non-transferable.TERMS OF WARRANTY Plastic parts, are warranted for thirty (30) days only from purchase date, with no extensions provided. First Year During the rst twelve (12) months, any functional parts of this product found to be defective, will be repaired or replaced, at warrantor’s option, at no charge to the ORIGINAL purchaser. To obtain Danby reserves the right to limit the boundaries of “In Home Service” to the proximity of an Authorized Service Depot. Any app liance Service requiring service outside the limited boundaries of “In Home Service” , it will be the consumer’s responsibility to transport the appliance (at their own expense) to the original retailer (point of purchase) or a service depot for repair. See “Boundaries of In Home Serv ice” below. Contact your dealer from whom your unit was purchased, or contact your nearest authorized Danby service depot, where service must be performed by a qualied service technician. If service is performed on the units by anyone other than an authorized service depot, or the unit is used for commercial appli cation, all obligations of Danby under this warranty shall be void. Boundaries of If the appliance is installed in a location that is 100 kilometers (62 miles) or more from the nearest service center your unit must be In Home Service delivered to the nearest authorized Danby Service Depot, as service must only be performed by a technician qualied and certif ied for warranty service by Danby. Transportation charges to and from the service location are not protected by this warranty and are t he responsibility of the purchaser. Nothing within this warranty shall imply that Danby will be responsible or liable for any spoilage or damage to food or other c ontents of this appliance, whether due to any defect of the appliance, or its use, whether proper or improper.EXCLUSIONS Save as herein provided, Danby, there are no other warranties, conditions, representations or guarantees, express or implied, m ade or intended by Danby or its authorized distributors and all other warranties, conditions, representations or guarantees, including any warranties, conditio ns, representations or guarantees under any Sale of Goods Act or like legislation or statue is hereby expressly excluded. Save as herein provided, Danby shall no t be responsible for any damages to persons or property, including the unit itself, howsoever caused or any consequential damages arising from the malfunction o f the unit and by the purchase of the unit, the purchaser does hereby agree to indemnify and hold harmless Danby from any claim for damages to persons or propert y caused by the unit. GENERAL PROVISIONS No warranty or insurance herein contained or set out shall apply when damage or repair is caused by any of the following:
2) Damage in transit or when moving the appliance.
3) Improper power supply such as low voltage, defective house wiring or inadequate fuses.
4) Accident, alteration, abuse or misuse of the appliance such as inadequate air circulation in the room or abnormal operating con ditions (extremely high or low room temperature).
5) Use for commercial or industrial purposes (ie. If the appliance is not installed in a domestic residence).
6) Fire, water damage, theft, war, riot, hostility, acts of God such as hurricanes, oods etc.
7) Service calls resulting in customer education.
8) Improper Installation (ie. Building-in of a free standing appliance or using an appliance outdoors that is not approved for out door application). Proof of purchase date will be required for warranty claims; so, please retain bills of sale. In the event warranty service is required, present this document to our AUTHORIZED SERVICE DEPOT.Danby Products LimitedPO Box 1778, Guelph, Ontario, Canada N1H 6Z9Telephone: (519) 837-0920 FAX: (519) 837-0449Danby Products Inc.PO Box 669, Findlay, Ohio, U.S.A. 45840Telephone: (419) 425-8627 FAX: (419) 425-862904/09 1-800-263-2629 Warranty ServiceIn-home Danby reserves the right to limit the boundaries of “In Home Service” to the proximity of an authorized service depot. Any appliance requiring service outside the limited boundaries of “In Home Service”, will be the consumer’s responsibility to transport at their own expense to the original point of purchase or a service depot for repair. If the appliance is installed in a location that is 100 kilometers (62 miles) or more from the nearest service center, it must be delivered to the nearest authorized Danby Service Depot by the purchaser. Transportation charges to and from the service location are not protected by this warranty and are the responsibility of the purchaser. During the first twenty four (24) months, any functional parts of this product found to be defective, will be repaired or replaced, at warrantor’s option, at no charge to the original purchaser. Contact the dealer where the unit was purchased, or contact the nearest authorized Danby service depot, where service must be performed by a qualified service technician. If service is performed on the unit by anyone other than an authorized service depot, all obligations of Danby under this warranty shall be void.First 24 monthsTo obtain service Boundaries ofin-home service
LIMITED “IN HOME” WARRANTY
Danby soins du consommateur : 1-800-263-2629 ou consumerservice@danby.com Heures d’ouverture : Du lundi au jeudi, de 8 h 30 à 18 h, heure de l’Est Vendredi, de 8 h 30 à 16 h, heure de l’Est Les informations contenues dans ce manuel sont sujettes à modifi cation sans préavis.LIMITED IN-HOME APPLIANCE WARRANTY This quality product is warranted to be free from manufacturer’s defects in material and workmanship, provided that the unit is used under the normal operating conditions intended by the manufacturer. This warranty is available only to the person to whom the unit was originally sold by Danby Products Limited (Canada) or Danby Products Inc. (U.S.A.) (hereafter “Danby”) or by an authorized distributor of Danby, and is non-transferable.TERMS OF WARRANTY Plastic parts, are warranted for thirty (30) days only from purchase date, with no extensions provided. First Year During the rst twelve (12) months, any functional parts of this product found to be defective, will be repaired or replaced, at warrantor’s option, at no charge to the ORIGINAL purchaser. To obtain Danby reserves the right to limit the boundaries of “In Home Service” to the proximity of an Authorized Service Depot. Any app liance Service requiring service outside the limited boundaries of “In Home Service” , it will be the consumer’s responsibility to transport the appliance (at their own expense) to the original retailer (point of purchase) or a service depot for repair. See “Boundaries of In Home Serv ice” below. Contact your dealer from whom your unit was purchased, or contact your nearest authorized Danby service depot, where service must be performed by a qualied service technician. If service is performed on the units by anyone other than an authorized service depot, or the unit is used for commercial appli cation, all obligations of Danby under this warranty shall be void. Boundaries of If the appliance is installed in a location that is 100 kilometers (62 miles) or more from the nearest service center your unit must be In Home Service delivered to the nearest authorized Danby Service Depot, as service must only be performed by a technician qualied and certif ied for warranty service by Danby. Transportation charges to and from the service location are not protected by this warranty and are t he responsibility of the purchaser. Nothing within this warranty shall imply that Danby will be responsible or liable for any spoilage or damage to food or other c ontents of this appliance, whether due to any defect of the appliance, or its use, whether proper or improper.EXCLUSIONS Save as herein provided, Danby, there are no other warranties, conditions, representations or guarantees, express or implied, m ade or intended by Danby or its authorized distributors and all other warranties, conditions, representations or guarantees, including any warranties, conditio ns, representations or guarantees under any Sale of Goods Act or like legislation or statue is hereby expressly excluded. Save as herein provided, Danby shall no t be responsible for any damages to persons or property, including the unit itself, howsoever caused or any consequential damages arising from the malfunction o f the unit and by the purchase of the unit, the purchaser does hereby agree to indemnify and hold harmless Danby from any claim for damages to persons or propert y caused by the unit. GENERAL PROVISIONS No warranty or insurance herein contained or set out shall apply when damage or repair is caused by any of the following:
2) Damage in transit or when moving the appliance.
3) Improper power supply such as low voltage, defective house wiring or inadequate fuses.
4) Accident, alteration, abuse or misuse of the appliance such as inadequate air circulation in the room or abnormal operating con ditions (extremely high or low room temperature).
5) Use for commercial or industrial purposes (ie. If the appliance is not installed in a domestic residence).
6) Fire, water damage, theft, war, riot, hostility, acts of God such as hurricanes, oods etc.
7) Service calls resulting in customer education.
PROBLEMA CAUSA POSIBLE
Danby cuidado del consumidor: 1-800-263-2629 o consumerservice@danby.com Horas de operación: Lunes a Jueves 8:30 am - 6:00 pm Hora estándar del este Viernes 8:30 am - 4:00 pm Hora estándar del este La información de este manual está sujeta a cambios sin previo aviso.LIMITED IN-HOME APPLIANCE WARRANTY This quality product is warranted to be free from manufacturer’s defects in material and workmanship, provided that the unit is used under the normal operating conditions intended by the manufacturer. This warranty is available only to the person to whom the unit was originally sold by Danby Products Limited (Canada) or Danby Products Inc. (U.S.A.) (hereafter “Danby”) or by an authorized distributor of Danby, and is non-transferable.TERMS OF WARRANTY Plastic parts, are warranted for thirty (30) days only from purchase date, with no extensions provided. First Year During the rst twelve (12) months, any functional parts of this product found to be defective, will be repaired or replaced, at warrantor’s option, at no charge to the ORIGINAL purchaser. To obtain Danby reserves the right to limit the boundaries of “In Home Service” to the proximity of an Authorized Service Depot. Any app liance Service requiring service outside the limited boundaries of “In Home Service” , it will be the consumer’s responsibility to transport the appliance (at their own expense) to the original retailer (point of purchase) or a service depot for repair. See “Boundaries of In Home Serv ice” below. Contact your dealer from whom your unit was purchased, or contact your nearest authorized Danby service depot, where service must be performed by a qualied service technician. If service is performed on the units by anyone other than an authorized service depot, or the unit is used for commercial appli cation, all obligations of Danby under this warranty shall be void. Boundaries of If the appliance is installed in a location that is 100 kilometers (62 miles) or more from the nearest service center your unit must be In Home Service delivered to the nearest authorized Danby Service Depot, as service must only be performed by a technician qualied and certif ied for warranty service by Danby. Transportation charges to and from the service location are not protected by this warranty and are t he responsibility of the purchaser. Nothing within this warranty shall imply that Danby will be responsible or liable for any spoilage or damage to food or other c ontents of this appliance, whether due to any defect of the appliance, or its use, whether proper or improper.EXCLUSIONS Save as herein provided, Danby, there are no other warranties, conditions, representations or guarantees, express or implied, m ade or intended by Danby or its authorized distributors and all other warranties, conditions, representations or guarantees, including any warranties, conditio ns, representations or guarantees under any Sale of Goods Act or like legislation or statue is hereby expressly excluded. Save as herein provided, Danby shall no t be responsible for any damages to persons or property, including the unit itself, howsoever caused or any consequential damages arising from the malfunction o f the unit and by the purchase of the unit, the purchaser does hereby agree to indemnify and hold harmless Danby from any claim for damages to persons or propert y caused by the unit. GENERAL PROVISIONS No warranty or insurance herein contained or set out shall apply when damage or repair is caused by any of the following:
2) Damage in transit or when moving the appliance.
3) Improper power supply such as low voltage, defective house wiring or inadequate fuses.
4) Accident, alteration, abuse or misuse of the appliance such as inadequate air circulation in the room or abnormal operating con ditions (extremely high or low room temperature).