AS2205 - Vacuum Cleaner UFESA - Free user manual and instructions
Find the device manual for free AS2205 UFESA in PDF.
User questions about AS2205 UFESA
0 question about this device. Answer the ones you know or ask your own.
Ask a new question about this device
Download the instructions for your Vacuum Cleaner in PDF format for free! Find your manual AS2205 - UFESA and take your electronic device back in hand. On this page are published all the documents necessary for the use of your device. AS2205 by UFESA.
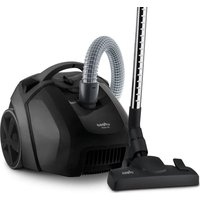
USER MANUAL AS2205 UFESA
The appliance must be before plugging it in or un
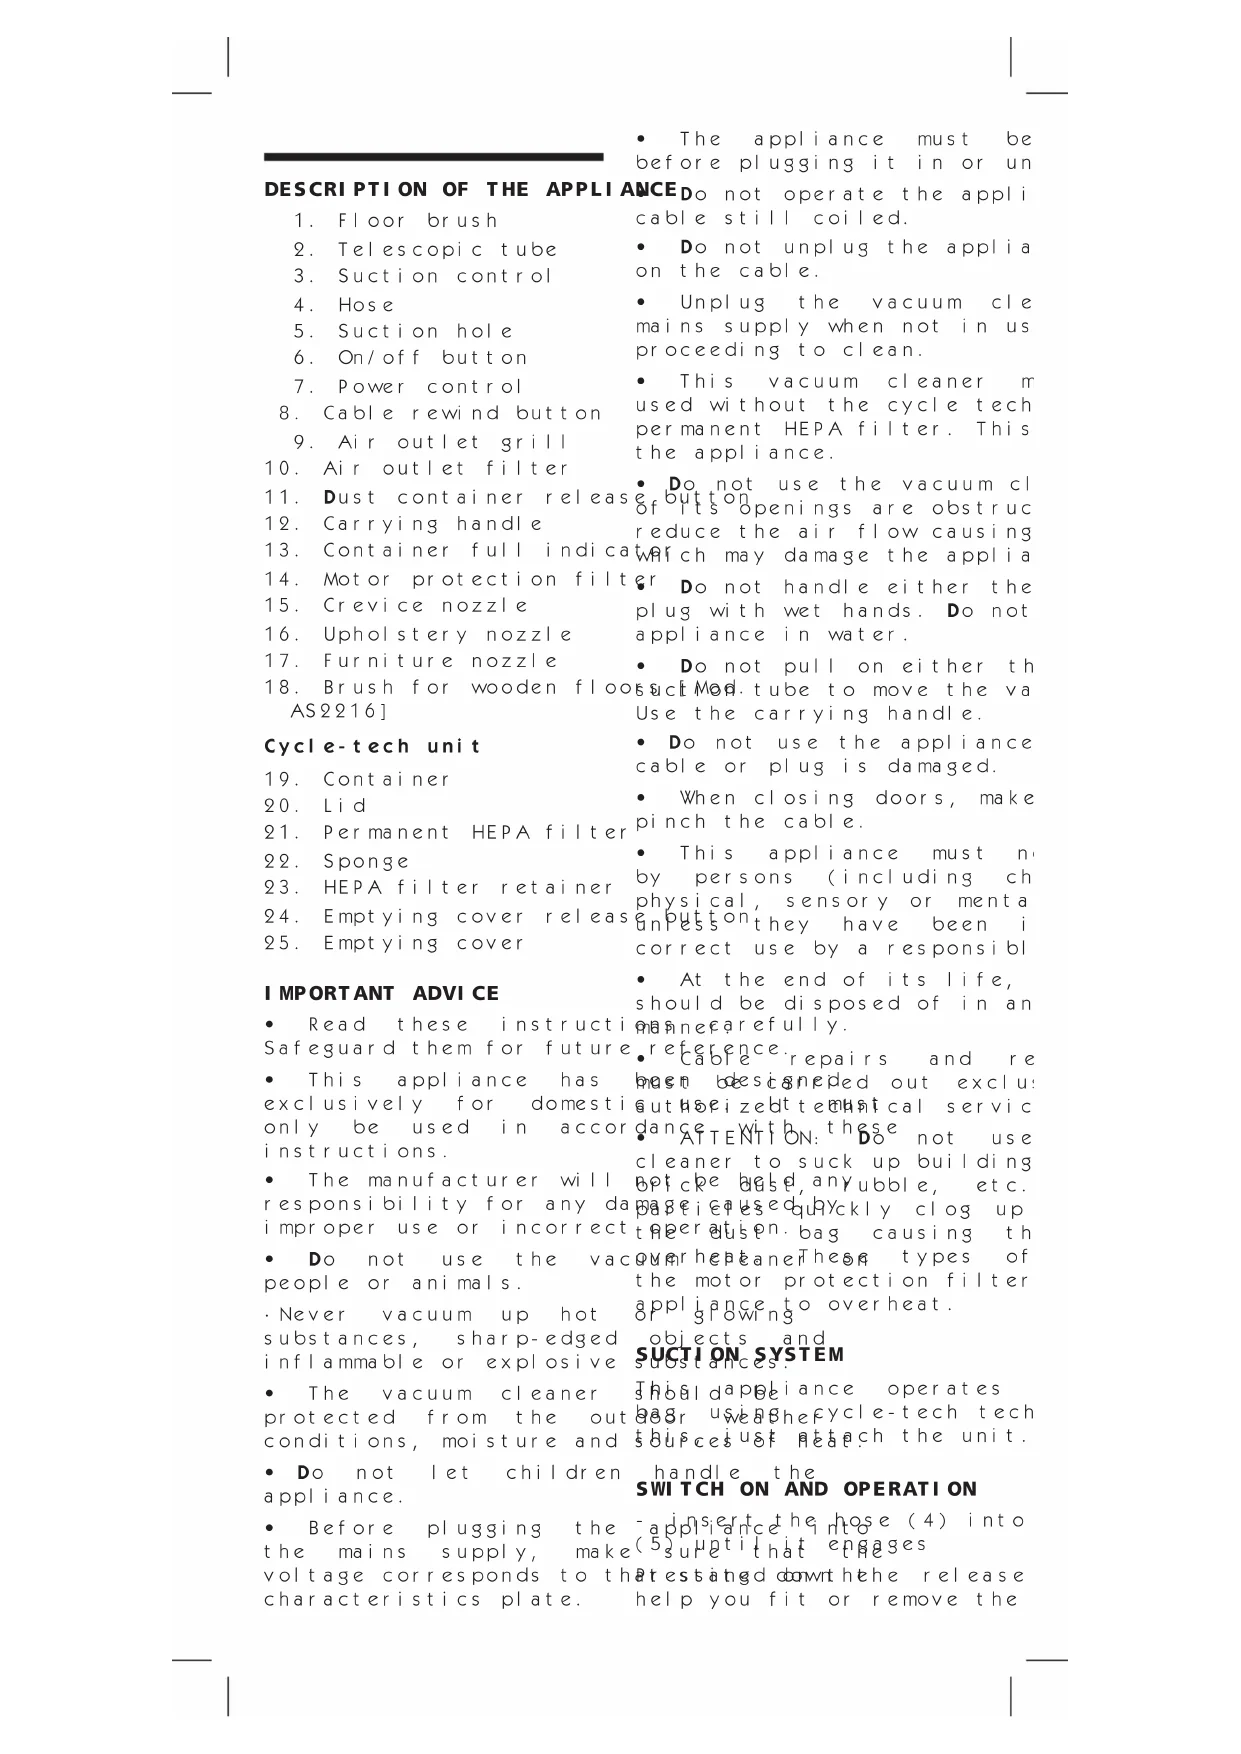
DESCRIPTION OF THE APPLIANCDo not operate the appli 1. Floor brush cable still coiled.
- Telescopic tube
- Suction control
- Hose
- Suction hole
- On/off button
-
Power control
-
Cable rewind button
-
Air outlet grill
-
Air outlet filter
- Dust container release
- Carrying handle
- Container full indication
- Motor protection fil t
- Crevice nozzle
- Uphol s tery nozzle
-
Furniture nozzle
18.Brush for wooden floc AS2216] -
Do not unplug the appli a on the cable.
Unplug the vacuumCLE mains supply when not in us proceeding to clean. - This vacuum cleaner m used without the cycle tech permanent HEPA filter. This t he appliance.
Do not use the vacuum cl of button of buttons openings are obstruc
reduce the air flow causingwhich may damage the appli a
Do not handle either the plug with wet hands. Do not appliance in water.
- Do not pull on either the shell tube to move the value the carrying handle.
- Do not use the appliance cable or plug is damaged.
- When closing doors, make pinch the cable.
This appliance must be by persons (including ch physical, sensory or mental) on Pesson they have been i correct use by a responsi bl
- At the end of its life, should be disposed of in an appropriate way.
referencerepairs and rebras bestanced out excludauthoredttematical servicedance with theseATENTION:do not use
cleaner to suck up building Bpckre gabd,anyubble,etc. 89e usedquckly clog up taperatison.bagcausingth
quarheaneThe types of the motor protection filter appliance to over heat.
oBjects and SUCTIOnS ySteM sustances:
thbal dapeiance operates
ggr uweaghefycle-tech tech
sbucceu faech the unit.
SWITCH ON AND OPERATION
apnerthe hose (4) into (5)sutithat enages
Cycl e- tech unit
- Container
- Li d
- Permanent HEPA filter
- Sponge
- HEPA filter retainer
- Emptying cover releas
- Emptying cover
IMPORTANT ADVICE
- Read these instructi Safeguard them for future
This appliance has exclusively for domestic only be used in accordance instructions.
The manufacturer will responsibility for any data improper use or incorrect - Do not use theVac people or animals.
- Never vacuum up hot substances, sharp-edged inflammable or explosive
The vacuum cleaner protected from the out conditions, moisture and - Do not let children play a little.
Before plugging the the mains supply, make voltage corresponds to the characteristics plate.
reTabeRce.repairs and reBnBm bdesgneped out exclusuAuthorizedtemntical servicedance ATTENTION: these not usecleaner to suck up building,bofcre bsd,anyubble,etc.Boaie usedquckly clog uptheperatien. bag causing thequharheaneTheore types ofthe motor protection filterappliCte to overheat.
thbal dapeiance operates
ggr uweaghefycle-tech tech
sbucceu faech the unit.
apnserthe hose (4) into (5) uptithat engages
stessangd bowthe release help you fit or remove the
- connect the tube (2) CLEANING ANDs MAINTAINING hose (4) together. Figure2 CONTAINER FULL INDICATOR (1) attach the brush (1), or whichever accessory is required, to the vacuum power device tube. Figure3 into a window mounted o - holding the power cord by vacuthe cplatner. This pull out the required contgather and flugor that t into the mains supply. If this otherson empty the co button (6). Figure4 - Press the release but set the power with the remove fegutcponiner. Figur 5 Suction intensity can also empty regulated contents from the hand grip. Opeing12the flap (3) reduces suction, whereas closing it increases suction. Figure6 Cover the flap back up t Place the container back in you can use the parking atheonatomeback cleaner of the vacuum cleaner if you wish to stop vacuuming for a short Cweaning shedpermaent HEPA catch in the brush into the free eye thehtbution (11) rear of the appliance. Fieheiner (19) out of the h -the wheels, the 360 swirvelthejecontainer lid (2 and the carrying handle oremoe i withiguf813 compactness, make this vacuum cleaner extremely mobile. Pull off the HEPA fi and then the HEPA filte Figure14
WHEN THE WORK IS FINISHED
When you have finished wate ng and the mild detergent appliance, set the power centry for7) at least 24 the minimum power position, press the On/Off switch (6). Once clean and dry, fit the (23) back into the container Press the automatic cable the windsporegal and HEPA (8) to wind the cable back in the superhe
ACCESSIONS
Floor brush (1)
Figure 9
ACCESSORY NOZZLES
Crevice nozzle (15)
Use this accessory to vacuum crevices and deep grooves and nooks advisable to clean the least six uses.
Uphol s tery nozzle (16)
This accessory has been designed to clean all types of upholstery. The motor protection filter cleaned regularly by knocki Furniture nozzle (17) and rinsing.
This accessory is ideal for existing but not only for use in existing buildings.
Brush for wooden flooring is very dirty, it sho [Mod. AS2216]
This brush has been specially designed to place it clean wooden floor surfaces. The soft half in position bristles brush over the surface picking up the dust but without damaging the floor.
Cleaning air outlet filter ADVICE ON DISPOSAL:
Remove the filter grill (9bupregosdg theme in o clip in the direction of the packbagingke Thes basic filter (10) out and tapping non-ontamnating. Figure17 which should be handed
l ocal w a s t e d i s p o s a l s e r v i c aI raw m a t e r i a l s .
Replacement
Ufesa recommends that the TRESMAPECT complies HEPA filter (20) and a DPUcefevefbbbg96CE?T and motor protection filee whee(14) bPS symbol show replaced yearly (depending nappp)axge indicates t can get these replacement oses your dispese of the pro shopping centre or for notanbeauthered in with dealer refuse. It must be taken to
Important: To guarantee ecotablen pointe or electr operation, use only Ufesaapertances or returned to t
when purchasing a simila Under current refuse dispos
Important
- Al ways unplug the vagm fwhom ftah to take mains supply before cleanapslities to special re
The filters should always be normalized whenever any type of image is scored applied with the suction. that they can be recycled a
- Do not use a scourer for glass cleaning in agent or multi purpose cleaner. For more information and never immerse the appliance waste disposal water. Your local refuse service
The filters must bewheet the producer was plesleast 24 hours before fitmingfahemrkaik famd importt reuse. responsibl e for ecologica
- The vacuum cleaner uses energy and disposal switch on unless these wet filters are left in place correctly. Your local town council can
The accessories and with information about how cleaner can be wiped clean by using appliances. cloth and then left to dry before reusing them.
Reservoir Cycle -tech
EMBOUTS ACCESSOIREMS
Evite que as criangas
Introroduza gargalmangueira (4
aspiracab(5)para a fixar
beillesztheteyeivaholithatja tomlot.
daepaRoztataskor.
J 1 J 1 J 1 J 1 J 1 J 1
j 5 k 10
. 11
. 11
. 11
. 11
Jc 24 1 1
. 1
1
1
1
a1y 11 a11 y11 alai .
11 11 11 11 p 11.
(17)
Lwog 151 yuuao yuuao Jokllia .yall 4.
(18)
aaii jao aill Jai 1ia paaai pia i aai jai jai jai jai jai jai jai jai jai jai jai jai jai jai jai jai jai jai jai jai jai jai jai jai jai jai jai jai jai jai jai jai jai jai jai jai jai jai jai jai jai jai jai jai jai jai jai
a. _____
(13)
galo Jw yolaiy 1 g jn 2
g oJgJgJgJgJgJgJgJgJgJgJgJgJgJgJgJgJgJgJgJgJg
.(19)
(11)c 10.
(24).
11
J. 1 j. 1 1 1 1 1 1 1 1 1
gllg 1 1 HEPAA
(19) jzj (11) j (20) 12 a. J 12 a. J 13
HEPA aLwll aogll 1w!
auii Lk. b u y aai i
.24 s
(23) aie aie g h
jHepa aLwll aogll
HEPA aLwll aogll
HEPA aLwll
HEPA aLwll
HEPA aLwll
HEPA aLwll
HEPA aLwll
HEPA aLwll
HEPA aLwll
HEPA aLwll
HEPA aLwll
HEPA aLwll
HEPA aLwll
HEPA aLwll
HEPA aLwll
HEPA aLwll
15 15
HEPA 14 14
jll jie g Jai
(4) 100000000000000000000000000000000000000000000
1 11j! g! Jlssy Ilogiao Claay jzle kala 1 aagall. alguy pgs
Lai 2.
10.(1)Lall 3.
j 1000000000000000000000000000000000000000000000000000000000000000000000
.(7)b#allgaoJyjnoagell 5
JLJ no JALAOIgag bbs 15K J
gag 3) 111 .
JALAOIgag no gag llg JALAOIg 6
1 1 1 1 1 1 1 1 1 1 1 1 1 1 1 1 1 1 1 1 1 1 1 1 1 1 1 1 1 1 1 1 1 1 1 1 1 1 1 1 1 1 1 1 1 1 1 1 1 1 1
1
jla jla jla jla jla jla jla jla jla jla jla jla jla jla jla jla jla jla jla jla jla jla jla jla jla jla jla jla jla jla jla jla jla jla jla jla jla jla jla jla jla jla jla jla jla jla jla jla jla jla jla
(6)
8 8
11111111
(1) 9
1
(15)
Igjjgagaa Juslaio Jssll Jaa
(16)
1
jla liabio jai 1
1y
11 11 11
Lagalo
y
11 11
j 1
AaBaa JgJdLaas
J 1
aagllg aadllg Cycle-tech
j4. HEPA
.
s!jai all jglJai
12 12
.
aill aag g i aiey 11 aaii jai
jI 11
山
.Cycle-tech yolaoy1 jjss Lg
1J 1
jlllalolgo
1bJyAaLdsL.1
1.2
yolaoiyIbuu 3
gjz.4
Jauoaiy1 5
gill/1j#iill 6
gai Ibu sga .7
Lg 8
1541 9
1g 10
11
Jaiil 12
jz1 13
Jd11aLg oLa.14
J.15
J.16
17
[AS2216 g] 18
Cycle-tech
19
= 1b · 20
HEPA aIaIaIaIaIaIaIaIaIaIaIaIaIaIaIaIaIaIaIaIaIaIaIaIaIaIaIaIaIaIaIaIaIaIaIaIaIaIaIaIaIaIaIaIaIaIaIaIaIaIaI
a.22
Lallaglslal 23
HEPA
24
25.25
四边形 AOBC 为正方形
jll Jlaeio! Jc Calei jai
aal lccu 11 leuul uule bala .
Juaal
jill Jlaiwyl jll lpi pi
1
aaii jraia aegaae Jgaiil
jll lgl bga 1 Jlaaui jie
gJyLj
.
g aagao iiaLw slgo yalauo p2
.3jJyU 111g0g
jog. aubll juiie cno jlaia Lgps
.
jIJIbJlJoo
S1y
sLla aall albdo blll al
j1yll 1
ufesa
estás en casa
BSH PAE, S.L.
NIF B-01272368