
HS 1300 - Earphones Amplicom - Free user manual and instructions
Find the device manual for free HS 1300 Amplicom in PDF.
| Product Type | Wireless radio headset with amplifier |
| Brand | Amplicom |
| Model | HS 1300 |
| Transmitter weight | Approx. 195 g |
| Receiver (headset) weight | Approx. 265 g |
| Transmitter power supply | 5 V DC, 550 mA power supply unit |
| Receiver power supply | 2 NiMH rechargeable batteries 1.2 V, 700 mAh, AAA size |
| Receiver battery life | Up to 8 hours with fully charged batteries |
| Battery charging time | Approx. 5 hours |
| Transmission | GFSK stereo, 2.4 GHz digital frequency |
| Range | Up to 30 meters (under optimal conditions) |
| Frequency response | 70 Hz - 16 kHz |
| Maximum volume | Up to 120 dB |
| Distortion factor | 0.5% |
| Signal-to-noise ratio | 75 dB |
| Sound settings | Standard, amplified treble, amplified treble and bass, amplified bass |
| Auto standby function | Yes, after approximately 5 minutes without signal |
| Maintenance and cleaning | Clean with a soft, lint-free cloth. Do not use cleaning agents or solvents. |
| Safety | Use only the supplied power supply unit. Do not open the housing. Keep away from moisture and heat. |
| Spare parts and repairability | Spare rechargeable batteries (NiMH AAA), audio cable, adapter. Repair by customer service. 2-year warranty (excluding batteries). |
| Warranty | 24 months from date of purchase |
Frequently Asked Questions - HS 1300 Amplicom
User questions about HS 1300 Amplicom
0 question about this device. Answer the ones you know or ask your own.
Ask a new question about this device
Download the instructions for your Earphones in PDF format for free! Find your manual HS 1300 - Amplicom and take your electronic device back in hand. On this page are published all the documents necessary for the use of your device. HS 1300 by Amplicom.
USER MANUAL HS 1300 Amplicom
Wireless amplified headset
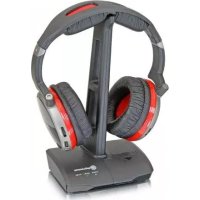
natural_image
Black and white photo of a Freebox Max ear headphones on a stand, no visible text or symbols on the device body.Übersicht
At a glance
Aperçu
Riepilogo
Overzicht
Información general
Översikt
Please open this page for "At a glance" guide to your HS 1300.

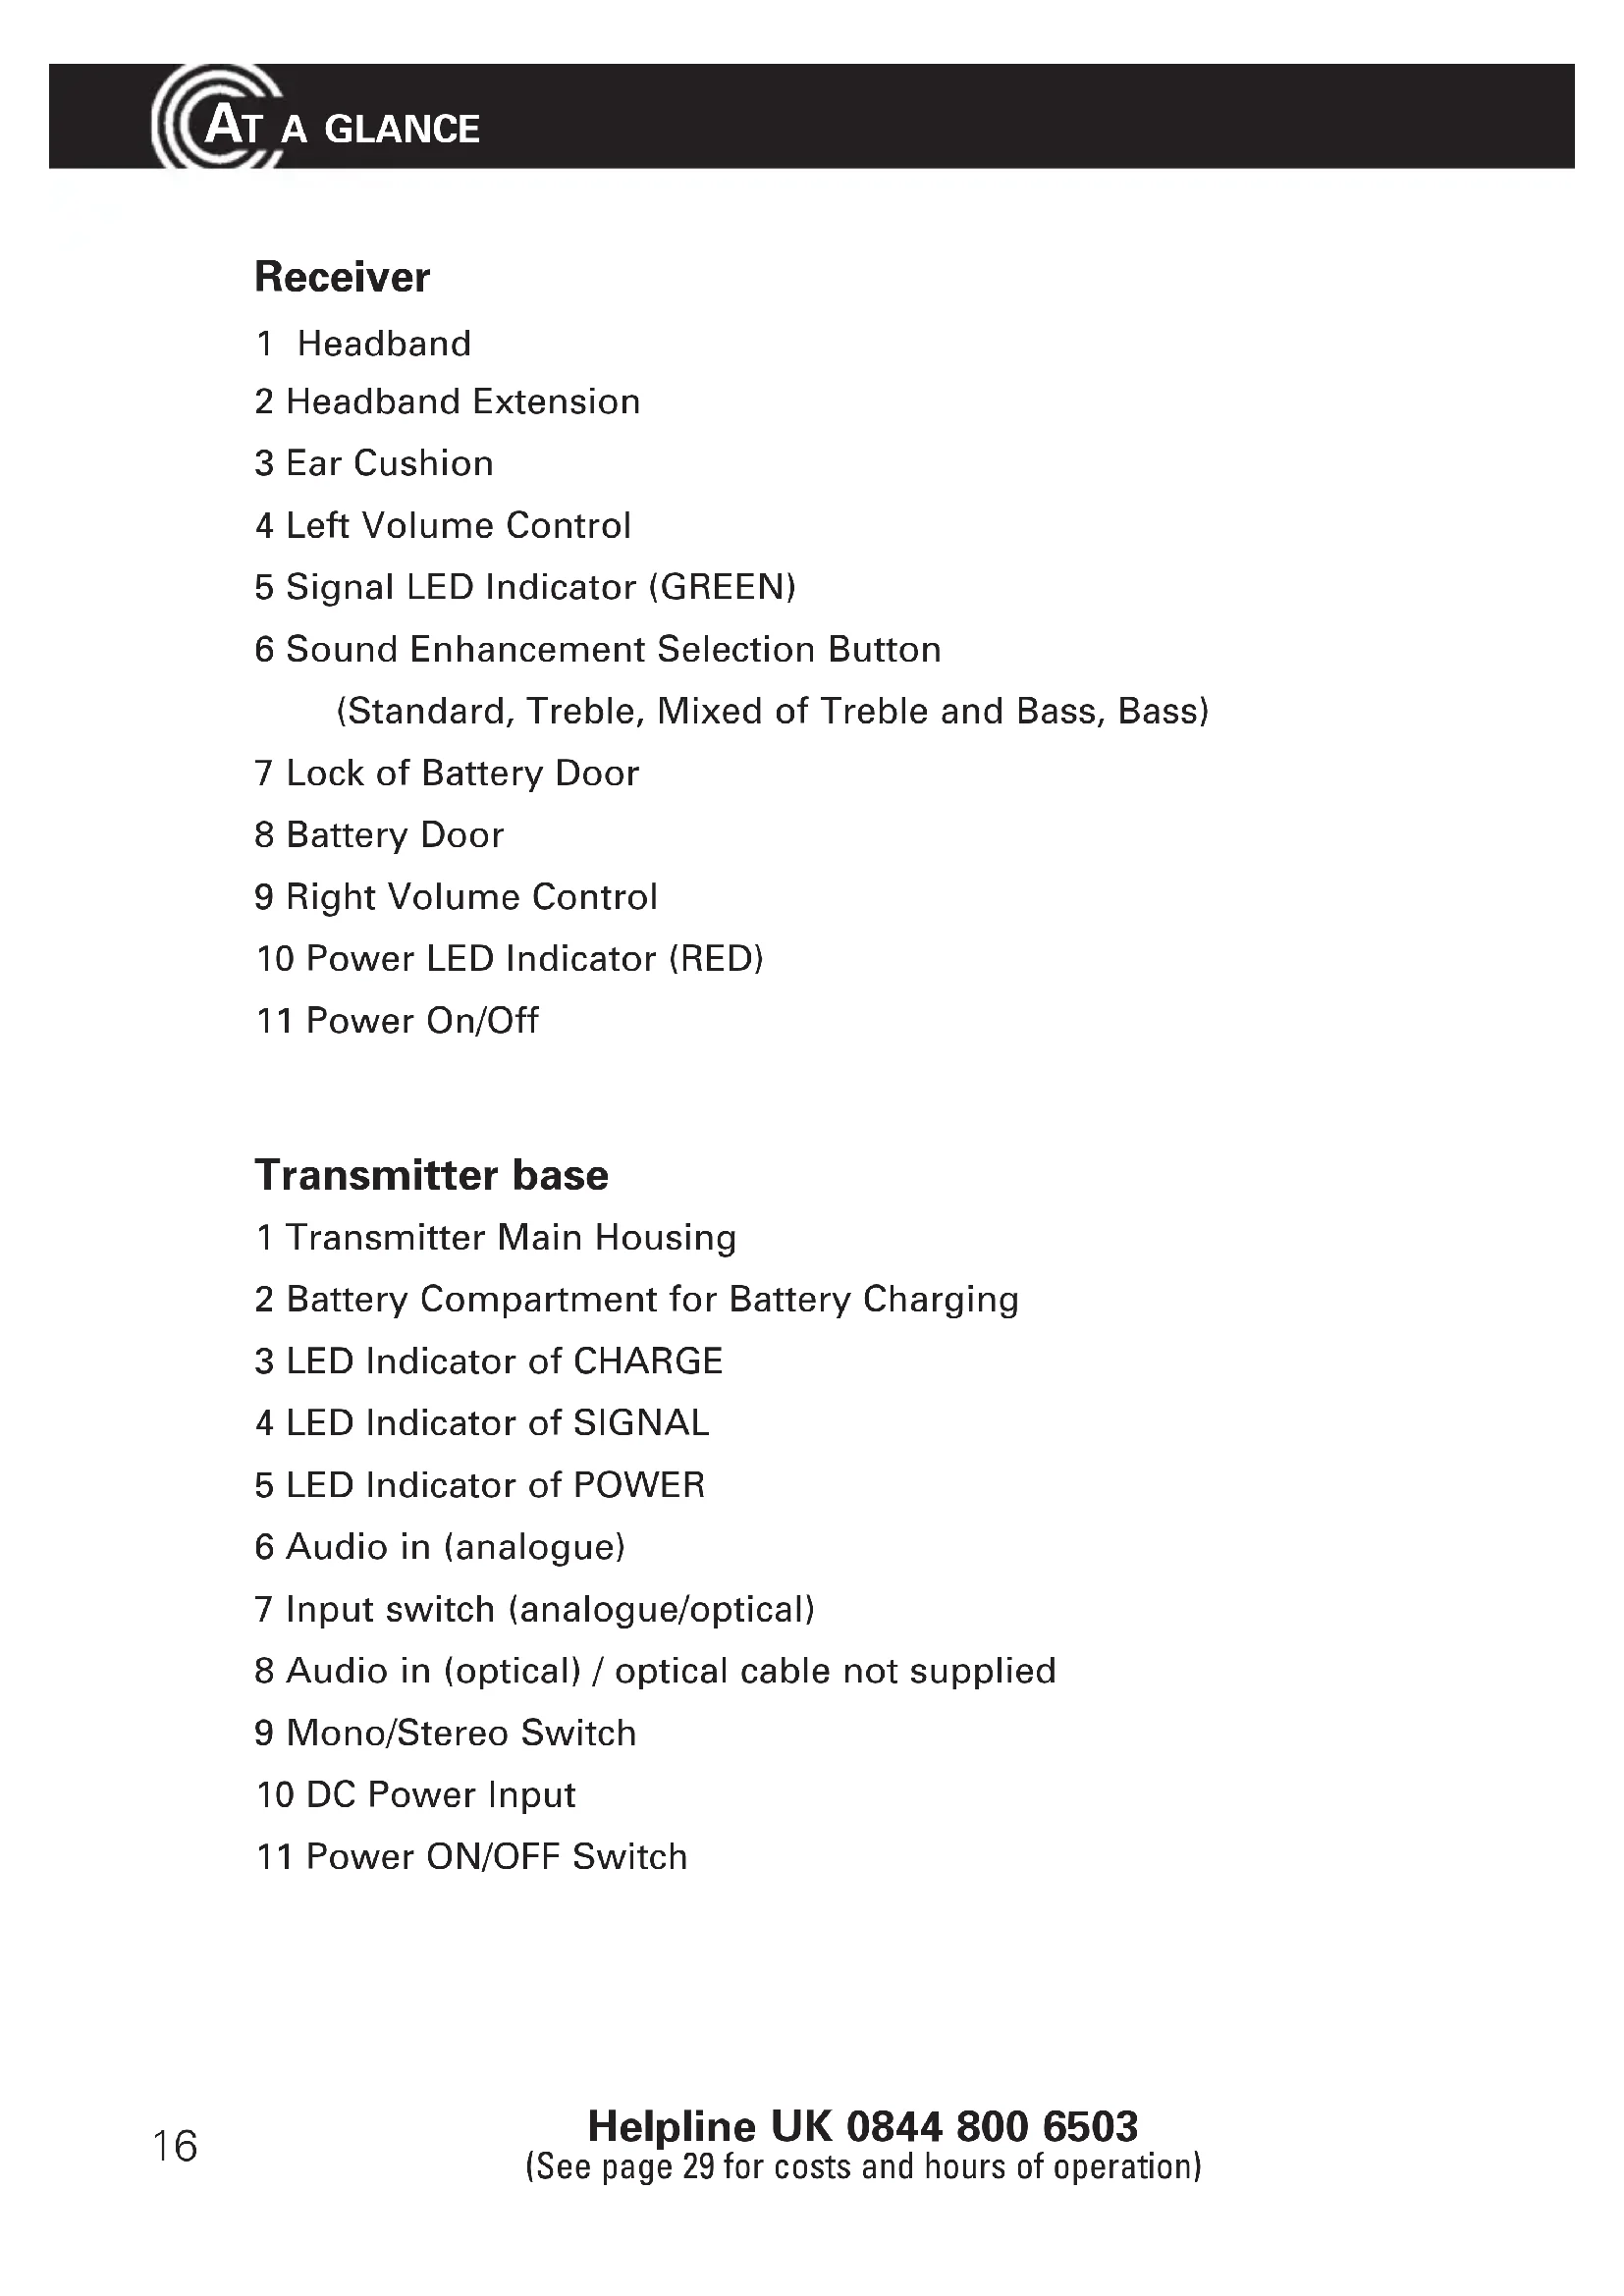
Empfänger
natural_image
Diagram of a mechanical component with two directional arrows labeled 1 and 2, no text or symbols present.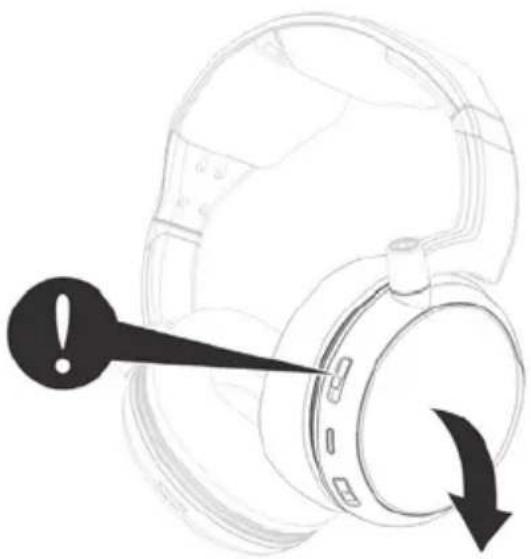
natural_image
Diagram of a headset with an exclamation mark and directional arrow indicating rotation (no text or symbols)1 Headband
2 Headband Extension
3 Ear Cushion
4 Left Volume Control
5 Signal LED Indicator (GREEN)
6 Sound Enhancement Selection Button
(Standard, Treble, Mixed of Treble and Bass, Bass)
7 Lock of Battery Door
8 Battery Door
9 Right Volume Control
10 Power LED Indicator (RED)
11 Power On/Off
Transmitter base
1 Transmitter Main Housing
2 Battery Compartment for Battery Charging
3 LED Indicator of CHARGE
4 LED Indicator of SIGNAL
5 LED Indicator of POWER
6 Audio in (analogue)
7 Input switch (analogue/optical)
8 Audio in (optical) / optical cable not supplied
9 Mono/Stereo Switch
10 DC Power Input
11 Power ON/OFF Switch
Getting started
Getting started
Box contents
• Headphone receiver
• Wireless transmitter with built-In AAA size battery charger
• Rechargeable NiMH AAA size batteries for headphone (4 pieces)
- AC/DC adaptor
• Stereo 3.5 mm plug to RCA audio cable
• RCA adapter to 3.5 mm stereo jack
- User guide
Important: please make sure you've read the safety information on page 26 before you set up your device.
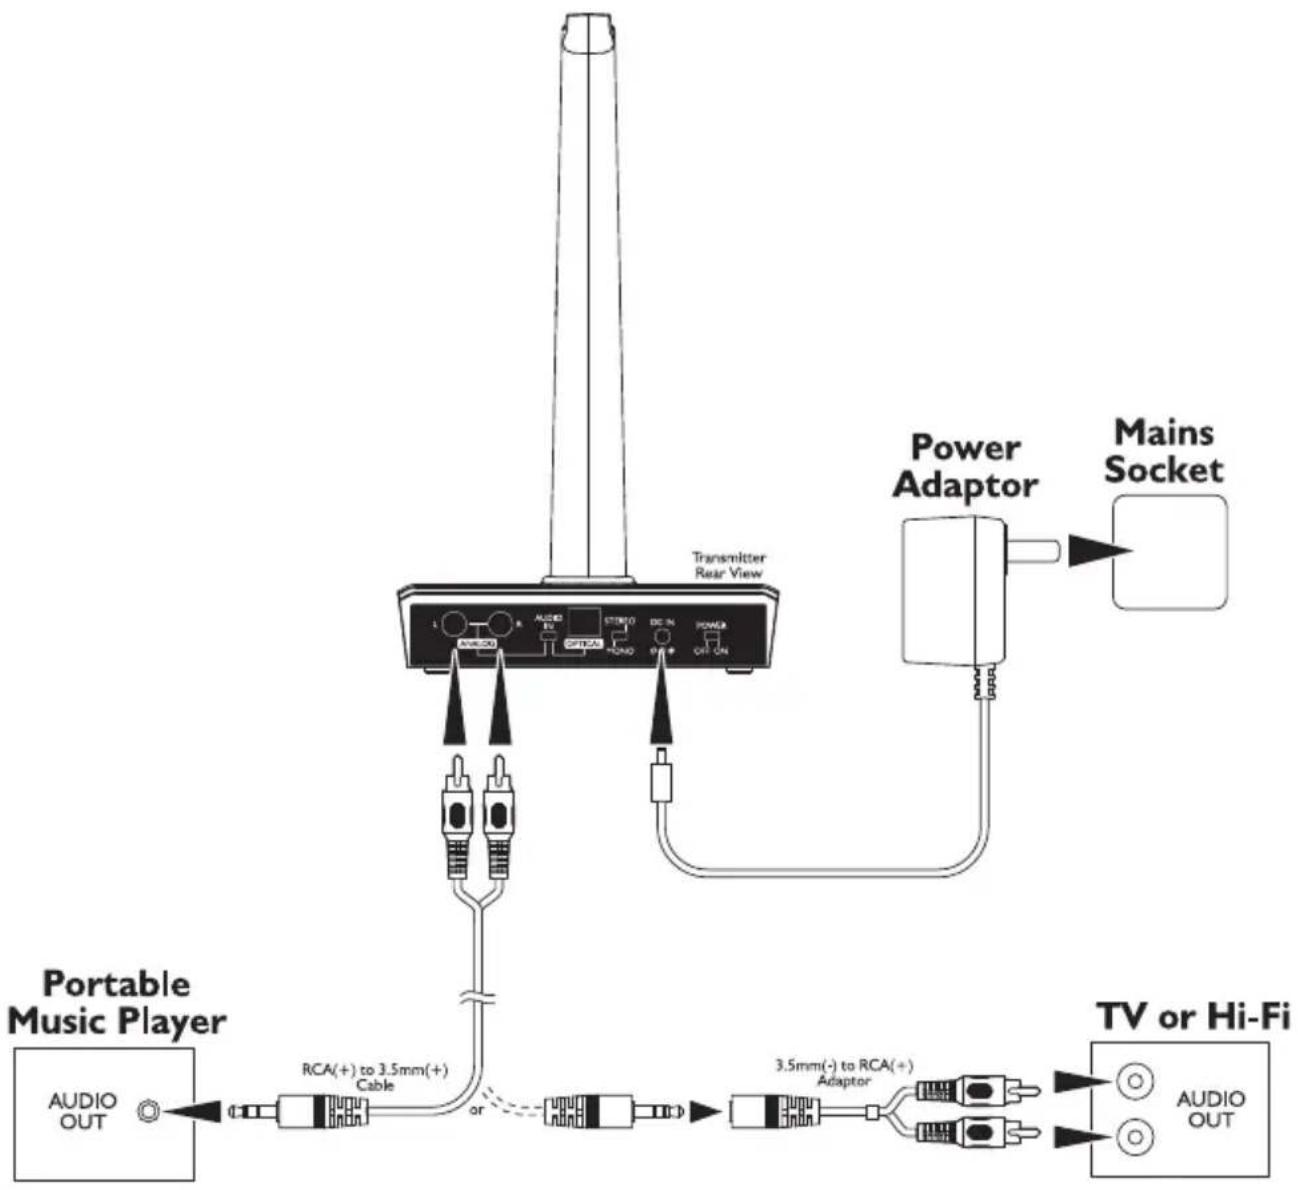
Connecting the transmitter
1 Connect the power adapter to the DC IN input socket located on the transmitter rear panel.
2 Connect the power adapter provided to an electrical outlet.
3 Connect the transmitter to your audio source.
RCA adapter cable and audio cable are provided for various type of connection to your audio source (e.g. TV set, Hi-Fi system, MP3 or iPod).
4 Optionally you can connect the audio source via an optical cable.
5 Select the desired input with the "Audio In" switch.
6 Select the switch to MONO or STEREO at the back of transmitter.
7 Put the power switch at the back of the transmitter to ON, the red LED will be on.
8 The green signal indicator LED will blink as soon as you switch on the transmitter. The green LED indicator will glow constantly when it receives audio signal from the sound source.
For protection of the transmitter and power saving, the RF signal transmission will be switched Off automatically if there is no audio source signal for approximately 5 minutes.
Connection (Example: analogue input)
flowchart
graph TD
    A["Portable Music Player"] -->|AUDIO OUT| B["RCA(+)) to 3.5mm(+)\nCable"]
    B --> C["or"]
    C --> D["3.5mm(-) to RCA(+)\nAdaptor"]
    D --> E["TV or Hi-Fi"]
    F["Power Adaptor"] --> G["Mains Socket"]
    H["Transmitter Rear View"] --> I["AUDIO OUT"]
    style A fill:#f9f,stroke:#333
    style B fill:#ccf,stroke:#333
    style C fill:#cfc,stroke:#333
    style D fill:#fcc,stroke:#333
    style E fill:#cff,stroke:#333
    style F fill:#ffc,stroke:#333
    style G fill:#fcf,stroke:#333
    style H fill:#cfc,stroke:#333
Set up the receiver
Charging and installing the batteries
1 Open the charging compartment on the transmitter and insert 2 rechargeable batteries. Make sure they are aligned with the correct pole (markings in the battery compartment). The charging display will be lit red while the batteries are charging (approx. 5 hours). When the batteries are fully charged, the charging light will turn green.
2 Take the now fully charged batteries from the charging compartment on the transmitter and put them in the receiver. Open the battery compartment by releasing the lock and inserting the fully charged batteries. Make sure they are aligned with the correct pole (markings in the battery compartment). Close the battery compartment.
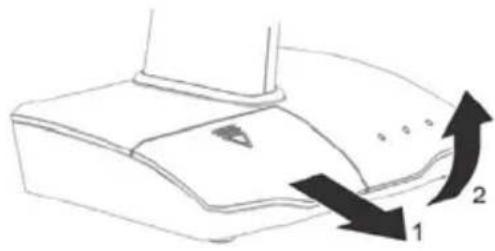
natural_image
Diagram of a device with two arrows indicating direction (no text or symbols)
natural_image
Diagram of a helmet with an exclamation mark and directional arrow, no text or symbols present- Prior to initial use, charge the batteries in the charging compartment on the transmitter and then insert the fully charged batteries into the receiver.
- Charge the reserve batteries in the charging compartment on the transmitter so fully charged batteries are always available.
- Fully charged batteries provides up to 8 hours of listening enjoyment.
- To conserve battery power, the receiver automatically shuts off if no signal is detected for a period of approx. 5 minutes or when the level is too low. However, if the signal returns to an acceptable level, the transmitter will automatically switch ON again.
Operation
Operation
Hearing damage due to high volumes!
This receiver allows you to set higher volumes than conventional headphones. This can cause hearing damage in persons with healthy hearing and especially in children.
- Before putting the receiver on, set the volume on the receiver to a low value.
- Do not continuously expose yourself to high volumes.
1 Switch on the audio source (TV set or audio component) that the transmitter is connected to, the green audio signal indicator LED will glow constantly.
2 Switch the On/Off switch on the headset receiver to ON position. The Green Signal indicator LED blinks. It will light steadily when the headset receives the audio signal from the transmitter.
3 Adjust the volume for desired sound level, then place it on the head.
4 Select the preference of sound features (Standard, Treble, Mixed of Treble and Bass, Bass) by pressing the sound enhancement button. "Beeps" will be heard for every press of the button in the pressing cycle:
1 short beep: bass and treble enhanced
2 short beeps: treble enhanced
3 short beeps: bass enhanced
1 long beep: standard.
5 Adjust the left and right side volume using the volume control knobs to suit the individual ear hearing balance level requirement.
Note: When the battery level is low you will hear 1 short beep every minute in the headset receiver and the red power indicator LED will blink slowly. After about 4 minutes you will hear a double beep sound and the headset receiver will be switched off automatically.
Recharge the batteries or replace them with the fully charged spare batteries.
Troubleshooting
No sound
- Ensure that the mains adapter is pushed fully into the power outlet and that its cable is properly connected to the DC IN connector on the transmitter.
- Ensure that the headset receiver power ON/OFF switch is switched to ON.
- The charge level of the batteries inside headset receiver may be too low. Recharge the batteries or replace them with the (fully charged) spare batteries.
- Ensure that the TV set, Hi-Fi system or audio component is switched ON and set to a channel that broadcasts an audio signal.
- If you record the audio signal for the transmitter from a headphone jack on a radio/CD player, etc., please check whether this output is controlled via a volume control. If necessary, turn the volume up on this output.
- Use the volume control on the headset receiver to increase the sound level.
- Make sure, that the input selection switch "Audio In" is set to the correct position.
- If the above steps do not help, please look under the point "The radio connection between the transmitter and receiver is defective".
Distortion
- The charge level of the batteries inside headset receiver may be too low. Recharge the batteries or replace them with the (fully charged) spare batteries.
- The headset receiver may be too far away from the transmitter. Move closer to it.
- If you record the audio signal for the transmitter from a headphone jack on a radio/CD player, etc., please check whether this output is controlled via a volume control. If necessary, turn the volume up on this output.
The radio connection between the transmitter and receiver is defective.
In a few cases, external influences can lead to interruptions in the radio connection between the transmitter and receiver. In this case you can then pair the headphone receiver with the transmitter with the following steps :
1 Turn the power of the transmitter to OFF.
2 Switch the power of the headphone receiver to ON. Press the hold the sound enhancement selection button for 5 seconds, the green signal LED will blink.
3 Place the headset receiver onto the transmitter and switch ON the power of the transmitter. The green signal LED will blink.
4 Within a few seconds, a "Beep" sound can be heard indicating the head-phone receiver is successfully paired with the transmitter.
Appendix
Appendix
Safety Information
Please read this operating instruction manual thoroughly.
Intended use
This device was developed to transmit audio signals from an audio source like TV or HiFi device to a receiver, using cordless transmission. Any other use is considered unintended use.
Unauthorised modification or reconstruction is not permitted. Under no circumstances open the devices or complete any repair work yourself.
Installation location and safety information
- Prevent excessive exposure to smoke, dust, vibration, chemicals, moisture, heat and direct sunlight.
- Furniture polish, over time, may disintegrate the rubber feet of the transmitter which may stain your furniture. To avoid a potential stain, you may want to place the transmitter on a pad or mat.
- This headset receiver allows you to amplify sounds to a loud volume, but listening to earphones at a high volume over an extended period of time may damage your hearing; especially in children. Thus, we suggest that you set the volume to a level that is comfortable to your hearing.
Hazards due to electricity
- Protect the devices from dripping or spraying water. Do not place any containers with liquid, such as vases, on or near the devices. The container may tip over and the liquid may limit the electrical safety.
- Do not operate the devices and power supplies in the open-air or in very humid areas
- Only connect the device to a properly installed socket with a mains voltage that corresponds to the voltage on the power supply.
- Unplug the power supply from the socket:
- during storms
- before you clean the connected device
- if faults arise during operation
-
if you do not use the device for a longer period of time.
Always unplug the power supply, not the connection cable. -
Do not open or remove parts of the casing under any circumstances. Inside the casing are live parts that can cause electric shock if touched.
- Do not insert any objects into the openings on the device. They might come into contact with live parts.
- The connection cables must not be bent or crushed. Keep the connection cable away from hot surfaces and sharp edges.
- Check the devices and the power supply for damage regularly. Do not turn on any device if one of its components, the power supply or the connection cable has visible damage or a device has fallen.
For users wearing a pacemaker
It is recommended that if you have a pacemaker fitted you check with a medical expert or your health adviser before using this product. Switch the device off immediately if you notice or suspect any adverse effects.
Rechargeable batteries
Attention: Never throw batteries into a fire. Only use batteries of the same type! Pay attention to correct polarity.
Power adapter plug
Attention: Only use the power adapter plug contained in the material supplied since other power adapter plugs could damage the transmitter. Ensure access to the power adapter plug is not obstructed by furniture or such.
Pay attention that the plug and cable are in perfect condition. Kinked or worn cable represents the risk of a fatal accident!
The power adapter plug supplied fulfils the ecodesign requirements of the European Union (Directive 2005/32/EC). This means that, both in an operating state and in an idling state, the power consumption is considerably lower compared to power adapter plugs with an older design.

• Energiesparend
• Economisant
l'énergie
• A risparmio di
energia
• Energy efficient
Disposal
In order to dispose of your device, take it to a collection point provided by your local public waste authorities (e.g. recycling centre). According to laws on the disposal of electronic and electrical devices, owners are obliged to dispose of old electronic and electrical devices in a separate waste container. The adjacent symbol indicates that the device must not be disposed of in normal domestic waste!
Batteries represent a hazard to health and the environment!
Never open, damage or swallow batteries or allow them to pollute the environment. They may contain toxic, ecologically hazardous heavy metals. You are legally obliged to dispose of power packs and batteries at the point of sale or in the corresponding containers provided at collection points provided by local public waste authorities. Disposal is free of charge. The adjacent symbols indicate that the batteries must not be disposed of in normal domestic waste and must be brought to collection points provided by local public waste authorities.
Packaging materials must be disposed of according to local regulations.

Helpline
If you need some help and you're in the UK, please first check and see if your problem can be solved using the troubleshooting guide on page 23. If it can't , please call us on 0844 800 6503 (using a UK landline, at the time of going to print: calls cost 6p for connection charge and then 5p a minute.
Mobile costs may vary). Lines are open Monday to Friday, 9am to 5pm, excluding public holidays.
If you've a claim on your 2-year guarantee, please contact your supplier.
Declaration of conformity

This device fulfils the requirements stipulated in the EU directive:
1999/5 EU directive on radio equipment and telecommunications terminal equipment and the mutual recognition of their conformity.
Conformity with the above mentioned directive is confirmed by the CE symbol on the device.
To view the complete Declaration of Conformity, please refer to the free download available on our website www.amplicomms.com
Maintenance
- Clean the housing surfaces with a soft, fluff-free cloth.
• Never use cleaning agents or solvents.
Technical data
Transmission mode: GFSK stereo
Carrier frequency: 2.4GHz Digital
Range: Up to 30 meters (open area)
Frequency response: 70 Hz – 16 KHz
Max volume: up to 120 dB
Distortion: 0.5%
Signal-to-noise ratio: 75 dB
Operating voltage (Transmitter): 5 VDC, 550 mA
Operating voltage (Receiver): 1.2 V, 700 mA, NiMH, AAA rechargeable batteries
Operation time: With fully charged batteries up to 8 hours
Charging time: For empty battery approx. 5 hours
Weight Receiver approx. 265 g
Weight Transmitter approx. 195 g
Guarantee
AMPLICOMMS equipment is produced and tested according to the latest production methods. The implementation of carefully chosen materials and highly developed technologies ensure trouble free functioning and a long service life.
The terms of the guarantee do not apply to the rechargeable batteries or power packs used in the products. The period of guarantee is 24 months from the date of purchase.
All deficiencies resulting from material of production faults which occur during the period of guarantee will be eliminated free of charge. Rights to claims under the terms of guarantee are annulled following intervention by the purchaser or third parties. Damage caused as a result of improper handling or operation, incorrect positioning or storing, improper connection or installation, Acts of God or other external influence are not covered by the terms of guarantee.
In the case of complaints, we reserve the right to repair or replace defect parts or provide a replacement device. Replacement parts or devices become our property.
Rights to compensation in the case of damage are excluded where there is no evidence or intent or gross negligence by the manufacturer.
If your equipment shows signs of defect during the period of guarantee, please return to the sales outlet in which you purchased the AMPLICOMMS equipment together with the purchase receipt. All rights to claims under the terms of guarantee in accordance with this agreement must be asserted exclusively with regard to your sales outlet.
Two years after the purchase of our products, claims under the terms of guarantee can no longer be asserted.
Récepteur
natural_image
Diagram of a device with two curved arrows labeled 1 and 2 indicating directional movement (no text or symbols present)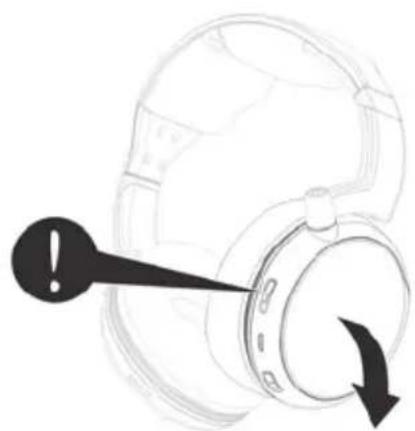
natural_image
Diagram of a helmet with an exclamation mark and directional arrow, no text or symbols presentnatural_image
Diagram of a mechanical component with two directional arrows labeled 1 and 2, no text or symbols present.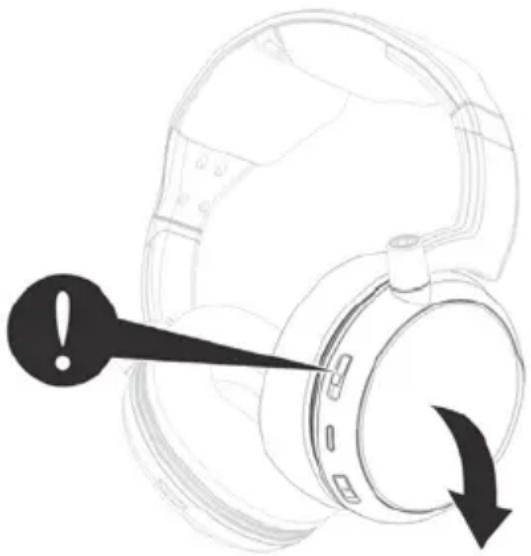
natural_image
Diagram of a headset with an exclamation mark pointing to the head (no text or symbols present)natural_image
Diagram of a device with two arrows indicating direction (no text or symbols)
natural_image
Diagram of a headset with an exclamation mark pointing to a circular component, showing no text or symbols.natural_image
Diagram of a mechanical component with two directional arrows labeled 1 and 2, no text or symbols present.natural_image
Diagram of a headset with an exclamation mark and directional arrow indicating rotation (no text or symbols present)natural_image
Diagram of a device with two arrows indicating direction (no text or symbols)
natural_image
Diagram of a headset with an exclamation mark pointing to a circular component, showing no text or symbols.
- Übersicht
- At a glance
- Aperçu
- Riepilogo
- Overzicht
- Información general
- Översikt
- Empfänger
- Transmitter base
- Getting started
- Box contents
- Connecting the transmitter
- Set up the receiver
- Charging and installing the batteries
- Operation
- Troubleshooting
- No sound
- Distortion
- The radio connection between the transmitter and receiver is defective.
- Appendix
- Safety Information
- Intended use
- Installation location and safety information
- Hazards due to electricity
- For users wearing a pacemaker
- Rechargeable batteries
- Power adapter plug
- Disposal
- Batteries represent a hazard to health and the environment!
- Helpline
- Declaration of conformity
- Maintenance
- Technical data
- Guarantee
- Récepteur
Brand : Amplicom
Model : HS 1300
Category : Earphones