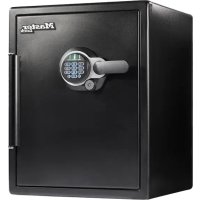
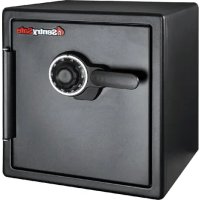
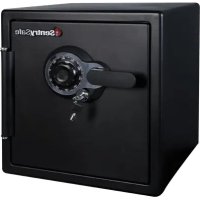
QE5541 - Safe SentrySafe - Free user manual and instructions
Find the device manual for free QE5541 SentrySafe in PDF.
Download the instructions for your Safe in PDF format for free! Find your manual QE5541 - SentrySafe and take your electronic device back in hand. On this page are published all the documents necessary for the use of your device. QE5541 by SentrySafe.
USER MANUAL QE5541 SentrySafe
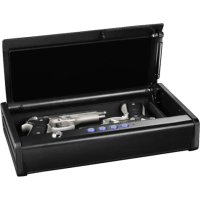
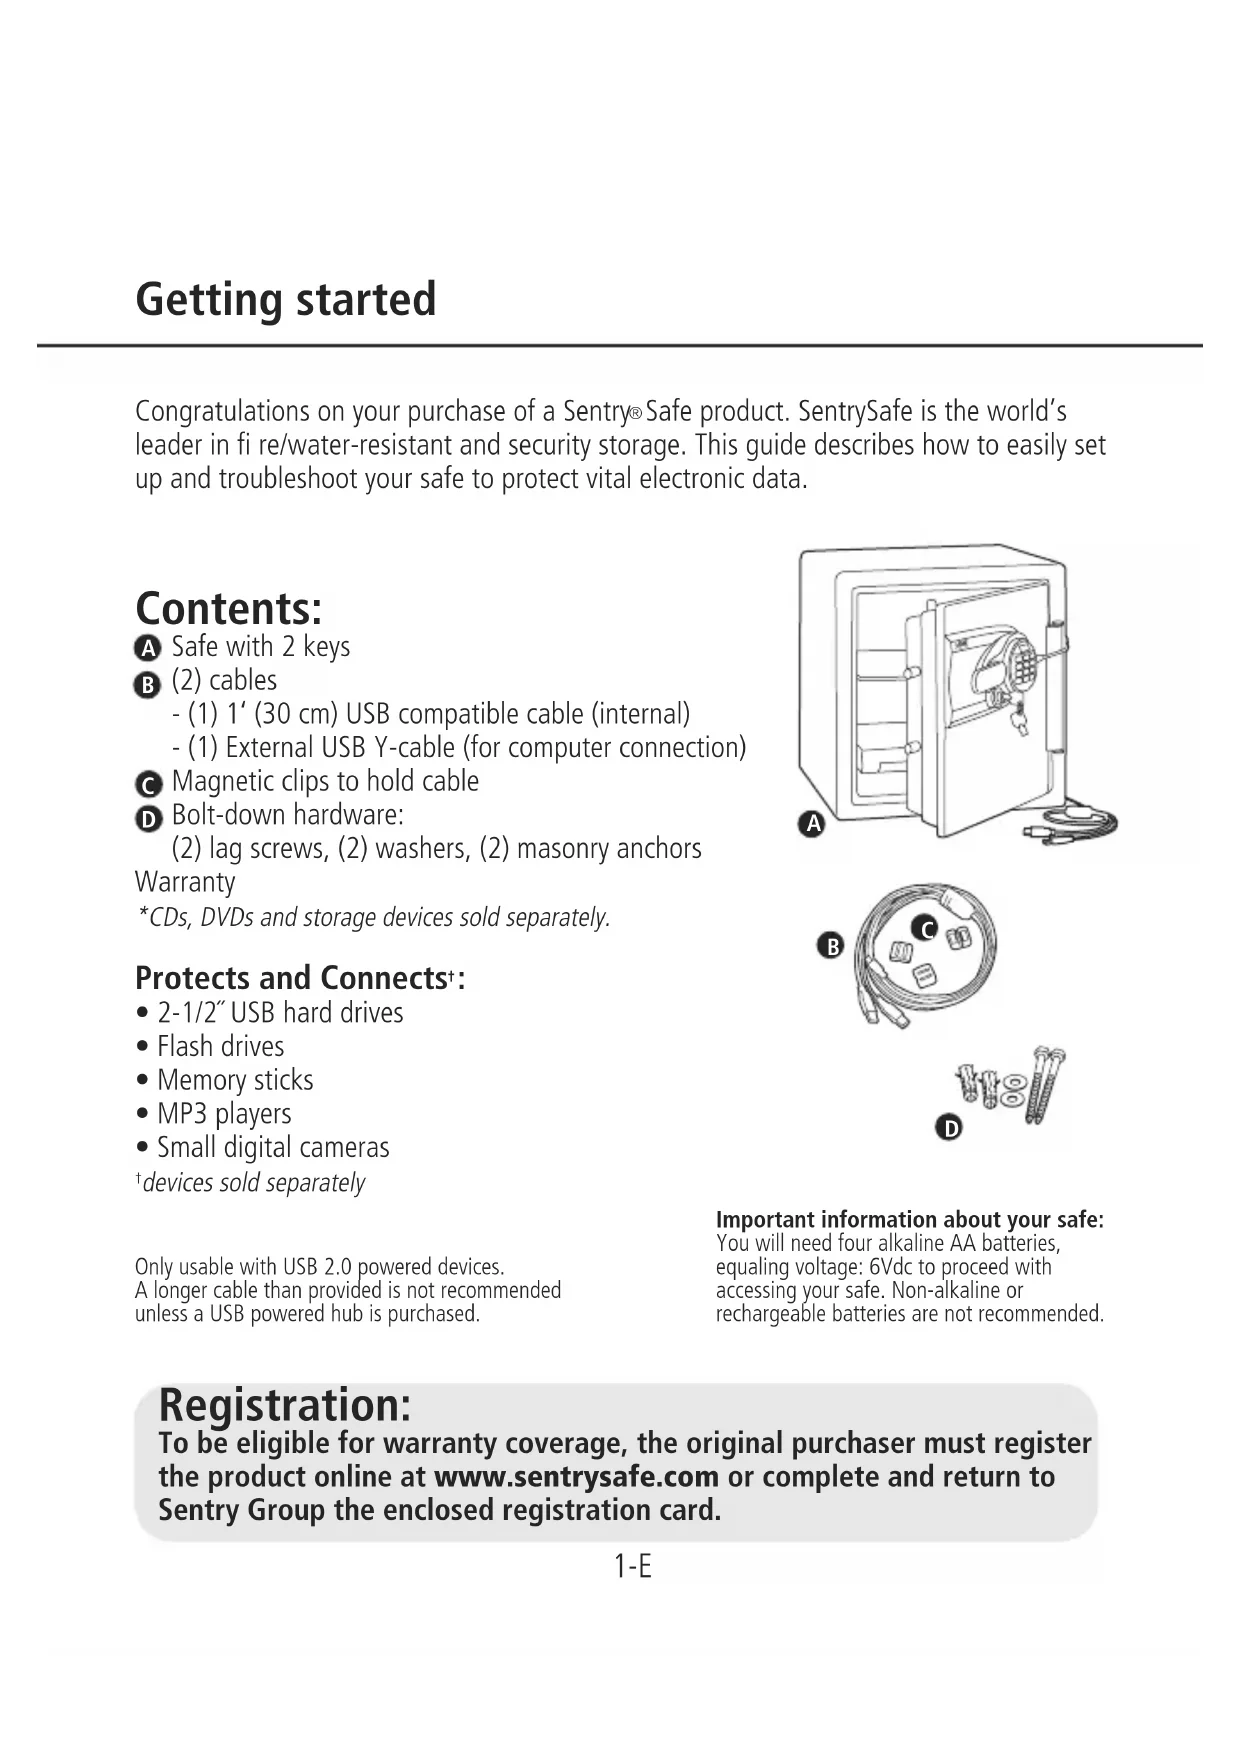
Safe product. SentrySafe is the world’s leader in fi re/water-resistant and security storage. This guide describes how to easily set up and troubleshoot your safe to protect vital electronic data. Contents: Safe with 2 keys (2) cables - (1) 1‘ (30 cm) USB compatible cable (internal) - (1) External USB Y-cable (for computer connection) Magnetic clips to hold cable Bolt-down hardware: (2) lag screws, (2) washers, (2) masonry anchors Warranty *CDs, DVDs and storage devices sold separately. Protects and Connects
- 2-1/2˝ USB hard drives
- Small digital cameras
devices sold separately Only usable with USB 2.0 powered devices. A longer cable than provided is not recommended unless a USB powered hub is purchased. Registration: To be eligible for warranty coverage, the original purchaser must register the product online at www.sentrysafe.com or complete and return to Sentry Group the enclosed registration card.
Important information about your safe: You will need four alkaline AA batteries, equaling voltage: 6Vdc to proceed with accessing your safe. Non-alkaline or rechargeable batteries are not recommended. 1-E
Accessing your safe Opening your safe for the fi rst time (keep door open during setup): See lock-out screw and tag instructions on the inside of the safe door, if equipped.
discard the screw at the base of the lock case (fi g. A).
electronic lock case to the right (clockwise) (fi g. B), from 12 o’clock to 2 o’clock, and remove. Insert four new batteries to power the lock (four alkaline AA batteries, equaling voltage: 6Vdc, are required and are not included in this kit). Replace the electronic lock case and turn to the left (to 12 o’clock) to reassemble.
3. Turn the key to the right so that the lock
4. Enter the factory code (printed on the
fi rst page of this guide), then press the Prog/Enter key. When the unlocked padlock icon( ) appears, you have four seconds to turn the handle down to open. Try this several times before proceeding to the next step. To lock safe: Close the door and return the handle to the horizontal position. NOTE: This unit is equipped with a water- resistant gasket. Additional pressure to the left corner of the door may be required before the handle can be returned to the horizontal position. Battery replacement The battery icon ( ) will light when the batteries need to be replaced. No codes are erased when old batteries are removed for replacement. See “Opening your safe for the fi rst time”. NOTE: If your safe does not appear to be working, please check batteries before calling Sentry Customer Care.
2-EInstalling cable to connect your safe
- Take the external Y-cable and connect the smaller end into the USB port on the outside of the safe.
- Plug the red USB power and data connector into your computer. Should you need additional power, plug the “power only” labeled connector into another USB port on the computer. To manage the cable position, attach magnetic clips to the side of the safe to secure the cable to your desired position.
3-E WARNING NEVER place or store magnetic clips (or anything magnetic) near electronic storage devices. Loss of data and permanent damage to your electronic device(s) may occur.Installing storage devices External Hard Drive Installation
- Take the 1’ long cable provided and insert appropriate end into your hard drive.
- Insert your hard drive into the pocket on the inside of the safe door.
- Connect the other end of the cable to the interior USB port. Flash Drives and Miscellaneous
- Plug your fl ash drive directly into the internal USB port on the inside of the safe door.
- For other installations, use the cable provided with your device and connect it to the USB port inside the safe. If you have completed the following…
- Successfully accessed your safe
- Installed cable connections
- Installed hard drive and/or fl ash drive …you are ready to move on to optional items:
- Programming additional codes
4-EIcon Identifi cation (Error) indicates one of the following:
1. You have pressed Program key out of
2. You have entered an invalid code.
3. You have let 5 seconds or more elapse
between key presses. (Program) Lights after pressing the Program key and stays lit while programming a manager or user code. Lights after three consecutive invalid codes are input and stays lit during the 2-minute delay mode. NOTE: Remember, once you have decided on your access codes, open the unit fi rst then test it with the door open. All zeros is an invalid code. There are 3 possible ways to unlock and access the safe:
(Found on the fi rst page of this guide) You can always open the safe by entering the pre-set 5-digit factory code. This code cannot be deleted.
If you prefer to employ your own code, you can program the safe to open to a 4-8 digit manager code of your choice. Programming the manager code NOTE: One (1) manager code is allowed. To add:
) means no manager code is programmed. A boxed lighted * icon ( ) means a manager code is programmed.
3. Enter a 4 to 8 digit code and
press the Prog/Enter key to fi nish programming the code into the unit. Programming additional codes NOTE: Maintain a record of the factory code, user, and manager codes, and store them in a secure location other than in this safe.
5-E6-E Programming additional codes continued To delete:
there is a code programmed and can be deleted.
3. Press 0, 0, 0, 0, then the Prog/Enter
key to delete the manager code. (0, 0, 0, 0, Prog/Enter) NOTE: To return to the beginning when programming a manager or user code, wait 5 seconds and the lock will time-out. You may then start over.
If you wish to give someone else temporary access to the safe, you can program a 4-8 digit user code that can later be erased. Programming user codes NOTE: Six (6) user codes are allowed. To add:
1. Press the Prog/Enter key 2 times,
enter the manager code and then press the Prog/Enter key.
2. Use the << or >> to scroll between
the lighted boxes. An empty box icon ( ) means it is available for a code entry; a boxed lighted * icon ( ) means it is being used.
3. Enter a 4 to 8 digit code in the
selected position and press the Prog/Enter key to fi nish. To delete:
1. Press the Prog/Enter key 2 times,
enter the manager code and then press the Prog/Enter key.
2. Use the << or >> to scroll to the
boxed lighted * icon ( ) to be removed.
3. Press 0, 0, 0, 0, then the Prog/Enter
key to delete the selected user. (0, 0, 0, 0, Prog/Enter)Tools needed for floor mounting:
- 7⁄16" (11.0 mm) drill bit Wood anchoring: 9⁄32" (7.2 mm) drill bit Masonry anchoring: 3⁄8"(9.50 mm) drill bit Instructions:
1. Tip the safe onto its right
side. (Door hinges horizontal with the floor.)
2. Unlock the safe and open
3. Look on the bottom of the
safe for two indentations in opposite corners. Using the 7⁄16" (11.0 mm) bit, drill a hole through each indentation perpendicular to the bottom of the safe. (Fig. A)
4. Close the door and tip the
safe upright. Place it where desired and reopen the door.
5. Use a screw or drill bit to
mark the floor through both holes. (Fig. B)
6. Move the safe aside to
clear both marked spots for drilling.
7. Drill into the floor:
A. For wood: Using the wood drill bit, drill a hole 2-1⁄2" (64 mm) deep in each marked spot. (Fig. C) B. For masonry: Using the masonry bit, drill a hole 2-1⁄2" (64 mm) deep in each marked spot. (Fig. C) Install a masonry anchor in each hole.
8. Replace the safe in the
desired position, with the holes in the safe aligned with those in the floor.
9. Securing the safe:
A. For wood: Pass each lag screw through a washer, then through the safe and into a hole. Tighten with the wrench. (Fig. D) B. For masonry: Pass each lag screw through a washer, then through the safe and into a masonry anchor. Tighten with the wrench. (Fig. E)
- If electronics are not functioning, replace batteries fi rst (behind electronic lock case) as described in step one of this guide.
- If electronics are functioning and you cannot get into safe: - Pull handle up - Enter code - Prog/Enter - Push handle down when “unlocked padlock” icon appears.
- You must use both the key and the electronic code to open the safe if the key lock cylinder is pushed in. Tips for using the keypad Lightly touch any button. The keypad lights up and a single beep will indicate that the keypad “felt” your touch. If there is no key press within 5 seconds, the unit “times out” indicating you should start over. Storage Device Usage
- Operates with most USB 2.0 powered devices and operating systems.
- Should you need additional power, plug both cables connectors into the computer.
- If the device still does not operate, a powered hub may be needed (sold separately). Troubleshooting
- If your storage device does not work - Ensure your computer is turned on - Restart computer to see if your device is recognized. - Plug in both cables to the USB ports on the back of the computer. - Check your device by plugging it into your computer directly to see if it is working. If it is not working, call your device manufacturer directly. Delay mode Usually enters a two-minute delay mode after an invalid code has been entered three consecutive times. In this mode, the lock can not be activated and any key entry will generate an ERROR signal. NOTE: To turn the beeper on or off, press the
Group First-Class Customer Care If you lose your keys or need accessories, we can help! Visit our website at www.sentrysafe.com Please note: Your safe’s serial number is required to obtain replacement keys. The serial number can be found near the door hinge as shown or at the beginning of this guide. 8-E Compatibility may vary depending on user’s hard drive confi guration and operating system.UL-Classifi ed Fire Protection with Impact Your SentrySafe Fire-Safe product is classifi ed by Underwriters Laboratories, an independent testing organization, to pass the following rigorous standards of fi re endurance protection:
- UL Fire Endurance Test Subjected to temperatures up to 1850°F (1010°C) for 2 hours, the safe interior wil remain below 350°F (177°C) to protect documents. (This enables your safe to withstand even high temperature exposure, as the hottest part of a fi re moves through a building.)
- UL Explosion Hazard Test Subjected to fl ash fi re in a 2000ºF (1093ºC) furnace for 30 minutes, the unit will not explode or rupture. ETL Verifi ed for Digital Media ETL verifi ed for 2 hour fi re protection of CDs, DVDs, memory sticks and USB drives up to 1850°F (1010°C). ETL Verifi ed Water- Resistance Protection Tested up to 8 inches of water for up to 24 hours. NOTE: For the gasket to work effectively, the safe door must be closed with the handle fully horizontal. When you move the handle, the compression of the gasket will require slightly more force than you would use with a safe that does not have a gasket. Rigorous testing ensures this product meets our specifi cations 9-Ewww.sentrysafe.com 900 Linden Avenue Rochester, New York 14625 14625-2784 USA Telephone: 585-381-4900 Customer Service: 1-800-828-1438 (8 am - 6 pm, E.S.T., Monday – Friday*) Fax: 585-381-2940 *Hours subject to change 505462Fire-Safe