
NEXEA50H - Camcorder SONY - Free user manual and instructions
Find the device manual for free NEXEA50H SONY in PDF.
| Product type | Digital camcorder |
| Brand | Sony |
| Model | NEXEA50H |
| Category | Professional camcorder |
| Recording media | SD/SDHC/SDXC memory card, Memory Stick PRO Duo, internal flash memory |
| Video recording formats | HD (MPEG-4 AVC/H.264), SD (MPEG-2 PS), DV |
| HD recording resolution | 1920 × 1080 |
| SD recording resolution | 720 × 480 (NTSC) / 720 × 576 (PAL) |
| Frame rates | 60i, 50i, 24p, 30p (DV mode: 60i/50i) |
| DV mode | Yes (selectable in the REC SET menu) |
| Built-in GPS | Yes (GPS information, automatic time and zone setting) |
| Face detection | Yes (on/off, priority frame disabled in DV mode) |
| Simultaneous recording | Yes (on two media, configurable via SIMULTANEOUS REC) |
| Recording buttons | START/STOP button and handle START/STOP button |
| Remote control | Yes (SCAN/SLOW button disabled in DV mode) |
| Power supply | Rechargeable battery (NP-F series type, not specified) |
| Maintenance | Clean with a soft dry cloth. Avoid humidity and extreme temperatures. |
| Safety | Use only Sony-recommended accessories. Do not disassemble. |
| Spare parts and repairability | Contact an authorized Sony after-sales service for repairs. |
Frequently Asked Questions - NEXEA50H SONY
User questions about NEXEA50H SONY
0 question about this device. Answer the ones you know or ask your own.
Ask a new question about this device
Download the instructions for your Camcorder in PDF format for free! Find your manual NEXEA50H - SONY and take your electronic device back in hand. On this page are published all the documents necessary for the use of your device. NEXEA50H by SONY.
USER MANUAL NEXEA50H SONY
Interchangeable Lens Digital HD Video Camera Recorder
| FIFAUMウエアフJP デートの知らせ | |
| Firmware update GB | |
| Mise à jour du micrologiciel | FR |
| Firmware-Update DE | |
| Actualización de firmware | ES |
| Aggiornamento del firmware | IT |
| 固件更新 | CS |
日本語
REC BUTTON : [ ] [FMU ]
- HANDLE REC BUTTON : [□] [FMU ]
設定を変えるには
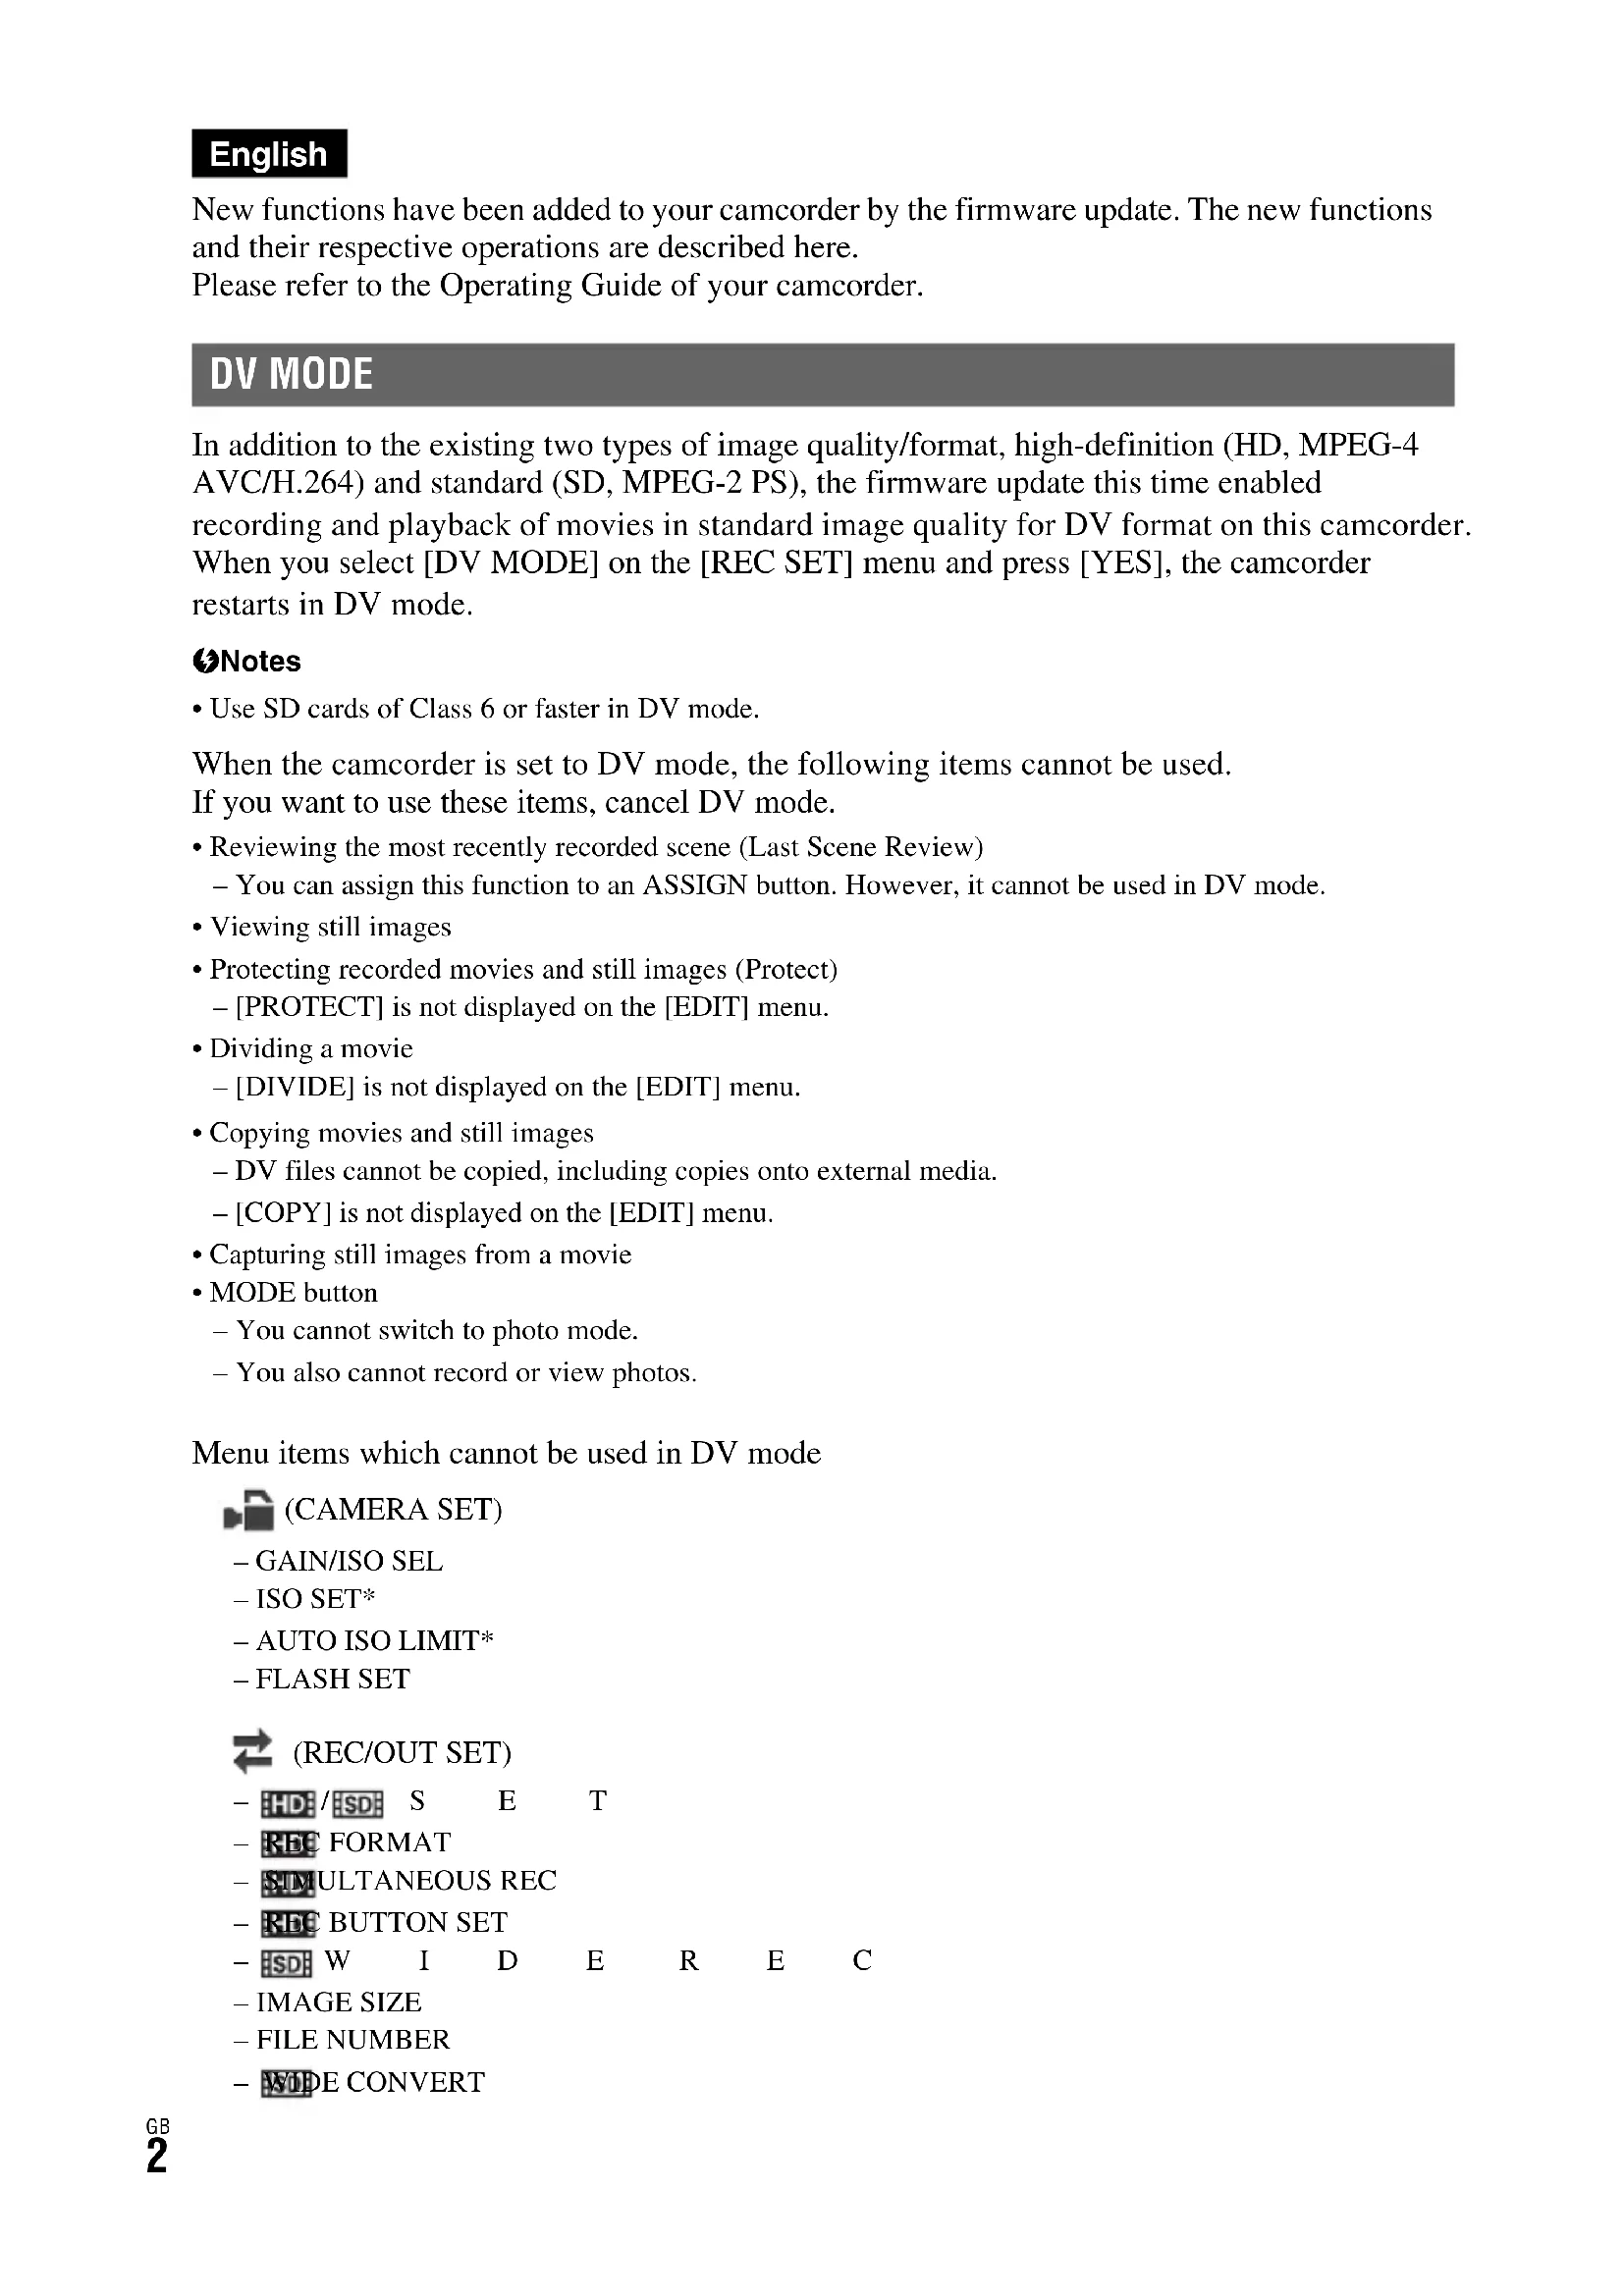
New functions have been added to your camcorder by the firmware update. The new functions and their respective operations are described here.
Please refer to the Operating Guide of your camcorder.
DV MODE
In addition to the existing two types of image quality/format, high-definition (HD, MPEG-4 AVC/H.264) and standard (SD, MPEG-2 PS), the firmware update this time enabled recording and playback of movies in standard image quality for DV format on this camcorder. When you select [DV MODE] on the [REC SET] menu and press [YES], the camcorder restarts in DV mode.
Notes
- Use SD cards of Class 6 or faster in DV mode.
When the camcorder is set to DV mode, the following items cannot be used. If you want to use these items, cancel DV mode.
- Reviewing the most recently recorded scene (Last Scene Review)
- You can assign this function to an ASSIGN button. However, it cannot be used in DV mode.
Viewing still images - Protecting recorded movies and still images (Protect) - [PROTECT] is not displayed on the [EDIT] menu.
- Dividing a movie
- [DIVIDE] is not displayed on the [EDIT] menu.
- Copying movies and still images
- DV files cannot be copied, including copies onto external media.
- [COPY] is not displayed on the [EDIT] menu.
- Capturing still images from a movie
- MODE button
- You cannot switch to photo mode.
- You also cannot record or view photos.
Menu items which cannot be used in DV mode

(CAMERA SET)
GAIN/ISO SEL
- ISO SET*
-AUTO ISO LIMIT*
- FLASH SET

(REC/OUT SET)
- HD:/SD: S E T
-RDC FORMAT - SLMTANEOUS REC
- RDC BUTTON SET
-SD W I D E R E C - IMAGE SIZE
-FILE NUMBER - WIDECONVERT
(AUDIO SET)
-AODIO FORMAT
- Not displayed on the screen.
Notes
- When you select DV mode, [AIO FORMAT] is fixed to [LINEAR PCM], and [LPCM] is not displayed on the screen.
When the camcorder is set to DV mode, the following items can be used.

(REC/OUT SET)
- SIMULTANEOUS REC
- Dv W I D E R E C
-CANCEL DV MODE - WIDECONVERT
Notes
- When you switch from DV mode to another, settings made in DV mode are initialized. If a movie file exceeds 2 GB during recording, the camcorder divides the recording into separate files by creating a new file(s) automatically. However, the divided files are displayed as a single movie on the screen of the camcorder.
CANCEL DV MODE
When you select [CANCEL DV MODE] on the [REC SET] menu and press [YES], the camcorder cancels DV mode and restarts.
When DV mode is canceled, the following settings return to the default.
GAIN/ISSEL
HDE/SDSE T
RERFFORMAT
STUDULTANEOUS REC
- BUTTON SET
W I D E R E C
MEDIASELECT
- ADOIO FORMAT
DV mode screen
When the camcorder is set to DV mode, the screen appears as follows.


ADate and time of recording started
Resolution
CFrame rate
DRecording mode
ETime code of recording started
Time code will not be displayed correctly when you play back recording media with no time code, or recording media with time code that your camcorder does not support.
Tips
- SCAN/SLOW buttons are disabled.
- In DV mode, fast forward and fast reverse during playback are 5 times faster than normal playback speed.
- When you play back a DV file recorded with a camcorder other than this camcorder, the F value may not be displayed correctly.
Notes
- DV mode does not support external media.
- In DV mode, still images cannot be viewed.
HDE:RECBUTTONSET
[REC BUTTON SET] is added to the [REC SET] menu, and you can start and stop recording on different recording media at different times by operating the START/STOP button or the handle START/STOP button.
In the default setting, movies are recorded on both the memory card and the flash memory unit at the same time when either START/STOP button is pressed.
- REC BUTTON: [ ] FMU
- HANDLE REC BUTTON: [K□] FMU
To change the setting
Press MENU select (REC/OUT SET) menu [REC SET] [HDB:REC BUTTON SET] with the SEL/PUSH EXEC dial.
| The setting of REC BUTTON SET The recording media and button | |
| REC BUTTON: [FMU HANDLE REC BUTTON: [ ] FMU] | Recording on both the memory card and the flash memory unit starts and stops at the same time when either START/STOP button is pressed. |
| REC BUTTON: [FMU HANDLE REC BUTTON: [FMU] | Recording on the memory card starts and stops when the START/STOP button is pressed, and on the flash memory unit when the handle START/STOP button is pressed. |
| REC BUTTON: [FMU HANDLE REC BUTTON: [ ] | Recording on the flash memory unit starts and stops when the START/STOP button is pressed, and on the memory card when the handle START/STOP button is pressed. |
You can use [REC BUTTON SET] when (1) [/SEH] is to [ ] and (2) [SDMULTANEOUS REC] is set to [ON].
When the camera is set to [mode, when [ ] image quality is selected, or simultaneous recording is set to off, [REC BUTTON SET] cannot be used.
Tips
- Using this function, you can, for example, perform usual recording to a memory card (using the START/ STOP button), while also recording non-stop to a backup high-capacity flash memory unit - started by the handle START/STOP button - until the end of shooting.
- While recording on the flash memory unit, if you start a separate recording on a memory card, use a memory card that has been formatted by this camcorder.
- While recordings on a flash unit and memory card are in progress, if a recording error occurs on the memory card and recording stops, you cannot restart recording on the memory card unless you stop recording on the flash memory unit and reformat the memory card.
- You can check the setting value of [ERDC BUTTON SET] with the status check function.
Reviewing the most recently recorded scene (Last Scene Review)
When recording on both media separately by setting [REC BUTTON SET], the last scene recorded on the media selected in [MEDIA SELECT] will be played back.
DV SIMULTANEOUS REC
When the camcorder is set to DV mode, [MULTANEOUS REC] appears as [MULTANEOUS REC].
Notes
- If one of the recording media becomes full during simultaneous recording, thumbnails of contents on that recording media cannot be created and [?] is displayed.
GAIN/ISO SEL
This setting is fixed to [GAIN] when the camcorder is set to DV mode. ISO cannot be set.
FACE DETECTION
You can set [FACE DETECTION] to [ON] or [OFF] in DV mode. However the priority face frame (double frame) is not enabled.
GPS
Even with this setting on, DV recording specifications do not provide for current location information to be recorded on DV movies. However, functions using GPS such as [GPS INFORMATION], [AUTO CLOCK ADJ] and [AUTO AREA ADJ] are available.
Remote Control
When the camcorder is set to DV mode, the following buttons cannot be used. -SCAN/SLOW button
Notes
- You cannot play back movies slowly during pause.
Fast forward and fast reverse during playback are 5 times faster than normal playback speed.
DVI: WIDE REC
When the camcorder is set to DV mode, [SWIDE REC] appears as [WIDE REC].
DVI WIDECONVERT
When the camcorder is set to DV mode, [SWIDE CONVERT] appears as [WIDE CONVERT].
[OWIDECONVERT] functions the same as [WIDECONVERT].
Changing the recording setting/image size
When the camcorder is set to DV mode, the setting values of [REC FORMAT] are fixed as follows.
Setting value
60i:480/60i
50i: 576/50i
Image size
720× 48060i
720× 57650i

- You cannot record movies in 24p or 30p frame rate.
DV mode folder structure
The DV mode folder structure is shown below.
You do not usually need to acknowledge the folder structure, when recording/playing back movies and still images on the camcorder.
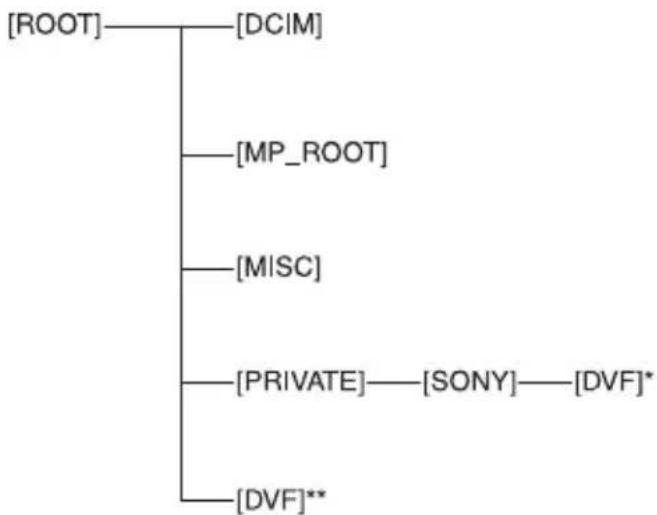
- SD memory card, SDHC memory card, SDXC memory card
** "Memory Stick PRO Duo" media, flash memory unit
Estimated recording time in DV mode
Memory card
(unit: minute)
Flash memory unit
| 16 GB 70 |
| 32 GB 140 |
| 64 GB 280 |
(unit: minute)
| 128 GB 585 |
François
(REGL.CAMES./REGL.CAMES.)
- SELECTION GAIN/ISO
- RÉGLAGE ISO*
- LIMITE ISO AUTO*
- RÉGLAGES FLASH

(REGLAGE ENR./SORTIE/REGLAGE ENR./SORTIE)
- RÉGLAGE HORISAGE / HD: SD
- FORTMAT ENREGISTR.
- EN REG. SIMULTANÉ
-TOUCHENR TOUCHENR. HD -
ENR. ECRAN/ENR. 16/9-4/3 SD
-TAILLED D'IMAGE/TAILLE IMAGE -
NUMÉROTAGE FICHIERS/NUMÉRO DE FICHIER
- VERTIR LARGE
(RéGL. AUDIO/REGL. AUDIO)
-FORMATSON HD
TOUCHE ENR POIGNEE: [T]TOUGH ENR. POIGN.: [] []


TOUCHE ENR POIGNEE: [LFMU
TOUCH. ENR. POIGN.: [FMU
TOUCHE ENR: [FMU
TOUCHENR.: [FMU
TOUCHENRPOIGNEE:
TOUCH. ENR. POIGN.: [□
- 录制按钮:[ ] [FMU]
- 手柄录制按钮:[ ] [FMU]
更改设定
按MENU 用SEL/PUSH EXEC拨盘选择(拍摄/输出设定)菜单→[拍摄设定] [制按钮设定]。
录制按钮设定的设定 录制媒体和按钮
录制按钮:[FMU 手柄录制按钮:[ [FMU]
- Interchangeable Lens Digital HD Video Camera Recorder
- 日本語
- DV MODE
- Notes
- (CAMERA SET)
- (REC/OUT SET)
- CANCEL DV MODE
- DV mode screen
- Tips
- HDE:RECBUTTONSET
- Reviewing the most recently recorded scene (Last Scene Review)
- DV SIMULTANEOUS REC
- GAIN/ISO SEL
- FACE DETECTION
- GPS
- Remote Control
- DVI: WIDE REC
- DVI WIDECONVERT
- Changing the recording setting/image size
- DV mode folder structure
- Estimated recording time in DV mode
- François
- 更改设定
- 录制按钮设定的设定 录制媒体和按钮
Brand : SONY
Model : NEXEA50H
Category : Camcorder