Copperhead Helicopter - Toys Estes - Free user manual and instructions
Find the device manual for free Copperhead Helicopter Estes in PDF.

| Product Type | Radio-controlled Helicopter |
| Brand | Estes |
| Model | Copperhead Helicopter |
| Category | Toy |
| Recommended Age | 8 years and up |
| Helicopter Power | Built-in rechargeable 3.7V LiPo battery |
| Controller Power | 4 AA 1.5V batteries (not included) |
| Charging Time | Approximately 2 hours |
| Flight Time | 6 to 7 minutes |
| Range | Approximately 20 meters (estimated) |
| Flight Modes | Basic mode and advanced mode (more responsive tail rotor) |
| Rotors | Coaxial counter-rotating rotors + rear tail rotor |
| Controls | Up/down stick, forward/backward/left/right direction stick, flight trim dial |
| Lighting | LED lights on helicopter and indicator light on controller |
| Safety | Do not use if blades are damaged; do not touch motors after flight; do not fly over people |
| Maintenance | Regularly check parts; replace controller batteries if necessary; recharge LiPo battery in a safe location |
| Spare Parts | Canopy, main blades, tail rotor, landing gear, controller, etc. |
| Warranty | 90-day limited (manufacturer defects) |
Frequently Asked Questions - Copperhead Helicopter Estes
User questions about Copperhead Helicopter Estes
0 question about this device. Answer the ones you know or ask your own.
Ask a new question about this device
Download the instructions for your Toys in PDF format for free! Find your manual Copperhead Helicopter - Estes and take your electronic device back in hand. On this page are published all the documents necessary for the use of your device. Copperhead Helicopter by Estes.
USER MANUAL Copperhead Helicopter Estes
natural_image
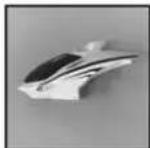
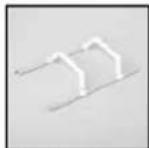
Illustration of a helicopter with extended wings and labeled 'Helicopter' (no other text or symbols)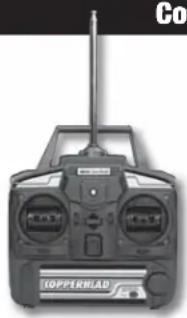
natural_image
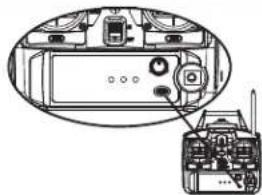
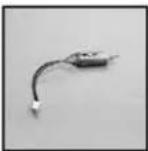
Top-down view of a black copper Topppler H-LAB remote control device (no visible text or symbols on the device body)Controller
Spare Parts (color may vary)
natural_image
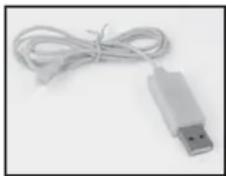
White USB device with coiled cable, isolated on plain background (no text or symbols visible)USB Charge Cord
Safety Precautions:
Warning: Do not modify or alter this unit. Changes or modifications to this unit not expressly approved by the party responsible for compliance could void the user's authority to operate the equipment.
- Do not turn on helicopter unless
controller has been turned on first. - Keep hands, hair and loose clothing away from spinning blades.
- Turn off controller and helicopter when not in use.
- Parental guidance is recommended while fl ying.
- Keep away from direct heat.
-
Do not submerge into water.
-
Replace batteries in controller with new ones as soon as any function becomes diminished.
- Follow operating instructions exactly.
- This is not intended for children under 8 years old.
-
Do not fly the helicopter if any of the parts are damaged. Replace any damaged or broken parts before attempting to fly.
-
Replace batteries or recharge helicopter if your range is not suffi cient for controlled flight.
- Do not drop the helicopter by suddenly reducing the throttle setting. This could lead to severe damage to the helicopter.
- Do not touch the motors in the helicopter after flying. The motors may be hot to the touch.
FCC REQUIREMENT
This device complies with part 15 of the FCC rules. Operation is subject to the following two conditions.
(1) This device may not cause harmful interference.
(2) This device must accept any interference received, including interference that may cause undesired operation.
NOTE: THE MANUFACTURER IS NOT RESPONSIBLE FOR ANY RADIO OR TV INTERFERENCE CAUSED BY UNAUTHORIZED MODIFICATIONS TO THIS EQUIPMENT. SUCH MODIFICATIONS COULD VOID THE USER'S AUTHORITY TO OPERATE THE EQUIPMENT.
Battery Requirements for Controller:
Requires: 4 x 1.5V "AA" size batteries (not included)
Power Source Requirements for USB Charge Cord:
Requires USB Output Jack (not included)
Care and Maintenance:
- Regularly examine all parts for damage. If any is found, do not use again until the damage has been repaired.
Battery Cautions:
- Parental guidance is recommended when installing or replacing batteries.
- For best performance, use new alkaline batteries in controller.
- Do not power controller by mixing different types of batteries, or old and new batteries.
- Use only batteries of the same or equivalent type as those recommended.
- Do not try to charge other batteries with USB charge cord.
The helicopter is equipped with a rechargeable 3.7V LiPo battery. Please pay attention to the following cautions for safe use:
- Do not dispose of battery into fire or heat.
- Do not use or leave battery near a heat source, such as fire or a heater.
- Do not strike battery or throw it against a hard surface.
- Do not immerse battery into water. Keep battery cool and dry.
- When recharging battery, use only the included USB charge cord.
- Do not connect battery to an electrical outlet.
- Do not directly solder battery or pierce it with a nail or other sharp object.
- Do not transport or store battery together with metal objects such as necklaces, hairpins, etc.
- Do not disassemble or alter battery.
- Recycle used batteries.
CAUTION: Changes or modifications to this product not expressly approved by the party responsible for compliance may void the user's authority to operate the equipment.
"This product is in compliance with the essential requirements and other relevant provisions of Directive 1999/5/EC."


Do not touch the spinning blades or fly over another person's head. Adult supervision is required.

90-DAY LIMITED WARRANTY
PLEASE DO NOT RETURN YOUR PRODUCT TO THE STORE – Estes will repair or replace factory defects for 90 days from the date of purchase. This warranty specifically does not cover crash damage, misuse or abuse. To make a warranty claim, please contact our product support team at 1-217-398-8970 or e-mail us at productsupport@hobbico.com
If requested by Product Support, please send defective product to: Hobby Services, 3002 N Apollo Dr., Suite #1, Champaign, IL 61822
This warranty applies only if the product is operated in compliance with the instructions and warnings provided with each model. Estes assumes no liability except for the exclusive remedy or repair of parts as specified above. Estes shall not be liable for consequential or incidental damages. Some states do not allow the exclusion of consequential or incidental damages so the above exclusion may not apply to you. This warranty gives you specific legal rights and you may also have other rights which vary from state to state.
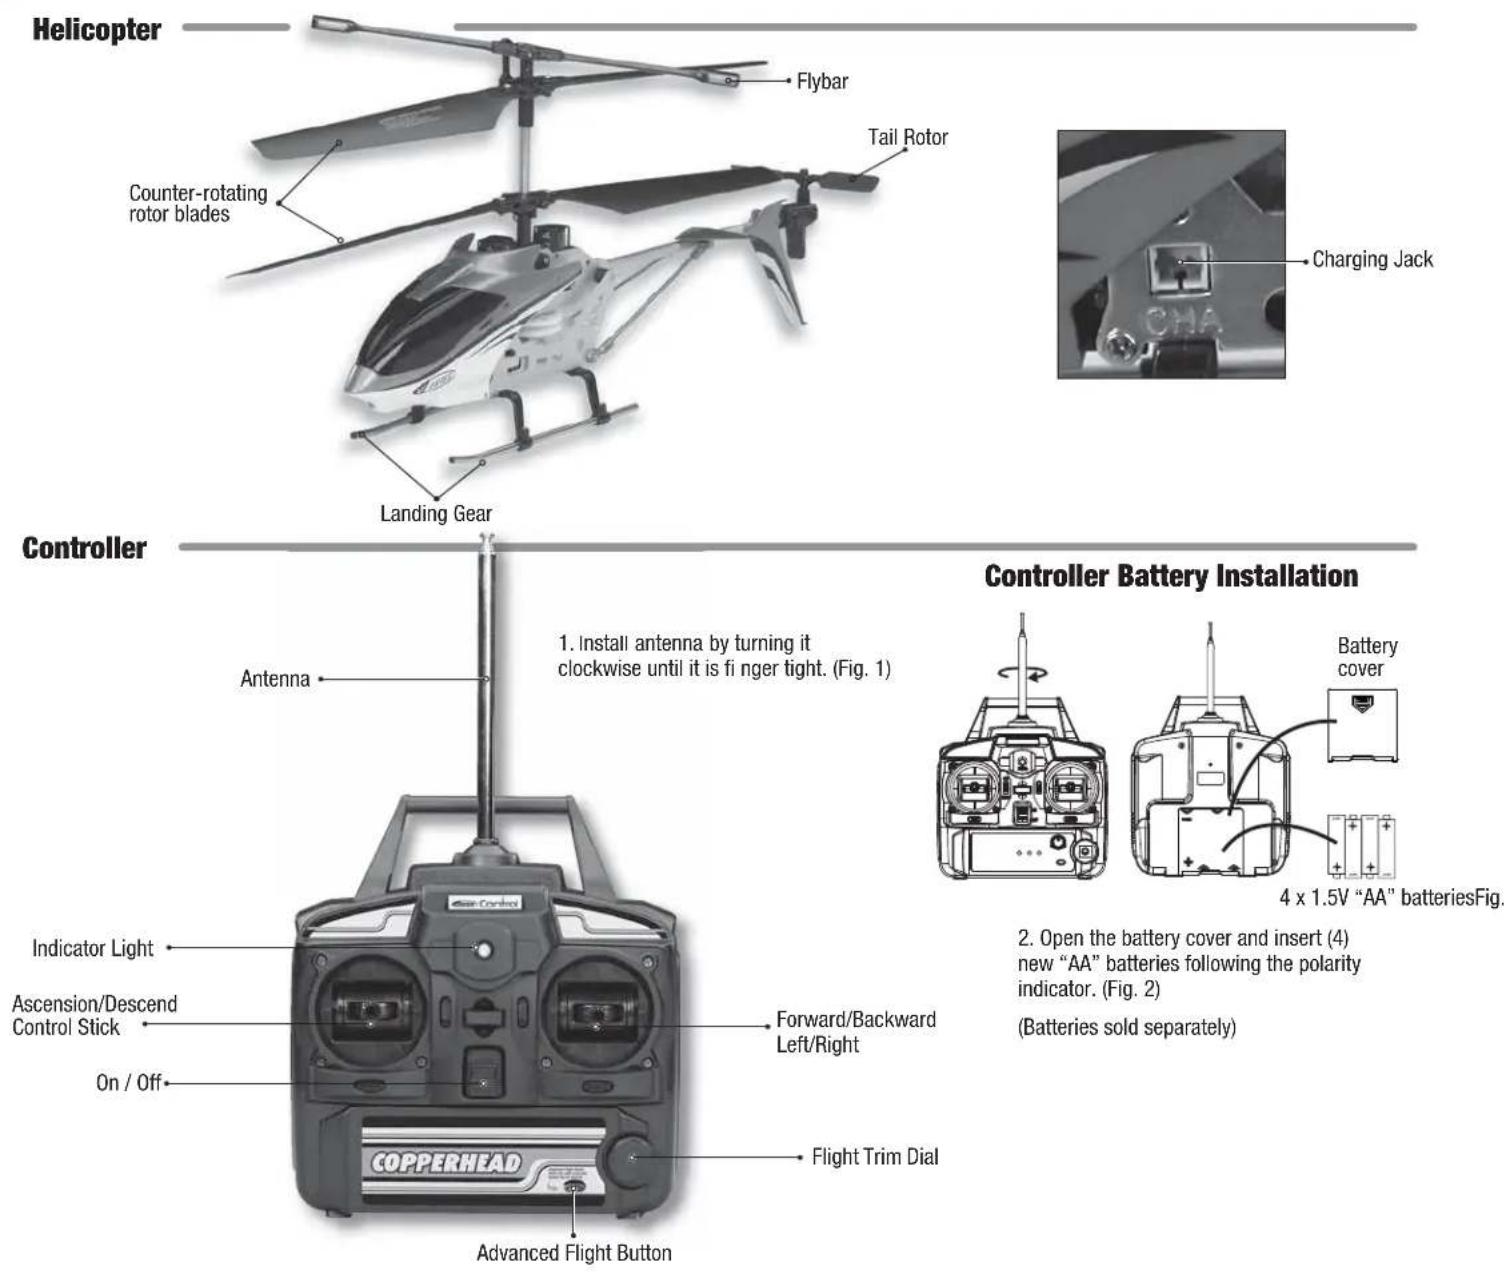
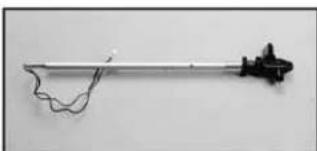
Helicopter and Controller Parts
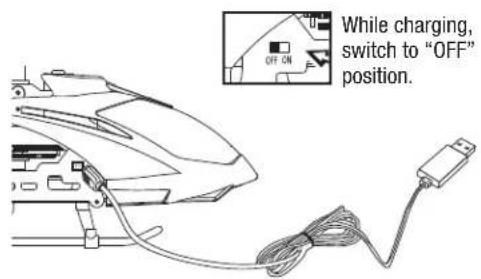
Helicopter Charging Procedure
IMPORTANT!! ALWAYS charge the helicopter LiPo battery in a location that is fi reproof. NEVER leave the battery unattended while being charged! If the battery feels warm during charge, remove the battery at once and disconnect the USB charge cord from the power source.
IMPORTANT PRECAUTIONS
- Disconnect the charge plug from the computer and helicopter immediately if the battery begins to swell or smoke!
• Always disconnect USB charge cord from input power when not in use. - Do not attempt to charge the helicopter battery if it is hot or swollen.
- Keep out of reach of children.
NEVER leave helicopter unattended during the charging process!
NOTE: The charging time is 2+ hours. However, charge time could be less depending on the state of the battery before charging.
CHARGING INSTRUCTIONS
- Always turn off both the controller and helicopter.
- Place the helicopter on a fi re-resistant surface before charging.
- Plug the USB connector into a computer USB port. The USB end of the cord will begin to glow.
- Insert the charge plug into the charging jack on the right side of the fuselage. While charging, the USB plug light will go out.
- Charging is complete when the USB plug glows.
- When charging is complete, remove the charge plug from the charge jack on the helicopter.
- Remove the USB plug from computer.
- Flight time is approximately 6 - 7 minutes per charge.
Flying Your Helicopter
GET READY TO FLY
- Fly only in a large open space without any obstructions.
- Extend the antenna.
- Turn on your controller, then turn on the helicopter.
- To arm the helicopter, push the throttle control stick all the way forward, wait a moment, then pull the throttle stick all the way back.
- Make sure that the controller LED is shining steadily and that the helicopter lights are blinking.
- Place your helicopter on a fl at surface approximately 10 feet away.
- You are now ready to lift off and command your helicopter for flight.
natural_image
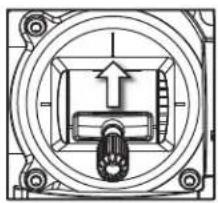
Pure mechanical assembly diagram showing concentric circles and a central component with an upward arrow (no text or symbols)Throttle Stick (Left Stick)
CONTROL INPUTS
LIFTOFF
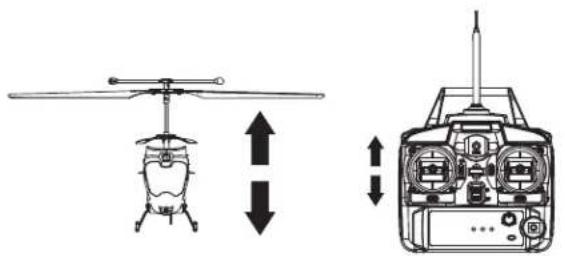
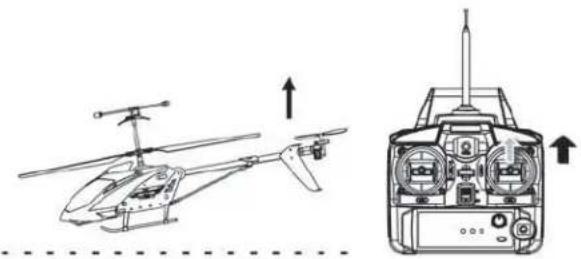
To lift off, push the throttle stick forward to get the rotors moving. Advance the throttle stick until the helicopter becomes airborne.
LANDING
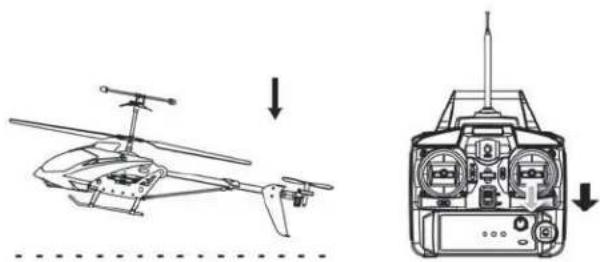
To land your helicopter, slowly pull back on the throttle stick while maintaining a constant heading (tail toward you) until the helicopter touches down. After touchdown, pull the throttle stick all the way back.
natural_image
Technical line drawing of a helicopter showing top and side views with directional arrows (no text or symbols)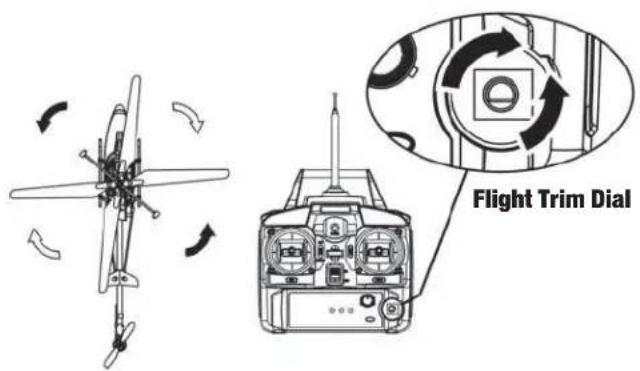
natural_image
Technical line drawing of a helicopter showing front and side views (no text or symbols)HOVERING
After obtaining a steady "hover", you can adjust the direction of the helicopter with the FLIGHT TRIM DIAL. Turn the dial right or left or until the helicopter quits rotating in either direction while hovering or during flight.
natural_image
Technical line drawing of a helicopter showing front and side views with no text or symbolsFORWARD FLIGHT
Push FORWARD gently on the right control stick. To stop your forward flight, pull back gently.
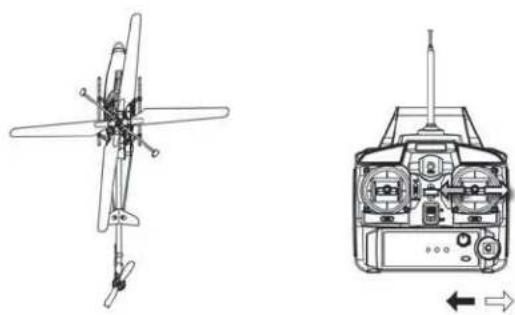
STEERING – RIGHT OR LEFT
To rotate RIGHT, apply gentle RIGHT hand pressure to the right control stick. To rotate LEFT, apply gentle LEFT hand pressure to the right control stick.
natural_image
Technical line drawing of a helicopter showing front and side views (no text or symbols)BACKWARD FLIGHT
To fly BACKWARD from a steady hover, apply gentle BACKWARD pressure to the right control stick. To stop your backward flight, apply gentle forward pressure.
Helicopter Flight Modes
Your Copperhead helicopter has two flight modes: a basic mode for learning and another for more advanced flying. After you have mastered basic flight commands and can comfortably fly your helicopter in all directions and altitudes, you can select the "ADVANCED FLIGHT MODE" by pushing the button on the lower right hand of the controller. The helicopter's tail rotor will become more responsive to your FORWARD and BACKWARD commands. To return to the basic mode, simply push the "ADVANCED FLIGHT MODE" button again.
natural_image
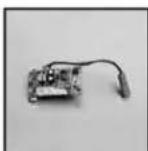
Technical diagram of a device interior showing internal components and a separate view of a device with antenna (no text or labels)Troubleshooting
| PROBLEM | CHECK | PROBLEM | CHECK |
| Controller doesn’t work. | 1. Controller’s power switch is “OFF”.2. Controller’s batteries installed improperly.3. Controller’s batteries depleted. | Helicopter does not lift off. | 1. Make sure the controller is turned “ON”.2. Make sure the helicopter is charged.3. You are trying to fly in strong or gusty winds. |
| Helicopter does not respond. | 1. Controller not turned on.2. Helicopter not turned on.3. Antenna not extended fully.4. Helicopter requires charging.5. Helicopter is not armed. | Helicopter lands too fast. | 1. Throttle stick pulled down too quickly.2. Helicopter isn’t fully charged. |
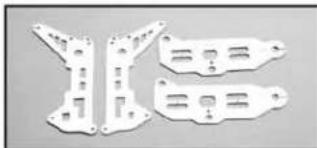
Spare Parts
Canopy
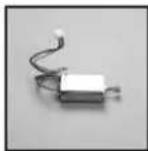
Battery Case
Motor Frame
Landing Gear
natural_image
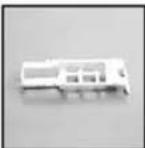
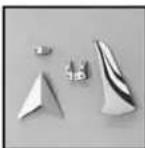
Three white plastic mechanical brackets with cutouts, arranged on a plain background (no text or symbols visible)Metal Frame Set
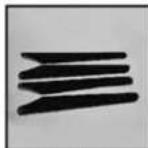
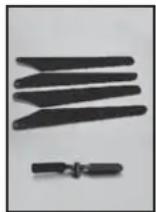
Main Blades
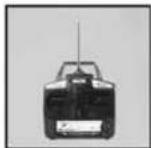
Controller
Tail Rotor Blade
Tail Fins
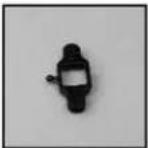
Connector Link
natural_image
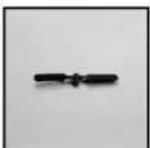
Black mechanical component with three protrusions on a plain background (no text or symbols)Flybar
Blade Grip Set
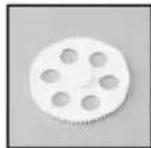
Gear B
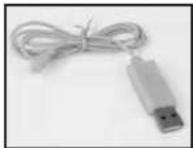
USB Charge Cord
natural_image
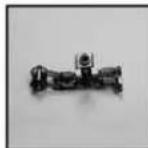
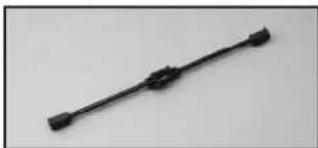
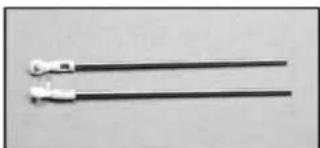
Two black metal rods with white connectors, no text or symbols visibleTail Support
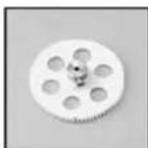
Gear A
natural_image
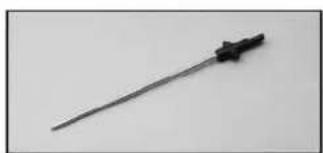
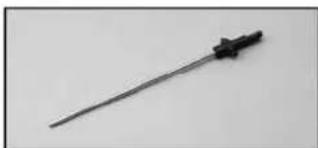
Close-up of a metallic tool with a black handle and connector (no visible text or symbols)Inner Rotor Shaft
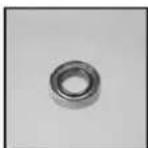
Large Ball Bearing
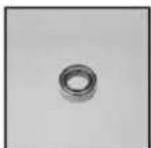
Small Ball Bearing
natural_image
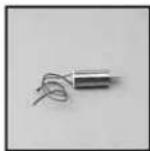
Simple line drawing of a mechanical tool or rod with a wavy line and a small protrusion at the end (no text or symbols)Tail Motor Set PC Box Motor ALiPo Battery Motor B Tail Motor Set

Control
INSTRUCCIONES
GUARDAR PARA
FUTURA REFERENCIA
natural_image
Illustration of a Helicopter with extended wings and control panels (no text or symbols on the aircraft body)
Contradador
natural_image
White USB device with coiled cable, isolated on white background (no text or symbols)Cable de carga USB
natural_image
Pure mechanical assembly diagram showing concentric circles and a central component with an upward arrow (no text or symbols)natural_image
Technical line drawing of a helicopter showing front and side views with no text or symbolsVOLAR HACIA DELANTE
natural_image
Technical line drawings of a helicopter showing front, top, side, and top views with directional arrows (no text or labels)natural_image
Technical line drawing of a helicopter showing front and side views (no text or symbols)VOLAR HACIA ATRÁS
natural_image
Technical diagram of a device interior showing internal components and a separate view of a device with antenna (no text or labels)natural_image
Illustration of a helicopter with extended wings and labeled 'Hélicoptère' (no other text or symbols)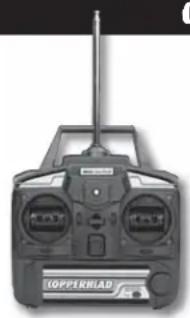
natural_image
Front view of a black COPPERHAD radio receiver with visible brand logo (no text or symbols on device body)Contrôleur
natural_image
White USB device with coiled cable and connector (no text or symbols visible)Cordon de charge USB
Mesures de sécurité
natural_image
Pure mechanical assembly diagram showing a central component with mounting holes and an upward arrow (no text or symbols)natural_image
Technical line drawing of a helicopter showing front and side views with no text or symbolsVOL EN AVANT
natural_image
Technical line drawings of a helicopter showing top, front, side, and side views with directional arrows (no text or labels)DIRECTION - VERS LA DROITE OU LA GAUCHE
natural_image
Technical line drawing of a helicopter showing front and side views (no text or symbols)VOL EN ARRIÈRE
natural_image
Technical diagram of a mechanical device with labeled components and an external wiring (no text or symbols present)Dépannage
natural_image
Three white plastic mechanical brackets with mounting holes and internal cutouts, arranged on a plain background (no text or symbols visible)natural_image
Black mechanical component with a straight end and two protrusions (no visible text or symbols)Perche
natural_image
Two black metal rods with white connectors, no text or symbols visibleSupport de Queue
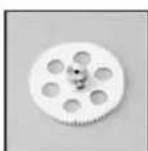
Engrenage A