
HG03552 - Binoculars AURIOL - Free user manual and instructions
Find the device manual for free HG03552 AURIOL in PDF.
| Product type | 10x50 Binoculars |
| Magnification | 10x |
| Objective lens diameter | 50 mm |
| Focus | Central focus wheel |
| Dioptric adjustment | On the right eyepiece |
| Eyecups | Foldable for eyeglass wearers |
| Tripod mount | Threading under binoculars, adapter not included |
| Dimensions (estimated) | 180 x 130 x 60 mm |
| Weight (estimated) | 700 g |
| Body material | Plastic and metal |
| Power supply | None (optical) |
| Use | Outdoor observation, non-professional use |
| Package contents | Binoculars, shoulder bag, lanyard, cleaning cloth, instruction manual |
| Maintenance | Soft lint-free cloth, pure alcohol for dust residue |
| Safety precautions | Never look at the sun, keep out of reach of children, avoid humidity and temperatures >60°C |
| Warranty | 5 years from date of purchase |
| Spare parts | Available during the warranty period |
| Customer service France | Tel. 0800 919270, email owim@lidl.fr |
| Brand | Auriol |
| Model | HG03552 |
Frequently Asked Questions - HG03552 AURIOL
User questions about HG03552 AURIOL
0 question about this device. Answer the ones you know or ask your own.
Ask a new question about this device
Download the instructions for your Binoculars in PDF format for free! Find your manual HG03552 - AURIOL and take your electronic device back in hand. On this page are published all the documents necessary for the use of your device. HG03552 by AURIOL.
USER MANUAL HG03552 AURIOL
Operation and safety notes
NL BE
VERREKIJKER 10 X 50
GB/IEOperation and safety notesPage 8
We congratulate you on the purchase of your new product. You have chosen a high quality product. Familiarise yourself with the product before using it for the first time. In addition, please carefully refer to the operating instructions and the safety advice below. Only use the product as instructed and only for the indicated field of application. Keep these instructions in a safe place. If you pass the product on to anyone else, please ensure that you also pass on all the documentation with it.
Intended use
This product is intended for the observation of distant objects, animals, trees etc. as magnified images. The product is suitable for protected use in the open air. Other types of use or product modifications are not regarded as intended and may lead to risks such as injuries and damages. The manufacturer is not liable for any damages caused by any use other than its intended purpose. The product is not intended for commercial use.
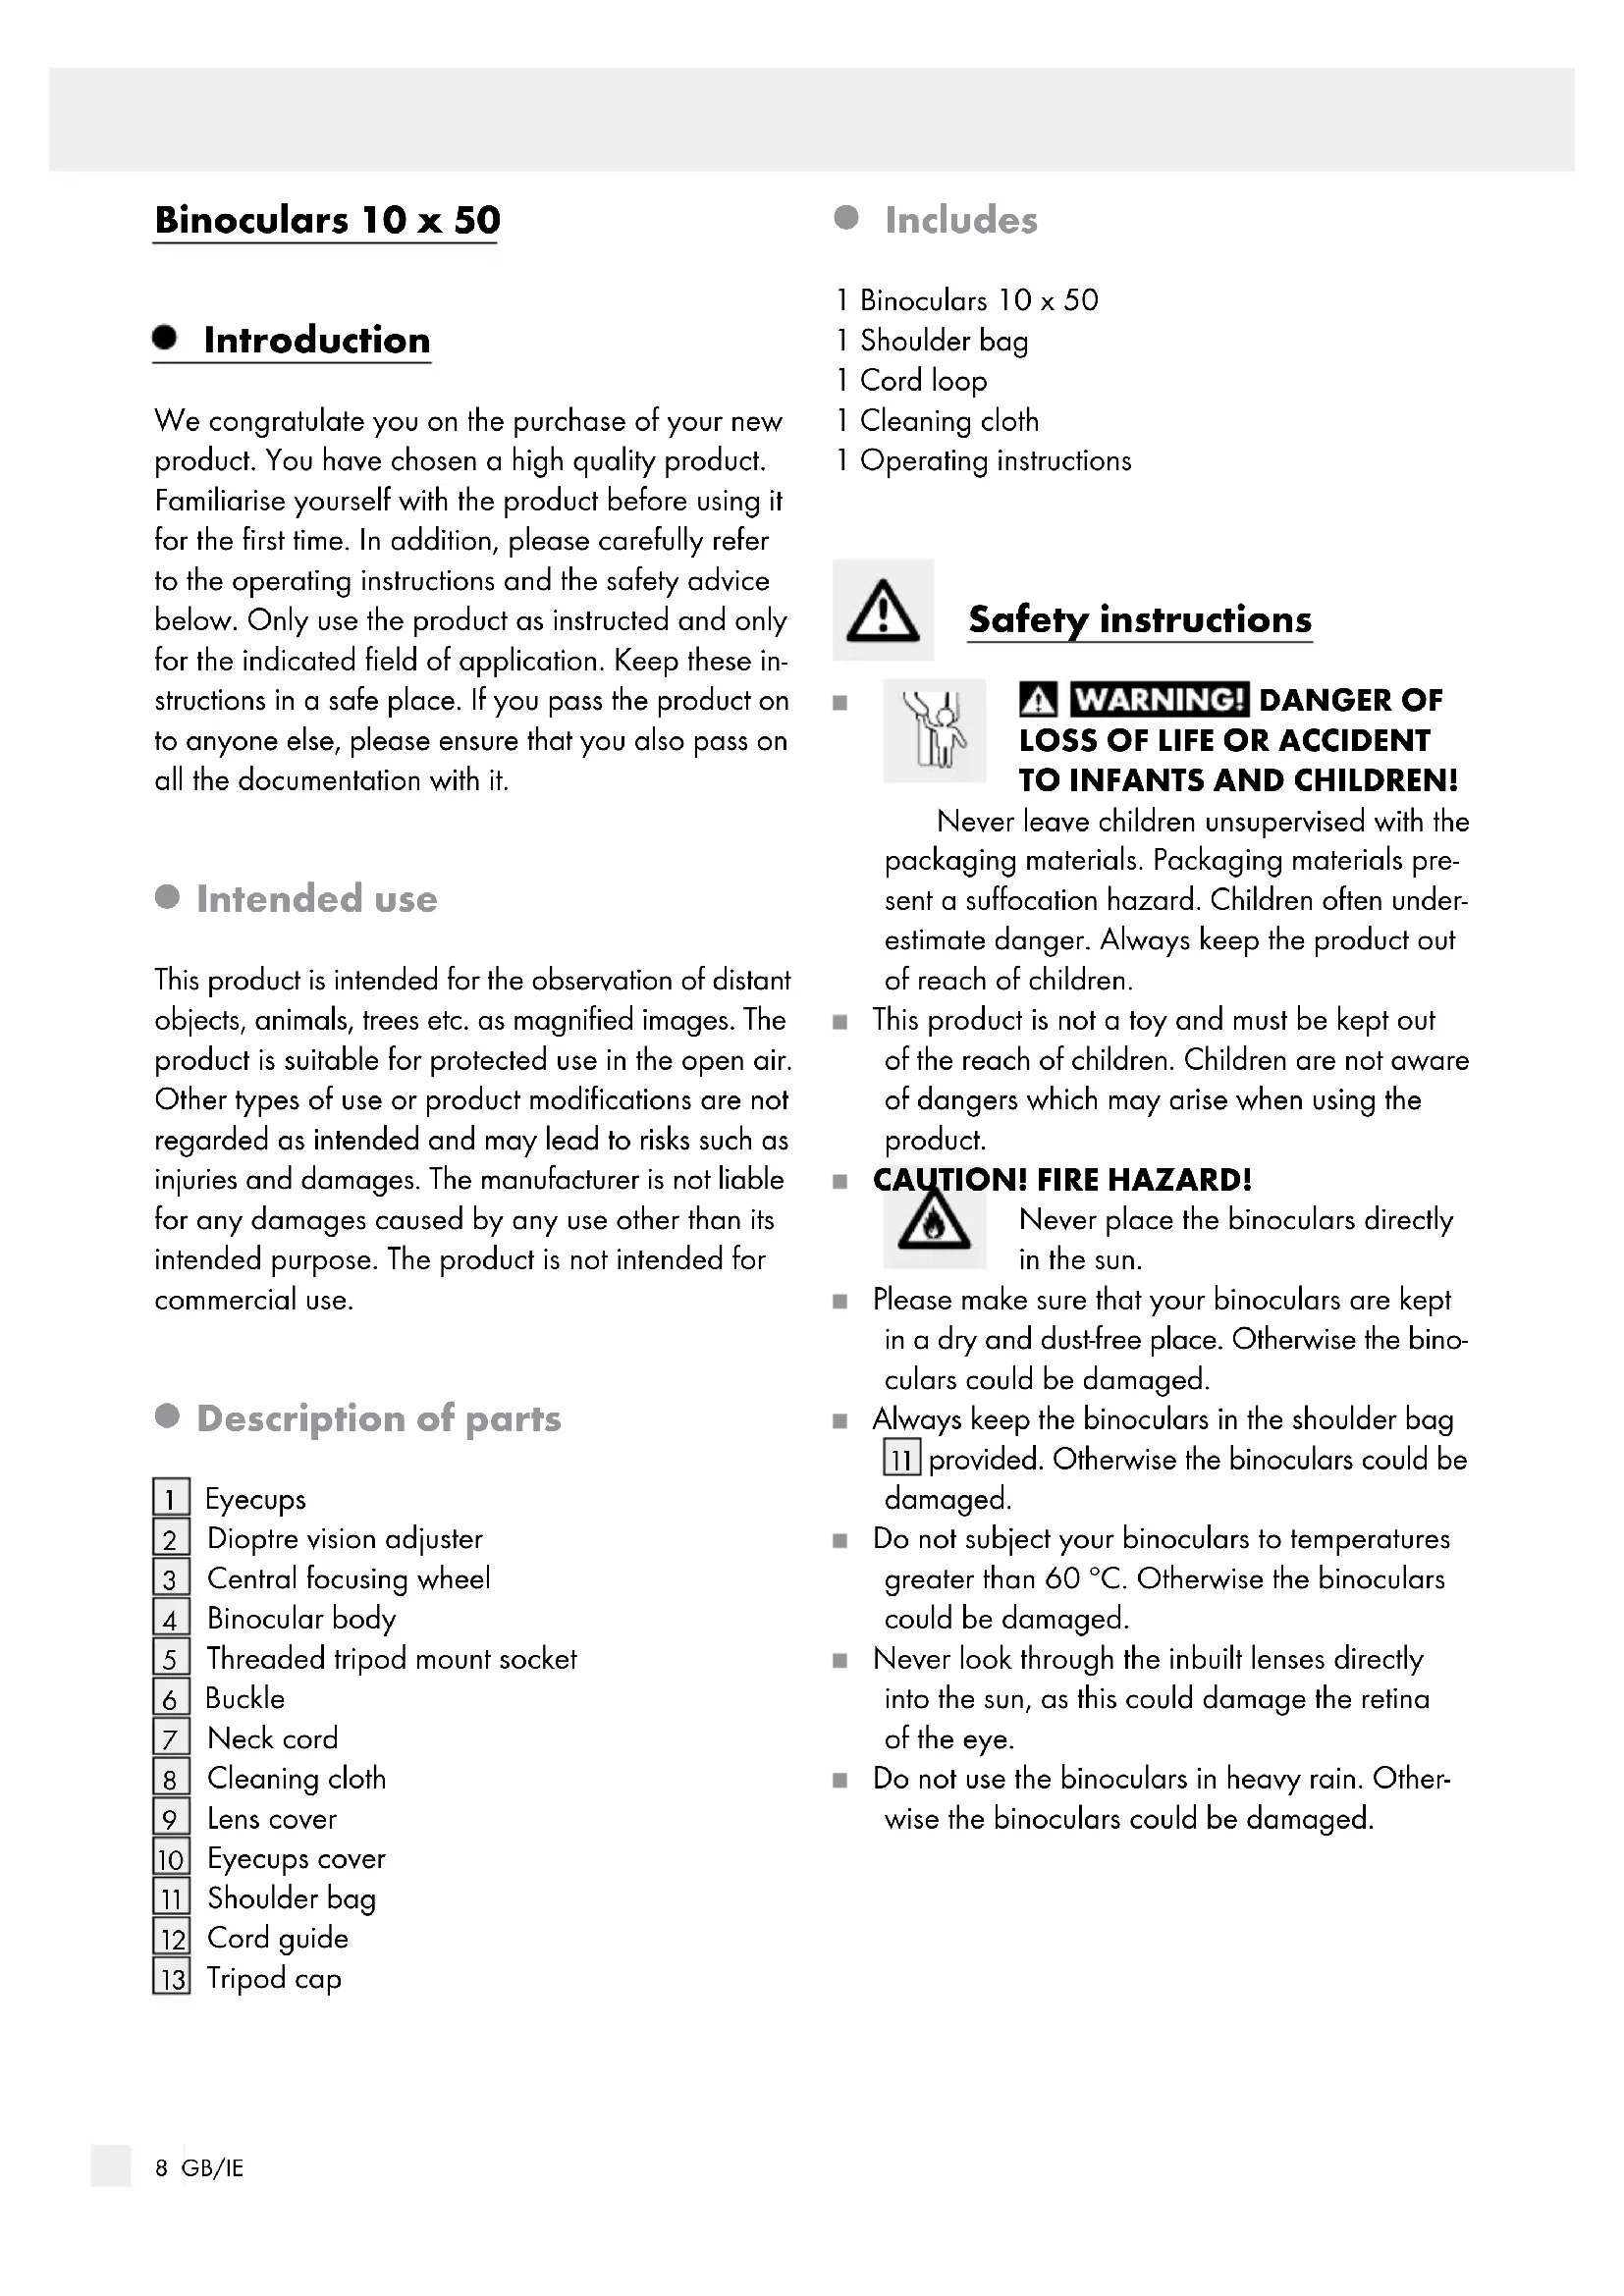
Description of parts
Eyecups
Dioptre vision adjuster
Central focusing wheel
Binocular body
Threaded tripod mount socket
Buckle
Neck cord
Cleaning cloth
Lens cover
Eyecups cover
Shoulder bag
Cord guide
Tripod cap
- Includes
1 Binoculars 10 × 50
1 Shoulder bag
1 Cord loop
1 Cleaning cloth
1 Operating instructions

Safety instructions


WARNING! DANGER OF LOSS OF LIFE OR ACCIDENT TO INFANTS AND CHILDREN!
Never leave children unsupervised with the packaging materials. Packaging materials present a suffocation hazard. Children often underestimate danger. Always keep the product out of reach of children.
This product is not a toy and must be kept out of the reach of children. Children are not aware of dangers which may arise when using the product.
CAUTION! FIRE HAZARD!

Never place the binoculars directly in the sun.
Please make sure that your binoculars are kept in a dry and dust-free place. Otherwise the binoculars could be damaged.
Always keep the binoculars in the shoulder bag provided. Otherwise the binoculars could be damaged.
Do not subject your binoculars to temperatures greater than 60^ . Otherwise the binoculars could be damaged.
- Never look through the inbuilt lenses directly into the sun, as this could damage the retina of the eye.
Do not use the binoculars in heavy rain. Otherwise the binoculars could be damaged.
Preparing for use
- Focusing
Close your right eye.
Adjust the view by turning the central focusing wheel 3 so that the view for the left eye is sharp and clear.
- Diopetre vision adjuster
Open your right eye and close your left eye.
Turn the dioptre vision adjuster 2 until the object is sharp and clear. Retain this position for later use.
| + Focus on a closer object |
| - Focus on a more distant object |
| O No adjustment |
- Adjustment for eye positions
Hold your binoculars with both hands and move the binocular body (see Fig. B) until the two circles are superimposed to form one full circle (see Fig. C).
- Plasticeyecups (for spectacle wearers)
Fold back the eyepiece cups 1. This enlarges the field of vision and makes using the binoculars easier for spectacle wearers.
Adjusting the neck cord
Thread the ends of the neck cord through the buckles
Thread the ends of the neck cord through the cord guides [12] (see Fig. D).
Then thread the ends of the neck cord through the buckles as shown in Fig. E.
Pull the neck cord 7 tight on both sides of the buckle 6. This fixes the neck cord 7 on the buckles 6.
Use with a tripod
Note:The tripod and the tripod adapter are not included with the product. They can be purchased separately from your specialist dealer.
Observe the operating instructions supplied with your tripod during its assembly and use.
Take out the tripod cap 13 from the threaded tripod mount socket 5 by turning it anti-clockwise.
Screw the threaded connector of the tripod adapter clockwise into the threaded tripod mount socket 5 on the binoculars. Then connect the tripod to the attached tripod adapter.
After use, separate the tripod from the tripod adapter. Then unscrew the threaded connector of the tripod adapter anticlockwise out of the threaded tripod mount socket 5 on the binoculars.
Put the tripod cap 13 back on the threaded tripod mount socket 5 by turning the cap 13 clockwise.
- Cleaning and care
Never take your binoculars apart for cleaning.
Use the cleaning cloth [8] provided or a soft cloth without threads to clean the binoculars.
Do not press hard when cleaning the delicate lens surface.
If the lenses are still dirty, dampen the cloth with a little clear alcohol (methylated spirit).
Always cover the eyecups 1 and lens by the eyecups cover 10 and lens cover 9 while the binoculars is not in use to avoid scratch on the lens.
Put the binoculars in the shoulder bag 11 while not in use.
- Disposal
The packaging is made entirely of recyclable materials, which you may dispose of at local recycling facilities.
Contact your local refuse disposal authority for more details of how to dispose of your worn-out product.
Warranty
The product has been manufactured to strict quality guidelines and meticulously examined before delivery. In the event of product defects you have legal rights against the retailer of this product. Your legal rights are not limited in any way by our warranty detailed below.
The warranty for this product is 5 years from the date of purchase. Should this product show any fault in materials or manufacture within 5 years from the date of purchase, we will repair or replace it - at our choice - free of charge to you.
The warranty period begins on the date of purchase. Please keep the original sales receipt in a safe location. This document is required as your proof of purchase. This warranty becomes void if the product has been damaged, or used or maintained improperly.
The warranty applies to defects in material or manufacture. This warranty does not cover product parts subject to normal wear, thus possibly considered consumables (e.g. batteries) or for damage to fragile parts, e.g. switches, rechargeable batteries or glass parts.
Warranty claim procedure
To ensure quick processing of your case, please observe the following instructions:
Please have the till receipt and the item number (e.g. IAN 123456_7890) available as proof of purchase.
You will find the item number on the type plate, an engraving on the front page of the instructions (bottom left), or as a sticker on the rear or bottom of the appliance.
If functional or other defects occur, please contact the service department listed either by telephone or by e-mail.
You can return a defective product to us free of charge to the service address that will be provided to you. Ensure that you enclose the proof of purchase (till receipt) and information about what the defect is and when it occurred.
Service
GB Service Great Britain
Tel.: 0800 404 7657
E-Mail: owim@lidl.co.uk
IE Service Ireland
Tel.: 1890 930 034
$$ \left(0, 0 8 \mathrm {E U R} / \text {M i n .}, (\text {p e a k})\right) $$
$$ (0, 0 6 \text {E U R} / \text {M i n .}, (\text {o f f p e a k})) $$
E-Mail: owim@lidl.ie
Introduction


- VERREKIJKER 10 X 50
- Intended use
- Description of parts
- - Includes
- Safety instructions
- WARNING! DANGER OF LOSS OF LIFE OR ACCIDENT TO INFANTS AND CHILDREN!
- Preparing for use
- - Focusing
- - Diopetre vision adjuster
- - Adjustment for eye positions
- - Plasticeyecups (for spectacle wearers)
- Adjusting the neck cord
- Use with a tripod
- - Cleaning and care
- - Disposal
- Warranty
- Warranty claim procedure
- Service
- GB Service Great Britain
- IE Service Ireland
- Introduction
Brand : AURIOL
Model : HG03552
Category : Binoculars