FKW2200 - Weather Station Fysic - Free user manual and instructions
Find the device manual for free FKW2200 Fysic in PDF.
Frequently Asked Questions - FKW2200 Fysic
User questions about FKW2200 Fysic
0 question about this device. Answer the ones you know or ask your own.
Ask a new question about this device
Download the instructions for your Weather Station in PDF format for free! Find your manual FKW2200 - Fysic and take your electronic device back in hand. On this page are published all the documents necessary for the use of your device. FKW2200 by Fysic.
USER MANUAL FKW2200 Fysic
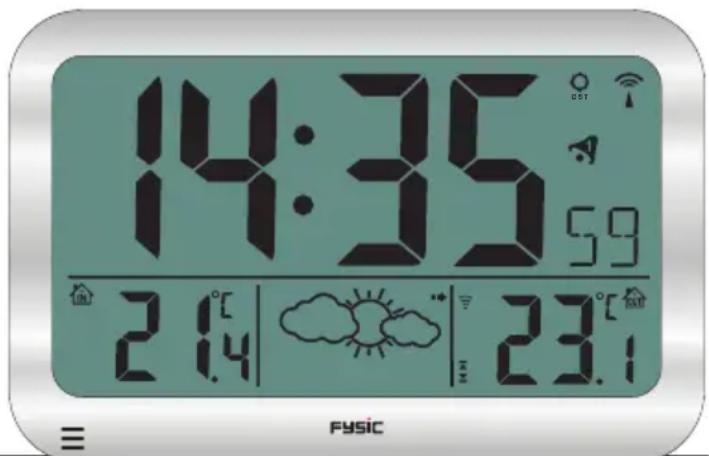
- Time display
- Date display
- Daylight saving time
- DCF reception icon
- SNOOZE function active
- 4 alarm settings
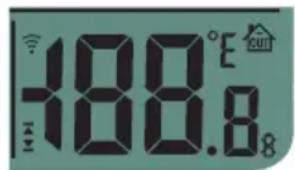
- Outdoor temperature
- Outdoor sensor low battery capacity icon
- Outdoor sensor reception icon
- High-low outdoor temperature alert
- Weather forecast trend icon
- Weather forecast animation
- Frost alert
- Indoor temperature
9101112131417 16 15
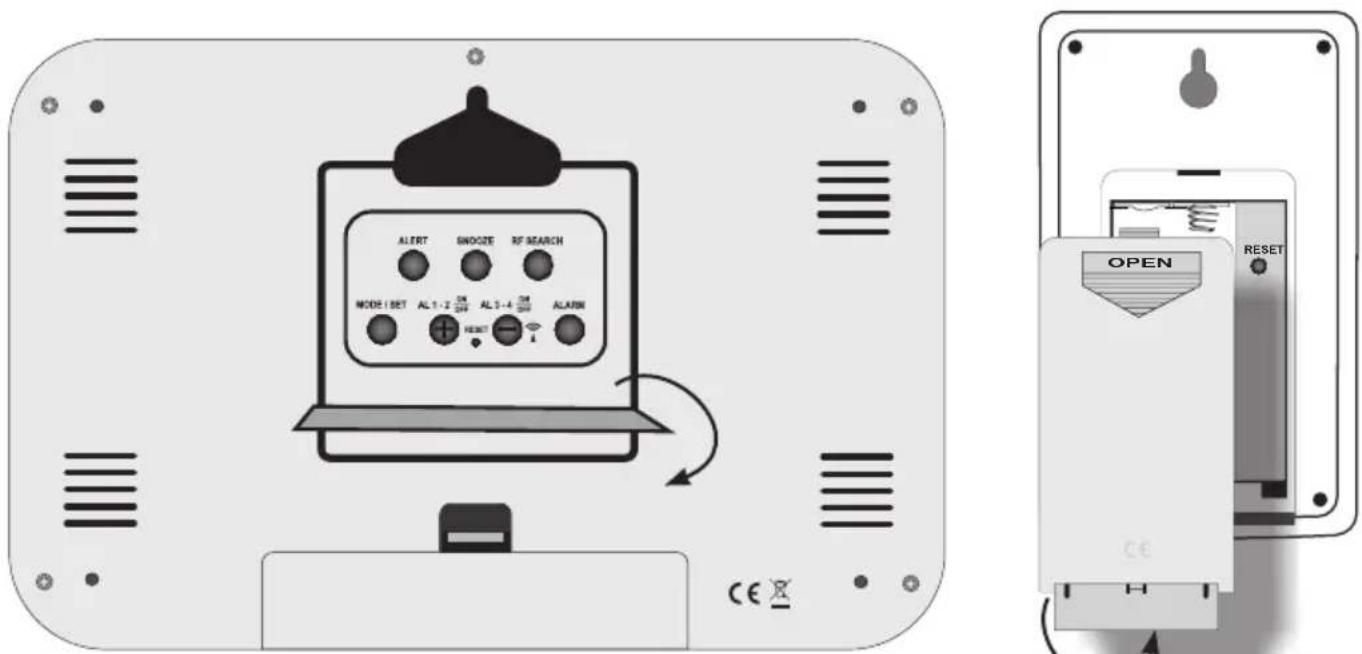
- "RF SEARCH" setup button
- "SNOOZE" setup button
- "ALERT" setup button
- "MODE/SET" setup button
- "AL 1-2 /aan-uit en +" setup button
- Weather station reset button
- "AL 3-4 /aan-uit en -" setup button
-
"ALARM" setup button
-
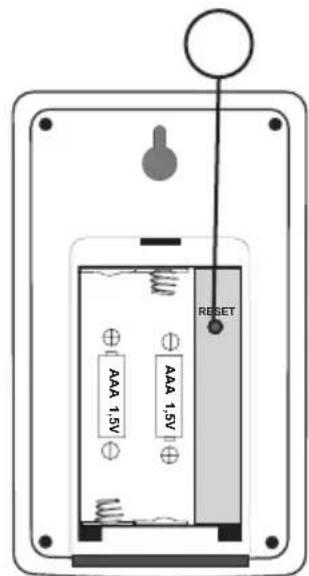
Outdoor temperature transmission indicator
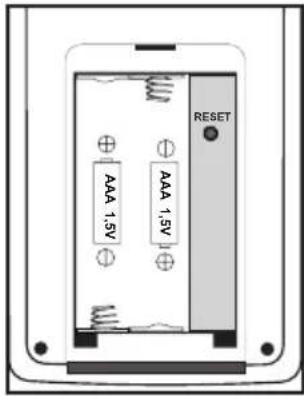
- Outdoor sensor reset button
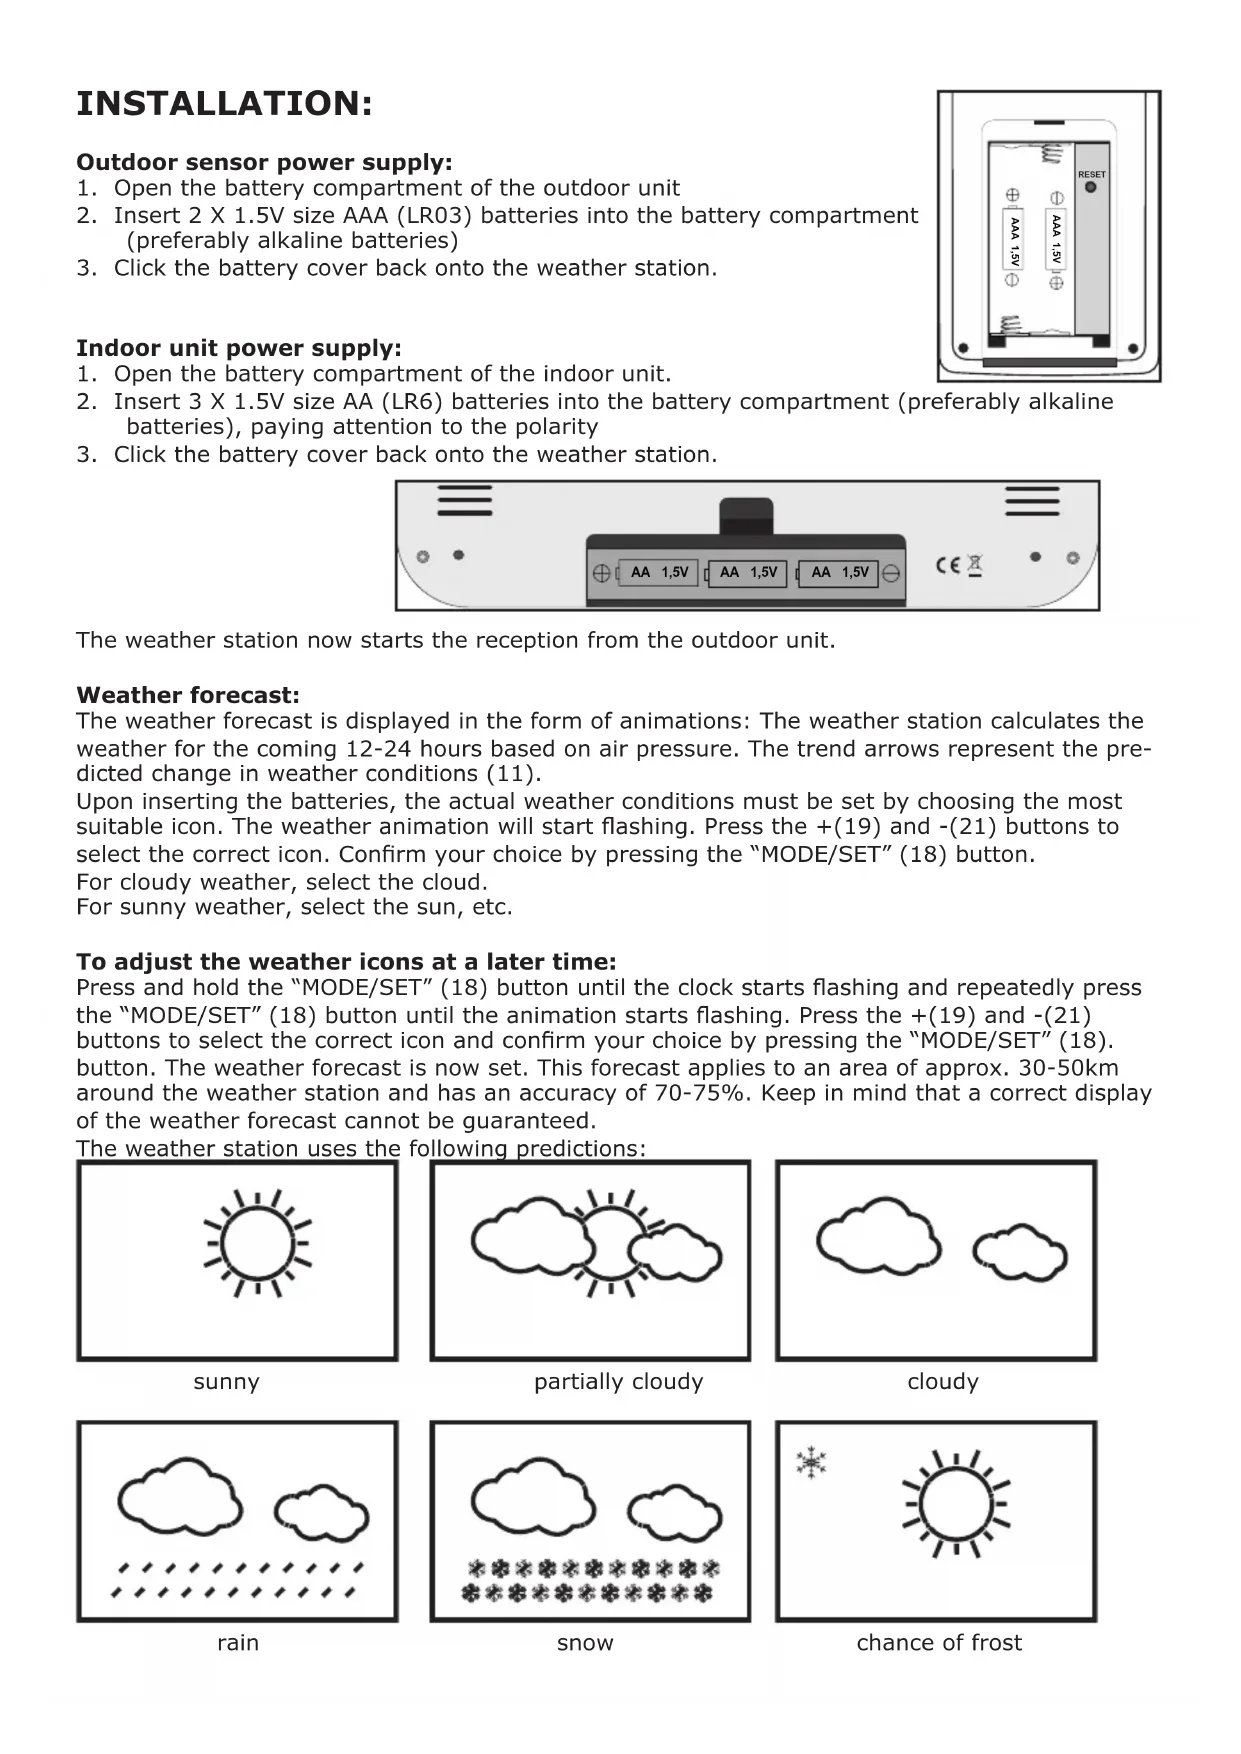
INSTALLATION:
Outdoor sensor power supply:
- Open the battery compartment of the outdoor unit
- Insert 2 X 1.5V size AAA (LR03) batteries into the battery compartment (preferably alkaline batteries)
- Click the battery cover back onto the weather station.
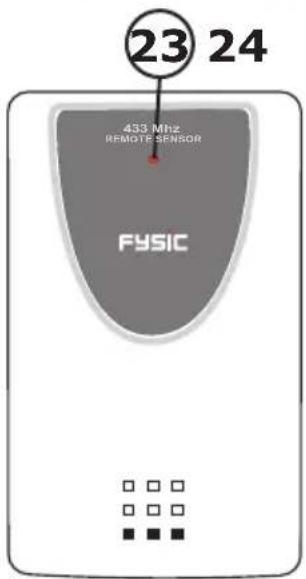
Indoor unit power supply:
- Open the battery compartment of the indoor unit.
- Insert 3 X 1.5V size AA (LR6) batteries into the battery compartment (preferably alkaline batteries), paying attention to the polarity
- Click the battery cover back onto the weather station.

The weather station now starts the reception from the outdoor unit.
Weather forecast:
The weather forecast is displayed in the form of animations: The weather station calculates the weather for the coming 12-24 hours based on air pressure. The trend arrows represent the predicted change in weather conditions (11).
Upon inserting the batteries, the actual weather conditions must be set by choosing the most suitable icon. The weather animation will start flashing. Press the +(19) and (-21) buttons to select the correct icon. Confirm your choice by pressing the "MODE/SET" (18) button.
For cloudy weather, select the cloud.
For sunny weather, select the sun, etc.
To adjust the weather icons at a later time:
Press and hold the "MODE/SET" (18) button until the clock starts flashing and repeatedly press the "MODE/SET" (18) button until the animation starts flashing. Press the + (19) and - (21) buttons to select the correct icon and confirm your choice by pressing the "MODE/SET" (18). button. The weather forecast is now set. This forecast applies to an area of approx. 30-50km around the weather station and has an accuracy of 70 - 75% . Keep in mind that a correct display of the weather forecast cannot be guaranteed.
The weather station uses the following predictions:
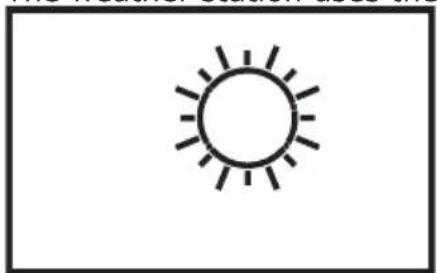
sunny
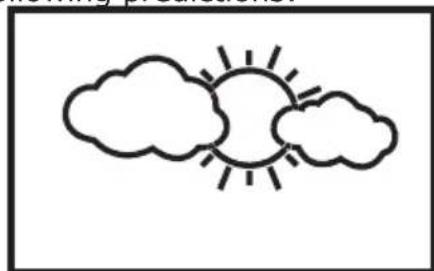
partially cloudy
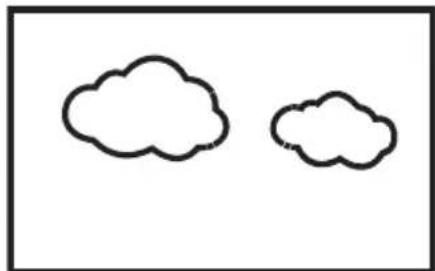
cloudy
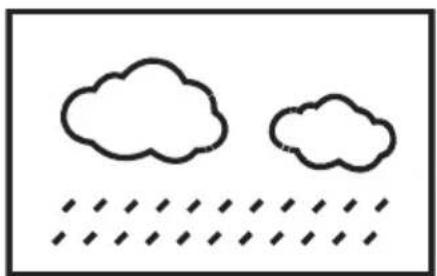
rain

snow
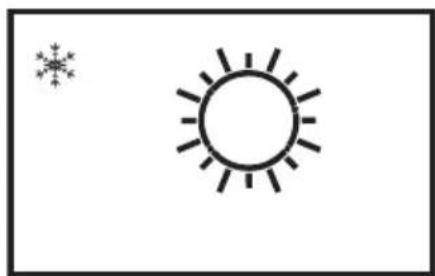
chance of frost
When the weather station has received the outdoor sensor's signal, it'll automatically switch to the reception of the DCF-77 atomic time.
(DCF) time:
When the symbol is flashing, the clock is receiving the atomic time. When it's synchronized with the atomic time radio graphically sent by the DCF77' station, the symbol will remain lit. If this symbol doesn't appear, the time is shown via the internal clock of the weather station. The DCF77 station is situated in Frankfurt, Germany. The reception of the DCF77 time is basically possible in the whole of Western Europe. During daylight saving time, the symbol appears.
TO MANUALLY SET THE WEATHER STATION:
Press and hold the "MODE/SET" button for at least 1 second until 12Hr or 24Hr starts flashing. Repeatedly press the "MODE/SET" (18) button to adjust the following functions using the + (19) and - (21) buttons (the setup menu will close after 15 seconds without pressing any buttons).
| 12/24 Hr | RCC on/off | time zone | hours | minutes | seconds | year | month |
| date language °C or °F | weather icons animation | ||||||
12/24 hour: To set the clock display to 12 hours or 24 hours format
RCC (Radio Controlled Clock) on/off: To enable or disable the DCF-77 receiver.
time zone: To set the desired time zone.
hours: To set the actual hours display of the time.
minutes: To set the actual minutes display of the time.
seconds: To set the actual seconds display of the time (setting 0 only).
year: To set the actual year.
month: To set the actual month.
Language: To set the desired language for displaying the days.
| Language | Country Code | Sun- day | Mon- day | Tues- day | Wed-nesday | Thurs- day | Fri- day | Satur- day |
| Deutsche | GE | SO | MO | DI | MI | DO | FR | SA |
| English | EN | SU | MO | TU | WE | TH | FR | SA |
| РRussкий | RU | BC | ПH | BT | CP | ЧТ | ПТ | СБ |
| Danmark | DA | SO | MA | TI | ON | TO | FR | LO |
| Nederland | NE | ZO | MA | DI | WO | DO | VR | ZA |
| Italiano | IT | DO | LU | MA | ME | GI | VE | SA |
| Espanol | ES | DO | LU | MA | MI | JU | VI | SA |
| Français | FR | DI | LU | MA | ME | JE | VE | SA |
°C or °F: Temperatuur instellen in weergave °C of °F.
weather icons animation: See "To adjust the weather icons" for the setup options.
DAILY SNOOZE AND ALARM CLOCK FUNCTION:
The weather station offers 4 alarm clock functions. The alarm clock is activated when the alarm clock functions with a number appear in the display. The alarm clock function will start flashing while the snooze function is enabled. Every 5 minutes an alarm signal will sound.
To set the wake-up time:
- Repeatedly press the "ALARM"(22) button to select the wake-up time. Choose from wake-up time 1 through 4. Each wake-up time may be set individually.
- Go to the desired wake-up time (icon 1, 2, 3 or 4 and AL is visible).
- Press and hold the "ALARM" button for 2 seconds until the wake-up time hours start flashing. Press the + (19) and - (21) buttons to set the desired hour.
- Press the "ALARM", button again; the wake-up time minutes start flashing. Press the + (19) and - (21) buttons to set the desired minutes.
- Press the "ALARM" button again or wait 10 seconds to save your settings.
- Use the "AL 1-2"(19) button to select the desired wake-up time 1 and 2, use the "AL 3-4"(21) button to select the desired wake-up time 3 and 4. This wake-up time is active when the icon appears in the display. All 4 wake-up times or a combination of them may be selected.
To disable the alarm signal:
As soon as an active wake-up time is reached, the weather station will sound an alarm signal. Press any button (except the "SNOOZE" button) to stop the alarm signal. If no button is pressed, the alarm signal will stop automatically after ± 2 minutes.
After 24 hours the alarm signal, connected to the set wake-up time, will sound again..
Snoopze function:
During an alarm, press the "SNOOZE" (16), button to temporarily stop the alarm signal and enter the snooze mode; the Zicon starts flashing. Upon activating the snooze mode, the alarm signal will sound again after 5 minutes. This may be repeated for up to 7 times.
To cancel the snooze function during snoozing:
While snoozing, press the "ALERT"(17) button to cancel the snooze function.
The zicon disappears.
THERMOMETER:
The temperature is shown at the left side in the display. Provided that the outdoor sensor is registered, the outdoor temperature is shown at the right side in the display. See "To manually set the weather station" to have the temperature display shown in ^ C or ^ F .
When the measured temperature is outside the effective measuring range, the display will show LL.L for values that are too low and HH.H for values that are too high.
Temperature alert function:
You may only set an alert for the outdoor temperature. You may set the desired temperature and as soon as the outdoor temperature exceeds the set temperature an alert will sound. You may also set a lower limit for an alert as soon as the outdoor temperature falls below the set temperature. Both thresholds can be enabled simultaneously.
To set the temperature alert:
Press the "ALERT"(17) button for the following selection:
High alert active (setting from -49^ to +70^ ).
High and low alert active.
Low alert active (setting from -50^ to +39^ ).
No alert active.
Press and hold the "ALERT"(17) button for at least 3 seconds until starts flashing. Use the +(19) and -21) buttons to set the desired high temperature alert. Press the "ALERT"(17),button; starts flashing. Use the +(19) and -21) buttons to set the desired low temperature alert. Press button "ALERT"(17) to capture everything.
As soon as the temperature alert is reached, the icon with the temperature starts flashing (or while an alert tone is emitted. Press a random button or wait for 2 minutes to stop the alert tone. For as long as the temperature remains too high or too low, the temperature display keeps flashing. As soon as the temperature falls between the thresholds, the temperature display stops flashing.
Low battery capacity indicator:
When the batteries are nearly exhausted, the low battery capacity indicator 8 appears. In this case, please replace the batteries of the outdoor unit.
TO USE THE WEATHER STATION:
During normal use, the following data is displayed:
clock
indoor and outdoor temperature
weather forecast animation
trend indicator
DCF time indication
any active alarms
Clock display:
Repeatedly press the "MODE/SET"(18) button for the following display:
clock clock + day date + day year + day
Barometer trend indication:
The air pressure is higher compared to before
The air pressure remains the same as before
The air pressure is lower compared to before
Weather conditions:
When the weather animation shows rain, but one of the temperature displays is below 0^ , the animation will indicate snow.
Frost alert:
The frost alert icon * appears in the display when the outdoor temperature is between -2°C and +3°C.
To manually search for the outdoor sensor:
Press and hold the "RF SEARCH"(15) button for at least 2 seconds until the value of the outdoor sensor starts flashing. The weather station will now search again for the outdoor sensor.
To manually search for the DCF:
Press and hold the "AL-3 - 4" button for at least 2 seconds until the DCF time icon starts flashing. The weather station will now to try again to receive the DCF signal again. Each day at 3:00 am the weather station automatically tries to synchronize with the DCF-77 station.
In case you've lost the overview of the settings or the weather station is exhibiting a possible error, it may be wise to reset the weather station and outdoor sensor.
For more information, visit: www.fysic.com
POSITIONING TIPS:
- Never place the weather station in direct sunlight and keep it away from heat radiating objects (lights, heaters, etc.)
- For a proper reception of the radio controlled time signals, never place the weather station near large metal surfaces or heavy electrical equipment such as a refrigerator or washing machine (some experimenting might be required).
- Depending on local circumstances, the effective range between the outdoor sensor and weather station might vary. Before actually fixing the outdoor sensor, check whether the connection between the outdoor sensor and weather station remains. If so, mount the outdoor sensor.
- The distance between the station and the external sensor should be no more than 30 meters.
MOUNTING:
In case of wall-mounting, the indoor and outdoor unit may be suspended from a single screw. You may fold out the table support to place the weather station and outdoor unit on a flat surface.
SPECIFICATIONS:
Weather station:
indoor temperature measurement range: 0 50^ 32^ 122^ clock synchronization signal: DCF-77 Frankfurt.
power: battery 3× 1.5V size AA (LR6) alkaline
dimensions: 225× 150× 18mm
Outdoor sensor:
outdoor temperature measurement range: -20^ 50^ of -4^ 122^ power: battery 2 × 1.5V size AAA (LR03) alkaline transmission frequency: 433MHz range: ± 30 meter dimensions: 61 × 101 × 20mm
FYSIC
Service Help


WWW.FYSIC.COM
SERVICE@FYSIC.NL
NL 073 6411 355
(Lokaal taref)

BE 03 238 5666
(Lokaal taref)
(Tarif local)
DE 0180 503 0085