IEO30LCR40 - Oven Ices - Free user manual and instructions
Find the device manual for free IEO30LCR40 Ices in PDF.

Frequently Asked Questions - IEO30LCR40 Ices
User questions about IEO30LCR40 Ices
0 question about this device. Answer the ones you know or ask your own.
Ask a new question about this device
Download the instructions for your Oven in PDF format for free! Find your manual IEO30LCR40 - Ices and take your electronic device back in hand. On this page are published all the documents necessary for the use of your device. IEO30LCR40 by Ices.
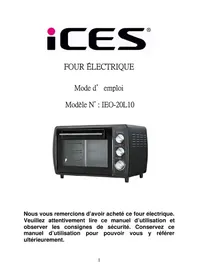
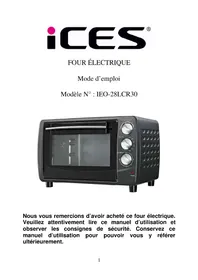
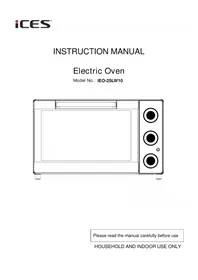
USER MANUAL IEO30LCR40 Ices
Please read the manual carefully before use
HOUSEHOLD AND INDOOR USE ONLY
C
Before Using Your Electric Oven
Before using your electric oven for the first time, be sure to :
- Read all instructions included in this manual.
- Make sure oven is unplugged and Timer Knob is in the Off position.
- Remove all racks and pans. Wash the racks and pans in hot sudsy water or in dishwasher.
- Thoroughly dry all accessories and re-assemble in oven. Plug oven into outlet and you are ready to use your new Electric Oven.
- After re-assembling your oven, we recommend that you run it at MAX temperature on for approximately 15 minutes to eliminate any packing oil that may remain after shipping.
Component
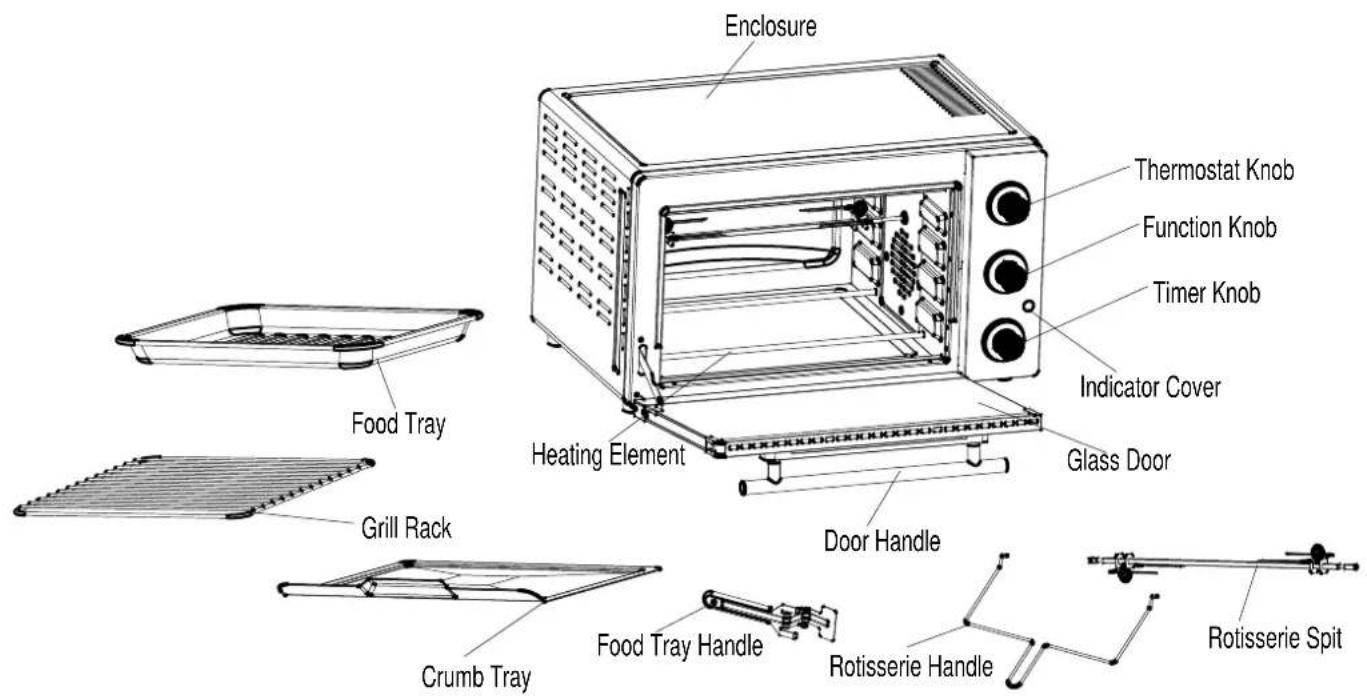
Using Your Electric Oven
Please familiarize yourself with the following oven functions and accessories prior to first use:
1 Function Knob : There are six baking modes(□, upper and lower heating elements+ fan □, upper heating elements + fan , upper + lower heating elements , upper heating elements+ rotisserie , upper and lower heating elements+ rotisserie + fan).
Thermostat Knob: Choose desired temperature from LOW--90°C--230°C.
I Timer Knob: Turn control to the left (counter-clockwise) and the oven will STAY ON until manually shut off. To activate timer, turn to right (clockwise) for other use. A bell will sound at end of programmed time.
Indicator Cover: It is illuminated whenever oven is turned on.
I Grill Rack: For toasting, baking, and general cooking in casserole dishes and standard pans.
Food Tray: For use in broiling and roasting meat, poultry, fish, and various other foods.
I Food Tray Handle: Allow you to pick up Food Tray and Grill Rack.
Rotisserie Handle: Allows you to pick up Rotisserie Spit.
Rotisserie Spit: Use to roast a variety of meats and poultry.
Function&
This function is ideal for Baking pork slice, chicken legs, chicken wings, potato flakes, poultry meat, chops, fish and so on with more evenly heating up.
Operation
I Preheat oven as directed in recipe.
I Set Thermostat Knob to 230^
1 Turn Function Knob to
Check baked goods for doneness 5-10 minutes before expected completion.
I Turn Timer Knob to OFF when complete.
Function

This function is ideal for cooking bread, pizza, and fowl in general.
Operation
I Place a Grill Rack to in middle Support Guide.
I Turn Function Knob to.
I Place food to be cooked on Food Tray and then place the Food Tray onto Grill Rack.
I Turn Timer Knob to ON. Time accordingly and check progress with meat thermometer to ensure desired doneness.
To check or remove food, use TRAY/RACK HANDLE provided to help side food in and out.
I Turn Timer Knob to OFF when cooking is complete.
NOTE: ALL toasting times are based on meats at refrigerator temperature. Frozen meats may take considerably longer. Therefore, use of a meat thermometer is highly recommended.
Function

This function is ideal for cooking whole chickens, fowl in general.
Rotisserie Spit Use: Insert pointed end of spit through fork, making sure points of fork face same direction as pointed end of spit. Slide towards square of SPIT and secure with thumbscrew. Place food to be cooked on spit by running spit directly through center of food. Place second fort into other end of roast or poultry. Check that food is centered on spit. Insert pointed end of spit into drive socket, located on right-hand side of oven wall. Make sure the square end of spit rests on spit support, located on left-hand side of oven wall.
Operation
I Place Food Tray in lowest, use touch oil.
I Preheat oven as directed in recipe.
I Set Thermostat Knob to 230^


Turn Function Knob to Check baked goods for doneness 5-10 minutes before expected completion.
I Turn Timer Knob to OFF when complete.
Note: The weight of the food which is put on the Food Tray/Grill Rack can not be over 3.0kg. (just for reference) (The food can not concentrate on one side of the Food Tray/Grill Rack, you would better try you best to make the food put on the Food Tray/Grill Rack evenly).
USE MAINTENANCE INSTRUCTIONS
This appliance requires little maintenance. It contains no user serviceable parts. Do not try to repair it yourself. Contact a qualified appliance repair technician if the product requires servicing.
CLEANING INSTRUCTIONS
ALWAYS UNPLUG OVEN AND ALLOW TO COOL BEFORE CLEANING
To protect against the risk of electrical shock, do not immerse the unit, cord or plug in water or other liquid. Your oven features a Quick-Clean coating. If desired, wipe walls with damp cloth and moistened with mild detergent. DO NOT USE STEEL WOOL SCOURING PADS OR ABRASIVE CLEANERS OR SCRAPE WALLS WITH METAL UTENSILS, AS THIS MAY DAMAGE THE Quick-clean INTERIOR.
Wash all accessories in hot sudsy water or in a dishwasher. Wipe the door clean with a damp cloth and wipe dry with a paper or cloth towel. Clean exterior with damp cloth.
DRY ALL PARTS AND SURFACES THOROUGHLY PRIOR TO PLUGGING OVEN IN AND USING.
TO STORE
Unplug unit, allow to cool, and clean before storing. Store Electric Oven in its box in a clean, dry place. Never store appliance while it is hot or still plugged in. Never wrap cord tightly around the appliance. Do not put any stress on the cord where it enters the unit, as it could cause the cord to fray and break.
SPECIFICATION:
Power Consumption:
220-240V\~50/60Hz
Output:
1500W
Capacity:
30L
Environment friendly disposal
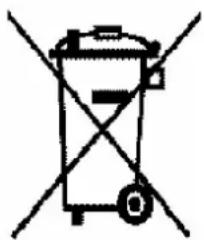

DISPOSAL: Do not dispose this product as unsorted municipal waste. Collection of such waste separately for special treatment is necessary.
C∈ RoHS
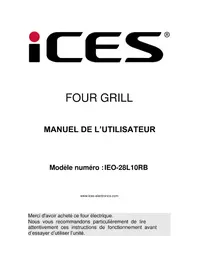
MODE D'EMPLOI
Four électrique
N^ de modulo : IEO-30LCR40