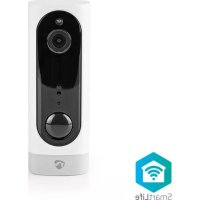
WIFICBI10WT - Surveillance Camera NEDIS - Free user manual and instructions
Find the device manual for free WIFICBI10WT NEDIS in PDF.

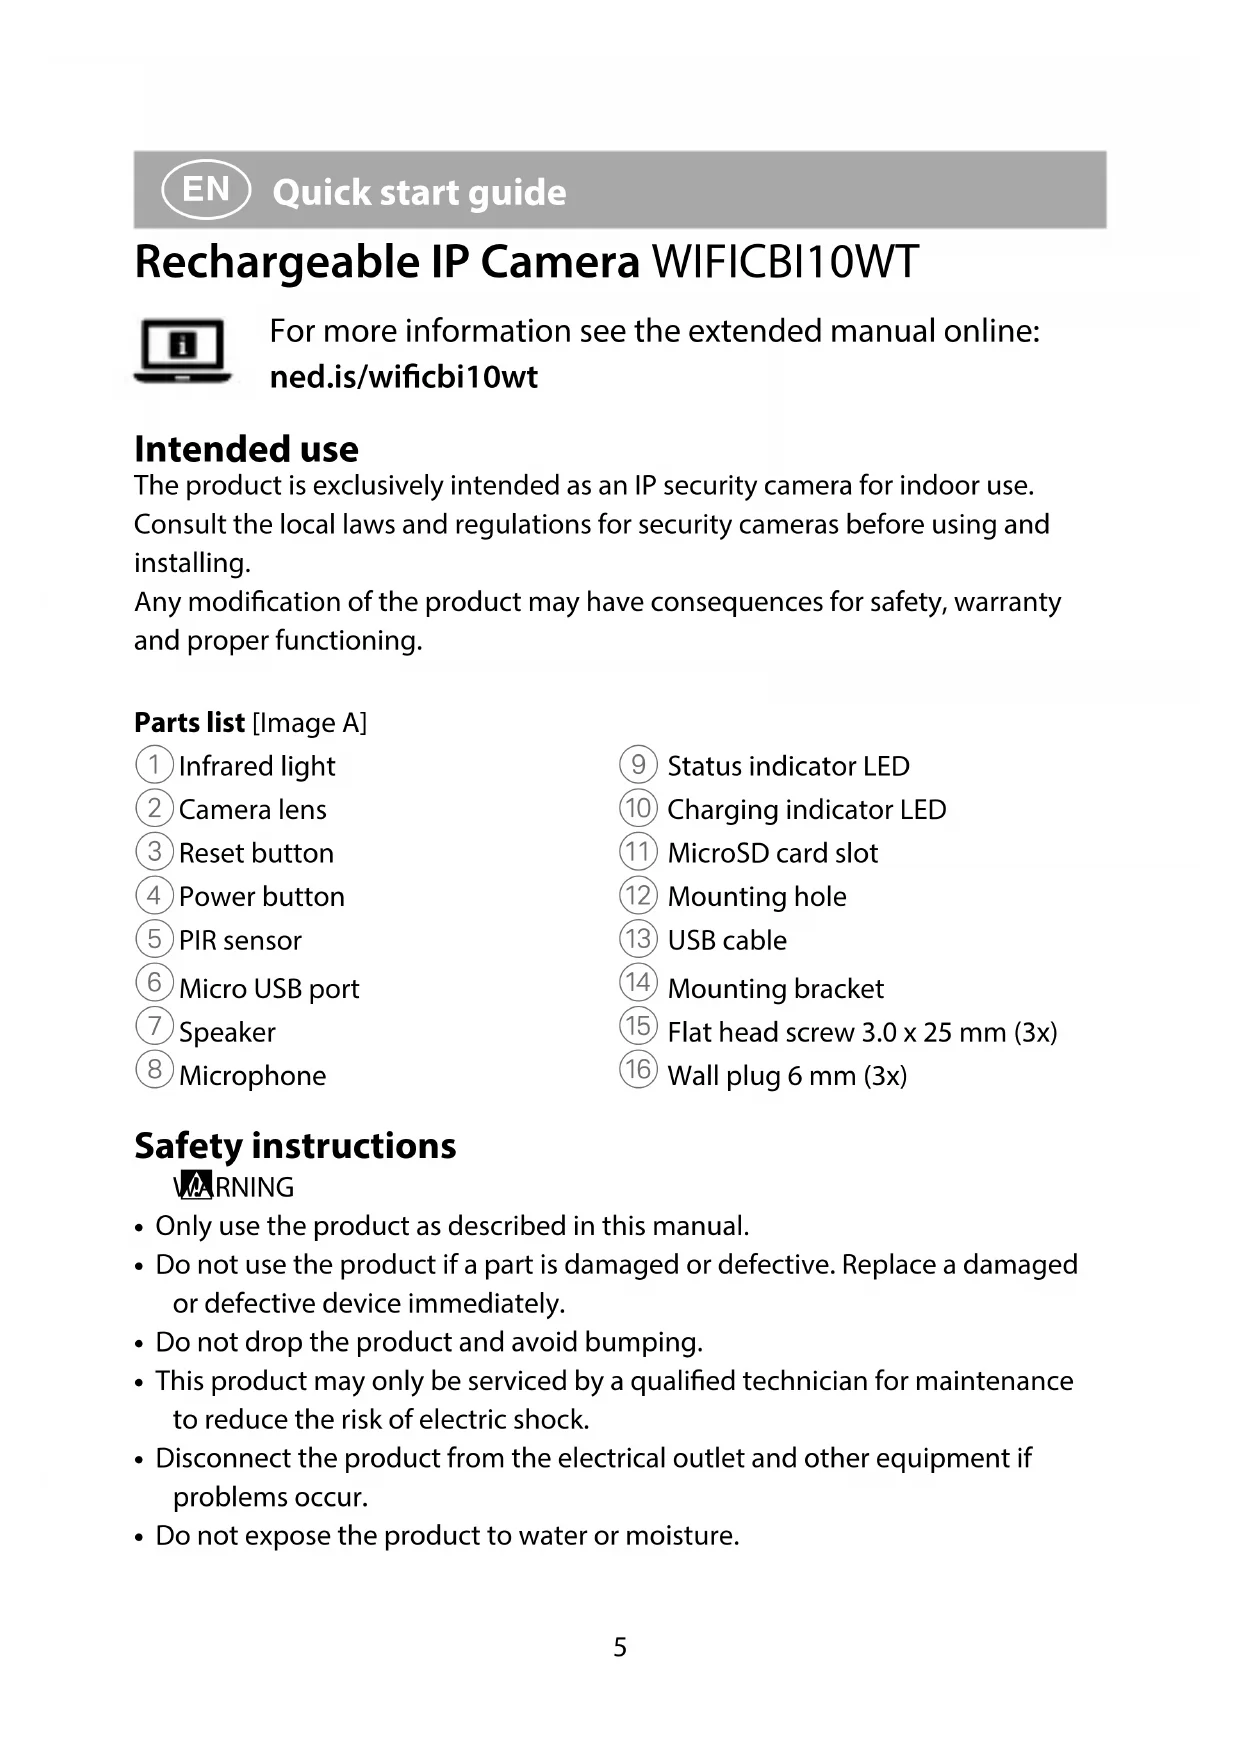


| Product type | Indoor IP security camera |
| Dimensions (L x W x H) | 42 x 41 x 117 mm |
| Weight | 140 g |
| Power supply | Rechargeable 18650 battery (3000 mAh) via micro USB (adapter not included) |
| Battery life | Up to 5 months standby or 500 recordings |
| Video resolution | 1920 x 1080 px (Full HD) |
| Frame rate | 15 fps |
| Viewing angle | 130 degrees |
| Motion detection | PIR sensor (120 degree angle, adjustable sensitivity) |
| Night vision | Yes, via infrared LEDs |
| Storage | microSD card (8 - 128 GB, not included) and cloud via app |
| Connectivity | Wi-Fi 2.4 GHz (IEEE 802.11 b/g/n) |
| Mobile app | Nedis SmartLife (iOS and Android) |
| Main functions | Live view, recording on detection, notifications, two-way audio, snapshots |
| Voice assistant compatibility | Amazon Alexa (via app) |
| Care and cleaning | Wipe with a dry soft cloth. Do not use abrasive products. |
| Safety | Use only as described. Do not expose to water or moisture. Unplug if problems occur. |
| Spare parts and repairability | microSD card and power adapter not included. No spare parts provided. Repair by qualified technician only. |
| General information | Brand Nedis, model WIFICBI10WT, made in China. CE declaration available on Nedis website. |
Frequently Asked Questions - WIFICBI10WT NEDIS
User questions about WIFICBI10WT NEDIS
0 question about this device. Answer the ones you know or ask your own.
Ask a new question about this device
Download the instructions for your Surveillance Camera in PDF format for free! Find your manual WIFICBI10WT - NEDIS and take your electronic device back in hand. On this page are published all the documents necessary for the use of your device. WIFICBI10WT by NEDIS.
USER MANUAL WIFICBI10WT NEDIS
Rechargeable IP Camera
For indoor use
WIFICBI10WT
natural_image
Line drawing of a cylindrical electronic device with control buttons and a handle (no text or symbols)EN Quick start guide 5
DE Kurzanleitung 9
B
natural_image
Diagram of two electronic devices with ports and connectors, showing internal components and connection points (no text or symbols)Rechargeable IP Camera WIFICBI10WT
For more information see the extended manual online: ned.is/wificbi10wt
Intended use
The product is exclusively intended as an IP security camera for indoor use.
Consult the local laws and regulations for security cameras before using and installing.
Any modification of the product may have consequences for safety, warranty and proper functioning.
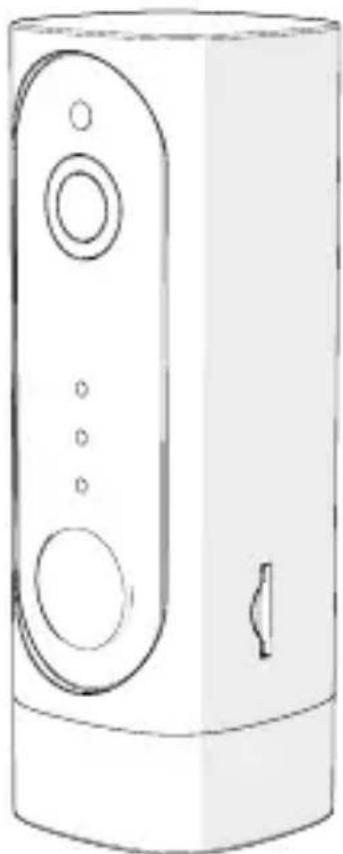
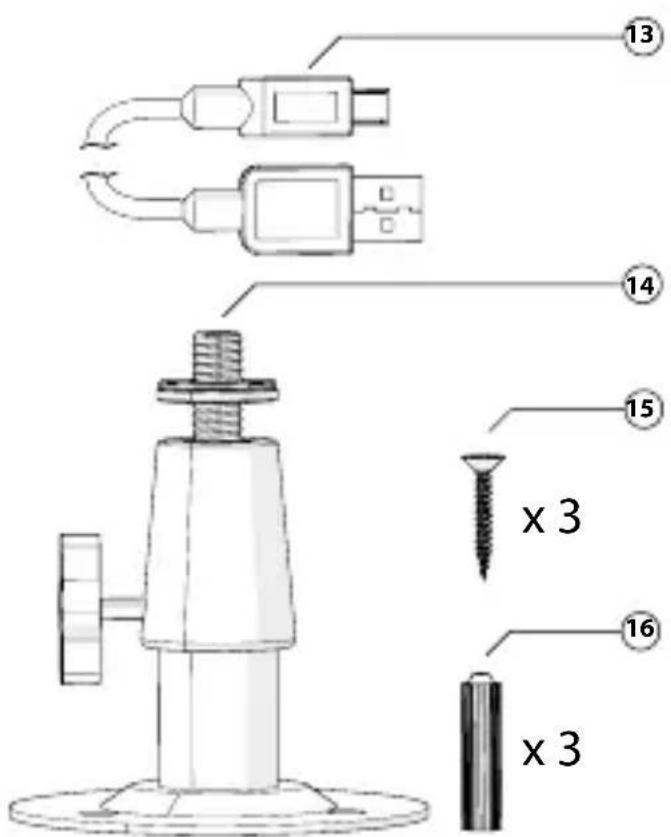
Parts list [Image A]
① Infrared light
② Camera lens
③ Reset button
④ Power button
⑤ PIR sensor
⑥ Micro USB port
⑦ Speaker
⑧ Microphone
⑨ Status indicator LED
⑩ Charging indicator LED
⑪ MicroSD card slot
⑫ Mounting hole
⑬ USB cable
⑭ Mounting bracket
⑮ Flat head screw 3.0 x 25 mm (3x)
⑯ Wall plug 6 mm (3x)
Safety instructions
WARNING
- Only use the product as described in this manual.
- Do not use the product if a part is damaged or defective. Replace a damaged or defective device immediately.
- Do not drop the product and avoid bumping.
- This product may only be serviced by a qualified technician for maintenance to reduce the risk of electric shock.
- Disconnect the product from the electrical outlet and other equipment if problems occur.
- Do not expose the product to water or moisture.
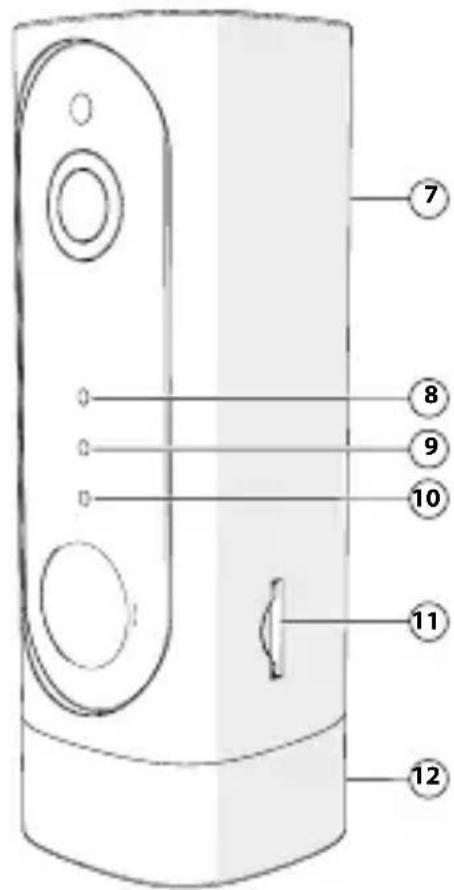
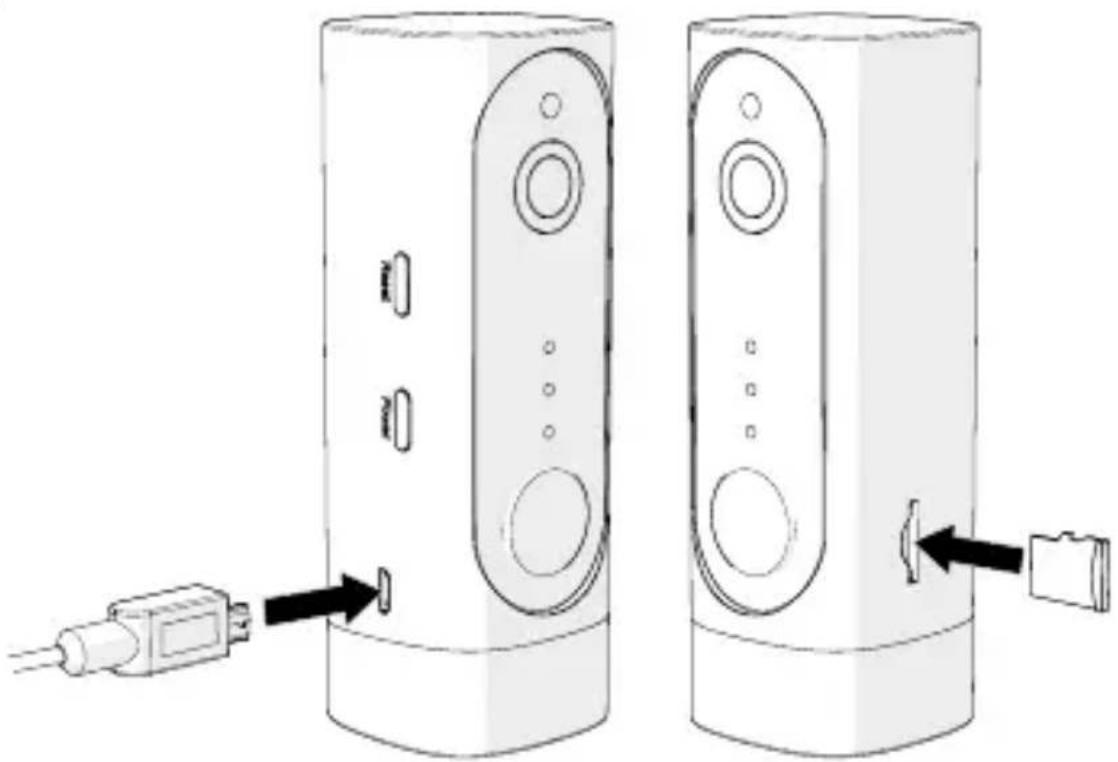
Prepare the security camera [Image B]
Use a microSD card with a minimum of 8 GB and a maximum of 128 GB.
- Insert the new microSD card into the microSD card slot ⑪.
- Connect the USB cable ⑬ to the micro USB port ⑭.
- Connect the USB cable ⑬ to a USB power adapter (not included).
- Connect the USB power adapter to the mains. The charging indicator LED ⑩ will turn red.
- Press and hold the power button ④ for 5 seconds to turn on the device. The status indicator LED ⑨ will start blinking red.
Installation of the Nedis SmartLife app
- Download the Nedis SmartLife app for Android or iOS on your phone via Google Play or the Apple App Store.
- Open the Nedis SmartLife app on your phone.
- Create an account with your mobile phone number or your e-mail address and tap Continue.
- Enter the received verification code.
- Create a password and tap Done.
- Tap Add Home to create a SmartLife Home.
- Set your location, choose the rooms you want to connect with and tap Done.
Connect to the security camera
- Tap + in the Nedis SmartLife app.
- Select the device type you want to add from the list.
- Confirm the status indicator LED is blinking.
- Enter the Wi-Fi network data and tap Confirm.
The product is now ready for use.
If the camera is not found, try again but this time, after step 2, tap Otherwise (upper right corner) and select QR code. Enter the Wi-Fi network and Confirm.
- Tap Continue and a QR-code will appear.
- Hold your phone with a 15 – 20 cm distance in front of the camera.
If the camera has detected the QR-code, you will hear a sound.
- Tap to confirm you heard the sound.
- Give the camera a name and tap Done. The status indicator LED ⑨ will turn blue.
The product is now ready for use.
If the camera failed to connect, the status indicator LED ⑨ will be continuously red. To reset the camera, press and hold the reset button ③ for 5 seconds until you heard the sound. Press and hold the power button ④ for 5 seconds to turn on the device. Then repeat step 1 to 9 closer to the router.
Important instructions to reduce false alarms
- Do not install the camera facing any objects with bright lights, including sunshine, etc.
- The ideal viewing distance is 2 - 10 meters.
- Do not place the camera close to frequently moving vehicles. The recommended distance between the camera and moving vehicles is 15 meters.
- Stay away from air outlets, including air conditioner and heat transfer vents, etc.
- Do not install the camera facing a mirror.
- Keep the camera at least 1 meter away from any wireless devices, including Wi-Fi routers and phones, in order to avoid wireless interference.
The start screen of the Nedis SmartLife app
After making a successful connection with the security camera, the Nedis SmartLife app displays an overview of the products that are connected. Select the desired product in the overview.
Make video recordings and screenshots
You can make video recordings and screenshots on your phone, by tapping Record and Screenshot.
Play video recordings and screenshots
Photo and video recordings are stored on your phone's memory.
-
Open the Gallery on Android, or Photos on iOS. You will see an overview of photo and video recordings.
-
Open a photo or video recording to view or play it back.
Motion detected videos playback
Motion detected videos are automatically saved on the microSD card. (If inserted in the camera).
- Tap Playback to open the stored videos.
2. Tap a video file to play it back.
Settings
Tap the settings key to open the settings screen.
| Modify device name Change the name of the security camera. | |
| Share devices Share access to the device with others. | |
| Device info View information of the device. | |
| Use Echo See how to connect the Alexa app to use the camera with voice control. | |
| Power manage View the battery status and set the low battery signal. | |
| Basic feature settings Change the camera settings. | |
| PIR switch Adjust the sensitivity of the motion detection. | |
| SD card settings View the microSD card settings and set recording settings. | |
| Feedback Send product related feedback to Nedis. | |
| Firmware info View the version of the software. | |
| Remove device Remove the device from the Nedis SmartLife app |
Specifications
| Product IP Indoor Security Camera | |
| Article number WIFICBI10WT | |
| Dimensions (l x w x h) 42 x 41 x 117 mm | |
| Input voltage 5 VDC | |
| Battery | 18650 (3000 mAh) |
| Max. battery lifetime | 5 months standby / 500 recordings |
| Weight | 140 g |
| Memory | MicroSD card (8 - 128 GB) (not included) |
| Resolution | 1920 x 1080 px |
| Frame speed | 15 fps |
| Video format .mp4 | |
| Photo size .jpg | |
| Viewing angle 130 degrees | |
| PIR sensor detection angle | 120 degrees |
| Max. radio transmit power | 15 dBm |
| Antenna gain 3 dBi | |
| Frequency range 2412 - 2472 GHz | |
Declaration of Conformity
We, Nedis B.V. declare as manufacturer that the product WIFICBI10WT from our brand Nedis ^® , produced in China, has been tested according to all relevant CE standards and regulations and that all tests have been passed successfully. This includes, but is not limited to the RED 2014/53/EU regulation.
The complete Declaration of Conformity (and the safety datasheet if applicable) can be found and downloaded via webshop.nedis.com/wificbi10wt#support
For additional information regarding the compliance, contact the customer service:
Web: www.nedis.com
E-mail: service@nedis.com
Phone: +31 (0)73-5991055 (during office hours)
Nedis B.V., de Tweeling 28
5215 MC 's-Hertogenbosch, the Netherlands

Kurzanleitung
Caméra IP rechargeable WIFICBI10WT
Telecamera IP ricaricabile WIFICBI10WT
5215 MC 's-Hertogenbosch, the Netherlands

5215 MC 's-Hertogenbosch, the Netherlands

Rýchly návod
Nabíjatel'ná IP kamera WIFICBI10WT


- Rechargeable IP Camera
- For indoor use
- WIFICBI10WT
- Rechargeable IP Camera WIFICBI10WT
- Intended use
- Parts list [Image A]
- Safety instructions
- WARNING
- Prepare the security camera [Image B]
- Installation of the Nedis SmartLife app
- Connect to the security camera
- Important instructions to reduce false alarms
- The start screen of the Nedis SmartLife app
- Make video recordings and screenshots
- Play video recordings and screenshots
- Motion detected videos playback
- Tap a video file to play it back.
- Settings
- Declaration of Conformity
- Kurzanleitung
- Caméra IP rechargeable WIFICBI10WT
- Telecamera IP ricaricabile WIFICBI10WT
- Rýchly návod
- Nabíjatel'ná IP kamera WIFICBI10WT
Brand : NEDIS
Model : WIFICBI10WT
Category : Surveillance Camera