38036 - Toaster UNOLD - Free user manual and instructions
Find the device manual for free 38036 UNOLD in PDF.
Document temporarily unavailable
The manual is currently being transferred to our new server. It will be accessible again in a few hours. Thank you for your patience.
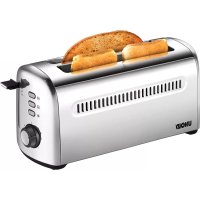
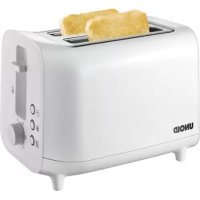
| Product type | Toaster |
| Brand | UNOLD |
| Model | 38036 |
| Number of slots | 1 |
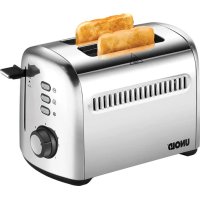
| Housing material | Satin stainless steel |
| Functions | Grilling, Reheating, Defrost, Stop |
| Browning control | 7 levels (1 to 7) |
| Crumb tray | Removable |
| Extra lift | Yes (extra lift function) |
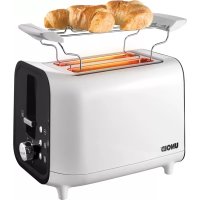
| Bun rack | Yes (bun rack included) |
| Cool Touch Technology | Yes (insulated housing) |
| Power supply | 230 V, 50 Hz |
| Warranty | 24 months (valid in Germany and Austria) |
| Included accessories | User manual, bun rack |
| Care | Clean with a damp cloth; do not immerse |
| Safety | Insulated housing, automatic shut-off, do not use near flames |
| Repairability | Repair by authorized customer service only |
Frequently Asked Questions - 38036 UNOLD
User questions about 38036 UNOLD
0 question about this device. Answer the ones you know or ask your own.
Ask a new question about this device
Download the instructions for your Toaster in PDF format for free! Find your manual 38036 - UNOLD and take your electronic device back in hand. On this page are published all the documents necessary for the use of your device. 38036 by UNOLD.