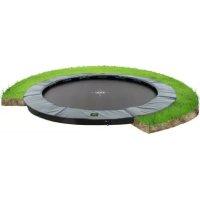
InTerra Rectangular - Trampoline EXIT - Free user manual and instructions
Find the device manual for free InTerra Rectangular EXIT in PDF.
Document temporarily unavailable
The manual is currently being transferred to our new server. It will be accessible again in a few hours. Thank you for your patience.
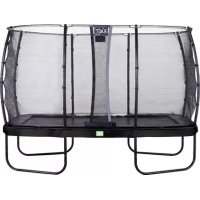
| Product Type | Rectangular trampoline with safety net |
| Brand | EXIT |
| Model | InTerra Rectangular |
| Overall Dimensions | 366 cm x 214 cm (12 ft x 7 ft) |
| Jump Height | Not specified, but designed for controlled jumps |
| Maximum User Weight | 120 kg |
| Number of Springs | 76 |
| Frame Material | Steel |
| Jump Mat Material | Polypropylene with reinforced seams |
| Safety Padding | Foam covering the frame and springs |
| Usage | Domestic only, outdoor |
| Recommended Age | From 6 years (adult supervision required) |
| Assembly | Requires an adult, special tool provided |
| Maintenance | Regularly check bolts, springs, and mat; clean with a damp cloth |
| Weather Resistance | Can stay outside in winter, but store during extreme weather |
| Frame Warranty | 5 years |
| Springs and Padding Warranty | 2 years |
| Country of Manufacture | Not specified, Dutch brand |
| Number of Manual Pages | 76 |
| Included Accessories | Spring installation tool, instruction manual |
Frequently Asked Questions - InTerra Rectangular EXIT
User questions about InTerra Rectangular EXIT
0 question about this device. Answer the ones you know or ask your own.
Ask a new question about this device
Download the instructions for your Trampoline in PDF format for free! Find your manual InTerra Rectangular - EXIT and take your electronic device back in hand. On this page are published all the documents necessary for the use of your device. InTerra Rectangular by EXIT.