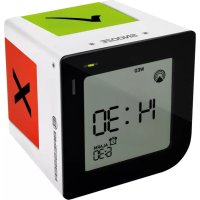
FlipMe - Alarm Clock BRESSER - Free user manual and instructions
Find the device manual for free FlipMe BRESSER in PDF.


| Product type | Alarm clock radio |
| Brand | Bresser |
| Model | FlipMe |
| Dimensions | 88 x 88 x 85 mm (L x H x D) |
| Power supply | 2 AA (LR6) 1.5 V batteries (not included) |
| Time reception | Radio-controlled DCF signal (Frankfurt), automatic search 4x/day |
| Time format | 12 or 24 hours, with automatic daylight saving time change |
| Date display | Day, month, day of week (format D/M or M/D) |
| Manual setting | Yes, for date, time and alarm time |
| Alarm | Crescendo alarm, snooze up to 7 times |
| Snooze duration | 5 minutes |
| Automatic alarm stop | After 2 minutes |
| Backlight | Touch, 5 second duration |
| Light indicators | Green indicator (alarm ON) and red (alarm OFF), 3 seconds |
| Safety | Instructions: do not expose to water, high temperatures, use recommended batteries, remove batteries if not used for a long time |
| Care and cleaning | Disconnect before cleaning, dry cloth, no liquid |
| Materials | Plastic, electronic components |
| Warranty | 2 years, extension possible upon registration (see Bresser website) |
Frequently Asked Questions - FlipMe BRESSER
User questions about FlipMe BRESSER
0 question about this device. Answer the ones you know or ask your own.
Ask a new question about this device
Download the instructions for your Alarm Clock in PDF format for free! Find your manual FlipMe - BRESSER and take your electronic device back in hand. On this page are published all the documents necessary for the use of your device. FlipMe by BRESSER.
USER MANUAL FlipMe BRESSER
"SCHLUMMERMODUS/LICHT"
About this Instruction Manual

These operating instructions are to be considered a component of the device.
Please read the safety instructions and the operating instructions carefully before use.
Keep these instructions for renewed use at a later date. When the device is sold or given to someone else, the instruction manual must be provided to the new owner/user of the product. The device is intended only for indoor use.
GeneralWarnings

RISK of bodily injury!
Children should only use the device under adult supervision. Keep packaging material, like plastic bags and rubber bands, out of the reach of children, as these materials pose a choking hazard. This device contains electronic components that operate via a power source (batteries). Children should only use the device under adult supervision. Only use the device as described in the manual; otherwise, you run the risk of an electric shock. Leaking battery acid can lead to chemical burns. Avoid contact of battery acid with skin, eyes and mucous
membranes. In the event of contact, rinse the affected region immediately with a plenty of water and seek medical attention.

RISK OF FIRE/EXPLOSION!
Do not expose the device to high temperatures. Use only the recommended batteries. Do not short-circuit the device or batteries, or throw them into a fire. Excessive heat or improper handling could trigger a short-circuit, a fire or an explosion.
NOTE!
Do not disassemble the device. In the event of a defect, please contact your dealer. The dealer will contact the Service Centre and can send the device in to be repaired, if necessary. Protect the device from severe shocks! Use only the recommended batteries. Always replace weak or empty batteries with a new, complete set of batteries at full capacity. Do not use batteries from different brands or with different capacities. The batteries should be removed from the unit if it has not been used for a long time. Never recharge normal, non-rechargeable batteries. This could lead to explosion during the charging process. The manufacturer is not liable for damage related to improperly installed batteries.
Scope of delivery
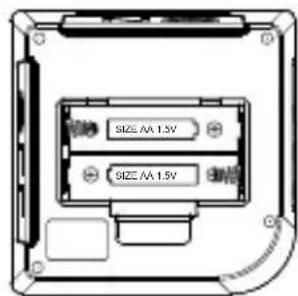
Alarm Clock, Operating instructions, 2x AA batteries required (not included with delivery).
BEFORE YOU BEGIN
- We recommend using alkaline batteries. If temperatures regularly fall below 0^ (32^) , we recommend using lithium batteries.
- Avoid using rechargeable batteries. (Rechargeable batteries cannot maintain correct power requirements.)
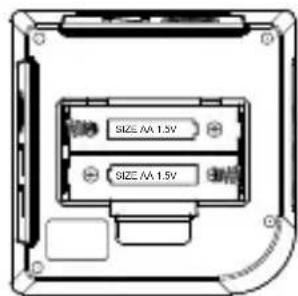
- Insert batteries before first use, matching the polarity in the battery compartment. 2x AA Batteries are required.
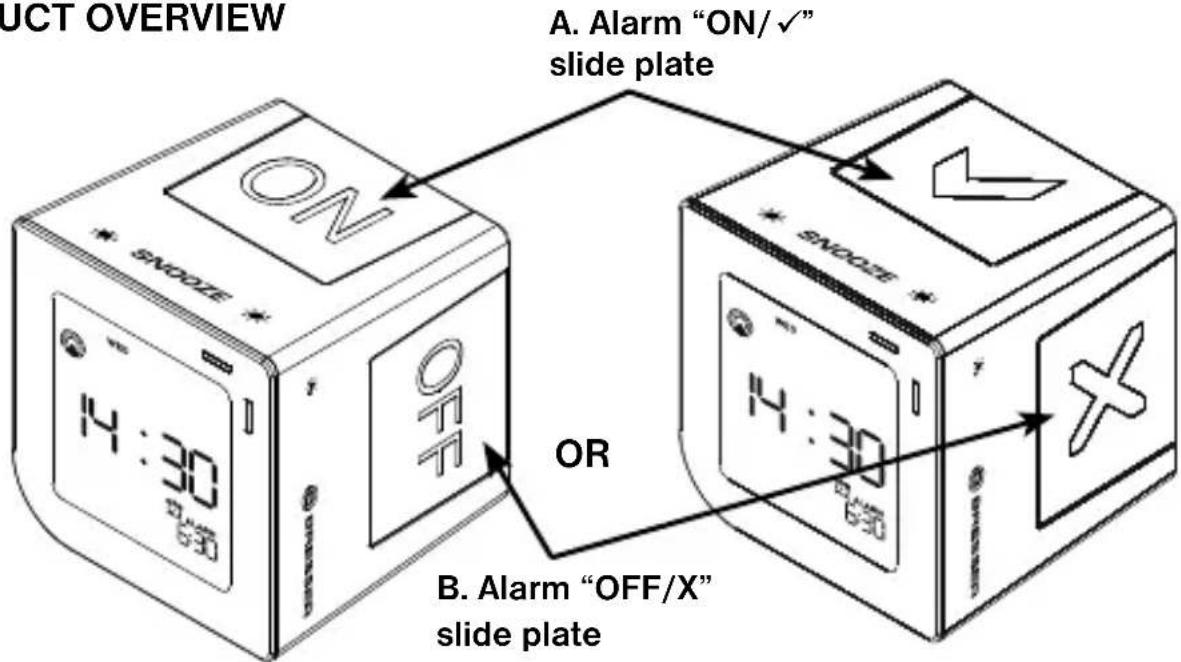
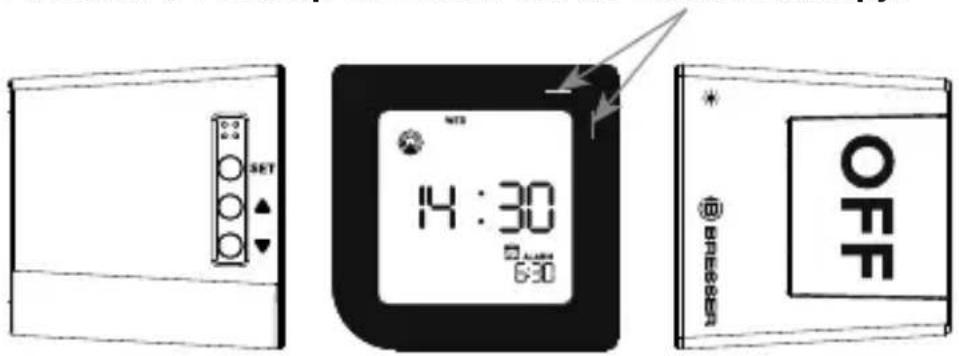
PRODUCT OVERVIEW
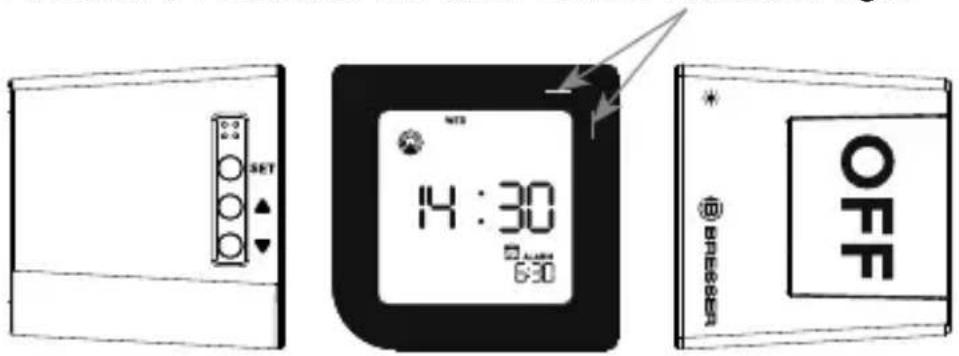
D. [SET] button
E. UP (▲) button
F. Down (▼) button G. Alarm on/off indicator light
| INDICATOR STANDING FOR | |
| Radio Signal | |
| Weak Radio Signal | |
| S | Summer time indication |
| PM | PM (12 hr display only) |
| AM | AM (12 hr display only) |
| Z | Repeat alarm indication |
| Alarm | |
| Icon | Atomic Time Reception Strength |
| (Flashing) | Undefi red data |
| (No icon) | No Reception |
| ▲ | No Reception for the past 24 hours |
| Weak signal, but can be decoded | |
| Strong signal |
FUNCTION KEYS
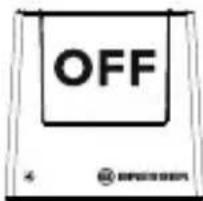
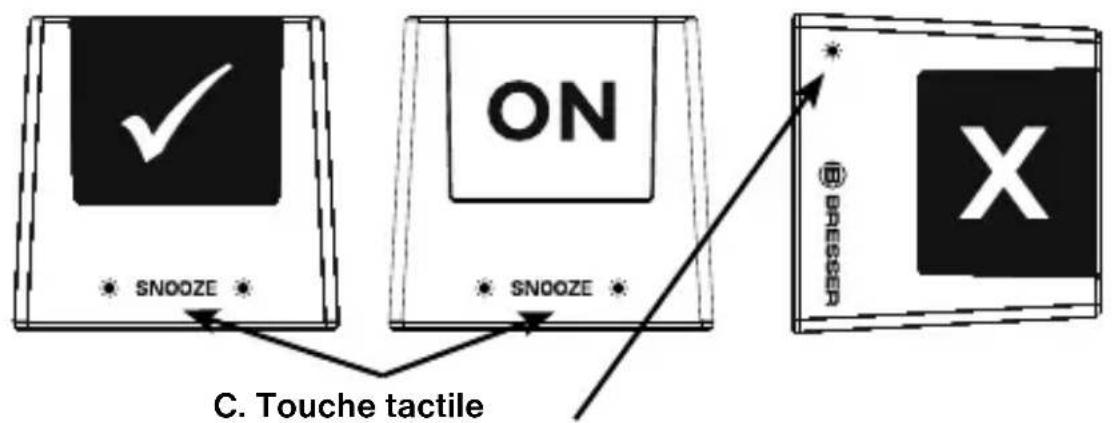
A. Alarm "ON / slide plate
Double-sided printing slide plate "ON / allows you to select the alarm "ON" look as per your preference.
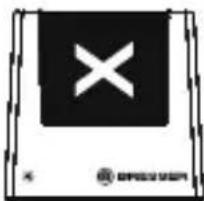
B. Alarm "OFF / X" slide plate
Double-sided printing slide plate "OFF / X" allows you to select the alarm "OFF" look as per your preference.
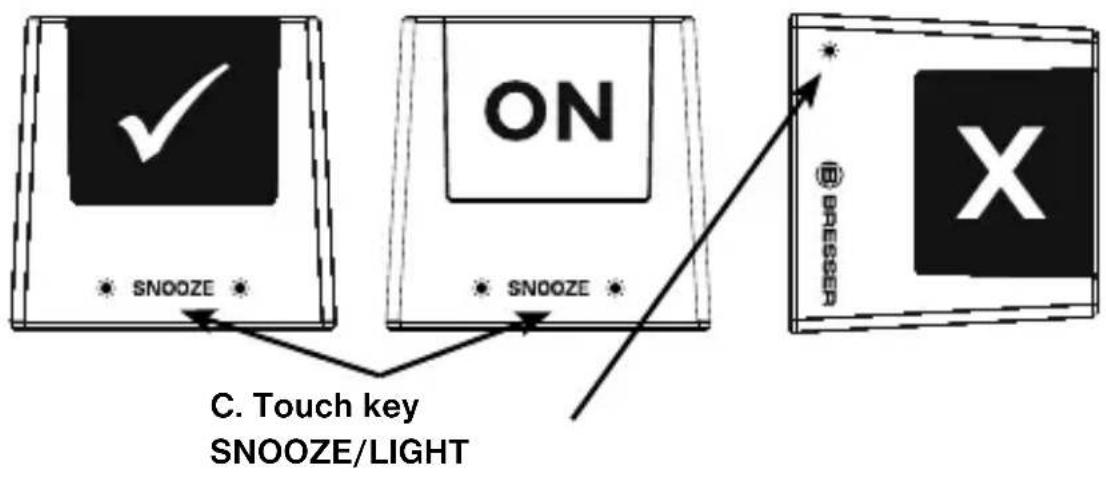
C. Touch key
"SNOOZE/LIGHT"
- Turn on the backlight
- Switch to snooze mode when the alarm is activated
D.[SET]button
- Set the date and time manually in Alarm "OFF / X" mode.
Press and hold "SET" for 4 seconds
- Set the alarm time in Alarm "ON /√" mode Press and hold "SET" for 4 seconds
E. UP (▲) button
- Increase the date, time and alarm during setting.
- Switch between 12 hour or 24 hour display format.
F. DOWN (▼) button
- Decrease the date, time and alarm during setting.
- Press and hold to enforce radio controlled reception.
G. Alarm on/off indicator light
- Green indicator light (means alarm on) will turn on for 3 seconds when you roll the device to Alarm "ON / ✓" mode.
- Red indicator light (means alarm off) will turn on for 3 seconds when you roll the device to Alarm "OFF / X" mode.
SETTING THE TIME
Once the battery is installed properly, the LCD will turn on, the time & date will be 1 DATE 1 MONTH THU 0:00 and the alarm time will be 6:00.
Your radio-controlled clock will begin to seek out the DCF time signal automatically. This takes typically between 3-5 minutes in good conditions. The clock will automatically attempt to receive the DCF time every day. When this is successful, the received time will override the manually set time.
RADIO CONTROLLED TIME
The radio controlled signal for time (DCF) is transmitted from the central atomic clock in Frankfurt/Main in short intervals. It has a reception range of approx. 1500km . If the tower icon is not fully lit, or if the time and date are not set automatically, please consider the following:
During night-time hours, atmospheric disturbances are typically less severe and radio signal reception may improve. A single daily
reception is suffi cients enough to keep the clock accuracy within 1 second.
Make sure the unit is positioned at 2 meters (8 feet) distance from any interference source such as a TV, computer monitor, microwave, etc.
Within concrete wall rooms such as basements or office buildings, the received signal may be weakened. Always place the main unit near the window for better reception.
Once the radio controlled time signal is received, the date and time will be set automatically, and the [ ] icon will appear.
| Icon | Atomic Time Reception Strength |
| (Flashing) | Undefi red data |
| (No icon) No | Reception |
| ▲ | No Reception for the past 24 hours |
| Weak signal, but can be decoded | |
| Strong signal |
The radio controlled signal will be scheduled to receive a signal 4 times per day at 2:15:30; 3:15:30; 4:15:30; 5:15:30.
Press and hold DOWN () button for 3 seconds to force to search the radio signal. If atomic time reception is activated, a tower icon will start flashing. If reception is disabled, the tower icon will disappear.
If the time signal has not been received in 8 minutes, you may set the time manually.
How to permanently stop or revive the Radio Controlled Time
Press and hold DOWN () button for 3 seconds to activate the radio signal, a tower icon will start flashing, then press and hold DOWN () button for 3 seconds to stop receiving atomic time signal and disable the time icon permanently unless you press and hold DOWN () button again for 3 seconds to revive the atomic time reception.
HOW TO MANUALLY SET DATE AND TIME
Roll the clock to "OFF / X" side, red indicator will appear for 3 seconds.
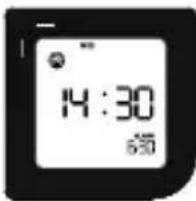
Press and hold the [SET] button, the date will flash, press the UP (▲) or DOWN (▼) button and then [SET] button to go to next step to adjust to the correct year, month, date and date format (D/M or M/D).
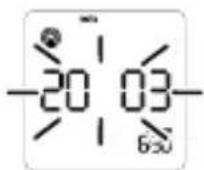
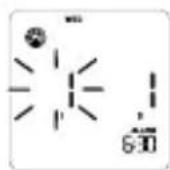
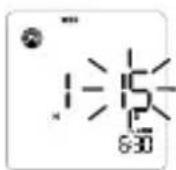
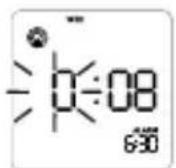
Press the [SET] button again: The time will flash, press the UP (▲) or DOWN (▼) button and then SET button to adjust to the correct time.
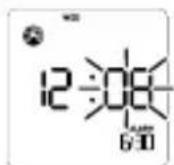
TO SELECT 12 HOUR OR 24 HOUR DISPLAY FORMAT
Press the UP (▲) button will toggle the display format between 12 hour and 24 hour display format.
HOW TO SET THE ALARM TIME
Roll the clock to "ON / ✓" side, green indicator will appear for 3 seconds.
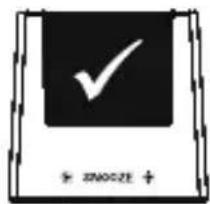
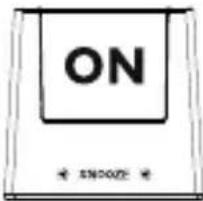
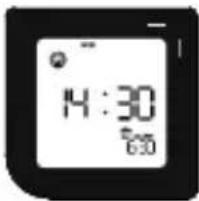
Press and hold the [SET] button, the alarm time will flash, press UP (▲) or DOWN (▼) buttons and then [SET] button to set the desired alarm time.
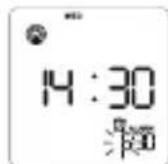
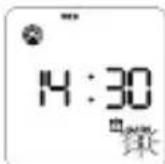
To turn on the alarm, keep the unit in "ON / side with alarm icon visible.
Or roll the unit to "OFF / X" side to turn off the alarm.
USING THE ALARM AND SNOOZE
Roll the clock to "ON /√" or "OFF / X" side to turn on/off the alarm. If the alarm is on, the alarm icon will appear. The green indicator light will flash for 3 seconds.
When the current time reaches the alarm time that is enabled, the corresponding alarm is activated.
Simply roll the unit to "OFF / X" side to turn off the alarm.
Or press "SNOOZE/LIGHT" key, alarm stops and the backlight will turn on for 5 seconds, the repeat alarm indicator z^ will flash. The alarm sounds again after 5 minutes.
If the alarm is not turned off, the alarm will stop automatically after 2 minutes.
BACKLIGHT
Softly touch the "SNOOZE/LIGHT" key, the backlight will turn on for approximately 5 seconds
SPECIFICATIONS
Clock
- Radio Controlled time (DCF)
12/24 hour time format - With Summer time indicator
- Date/Month or Month/Date format
- Date of week
- Rolling alarm on/off
- Snooze/Light touch key
- Crescendo alarm with max. 7 times snooze
Power
2x AA size (LR6) 1.5V batteries (required)
Dimensions
88(L) x 88(H) x 85(D) mm
NOTES on Cleaning
Before cleaning the device, disconnect it from the power supply (remove batteries)! Only use a dry cloth to clean the exterior of the device. To avoid damaging the electronics, do not use any cleaning fluid. Protect the device from dust and moisture. The batteries should be removed from the unit if it has not been used for a long time.
DISPOSAL

Dispose of the packaging materials properly, according to their type, such as paper or cardboard. Contact your local wastewater service or environmental authority for information on the proper disposal.
Do not dispose of electronic devices in the household garbage!
As per Directive 2002/96/EC of the
European Parliament on waste electrical and electronic equipment and its adaptation into German law, used electronic devices must be collected separately and recycled in an environmentally friendly manner.

In accordance with the regulations concerning batteries and rechargeable
batteries, disposing of them in the normal household waste is explicitly forbidden. Please make sure to dispose of your used batteries as required by law - at a local collection point or in the retail market. Disposal in domestic waste violates the Battery Directive.
EC Declaration of Conformity

Bresser GmbH declares that the device:
FlipMe
Art.No.: 80-10040 / Art.No.: 80-10041 / Art.No.: 80-10042
is in accordance with applicable guidelines and corresponding standards of the 1999/5/EG directive.
Warranty & Service
The regular guarantee period is 2 years and begins on the day of purchase. To benefit from an extended voluntary guarantee period as stated on the gift box, registration on our website is required.
You can consult the full guarantee terms as well as information on extending the guarantee period and details of our services at www.bresser.de/warranty_terms.
C. Touche tactile / REPÉTITION D'ALARME/LUMIÈRE
D. Bouton [SET]
E. Bouton HAUT (▲)
F. Bouton BAS (▼)
D. [SET] knop
E. UP (▲) knop
F. Down (▼) knop G. Alarm on/off controelampje
CÓM O AJUSTAR MANUALMENTLA FECHA Y HORA
- Increase the date, time and alarm during setting.
- Switch between 12 hour or 24 hour display format.
F. Pulsante GIU (▼)

- "SCHLUMMERMODUS/LICHT"
- About this Instruction Manual
- GeneralWarnings
- RISK of bodily injury!
- RISK OF FIRE/EXPLOSION!
- NOTE!
- Scope of delivery
- BEFORE YOU BEGIN
- FUNCTION KEYS
- Alarm "ON / slide plate
- Alarm "OFF / X" slide plate
- Touch key
- D.[SET]button
- UP (▲) button
- DOWN (▼) button
- Alarm on/off indicator light
- SETTING THE TIME
- RADIO CONTROLLED TIME
- How to permanently stop or revive the Radio Controlled Time
- HOW TO MANUALLY SET DATE AND TIME
- TO SELECT 12 HOUR OR 24 HOUR DISPLAY FORMAT
- HOW TO SET THE ALARM TIME
- USING THE ALARM AND SNOOZE
- BACKLIGHT
- SPECIFICATIONS
- Clock
- Power
- Dimensions
- NOTES on Cleaning
- DISPOSAL
- EC Declaration of Conformity
- FlipMe
- Warranty & Service
- CÓM O AJUSTAR MANUALMENTLA FECHA Y HORA
- Pulsante GIU (▼)
Brand : BRESSER
Model : FlipMe
Category : Alarm Clock