90.125 - Kitchen scales Beper - Free user manual and instructions
Find the device manual for free 90.125 Beper in PDF.
Frequently Asked Questions - 90.125 Beper
User questions about 90.125 Beper
0 question about this device. Answer the ones you know or ask your own.
Ask a new question about this device
Download the instructions for your Kitchen scales in PDF format for free! Find your manual 90.125 - Beper and take your electronic device back in hand. On this page are published all the documents necessary for the use of your device. 90.125 by Beper.
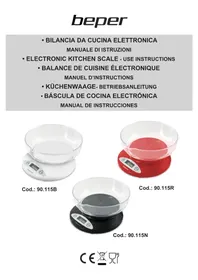
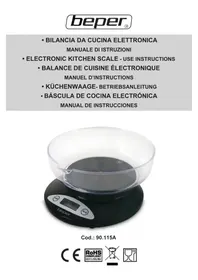
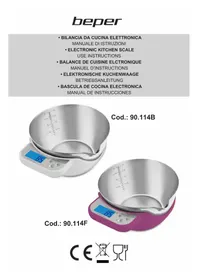
USER MANUAL 90.125 Beper
Before and when using the device it is necessary to follow basic instructions .
After removing packaging make sure the device is intact. If any doubt do not use the device and contact a professional. The elements of the packing (plastic bags, polystyrene, etc) do not have to be accessible to the children, in order to preserve them from danger sources.
This device is to be destined to its special purpose only. Any other use is to be considered as improper and thus dangerous. The manufacturer cannot be responsible for any damages deriving from improper, wrong or incautious use. This device is for HOUSEHOLD USE ONLY.
The installation must be made according to the instructions of the manufacturer. A bad installation can cause damages to people, pets or objects, for those the manufacturer cannot be responsible, and avoid the warranty.
Do not touch the device with damp or wet hands.
Do not use the device with naked feet.
Do never immerge the device into water or other liquids.
Do not expose the device to atmospheric agents such as rain, sun, etc. Do not use the device outdoors.
Do not place the device near to a heat source (ex: heater).
Protect the device from water spray.
This device cannot be used by disabled people or children; by people with a lack of experience or knowledge of the device, except if there is a close supervision by a person responsible of their security. Make sure that children do not play with the device.
When no longer used it is recommended to remove the batteries, and remove all the parts of the device that could be dangerous, particularly for children that could use the device for playing.
USE PRECAUTIONS
In case of breakdown and/or bad use, turn off the scale and do not manipulate it. For make it repaired only contact the assistance centre authorized by the manufacturer and ask for original spare parts. The non-respect of these rules may compromise your security.
Do not let children or disabled peoples using the scale without supervision. Keep away from pets.
The scale has been manufactured only for household use and not for commercial purpose.
Place the scale on a flat, smooth and stable surface or hooked to the wall, to ensure a perfect use.
Place the scale away from heat source, moisture, and on a safe and stable position.
Do not place the scale near to radio, tv (but at least 1,5 meter) to avoid electromagnetic interferences that could avoid the scale to work correctly.
Do not immerge the scale into water.
Do not introduce liquids into the scale, spay water or detergent directly on the device.
The food must be packed or placed into a container in order to not to touch directly the scale.
Do not strongly press the scale switch or with sharp objects (pen, pencil, etc).
Do not let objects of food for too long on the scale, the weight must be quite quick.
When finished, make sure no objects remain on the scale platform.
Do not make the scale fall to the floor or being struck.
Before using the scale remove the transparent film of the battery case, if necessary.
When turn on the scale, check the batteries and polarity if the display doesn't work. If the problem persists, the batteries may be damaged; replace them with new ones.
Only use the same kind of batteries as written in the instruction manual.
If the scale is broken or damaged, due to bad use and non respect of the rules written above, the warranty becomes void.
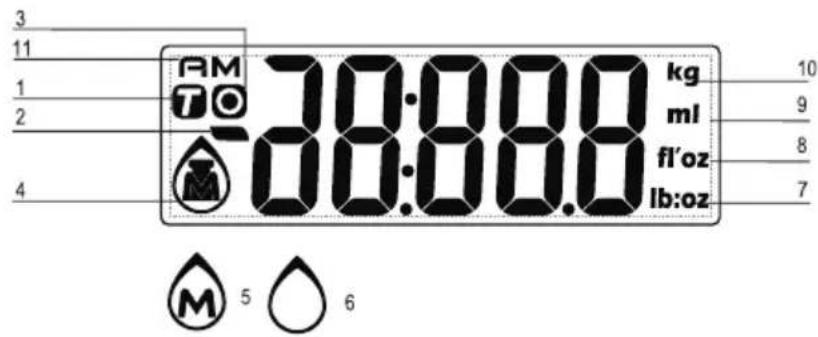
LCD DISPLAY Fig. 1
- Tare weight
- Negative value
- Zero weight
- Weight mode
- Milk volume mode
- Water volume mode
- Weight unit (lb:oz)
- Volume unit (fl'oz)
- Volume unit (ml)
- Weight unit (g)
- AM/PM hour
TO SWITCH ON AND TO SET TIME Fig. 2
- Install battery and enter time setting mode automatically.
When hour display is flashing, touch MODE to set hour. Please mind AM/PM selection during setting. - Press to confirm and prompt to minute setting. When minute display is flashing, press MODE to set minute.
- Press to finish time setting and enter weighing mode.
Remark:
In time setting process, enter weighing display automatically after idling for 60 seconds.
After entering weighing mode, return to real time display automatically after idling for 60 seconds.
Remark: The time mode (12/24 hour) depends on sales destination or the requirement of distributor.
TO RE-SET TIME Fig. 3
Under real time display mode, press then minute.
for 3 seconds to enter time setting mode. Set hour first,
Press to adjust time and for confirmation. (Continuous pressing will speed up the advance of value).
UNIT CONVERSION BUTTON Fig. 4
The unit conversion button is placed under the scale.
It is possible to choose between g, and millimetres ml, and pounds lb and fluid ounce fl'oz.
Press MODE button to choose the weight unit to calculate between weight, water and milk volume.
TO START WITH WEIGHING Fig. 5
1.Weighing mode
A. Place the scale on a solid and flat surface.
B. Gently press on the scale by hand to wait until LCD shows "0".
C. If LCD shows weighing mode, please enter to Step D directly.
If LCD shows volume mode, please press MODE to convert to weighing mode, and then enter Step
D. Load weighing object on scale (or bowl) to start weighing, LCD will show the weighing reading.
E. Place bowl (if used) on the scale and tare the reading before weighing. ( Tare function described additionally).
2. Volume indication mode Fig. 6
A. Place the scale on a solid and flat surface
B. Gently press MODE on the scale by hand to wait until LCD shows "0"
C. Press MODE to convert to Water or Milk mode (Refers to mode setting specifically)
D. Put a liquid container onto the scale platform, LCD shows the weight of container.
E. Press MODE to reset "0" and tare.
F. Pour liquid (water or milk) into the container, LCD shows the volume of the liquid.
G. Press MODE to convert to weighing mode, and check the weight of liquid.
UNIT AND MODE SETTING Fig. 7
If the scale is with both measuring systems of Metric (g, kg) and Imperial (oz, lb), you can press "unit" convert between two systems during the course of weighing:
- Press shortly to convert weight unit between Metric and Imperial systems.
- Press MODE for 3 seconds to enter mode setting and convert between weighing mode and volume mode (water or milk).
ZERO OR TARE FUNCTION Fig. 8
To weigh different loads consecutively without removing loads from the scale.
Put first load on the scale, get weight reading.
Press ZERO button to reset the LCD reading to "0" before adding next load. You can repeat this operation.
ZERO FUNCTION :
When total sum of all loads on scale is lower or equal to 4% of scale's max. weight capacity (200 gr when capacity is 5000 gr)
LCD shows "---" or "0g" each time ZERO is pressed.
"---" means not stable, please wait for a moment.
"0g" and meanwhile an icon "o" on lower left corner of LCD mean ZERO function is active.
Max. weight capacity remains unchanged.
TARE FUNCTION:
When total sum of all loads on scale is bigger than 4% of scale's max. weight capacity (200 gr when capacity is 5000 gr)
LCD shows "---" ou "0g" each time ZERO is pressed.
"---" means not stable, please wait for a moment.
"0g" and meanwhile an icon "TARE" (T) on upper left corner of LCD mean TARE FUNCTION is active.
Max. weight capacity is reduced by total weight of all loads.
By pressing ZERO you can see the total weight of all loads on the scale.
If you want to weigh more loads, just press ZERO to reset LCD reading to "0" again.
TO CONVERT BETWEEN WEIGHING MODE AND REAL TIME DISPLAY MODE Fig. 9
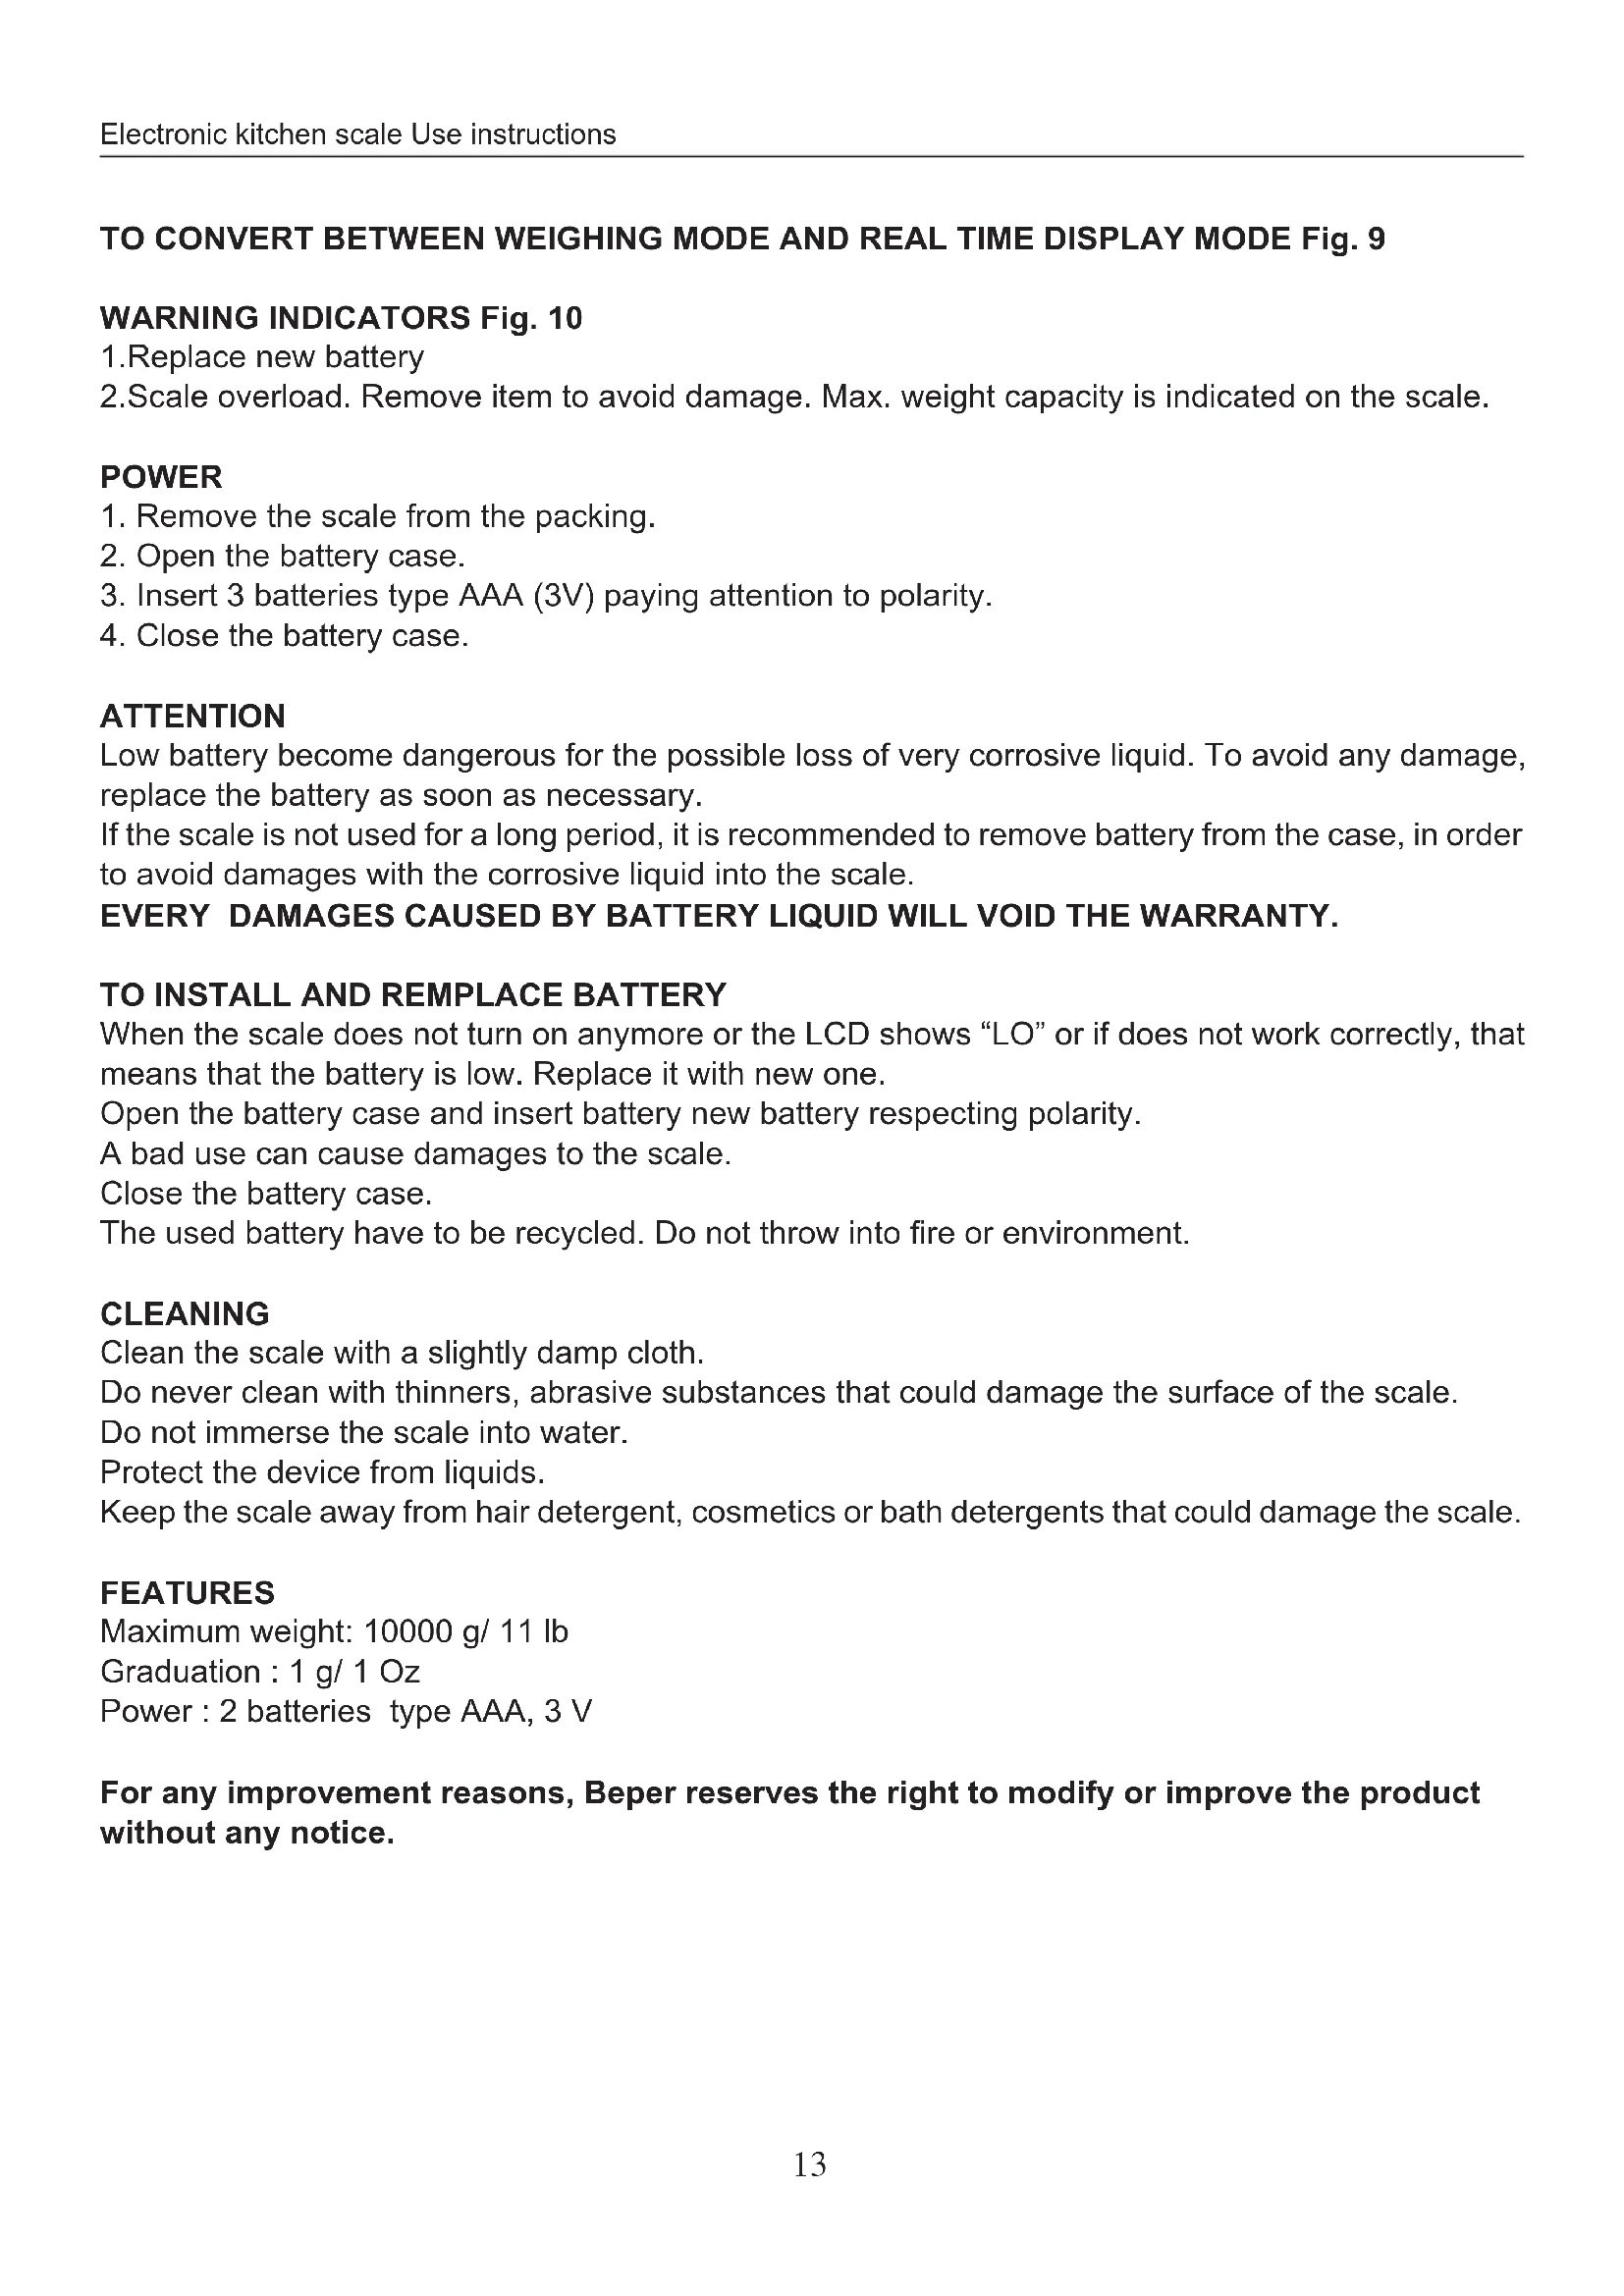
WARNING INDICATORS Fig. 10
- Replace new battery
- Scale overload. Remove item to avoid damage. Max. weight capacity is indicated on the scale.
POWER
- Remove the scale from the packing.
- Open the battery case.
- Insert 3 batteries type AAA (3V) paying attention to polarity.
- Close the battery case.
ATTENTION
Low battery become dangerous for the possible loss of very corrosive liquid. To avoid any damage, replace the battery as soon as necessary.
If the scale is not used for a long period, it is recommended to remove battery from the case, in order to avoid damages with the corrosive liquid into the scale.
EVERY DAMAGES CAUSED BY BATTERY LIQUID WILL Void THE WARRANTY.
TO INSTALL AND REMPLACE BATTERY
When the scale does not turn on anymore or the LCD shows "LO" or if does not work correctly, that means that the battery is low. Replace it with new one.
Open the battery case and insert battery new battery respecting polarity.
A bad use can cause damages to the scale.
Close the battery case.
The used battery have to be recycled. Do not throw into fire or environment.
CLEANING
Clean the scale with a slightly damp cloth.
Do never clean with thinners, abrasive substances that could damage the surface of the scale.
Do not immerse the scale into water.
Protect the device from liquids.
Keep the scale away from hair detergent, cosmetics or bath detergents that could damage the scale.
FEATURES
Maximum weight: 10000 g/ 11 lb
Graduation: 1 g/1 Oz
Power: 2 batteries type AAA, 3 V
For any improvement reasons, Beper reserves the right to modify or improve the product without any notice.
The European directive 2011/65/EU on Waste Electrical and Electronic Equipment (WEEE), requires that old household electrical appliances must not be disposed of in the normal unsorted municipal waste stream. Old appliances must be collected separately in order to optimize the recovery and recycling of the materials they contain, and reduce the impact on human health and the environment. The crossed out "wheeled bin" symbol on the product reminds you of your obligation, that when you dispose of the appliance, it must be separately collected.
GUARANTEE CERTIFICATE
This appliance has been checked in the factory. From the date of original purchase a 24 month guarantee applies to material and production defects. The purchase receipt and the guarantee certificate must be submitted together in case of claim to guarantee.
For any technical assistance, please contact directly the seller or our head office in order to preserve the appliance's efficiency and NOT TO void the guarantee. Any intervention on this appliance by non-authorized persons will automatically void the guarantee.
Guarantee conditions
If the appliance shows defects as a result of faulty material and/or production during the period of guarantee, we guarantee repair free of charge on condition that:
- The appliance has been used properly and for the purpose for which it has been intended.
- Repairs are professionally carried out by qualified persons who are appointed by the supplier.
- The purchase receipt shall be presented.
- The appliance showing a fair wear and tear shall not be covered by this guarantee.
Therefore, any part that could be accidentally broken or having visible signs of use in consumable products (such as lamps, batteries, heating elements...) is excluded from the guarantee, and any defect whatsoever resulting from non-respect of the rules for use, negligence in usage and/or maintenance of the appliance, damage during transport and any other damage not attributable the supplier.
For every defect that could not be repaired within the guarantee period, the appliance will be replaced free of charge.
Technical assistance
Even after the guarantee period we will always pay attention to repairs for defected appliances. For technical assistance and/or repairs after the guarantee period you can directly contact the below address:
CONTACT YOUR DISTRIBUTOR IN YOUR COUNTRY OR AFTER SALES DEPARTMENT
BEPER. E-MAIL assistenza@beper.com
WHICH WILL FORWARD YOUR ENQUIRIES TO YOUR DISTRIBUTOR.
PRECAUTIONS
LIRE ATTENTIVEMENT CES INSTRUCTIONS AVANT D'UTILISER L'APPAREIL.
Graduation: 1 g/1 Oz