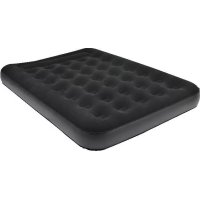
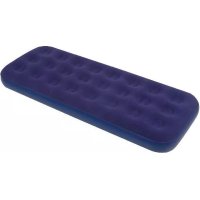
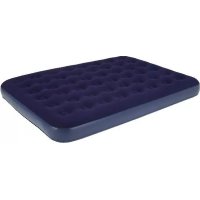
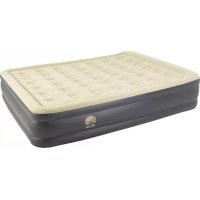
JL027294N - Air bed JILONG - Free user manual and instructions
Find the device manual for free JL027294N JILONG in PDF.
User questions about JL027294N JILONG
0 question about this device. Answer the ones you know or ask your own.
Ask a new question about this device
Download the instructions for your Air bed in PDF format for free! Find your manual JL027294N - JILONG and take your electronic device back in hand. On this page are published all the documents necessary for the use of your device. JL027294N by JILONG.
USER MANUAL JL027294N JILONG
Airbed Instruction Manual
Important Safety Guideline
Please read, understand and follow all instructions prior to using.
To enhance the enjoyment of your Air Bed and protect the safety of the operator using the product, ALWAYS STRICTLY OBSERVE the following important safety points. The following important points should be read and understand before using this product:
-
WARNING: Only for indoor household use. Keep away from fire.
-
RISK OF COMBUSTION: Do not place the airbed against or near any open flames, heaters, furnaces or other hot objects.
-
WARNING: Do not obstruct the air passage opening or insert any objects into the opening at any time.
-
WARNING: Do not stand, jump or use the airbed as a trampoline. Always supervise children near the Airbed.
-
WARNING: This product is not a raft or floatation device. Do not use near or on water.
-
WARNING: Children must not be left unattended when using the Airbed. Use only under adult competent supervision.
-
WARNING: Keep pets away from the Airbed. Pets may tear or puncture the airbed.
-
IMPORTANT: Make sure the area is flat, smooth, even and free of sharp objects that can puncture the airbed. Do not set up the Airbed near to stairs, doors, drops, sharp edges or breakables.
-
IMPORTANT: To minimize any chance of rolling, tipping or swaying, avoid sleeping on the edge of the airbed. Edges provide less support than the middle of the Airbed.
-
IMPORTANT: Children should be supervised to ensure that they do not play with the appliance.
-
WARNING: The storage bag (if included) is not a toy. To avoid danger of suffocation, keep the airbed storage bag or any other bags away from babies and children. Fold up the bag and store away from children when not in use.
Inflation
-
Unfold your product and lay flat. Make sure the flocked side is upturned during the inflation.
-
You can use foot or hand pump (not including) to inflate the airbed.
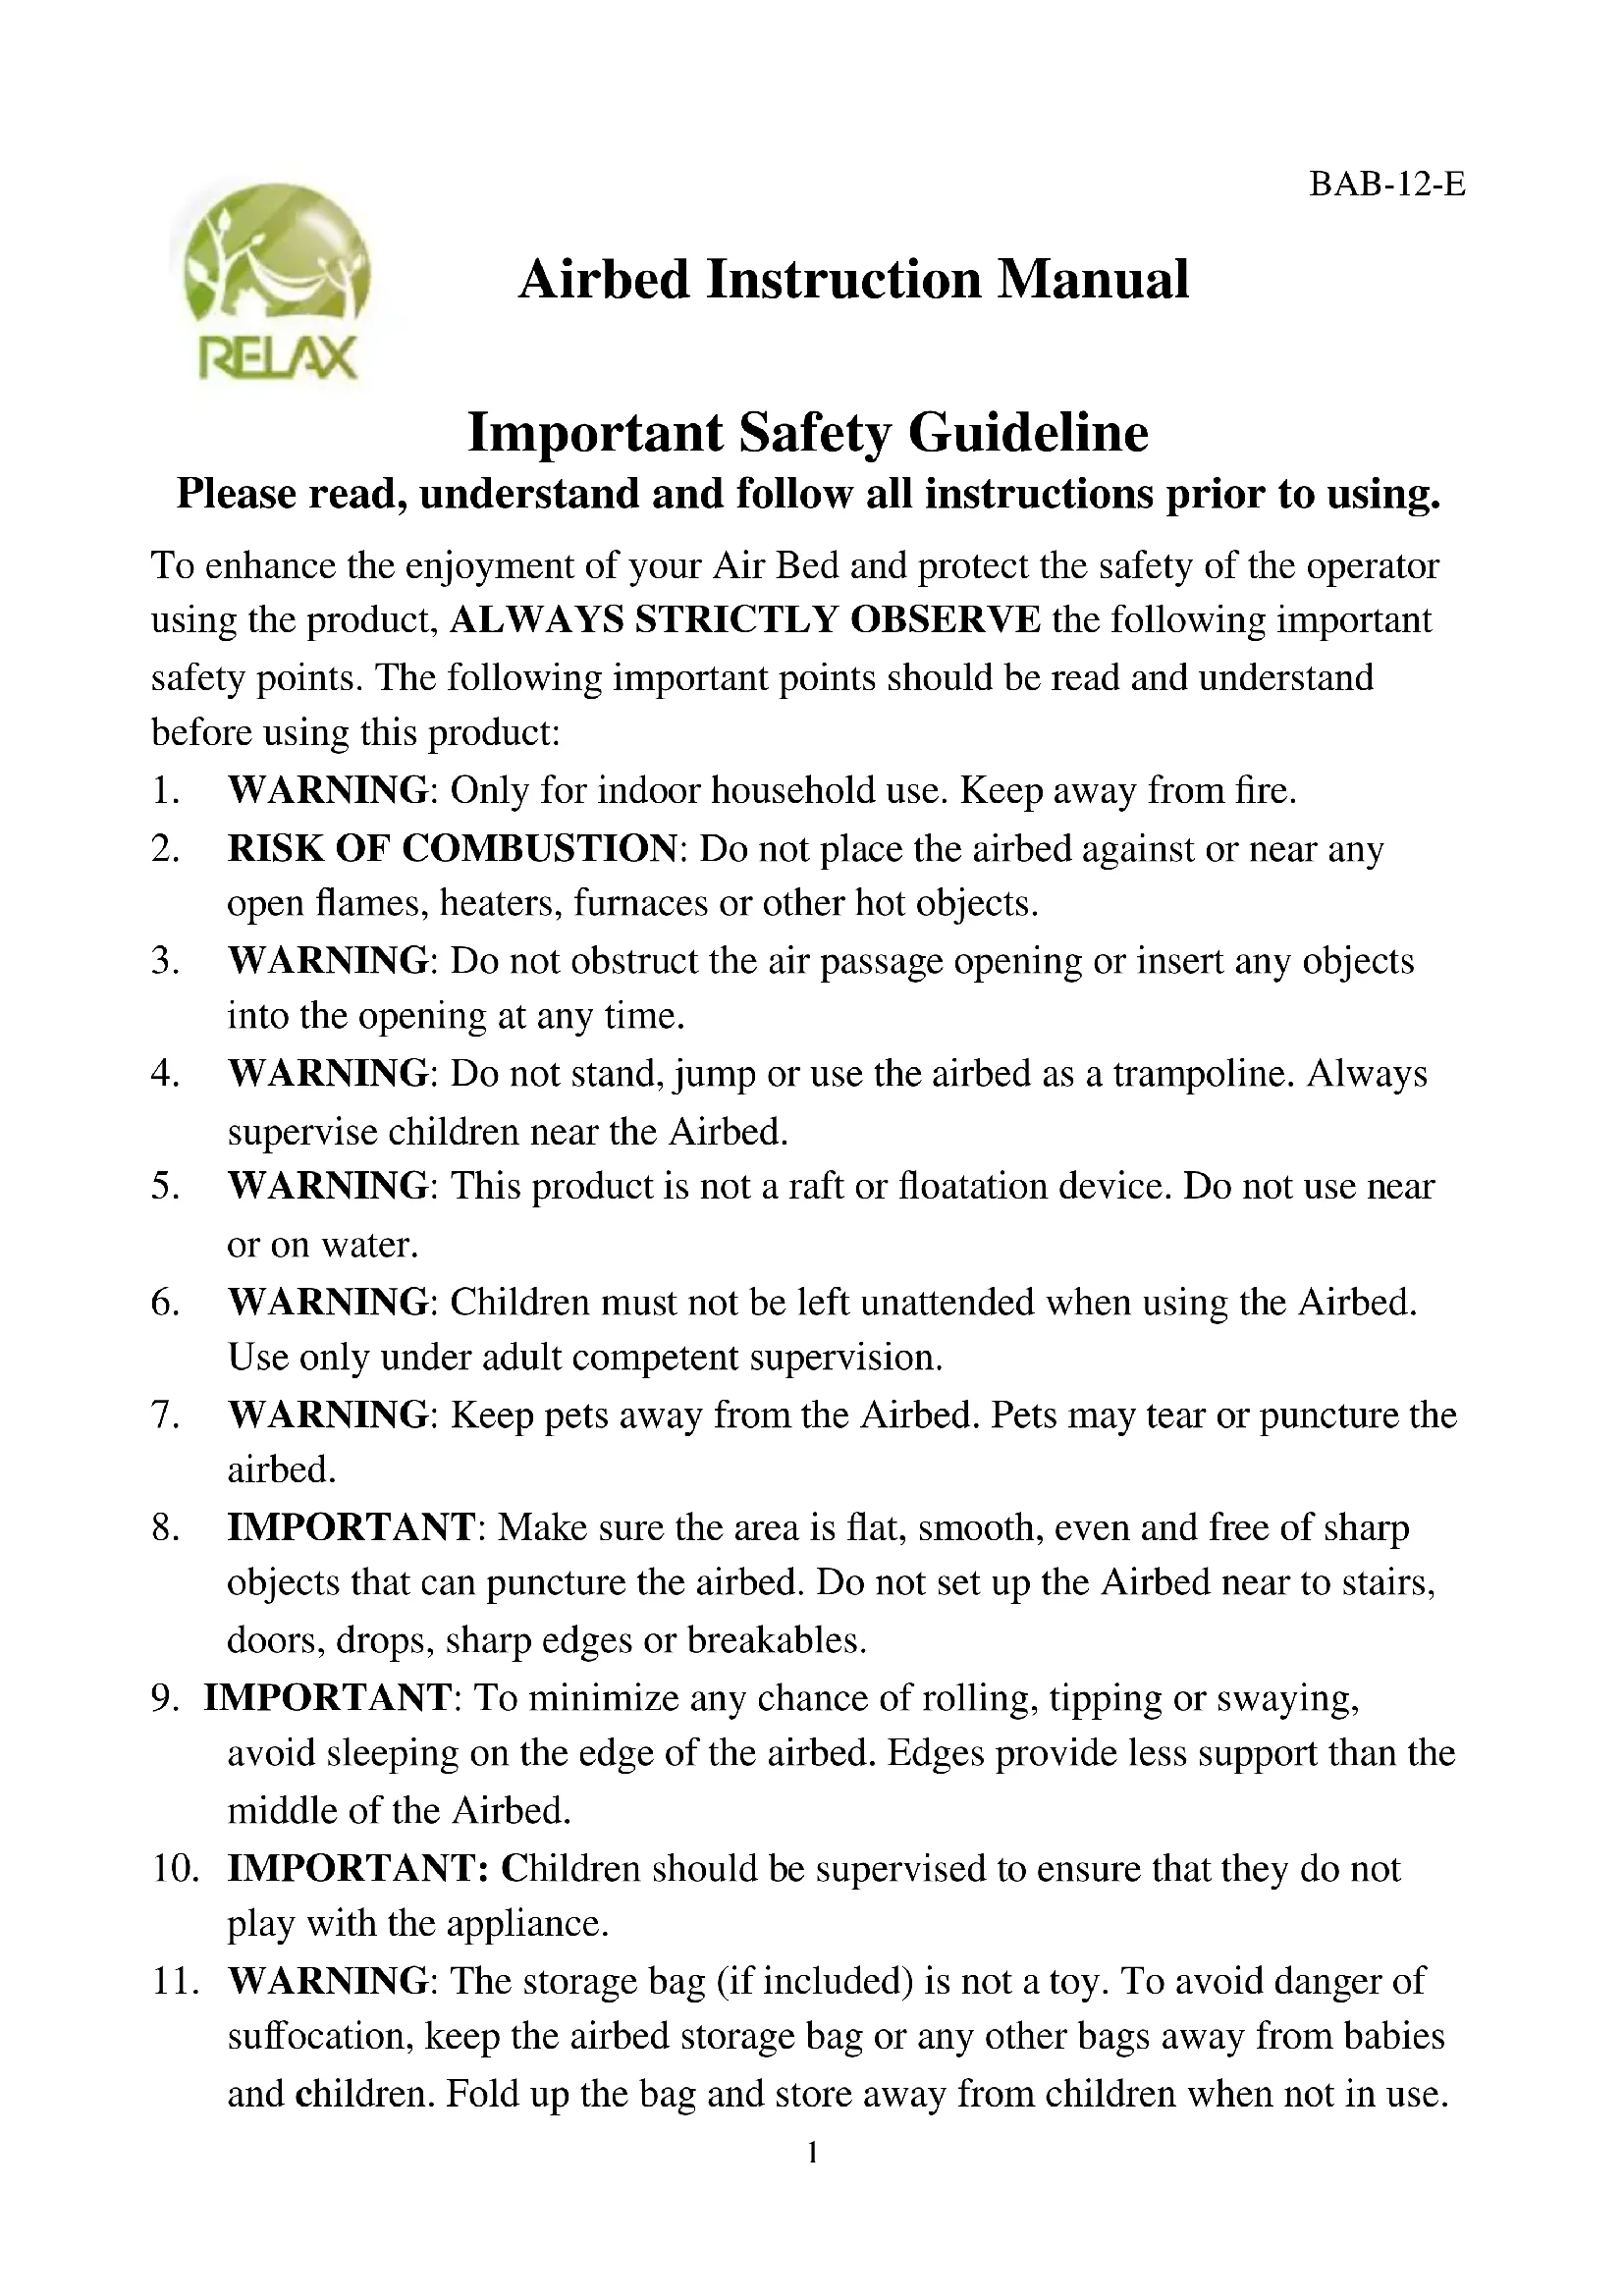
TIP: How to use the 2-in-1 inflatable valve
- Pull out the base valve from the main chamber, open the top stopper of the valve (See A). - Insert the inflation hose and inflate the chamber (See B). Once inflation is finished, insert the top stopper to the base valve (See C).
text_image
A B CWARNING: Do not use air compressor or high pressure pumps. Do not over inflate: excessive inflation of the air chambers can cause the chamber to burst or cause damage to the welding seams.
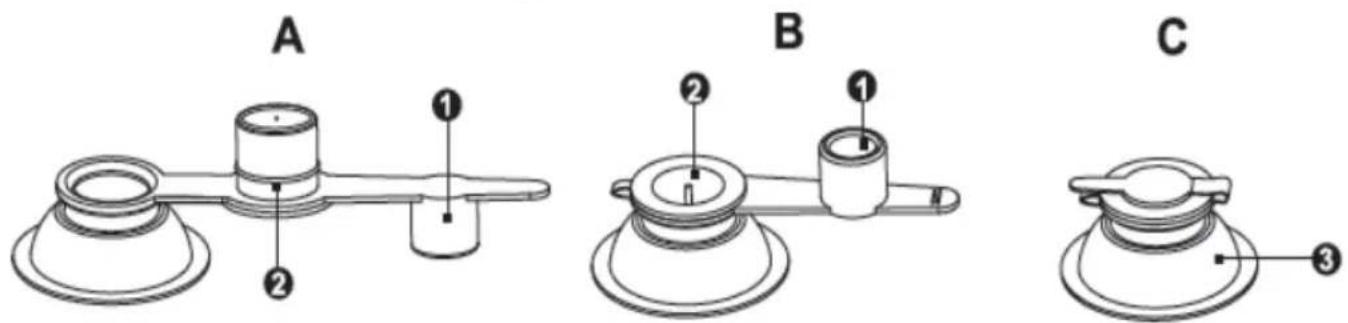
Deflation
Pull out the base valve from the bed (C), open the cover (B) and take out the stopper to release air (A). Do not to puncture your Airbed. Do not force air out of the Airbed. Allow air to escape slowly and naturally. Fold carefully and re-insert into the package. See below illustration!
text_image
C B AStorage and Maintain
1) Clean the product with clear water, then leave it in shady and cool place for airing, fold it into original package and place it indoor for next use. Caution: Do not use the alkali or acid detergent to clean product! Do not leave product exposed under sunlight directly because it will shorten the using-life of product.
2) Fold the airbed loosely and avoid sharp bends, corners and creases which can damage the airbed.
3) No specific maintenance is required for electric pump.
4) Place the airbed inside the storage bag and store in a dry and room temperature location indoors. Do not store in an area where it is likely to be exposed to extreme temperature.
Repair Patch Instructions
Small pinhole and small puncture leaks can be repaired with the included repair patch
a) Locate the leak place.
b) Deflate and drain the water.
c) Clean the area surrounding the leakage and wipe up all water from the surface.
d) Take out the repair patch, cut it into required shape and size, which should be litter larger than the leaking area, put the patch on leaking area and press firmly.
e) You can use it again after 24 hours drying of the repaired position.
If the damage is bigger than 1" (2.5cm), we recommend using a Silicone or rubber based glue for repair. Please read warning statement on glue prior to use.
Shanghai Jilong Plastic Products Co. Ltd.
No. 460 Lanxue Road, Huanglou, Pudong Area, Shanghai, 201205, P.R. China Tel: +86-21-58942200 E-mail: info@jilong.com Web: www.jilong.com
Shanghai Jilong Plastic Products Co. Ltd.
No. 460 Lanxue Road, Huanglou, Pudong Area, Shanghai, 201205, P.R. China
Tel: +86-21-58942200 E-mail: info@jilong.com Web: www.jilong.com
bomba incorporada
Guia de seguridad
Shanghai Jilong Plastic Products Co. Ltd.
No. 460 Lanxue Road, Huanglou, Pudong Area, Shanghai, 201205, P.R. China Tel: +86-21-58942200 E-mail: info@jilong.com Web: www.jilong.com
Shanghai Jilong Plastic Products Co. Ltd.
No. 460 Lanxue Road, Huanglou, Pudong Area, Shanghai, 201205, P.R. China
natural_image
Technical line drawing of a mechanical component with labeled parts (no text or symbols beyond labels)Shanghai Jilong Plastic Products Co. Ltd.
No. 460 Lanxue Road, Huanglou, Pudong Area, Shanghai, 201205, P.R. China Tel: +86-21-58942200 E-mail: info@jilong.com Web: www.jilong.com
Shanghai Jilong Plastic Products Co. Ltd.
No. 460 Lanxue Road, Huanglou, Pudong Area, Shanghai, 201205, P.R. China Tel: +86-21-58942200 E-mail: info@jilong.com Web: www.jilong.com
可折叠空气床使用说明书
重要安全指南
请在使用前阅读,理解并遵守所有说明。
natural_image
Technical line drawing of a mechanical component with labeled parts (no text or symbols beyond labels)Shanghai Jilong Plastic Products Co. Ltd.
No. 460 Lanxue Road, Huanglou, Pudong Area, Shanghai, 201205, P.R. China Tel: +86-21-58942200 E-mail: info@jilong.com Web: www.jilong.com