
E702YTE - Lawn mower BABYLISS - Free user manual and instructions
Find the device manual for free E702YTE BABYLISS in PDF.
| Brand | BaByliss |
| Model | E702YTE |
| Product type | Hair clipper |
| Power supply | Mains (3.0 V, 1000 mA) and rechargeable Ni-MH battery |
| Battery life | 30 minutes after full charge |
| Charging time | 16 hours (first use and every 3 months) |
| Number of cutting guides | 2 guides + 1 precision guide |
| Cutting lengths (guides) | From 3 to 18 mm and from 21 to 36 mm (1.5 mm steps) |
| Cutting lengths (precision guide) | 5 positions from 0.5 to 2.5 mm |
| Cutting height adjustment | Wheel with side display |
| Blade type | Moving blade: 3D electrochemical sharpening; fixed blade: titanium coating |
| Blade maintenance | Removable and self-lubricating blades (oil reserve to refill) |
| Special features | Turbo, Smart Adjusting System |
| Buttons and controls | ON/OFF, adjustment wheel, Turbo button |
| Indicators | Charge indicator, cutting height display |
| Included accessories | 2 cutting guides, precision guide, transformer, cleaning brush, comb |
| Available spare parts | Replacement blades, specific BaByliss oil |
| Weight (estimated) | Approximately 500 g |
| Color | Not specified (usually black/gray) |
| Recommended use | Clean, dry hair |
Frequently Asked Questions - E702YTE BABYLISS
User questions about E702YTE BABYLISS
0 question about this device. Answer the ones you know or ask your own.
Ask a new question about this device
Download the instructions for your Lawn mower in PDF format for free! Find your manual E702YTE - BABYLISS and take your electronic device back in hand. On this page are published all the documents necessary for the use of your device. E702YTE by BABYLISS.
USER MANUAL E702YTE BABYLISS
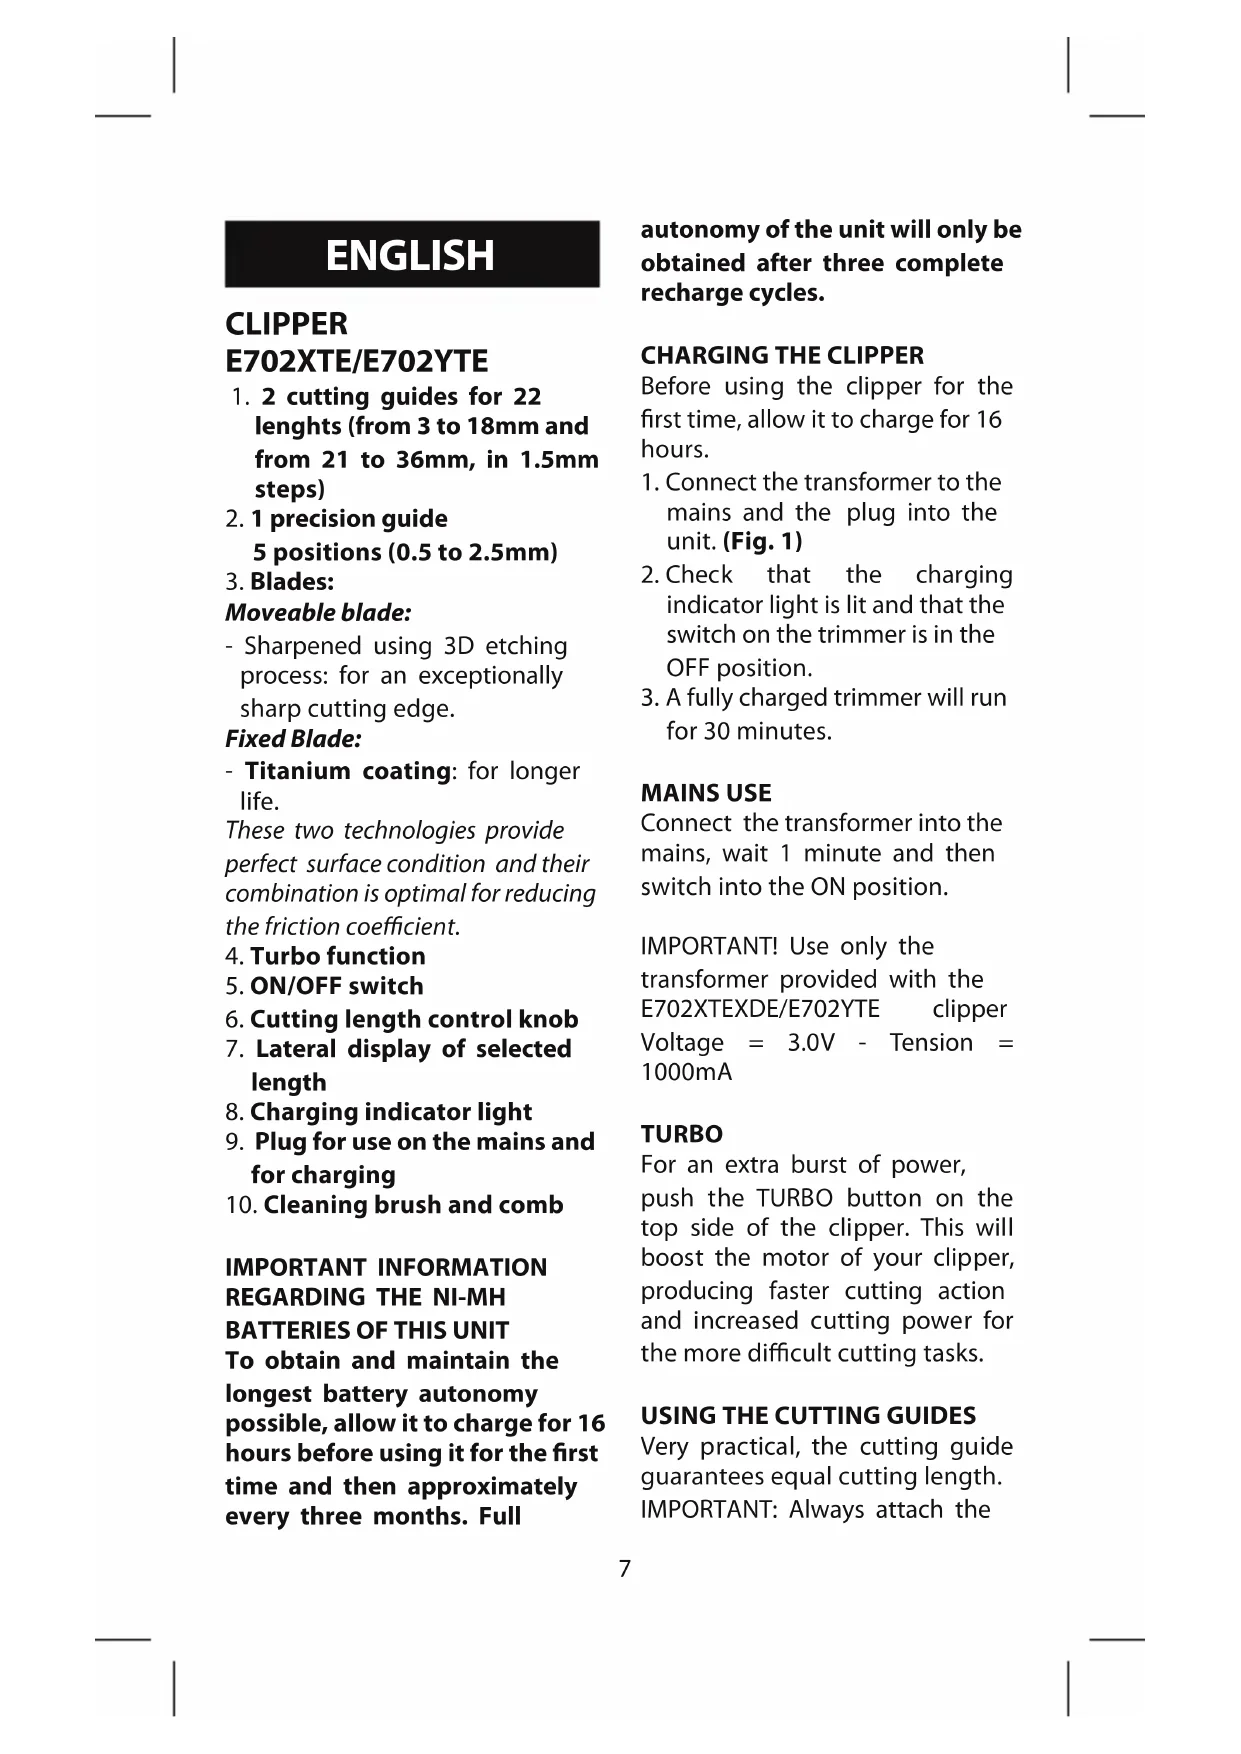
- 2 cutting guides for 22 lenghts (from 3 to 18mm and from 21 to 36mm in 1.5mm steps)
2.1 precision guide 5 positions (0.5 to 2.5mm - Blades:
Moveable blade:
- Sharpened using 3D etching process: for an exceptionally sharp cutting edge.
Fixed Blade:
Titanium coating: for longer life.
These two technologies provide perfect surface condition and their combination is optimal for reducing the friction coefficient.
- Turbo function
- ON/OFF switch
- Cutting length control knob
- Lateral display of selected length
- Charging indicator light
- Plug for use on the mains and for charging
- Cleaning brush and comb
IMPORTANT INFORMATION
REGARDING THE NI-MH
BATTERIES OF THIS UNIT
To obtain and maintain the longest battery autonomy possible, allow it to charge for 16 hours before using it for the first time and then approximately every three months. Full
autonomy of the unit will only be obtained after three complete recharge cycles.
CHARGING THE CLIPPER
Before using the clipper for the first time, allow it to charge for 16 hours.
- Connect the transformer to the mains and the plug into the unit. (Fig. 1)
- Check that the charging indicator light is lit and that the switch on the trimmer is in the OFF position.
- A fully charged trimmer will run for 30 minutes.
MAINSUSE
Connect the transformer into the mains, wait 1 minute and then switch into the ON position.
IMPORTANT! Use only the transformer provided with the E702XTEXDE/E702YTE clipper Voltage = 3.0V - Tension = 1000mA
TURBO
For an extra burst of power, push the TURBO button on the top side of the clipper. This will boost the motor of your clipper, producing faster cutting action and increased cutting power for the more difficult cutting tasks.
USING THE CUTTING GUIDES
Very practical, the cutting guide guarantees equal cutting length.
IMPORTANT: Always attach the
cutting guide BEFORE turning the trimmer on, and turn it off before changing the guide.
To attach the cutting guide, first adjust the cutting length to 3mm or 21mm and place it on the support guide adjusting first both sides and then pushing on the bottom of the guide until you hear a 'click'. (Fig. 2)
To remove the cutting guide, first adjust the cutting length to 3mm or 21mm and push the guide out of the support lifting it up with your thumb. (Fig. 3)
NOTE: The precision guide must be placed like the cutting guides but it is adjusted manually and independently of the grooved wheel.
TURING ON AND USING
To adjust the clipper's cutting length, turn the grooved wheel (6) up or down.
The selected length is displayed on the right or left side of the clipper.
Switch the ON/OFF button.
You can change the cutting length at any time.
Thanks to the SMART ADJUSTING SYSTEM, the length of the cut is maintained even if the angle of the clipper varies, so it guarantees precise result.
cUTTING TECHNIQUES AND ADVICER FROM THE EXPERTS
- Use the clipper on clean, dry hair.
- To familiarize yourself with the clipper, begin with the cutting guide for a longer cut, then, if you want a shorter cut, adjust it by pushing the knob. You will soon know the lengths of each guide and each position.
Always move the clipper against the direction of hair growth. - Begin at the nape. Place the guide on the scalp and move the clipper toward the crown of your head. Move your clipper slowly, pointing the teeth of the guide slightly upward. Keep the clipper in contact with your head at all times. (Fig. 4)
- For the crown of the head, move from front to back, that is, from your forehead to the crown of your head.
- For the finishing touches, that is, around the nape and sideburns, use the clipper without a cutting guide. Turn your clipper over and move it from top to bottom. (Fig. 5)
- If you want a length greater than 30mm , or if you are experienced, you can create 'comb' or 'finger' cuts:
- Work without a cutting guide.
- Take up a small section of hair with a comb or in your fingers.
-
Move the comb or your fingers along the section of hair to the desired length.
-
Cut your hair along the comb or your fingers.
- Remove the cut hair using a comb and check the evenness of the cut regularly. (Fig. 6)
MAINTENANCE
Remove the cutting guide after each use.
Cleaning the clipper blades regularly will maintain their optimal performance.
Removable blades
To make cleaning easier, the BaByliss clipper blades can be removed. Make sure the clipper is turned off. Hold the clipper with the blades pointing up and remove them by pressing the top of the blade. (Fig. 7)
Brush the blades using the cleaning brush to remove any hair.
Self-lubricating blades
The blades of your clipper have a reservoir pad that dispenses the amount of oil necessary for your clipper to operate properly, every time. It is nevertheless recommended that you occasionally refill, when you notice the clipper isn't performing as well.
Remove the blades as described above.
Carefully squeeze a few drops of BaByliss oil onto the pad. (Fig. 8) Then put the blades back on the clipper.
BaByliss oil is specially formulated for clippers, it will not evaporate or slow the blades down.
You can get new blades when these are worn or damaged.
DEUTSCH
SCHERGERÄT
E702XTE/E702YTE
NataTe to koumi ON/OFF.
Mnpoeite va aalaaEte to uooc konnc oioiaaHnote otiymu.
Xapn oTo Suotnma SMART ADJUSTING SYSTEM, to uooc Tnc konnc nou exi eilyei diatnpetai otaepo onoiadnoTE k av elvai nywia kionc tnc koupeutiknc mnxavnc kai ocac yyyuatai eva anotEeogma e akpiieia.
TEXNIKEKONHKS KAI SYMBOYAE TOYEIAKOY
XpnoioieT Nv KoupuTKn nXavn o aai kaapa kai oteyva.
Tia va Eoikieiwthe tE nunxavn, IIOpeite va apxioTe ME TOV oNyo konnc yia paKpUtepo nkoC kai katOniv, eav thelte va eIWOeTe to nkoC, mOpeite va eTakivnoTe To Koumi npoc ta naW npoc ta kaW. NIoLu ynpyopa a Eoikieiwthe tE to nkoC konnc kaThe obnyou kai KaThe Θeang.
- Metakiveite návta tnv koupeutikn oac mnxavn poc tnv avtiθetn kaTeuovon μe autn nov qutpwovv ta μaλia.
- Apxiete ano tov auexva. Tonotheite tov odnyo naw otic trixc kai kateu-thuvete tnv koupuitikn oac uynavn npoc tnv kopuon tou kepaiaou. Tnv etakiveiE apya kai e ta "dovtia" tou odnyou va exouv katuehuvon npoc ta naw. PovtiEte n koupeutikn mnxavn va piokeetal oevexn enaepn e TO Kepal.(Eik.4)
- Ia ta a i ta TnC KOpUphc Tou Kε-φaiou, μεtakiveite ano ta πpooTa npoc Ta nω, δλaδn a nO to μeTwno npoc Tnv KOpUph Tou Kεφaiou.
Tataeewuatayapadeymu to Nepiypauma oTov auEvva, xpoioo- noiite Tnv Koupetikn uXavn Xwpic odnyo konnc.
TupiTe Tny KoupuTikn oac kai Takivite ano enavw npoc ta katw. (Eik.5)
Eav eIoueTe To mKoc va evai eYaUtepo aTo 30mm nEv thEλeTe va Kavete Dokun, Mnpoeite va KoupueTeiE μE "tn xTeva" n"Ta daxTuλa":
- DouLeEeTe XwpiC oNyo KOniC.
- NaipvETe mia kpn Touva maaiw v tN xTeva n Tnv niavet e avapeo a oTa daxtuλa.
-Metakiveite tn xteva n ta daxtula kata mnkoc tnc toovacexpi va qtaoete oTo mnkoc nou eimuieite.
- Koβετe Ta μαλλία κατα μήκος της Κτένας ἡτων δάχτιλων.
Maεuετε με tn xteva ta kouμéva μaλia kai ta πetate, λεγxovtac taktika εav to koúpeμa εival oμoi-μoρφo. (Eik.6)
ΣYNTHPH∑H
Na y navta tov odnyo koninc aio katheta xpnon.
H TAKTIK n ouvtnpon T ov V e iDwv Tn Koupeutiknc mnxavc 0a Tn diatnpn- oE apiotn kataoan aeitoupyiac.
Anoonwμeveεcλπiδεc
Tia va dieukoluvetai o kaagioooc,oi i c Tnc KOUPEUTIKHC unxavn TNC BaByliss eivai anooiwoevc. Bepaiwtheta 0ti exte Obnoei tn ouakeun. Kpatate Tnv KOUPEUTIK ETOI wote oi i c va kateuovovtai npoc ta navw kai tic byaZete natwvtac enavw otynakon twv i v (Eik.7)
BouptoiEte Tc i e c 1e to BoupTaaki kaapiaou yia va aapaipoeTe TIC TpiEc.
Aenides autómuatnc linavonc
Oi i c TNC KOUPEUTIKnC OAC mXaVnCdeltaTouv eva taTIOvTOoIOdeltaEi Tnv anapaiaTnNooTnTAIINAVtIKOuYIA TNV KAAN LEtoupyiaTNC mNXavnc oac, xPon nE tn XpOn.2uviotataVaTo yEmuZETe TAKTIA, moLIC dianiotwveTe ot n anoDoON TNC OUOKeunc EaattWvetal.
ApaipTe Tc Ie iDc oUpWva uTnv npakatw EvdEi.
PiyvETe npoooxn pi oTayovc aTo to Iinavtiko Tnc BaByliss enavw OTo taunov. (Eik.8)
Katoiv tootheite tic i 0tnv koupeutikn uynxavn.
To Iiavtiko Tc BaByliss eivai Eidiko yia tic Koupeutikec, uynavec, dev Ea-tuietai kai de "OTOpwve" tic iiec.
Mnpoeite va npountheute iTe avtalaktikec 5eini8ec oE nepintwnnou apouv.
MAGYAR
3aTeM BHObB yCTaHOBNTe Je3BnHa MaunHKy.
Φopmya macna Mapkn BaByliss pa3pa60taHa cneuaNbHO dI MaunHOK;OHO He nCnapraTcN He 3aTopmaKnBaETJe3Bn.
KordaJe3BnIu3HocTcNINIOBpe- dTc,BO3MOxHO pno6pctn 3aNaC HbIe Je3BnI.
TÜRKÇE
SAC KESME MAKINESI E702XTE/E702YTE
- Moveable blade:
- Fixed Blade:
- CHARGING THE CLIPPER
- MAINSUSE
- TURBO
- USING THE CUTTING GUIDES
- TURING ON AND USING
- cUTTING TECHNIQUES AND ADVICER FROM THE EXPERTS
- MAINTENANCE
- Removable blades
- Self-lubricating blades
- DEUTSCH
- SCHERGERÄT
- E702XTE/E702YTE
- TEXNIKEKONHKS KAI SYMBOYAE TOYEIAKOY
- ΣYNTHPH∑H
- Anoonwμeveεcλπiδεc
- Aenides autómuatnc linavonc
- MAGYAR
- TÜRKÇE
- SAC KESME MAKINESI E702XTE/E702YTE
Brand : BABYLISS
Model : E702YTE
Category : Lawn mower