
Celeste - Mp3 player Sunstech - Free user manual and instructions
Find the device manual for free Celeste Sunstech in PDF.
| Product Type | MP3 Player |
| Brand | Sunstech |
| Model | Celeste |
| Internal Memory | 4 GB |
| Supported Audio Formats | MP3, WMA, WAV |
| Supported Video Formats | FLV, AVI |
| Supported Image Formats | JPEG, BMP, GIF |
| Screen | Color TFT 1.8 inches |
| Battery | Lithium-ion 300 mAh |
| Battery Life | Variable depending on usage (up to several hours) |
| Power Supply | USB 5V via power adapter or computer |
| Interface | USB 2.0 High Speed |
| Bluetooth | Yes (for wireless listening) |
| FM Radio | Yes, with auto search and recording |
| Voice Recording | Yes (MP3, WMA format) |
| External Storage | microSD card (not included) |
| Dimensions (L x W x H) | 41 x 8.5 x 92 mm |
| Weight | 40 g |
| Care and Cleaning | Clean with a slightly damp soft cloth, no abrasive products |
| Safety | Do not expose to water, excessive heat (>40°C), or strong magnetic fields |
| Warranty | 2 years (excluding misuse) |
| Included Accessories | USB cable, headphones, manual (not verified) |
Frequently Asked Questions - Celeste Sunstech
User questions about Celeste Sunstech
0 question about this device. Answer the ones you know or ask your own.
Ask a new question about this device
Download the instructions for your Mp3 player in PDF format for free! Find your manual Celeste - Sunstech and take your electronic device back in hand. On this page are published all the documents necessary for the use of your device. Celeste by Sunstech.
USER MANUAL Celeste Sunstech
- DO NOT place objects on top of the device, as objects may scratch the device.
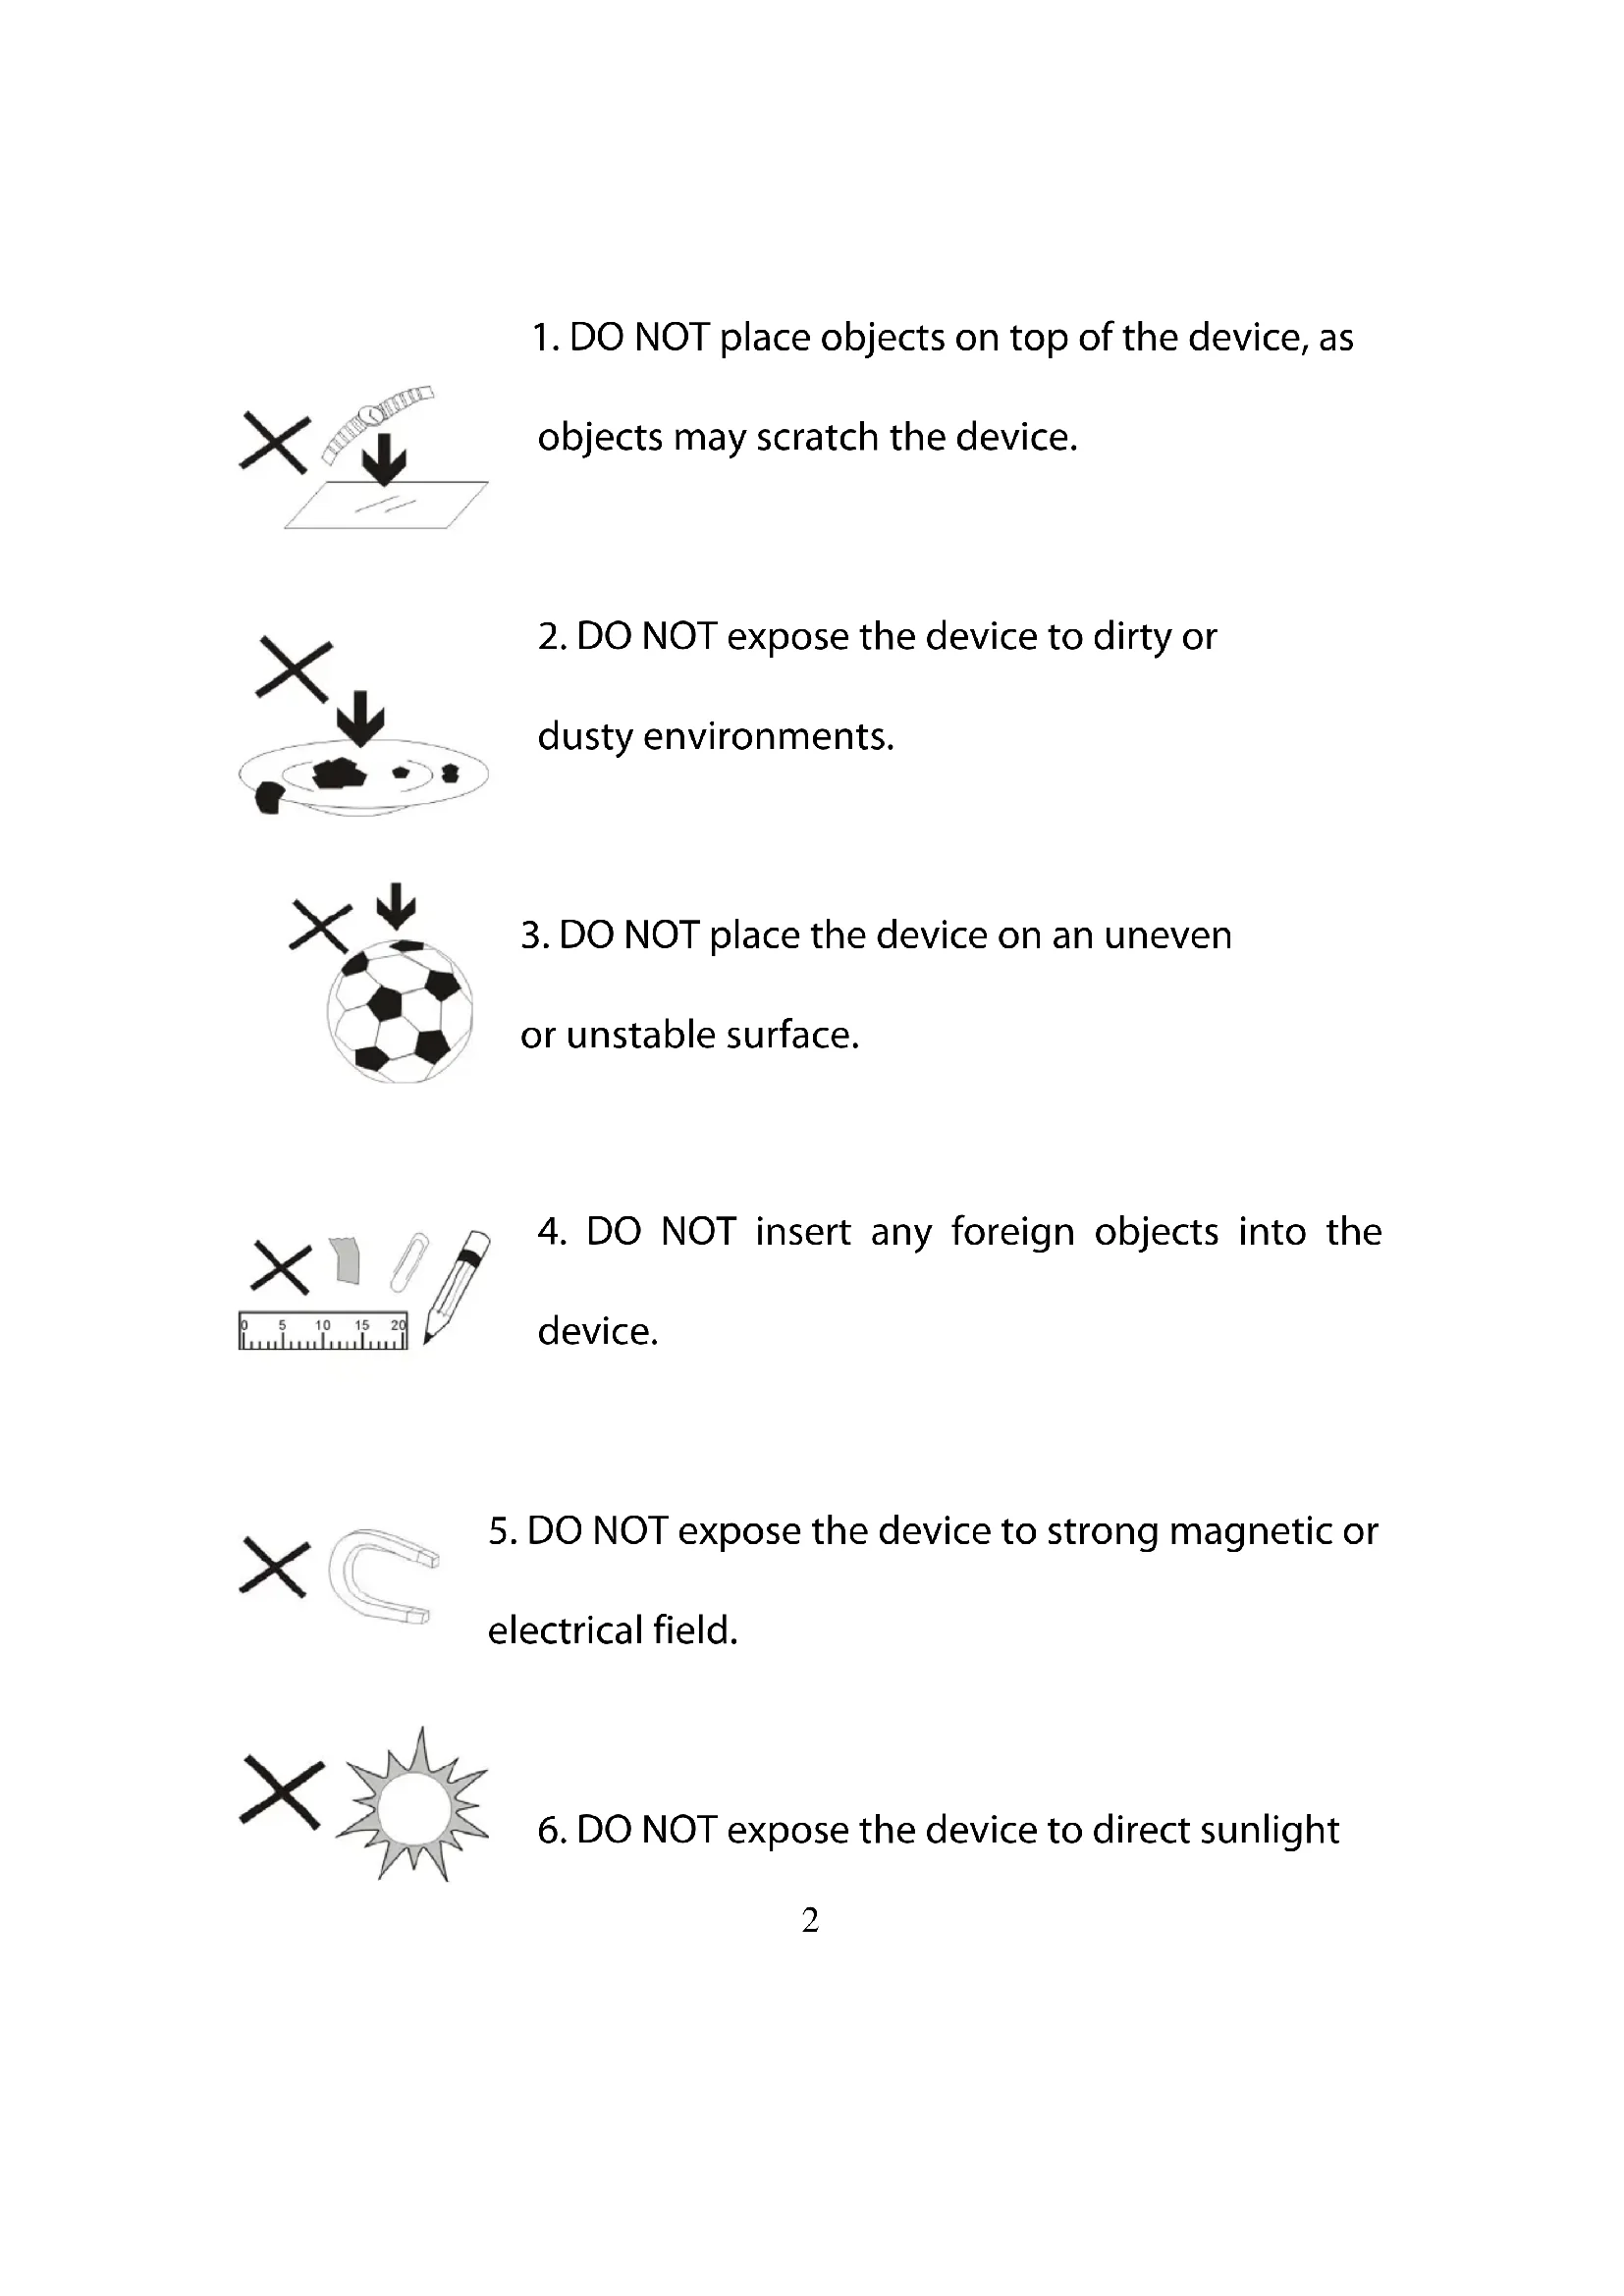
- DO NOT expose the device to dirty or dusty environments.

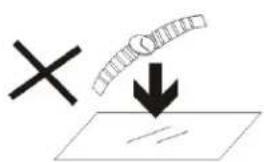
- DO NOT place the device on an uneven or unstable surface.
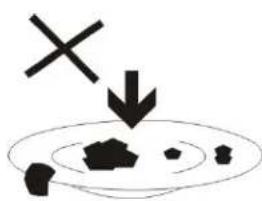
- DO NOT insert any foreign objects into the device.
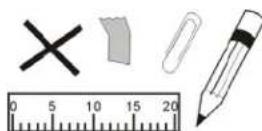
- DO NOT expose the device to strong magnetic or electrical field.

- DO NOT expose the device to direct sunlight
as it can damage the device. Keep it away from heat sources.
60^(140^)


20^ C(68^ F)
- DO NOT store your device in temperatures higher than 40^ C ( 104^ F ). The internal operating temperature for this device is from 20^ C ( 68^ F ) to 60^ C ( 140^ F ).

- DO NOT use the device in the rain.

- Please check with your Local Authority or retailer for proper disposal of electronic products.
X

- The device and adaptor may product some heat during normal operation of charging. To prevent discomfort or injury from heat exposure, DO NOT
leave the device on your lap.
- POWER INPUT RATING: Refer to the rating label on the device
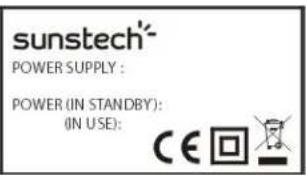
and be sure that the power adaptor complies with the rating. Only use accessories specified
by the manufacturer.

- Clean the device with a soft cloth. If needed, dampen the cloth slightly before
cleaning. Never use abrasives or cleaning solutions.
- Always power off the device to install or remove external devices that do not support hot-plug.
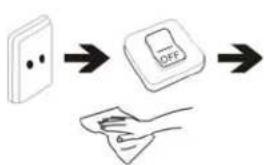
- Disconnect the device from an electrical outlet and power off before cleaning the device.
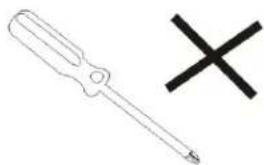
- DO NOT disassemble the device. Only a
certified service technician should perform repair.
- The device has apertures to disperse heat. DO NOT block the

device ventilation, the device may become hot and malfunction as a result.
- Risk of explosion if battery replaced by an incorrect type.
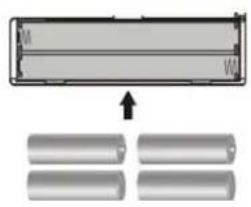
Dispose of used batteries according to the instruction.
- PLUGGABLE EQUIPMENT: the socket-outlet shall be installed
near the equipment and shall be easily accessible.
Content
Buttons location and usages
Basic Operation
Power on and off
Music
Movie
Picture
FM Radio
Record
Setting
Technical Specification
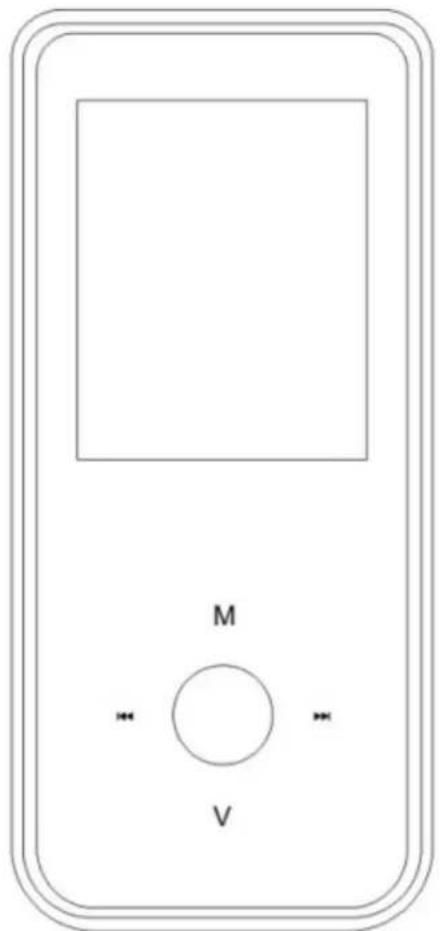
Buttons location and usages
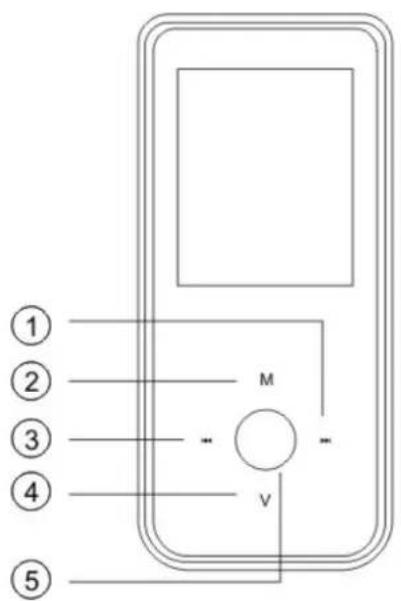

(1) Next/Forward Function
(2) Return button
(3) Previous/Backward function
(4) Volume + / Volume-
(5) Play/Pause/function select
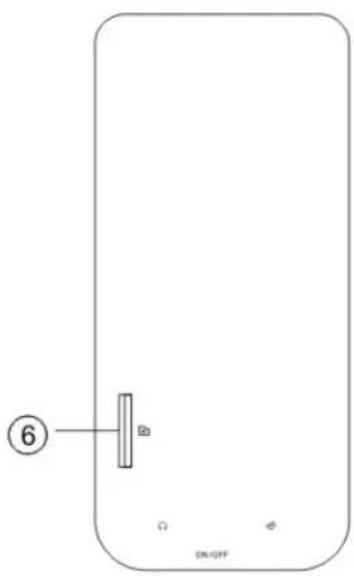
(6) Micro SD card slot
(7) Earphone jack
(8) On / Off button
(9) USB port
Basic Operation
How insert and pull out the Micro SD card
Inserting: put the Micro SD card face up, and slightly, push the card into the slot.
Pulling : Slightly push the Micro SD card in and then you can take it out.
Caution: when inserting and taking out the SD card must be whilst the power is off!.
Otherwise, it will lead to loss or damage of the files on the card. If no card is inserted, the computer will be unable to perform read and write operation for the disk notes. (Micro SD card).
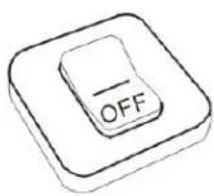
Power on and off
Switch the On/Off button to turn on the player.
Hold Play button for 3 seconds to power off the player.
HOW CHARGE THE UNIT.
To charge the unit, connect a power adaptor to the USB mini slot.
The unit Also can also be charged through of a PC , connect theunit Celeste in the PC and select Remove to Safely Hardware
and the unit will start charge.
IMPORTANT: To charge the unit must be with the unit switch in position "ON".
Operation of Music Mode
Press / to select "Music" and press button to enter the page.
Now Playing
Press / button to select Now Playing and press button to resume playing the current song.
All Music
Press / button to choose All Music and press button to show your library of music. Press / button to select any particular song and press to start playing.
Artist
Press / button to select Artist to show all of your artists. Press / to choose any particular artist to show the songs of that artist. Select song and press to start playing.
Genre
Press / button to select Genre to browse different genres. Press button to enter the genre that you've chosen and press button to start playing a song in that genre.
Dir list
Press / button to select Dir list to browse all list of your songs. Press / button to select your desired song and press button to start playing the selected song.
Record List
Press / button to select Record List to choose from FM Record or Voice. Press button to start playing the selected file Press M to jump back to the main menu.
My rating
Press / to select the rating List to browse all songs that you've added. Press
button to select desire song list and press button to start playing the selected song.
Notice: When you select the rating a song is not possible then delete this rating but if the rating change.
Tag list
Press / to select the tag List to browse
all songs that you've added. Press
/ button to select desire song list and press
button to start playing the selected song.
Volume
Press V button to select the volume and then press K / K button to adjust the volume.
Previous/Next
Press to jump to the next song, and press jump back to the previous song. Hold button to go fast forward or backward
Play Option
Under Music Playing mode, hold M button a few seconds to enter the Play Option Menu. You can set your preferences : Select EQ/Play Mode / Set Rating / Add Tag / AB repeat /Set Sound/ Replay times/ Repeat intervals/ Variable speed/Lyric display/ Add to my list/ Delete the file
Select EQ
Press / to choose EQ Setting and press button enter the sub-menu and choose different EQ from Normal / Pop / Classic / Soft / Jazz / Rock / DBB. Once you've selected your choice, press to confirm and press M to return to sub-menu.
Play Mode
Press / to choose Play Mode and press to choose from Sequence/ Repeat One/Repeat All/ Shuffle/ Shuffle + Repeat / Intro. Once you've selected, press to confirm and press M to return to sub-menu.
Set Rating
Press / to select Set Rating and press to choose from 1-star to 5-star. Once you've selected your choice, press to confirm and and press M to return to sub-menu.
Add TAG
Press / to select add to tag and press .Once you've selected your choice, press to confirm and and press M to return to sub-menu.
How do to delete the tag?
In the Tag list, select the song that you want to delete and then long press M to confirm.
AB Repeat
While playing music, hold M to enter the sub-menu. Press / to select AB repeat and press ▷ to confirm. Press
- button to set the starting point of the AB Repeat, then press again to set the ending point. To cancel AB repeat mode, press again.
Delete
For delete the song.
Advanced
Replay times / Replay interval / Scan speed / Fade IN-OUT
Equalizer setting.
Press "M" to select the manual equalizer and press / do increase and decrease to change frequency press and hold the "M" key.
Operation of Video Mode
Press / button to select "Video" and press button to enter video mode. Press / button to select your desire movie and press button to start playing. For video recording file, it will be saved inside the VIDEO folder.
Basic Video Control
Press button to choose previous movie, hold previous button to rewind. Press button to choose next movie, hold to fast-forward. Hold button until volume bar appear at the bottom, press / button to adjust the volume.
Notice: When the bluetooth is activated the video option is not available.
Operation of Pictures Mode
Press / button to select "Photo" on the main menu and press to enter the photo mode. Once you've entered the photo mode.
Photo Browsing
Press / to select Dir List and browse all photos.
Press / to select a particular photo, and press to open it.
Rotate
Hold M button to enter the sub-menu and select "Rotate" and press button to select the rotation degree 90 / 180 / 270.
Zoom
Hold M button to enter the sub-menu and select "Zoom", then press button to select Zoom in / Zoom out.
Slide show
Hold M button to enter the sub-menu and select "Slide show", then press button to select interval from 1 second to 10
second.
Slide Effect
Hold M button to enter the sub-menu and select "Slide Effect", then press button to select effect from Random / Fly in / Chessboard / Cut / Erase / Louver / Random line / Water wave / Cube / Rotate / Off.
Set as wallpaper
Hold M button to enter the sub-menu and select "Set as wallpaper", then press button to select from Set as Desktop / Set as startup / Set as Shutdown / Set as background.
Information
Hold M button to enter the sub-menu and select "Information", then press button to check the picture information that playing.
For activate the Photo show.
Enter to now playing or Directory list and select the photo, push to active photo show.
Operation of Radio Mode
Note: Some options are not available when Bluetooth is enabled.
Press / to select "Radio" on the main menu and press to enter the radio menu
Radio Sub-menu
Hold M to enter the sub-menu and press / to choose from Delete channel / Auto search / Channel list / FM record / Record quality / Record Gain / Save Path / FM Sensitivity / User Channel list / Tuner Region / Mute.
FM record: Press / to choose FM record and press to confirm. Once you selected the option, the player will start recording the radio. Press again to pause the recording and hold M to save the file.
Notice: When the bluetooth is activated the FM record option is not available.
Record quality: Press Play/ Pause to enter this option and choose from Low / Medium / High.
Record Gain: Press to choose from 1-5 and press again to confirm.
Save Channel: Press / to choose save channel and press Play/ Pause to confirm. Select a channel from CH01-CH20 and press to save the current channel.
Auto Search: Press / to choose anto search and press to confirm. Press button to start searching the channel and preset channel automatically.
User Channel List: Press / to choose station list and press to confirm. Press button to browse all preset channel.
Note: To show the channels push and appears the channels "CH01...." that have been made in the auto search.
Tuner Region: Press / to choose Tuner region and press to enter sub-menu. Choose from CHN/USA/Japan/Europe and press to confirm and return to sub-menu.
Mute: Press / to choose Mute and press to confirm, the Radio will play without volume, select Play and press to play the FM radio normally.
Operation of Recorder Mode
Press / to select "Recorder" and press button to enter the recording mode.
Basic Voice recorder Control
Press Play/ Pause button to voice record and press Play/ Pause again to pause the voice recording. Press M during the recording to save the file.
Voice Recorder Sub-menu
Hold M for 2 second to enter the sub-menu
Record Format: WMA / MP3 / WMA
Record Quality: Press / to choose from Low / Medium/ High.
Record Gain: Press / to choose from 1 to 5.
Record Mode: Voice record
Save Path: Internal memory
Press M return to Recorder mode.
Operation of Setting Mode
Press / to select Set up and press to enter the Set up menu.
Bluetooth:
Press to enter the bluetooth menu, and press select the bluetooth in On mode, then search the device with bluetooth function and match with it. Use the other device with support bluetooth to pair and then play the music, you can enjoy the music from bluetooth speakers or other bluetooth devices. If you want to close the bluetooth function, select the Bluetooth status OFF mode.
Display Setting
Press to set blacklight brightness from 1 to 5. and set the backlight time from off/ 5 Sec/ 10Sec/ 20 Sec / 30 Sec / 1 Minute/ 5 Minutes.
Power Saving
Idle Time: Press / to choose from Off/ 10 Sec/ 30 Sec/ 1 Minute/ 3 Minutes/ 5 Minutes/ 10 Minutes and press confirm setting.
Sleep Time: Press / to choose from Off/ 10 Minutes/ 30 Minutes/ 1 Hour/ 2 Hours/ 3 Hours/ 4 Hours/ 5 Hours and press to confirm setting.
Date & Time
Adjust time: Press / to adjust the time and hold "M" to change the selection and press to confirm. Set Date: Press / to set the Date and press to confirm
Language
Press / to choose your desired language and press to confirm.
Sync Medio Playlist
Press / to select Sync Media Playlist and press confirm the selection.
Advance Info
Press / to choose from Player Information/Format Memory/ Reset.
Note: After making the internal format also must do the option "Sync media playlist" in the settings menu.
Technical Specification
| Flash Memory 4GB | |
| MP3 compressed rate supported | MP3 / WMA / WAV |
| Video format supported | FLV/ AVI |
| Photo format supported JPEG/BMP/GIF | |
| Bluetooth | Support |
| Battery | 300mAh |
| Interface USB2.0 high speed | |
| Display 1.8" Color TFT display | |
| Weight 40g | |
| Dimensions 41(W) * 8.5(D) * 92(H) mm | |
Trouble Shooting
What should I do if there's no sound when playing?
You should check the volume first. If the volume has been
turned down completely, please try raising the volume.
Or maybe the memory format of the device is incorrect..
NOTE:
Please note that the CELESTE doesn't include a
CD ROM . But you can upload files into the player.
Warranty conditions
-
The warranty of this product is for 2 years since the purchase date.
-
The warranty will exclude breakdowns caused by bad use of the product, wrong installation or installation in not desirable places for a proper maintenance of the product, rips, updates of the products that are not the supplied by the brand, pieces wore away for its use or for not domestic or inappropriate use. Also are excluded breakdowns caused for manipulations of the products by people or companies alien to our company.
-
For any request regarding the warranty terms, the purchase receipt must be attached.
Correct disposal of this Product

(Waste Electrical & Electronic Equipment(WEEE) Your product is designed and manufactured with high quality materials and components which can be recycled and reused.
This symbol means that electrical and electronic equipment, at their end of life should be disposed of separately from your household waste.Please dispose of this equipment at your local community waste collection/recycling centre. In the European Union there are separate collection
systems for used electrical and electronic products.Please help us to conserve the environment we live in!
DECLARATION OF CONFORMITY
Council Directive(s) to which conformity is declared:
Directive (2004/108/EC) - EMC Directive (2011/65/EU recasting 2002/95/EC) - RoHS
Application of the Standards:
EN 55013:2001+A1:2003+A2:2006
EN 55020: 2007+A11: 2011
EN 55022: 2010/AC: 2011
EN 55024: 2010
EN 61000-3-2: 2006+A1: 2009;A2: 2009
EN 61000-3-3: 2008
IEC62321: 2008
Manufacturer's name: AFEX SUNS, S.A.
Manufacturer's address: C/Pallars 189, 08005 Barcelona
Type of equipment: MP4 Player
Trade: SUNSTECH
Model no.: CELESTE
We, the undersigned, hereby declare under our sole responsibility that the specified equipment is in conformity with the above Directive(s) and Standard(s)

(Signature)
VICTOR Planas Bas
(Full name)
Date: 03 - May - 2014
General Manager
Position)
sunstech
CELESTE
Manual de usuario
All music (todla musica)
-
The warranty of this product is for 2 years since the purchase date.
-
The warranty will exclude breakdowns caused by bad use of the product, wrong installation or installation in not desirable places for a proper maintenance of the product, rips, updates of the products that are not the supplied by the brand, pieces wore away for its use or for not domestic or inappropriate use. Also are excluded breakdowns caused for manipulations of the products by people or companies alien to our company.
-
For any request regarding the warranty terms, the purchase receipt must be attached.

Correct disposal of this Product
(Waste Electrical & Electronic Equipment(WEEE) Your product is designed and manufactured with high quality materials and components which can be recycled and reused. This symbol means that electrical and electronic at their end of-life should be disposed of
separately from your household waste.
Please dispose of this equipment at your local community waste collection/recycling centre.
In the European Union there are separate collection systems for used electrical and electronic products. Please help us to conserve the environment we live in!
Specifications techniques
Directive (2004/108/EC) - EMC Directive (2011/65/EU refonte 2002/95/EC) - RoHS

- Content
- Buttons location and usages
- Basic Operation
- How insert and pull out the Micro SD card
- Power on and off
- HOW CHARGE THE UNIT.
- Operation of Music Mode
- Now Playing
- All Music
- Artist
- Genre
- Dir list
- Record List
- My rating
- Tag list
- Volume
- Previous/Next
- Play Option
- Select EQ
- Play Mode
- Set Rating
- Add TAG
- How do to delete the tag?
- AB Repeat
- Delete
- Advanced
- Equalizer setting.
- Operation of Video Mode
- Basic Video Control
- Operation of Pictures Mode
- Photo Browsing
- Rotate
- Zoom
- Slide show
- Slide Effect
- Set as wallpaper
- Information
- For activate the Photo show.
- Operation of Radio Mode
- Radio Sub-menu
- Operation of Recorder Mode
- Basic Voice recorder Control
- Voice Recorder Sub-menu
- Operation of Setting Mode
- Bluetooth:
- Display Setting
- Power Saving
- Date & Time
- Language
- Sync Medio Playlist
- Advance Info
- Trouble Shooting
- Warranty conditions
- Correct disposal of this Product
- DECLARATION OF CONFORMITY
- Directive (2004/108/EC) - EMC Directive (2011/65/EU recasting 2002/95/EC) - RoHS
- sunstech
- CELESTE
- Manual de usuario
- All music (todla musica)
- Directive (2004/108/EC) - EMC Directive (2011/65/EU refonte 2002/95/EC) - RoHS
Brand : Sunstech
Model : Celeste
Category : Mp3 player