KM 23 - Coffee machine Petra Electric - Free user manual and instructions
Find the device manual for free KM 23 Petra Electric in PDF.
User questions about KM 23 Petra Electric
0 question about this device. Answer the ones you know or ask your own.
Ask a new question about this device
Download the instructions for your Coffee machine in PDF format for free! Find your manual KM 23 - Petra Electric and take your electronic device back in hand. On this page are published all the documents necessary for the use of your device. KM 23 by Petra Electric.
USER MANUAL KM 23 Petra Electric
natural_image
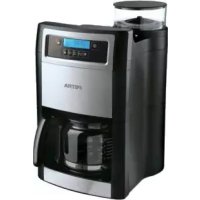
Exterior view of a white coffee maker with clear glass lid and control panel (no visible text or symbols)KaffeeAutomat KM 20.00 KaffeeAutomat KM 28.07
natural_image
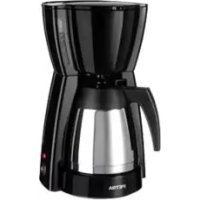
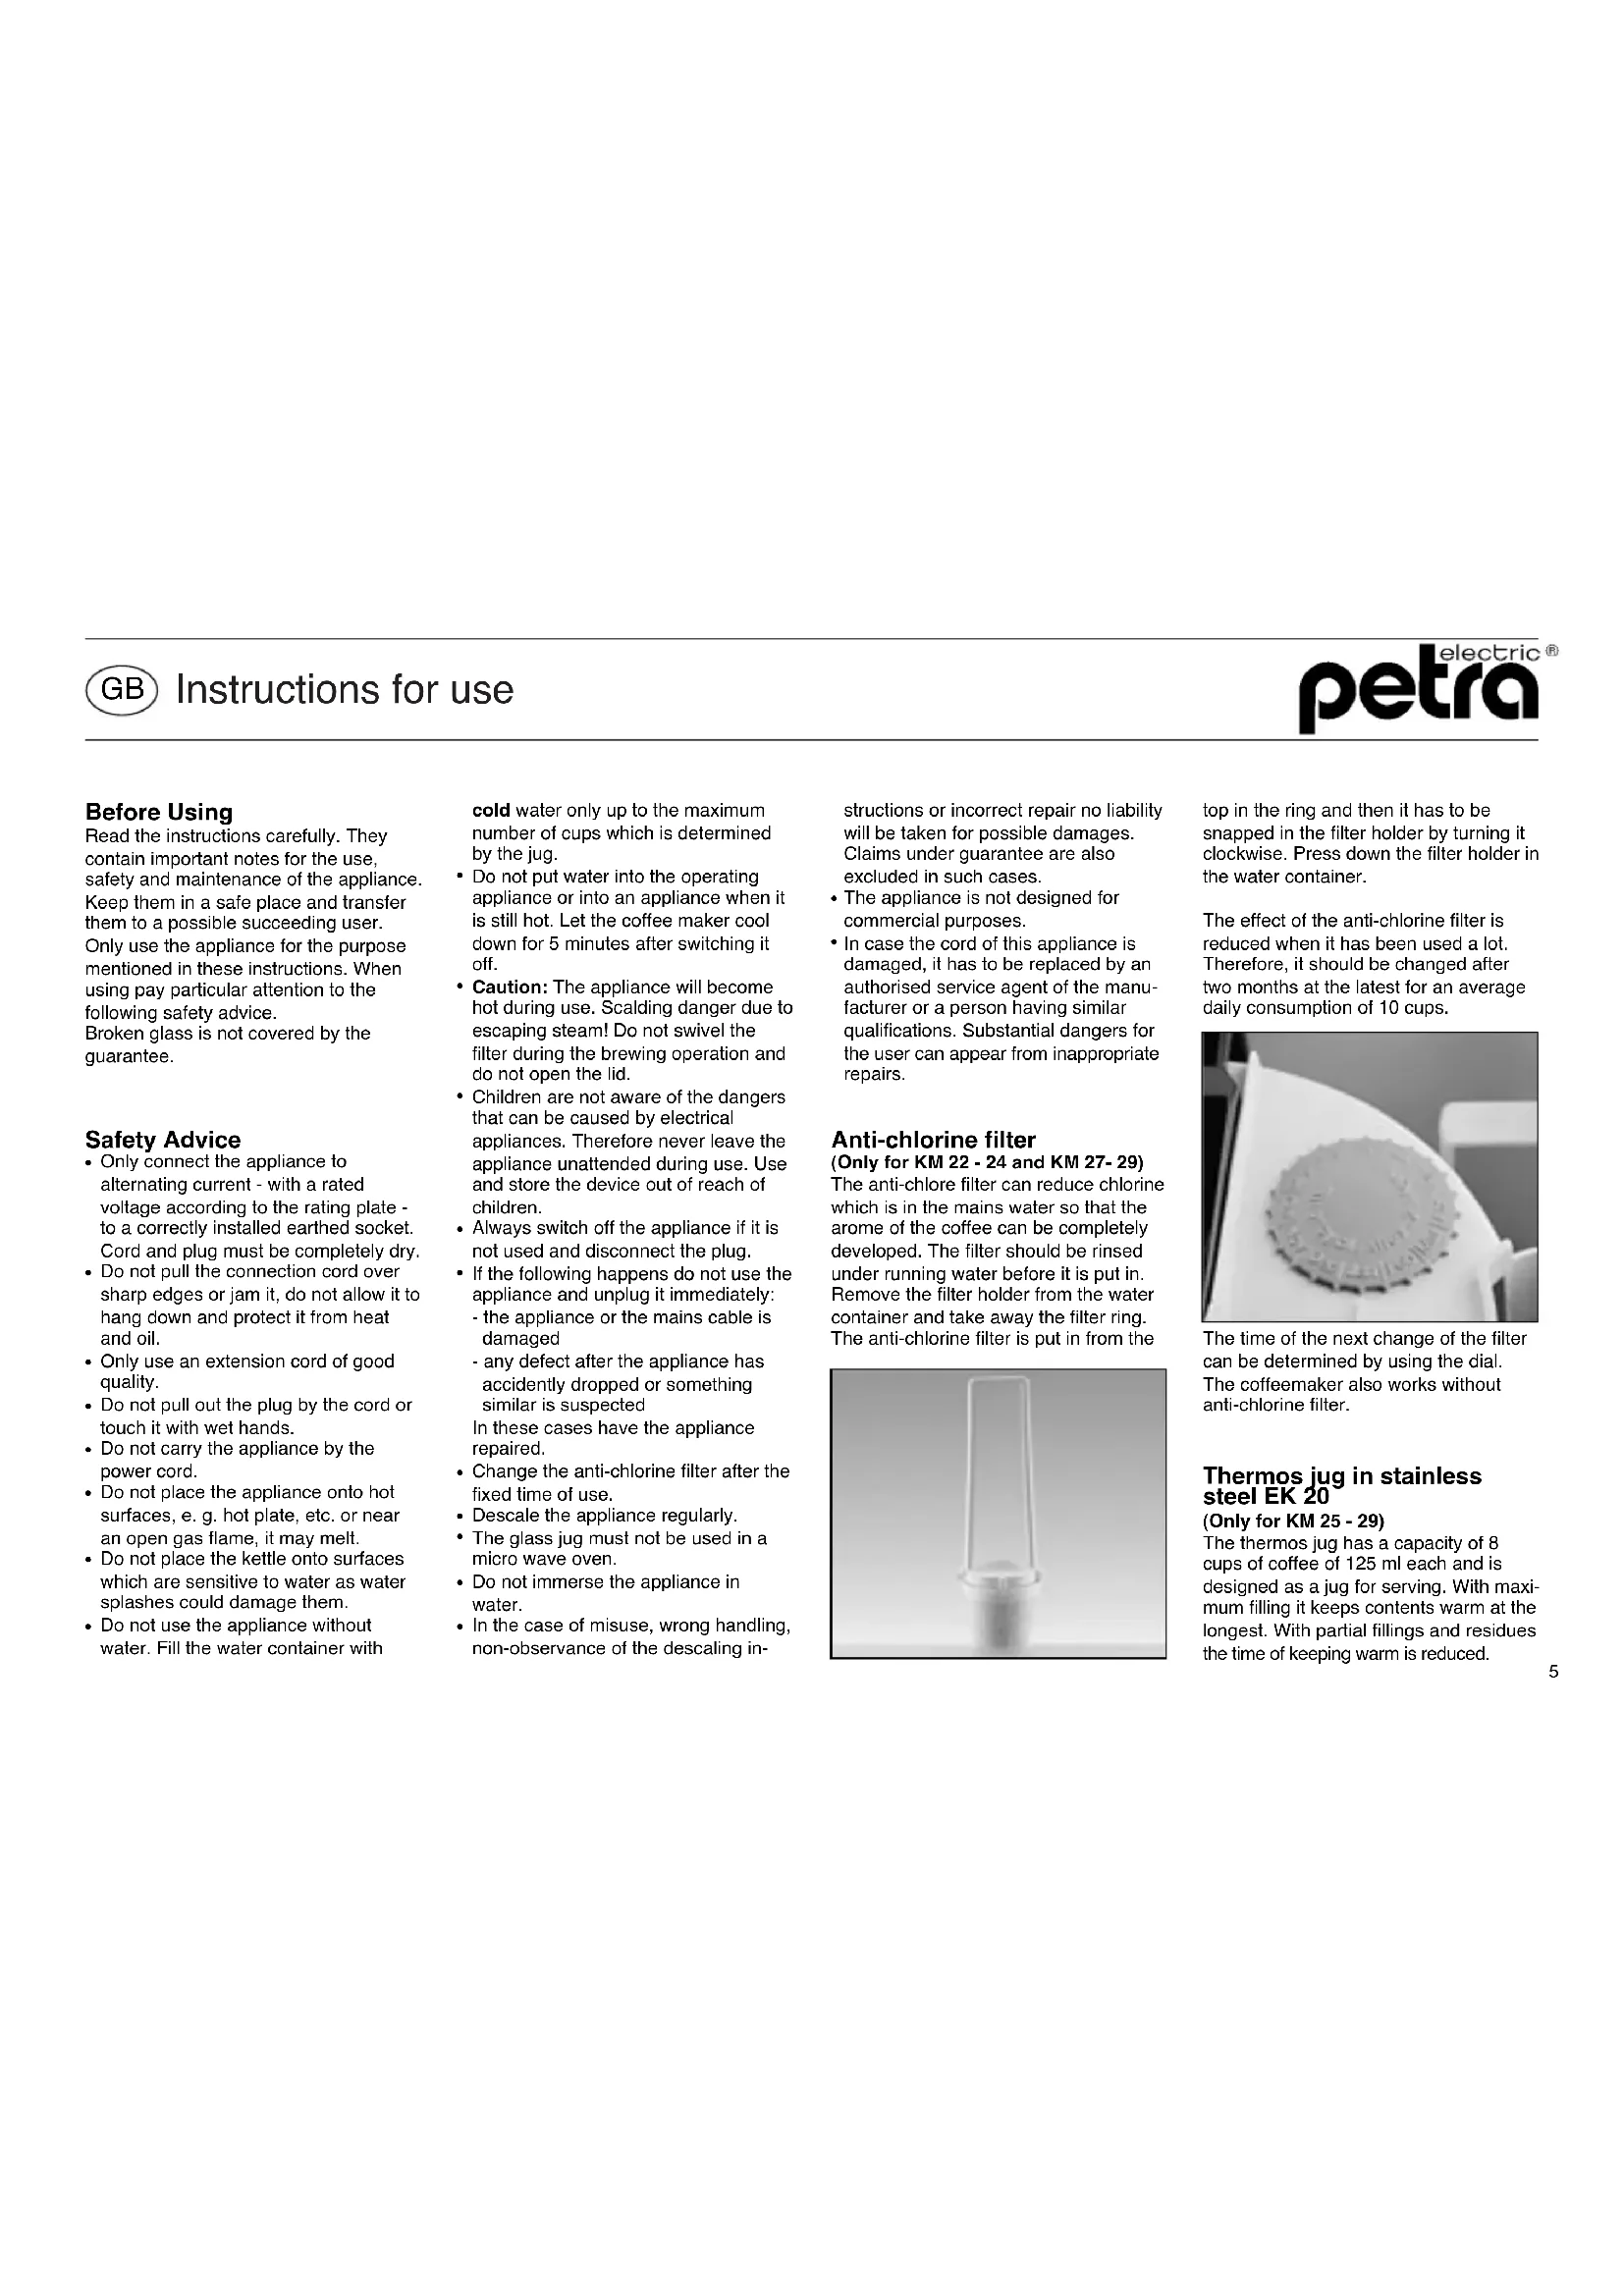
Black and white photo of a Petro coffee maker with clear lid and side panel (no visible text or symbols on the device itself)aroma perfection
GB Instructions for use
F Mode d'emploi
natural_image
Close-up of a transparent cylindrical object with a small protrusion at the bottom (no visible text or symbols)natural_image
Close-up of a circular mechanical component with textured surface (no visible text or symbols)natural_image
Close-up of a modern, silver and black plastic water heater (no visible text or symbols)natural_image
Close-up of a teapot pouring liquid into a round container (no text or symbols visible)natural_image
Close-up of a kitchen appliance's side panel showing a rotary knob (no visible text or symbols)Anti-Chlor-Filter ACF 3
GB Instructions for use

Before Using
Read the instructions carefully. They contain important notes for the use, safety and maintenance of the appliance. Keep them in a safe place and transfer them to a possible succeeding user. Only use the appliance for the purpose mentioned in these instructions. When using pay particular attention to the following safety advice. Broken glass is not covered by the guarantee.
Safety Advice
- Only connect the appliance to alternating current - with a rated voltage according to the rating plate - to a correctly installed earthed socket. Cord and plug must be completely dry.
- Do not pull the connection cord over sharp edges or jam it, do not allow it to hang down and protect it from heat and oil.
- Only use an extension cord of good quality.
- Do not pull out the plug by the cord or touch it with wet hands.
- Do not carry the appliance by the power cord.
- Do not place the appliance onto hot surfaces, e. g. hot plate, etc. or near an open gas flame, it may melt.
- Do not place the kettle onto surfaces which are sensitive to water as water splashes could damage them.
- Do not use the appliance without water. Fill the water container with
cold water only up to the maximum number of cups which is determined by the jug.
- Do not put water into the operating appliance or into an appliance when it is still hot. Let the coffee maker cool down for 5 minutes after switching it off.
- Caution: The appliance will become hot during use. Scalding danger due to escaping steam! Do not swivel the filter during the brewing operation and do not open the lid.
- Children are not aware of the dangers that can be caused by electrical appliances. Therefore never leave the appliance unattended during use. Use and store the device out of reach of children.
• Always switch off the appliance if it is not used and disconnect the plug. - If the following happens do not use the appliance and unplug it immediately: - the appliance or the mains cable is damaged
- any defect after the appliance has accidentally dropped or something similar is suspected In these cases have the appliance repaired.
- Change the anti-chlorine filter after the fixed time of use.
• Descale the appliance regularly.
- The glass jug must not be used in a micro wave oven.
- Do not immerse the appliance in water.
- In the case of misuse, wrong handling, non-observance of the descaling in-
structions or incorrect repair no liability will be taken for possible damages. Claims under guarantee are also excluded in such cases.
• The appliance is not designed for commercial purposes.
- In case the cord of this appliance is damaged, it has to be replaced by an authorised service agent of the manufacturer or a person having similar qualifications. Substantial dangers for the user can appear from inappropriate repairs.
Anti-chlorine filter
(Only for KM 22 - 24 and KM 27 - 29)
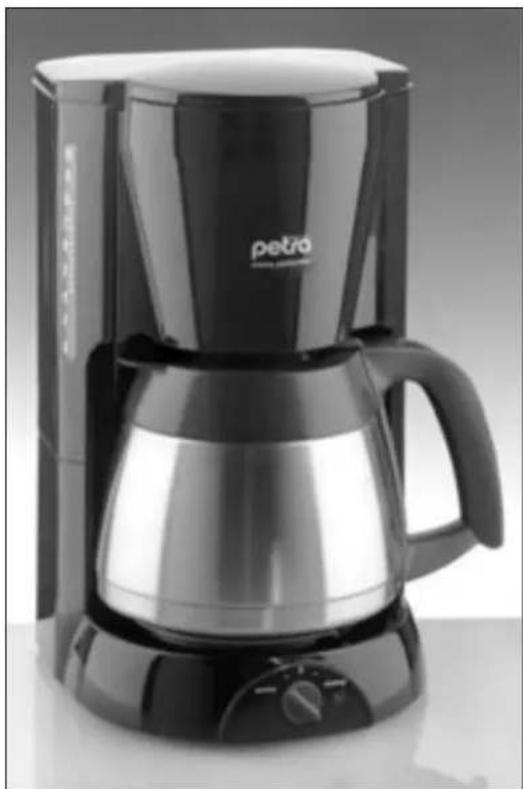
The anti-chlore filter can reduce chlorine which is in the mains water so that the aroma of the coffee can be completely developed. The filter should be rinsed under running water before it is put in. Remove the filter holder from the water container and take away the filter ring. The anti-chlorine filter is put in from the
natural_image
Close-up of a transparent cylindrical object with a small protrusion at the bottom (no text or symbols visible)top in the ring and then it has to be snapped in the filter holder by turning it clockwise. Press down the filter holder in the water container.
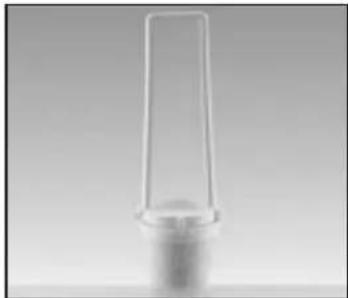
The effect of the anti-chlorine filter is reduced when it has been used a lot. Therefore, it should be changed after two months at the latest for an average daily consumption of 10 cups.

natural_image
Close-up of a circular mechanical component with radial grooves, possibly a gear or sensor (no visible text or symbols)The time of the next change of the filter can be determined by using the dial. The coffeemaker also works without anti-chlorine filter.
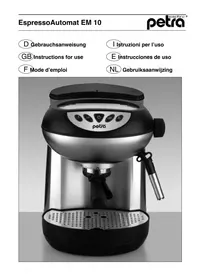
Thermos jug in stainless steel EK 20
(Only for KM 25 - 29)
The thermos jug has a capacity of 8 cups of coffee of 125 ml each and is designed as a jug for serving. With maximum filling it keeps contents warm at the longest. With partial fillings and residues the time of keeping warm is reduced.
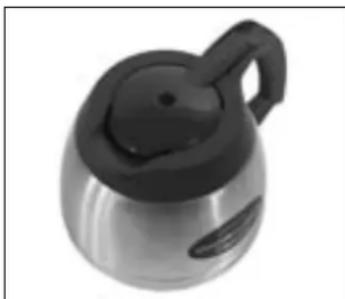
natural_image
Close-up of a modern black and silver teapot with a handle and lid (no visible text or symbols)Rinse the jug with hot water before preparing the coffee and put it under the filter with the direct brewing lid. The jug should be closed with the closing lid immediately after brewing in order to avoid that the prepared coffee will cool. For technical reasons, the seal does not close 100 % so that the lid cannot suck. Therefore only transport and put down the filled jug upright.
Attention: immediately after brewing the base of the thermos jug is hot. Therefore only hold it by the grip when you want to carry it and for putting it down. On sensitive surfaces protect it with a coaster.
For pouring open the lid anti-clockwise like shown in the illustration. Do not use the thermos jug for keeping warm milk products and baby food because the bacteria could multiply uncontrollably.
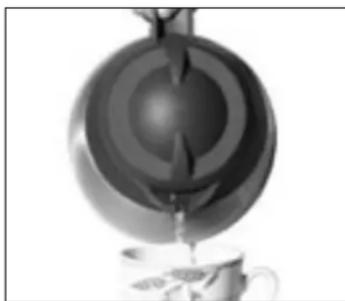
natural_image
Black and white photo of a hand pouring liquid from a circular container (no text or symbols visible)Flavour selection switch (Only for KM 22/24 and 27/28)
The flavour selection switch offers the possibility to prepare a coffee to one's own taste.
aroma • strong aromatic coffee
- preferably for 2 - 4 cups
- off
normal ● mild aromatic coffee
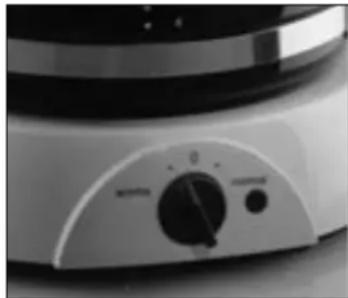
natural_image
Close-up of a kitchen appliance control panel with no visible text or symbolsWhen choosing the control lamp lights up and the brewing starts.
Putting into operation
The cord which is not needed can be put in the cable compartment.
Before first use and after the appliance has not been used for a long time operate the appliance with maximum water content and without coffee. Then rinse the filter and the jug with hot water.
Preparing coffee
Fill in cold water into the water container. The water level indication indicates the number of brewed cups with 125 ml of coffee each.
The scale on the glass jug also indicates the water quantity for normal cups at 125ml and small cups at 100ml . This quantity indication is not valid for the prepared coffee because some water evaporates during preparation. For filling in the coffee swivel the filter holder forwards and insert a paper filter 1× 4 with the filter folder along the embossed line. Make sure that the filter is within the filter holder by exerting light pressure.
Fill in the necessary quantity of coffee. Use approximately 5 - 7 grams of medium fine ground coffee per cup or according to personal preference. If the coffee is too fine ground, the draining from the filter can be hindered and it can overflow.
Connect plug with a safety socket and switch on. The operation lamp will light
up. The brewing process starts.
After the brewing process the jug can be removed without coffee dripping from the filter.
With the warming plate switched on the coffee is automatically kept at serving temperature in the glass jug until the appliance will be switched off.
After brewing, close the thermos jug with the closing lid in order to avoid that the coffee will cool before serving. After that, switch off the appliance.
Observe that the coffee is losing flavour when it is kept warm for too much time.
Soluble coffee can be used in the filter without paper.
Prepare tea by hanging the tea bags into the jug. Put the empty filter into the filter holder. Used tea bags and paper filters with coffee can be composted.
Accessories
Accessories can be bought where the appliance has been bought or ordered directly from the manufacturer.
Anti-chlorine filter ACF 3
Three replacement jugs, only for KM 22 -24 and KM 27-29
Thermos jug in stainless steel EK 20 Thermos jug with brewing lid for KM 20 - 24
Glass jug GK 20
Glass jug with lid for KM 25 - 29
Gold filter GF 1
For all coffeemakers
Cleaning and maintenance
Disconnect the appliance from the socket and let the coffeemaker cool down. Never immerse the appliance in water. Use a damp cloth with detergent and rub dry afterwards.
Do not use abrasive or scouring agents. Filter and glass jug can be cleaned under running water or in a dish washer.
Do not immerse the thermos jug in stainless steel in water, eventually clean it with a brush. In case after some time there should be a film inside the jug you can use a pill suitable for cleaning dentures to get it off. Fill in water plus the pill and leave it some hours. Then rinse it several times.
Descaling
Like other hot water appliances the coffee maker has to be descaled periodically. A considerable longer brewing time and a higher noise level are an indication that the appliance needs to be descaled. The following indications are guidelines which refer to a daily use in the household.
| Degree of Descaling hardness intervals | |
| 1 water with low calcium content | descale twice a year |
| 2 water with descale medium times calcium content | four a year |
| 3 and 4 water with high calcium content | descale monthly |
You can ask for the degree of hardness in your residential area at the responsible waterworks or the local administration.
Use a standard descaling agent which is appropriate for appliances with thermos jugs in stainless steel according to the application instructions.
For descaling the anti-chorine filter has to be removed if available.
Use a paper filter and put the jug in the coffee maker. Pour approximately 1 litre of the descaling agent, diluted according to the application instructions. If during the brewing process the appliance is switched off several times for some minutes, the descaling agent can work at best.
Repeat this process with a new descaling agent each until the disturbing noise is removed. Never pour hot descaling solution into the water container.
Attention: After descaling it is necessary to operate the appliance 2 times with a full container of water as done before the first use. Damages caused by the non-observance of these instructions are not covered by the guarantee.
For UK use only
-
This product is supplied with a 13 A plug conforming to BS 1363 fitted to the mains lead. If the plug is unsuitable for your socket outlets or needs to be replaced, please note the following. If the plug is a non-rewireable one, cut it from the mains lead and immediately dispose of it. Never insert it into a socket outlet as there is a very great risk of an electric shock.
-
The replacement of the plug at the mains lead has to be done according to the following instructions:
Warning - This appliance must be earthed
Important: The wires in this mains lead are coloured in accordance with the following code:
green / yellow: Earth blue: Neutral
brown: Live
As the colours of the wires in the mains lead of this appliance may not correspond with the coloured markings identifying the terminals in your plug, proceed as follows:
- the wire which is coloured green and yellow must be connected to the
terminal which is marked with the letter E or by the earth symbol ⏻, or coloured green or green and yellow,
- the wire which is coloured blue must be connected to the terminal which is marked with the letter N or coloured black,
- the wire which is coloured brown must be connected to the terminal which is marked with the letter L or coloured red.
- If a 13 A (BS 1363) plug is used it must be fitted with a 13 A fuse conforming to BS 1362 and be ASTA approved. If any other type of plug is used, the appliance must be protected by a 10 A fuse either in the plug or adapter or at the distribution board. If in doubt - consult a qualified electrician.
- Never use the plug without closing the fuse cover.

The appliance complies with the EC regulations no. 73/23 EWG and no. 89/336 EWG.
Subject to technical changes.
Proper dispose of the packaging material.

Mode d'emploi