Galileo M80008 - Aspirateur DIRT DEVIL - Free user manual and instructions
Find the device manual for free Galileo M80008 DIRT DEVIL in PDF.
Download the instructions for your Aspirateur in PDF format for free! Find your manual Galileo M80008 - DIRT DEVIL and take your electronic device back in hand. On this page are published all the documents necessary for the use of your device. Galileo M80008 by DIRT DEVIL.
USER MANUAL Galileo M80008 DIRT DEVIL
Cylinder vacuum cleaner
* Mo.– Fr., 8 – 20 Uhr26
Overview of your Galileo
E Overview of your Galileo Thank you!
Thank you for buying the Galileo and for your confidence in us.
Parts/scope of delivery (Fig. 1)
Technical data Technical and design specifications may be changed in the course of continuous product improvement.© Royal Appliance International GmbH 1 Power cord with plug
4 Suction power control
5 LED display, two-coloured
blue: The appliance is switched on
red: Change the dust filter bag
8 Dust compartment cover release latch
9 Dust compartment cover
10 Suction hose release catch
11 Cord retraction button
12 Hygienic exhaust filter (in the appliance)
13 Exhaust filter cover
14 Basket (in the appliance)
15 Basket (in the appliance)
(one in the appliance, one in the box)
17 Motor protection filter with filter holder
18 Floor nozzle (illustration serves as an example)
19 "Carpet/hard floor" selector
(Illustration serves as an example)
20 Parking/storage hook
(illustration serves as an example)
21 Click lock with release catch
23 Telescopic tube catch
24 Click lock with release catch
27 3-in-1 combi-nozzle (to be used as
Upholstery nozzle (Fig. 7/1)
Furniture brush (Fig. 7/2)
Crevice nozzle (Fig. 8/2)
optional accessories* (*i. e. included in the scope
of delivery depending on model and features):
Type of appliance : Cylinder vacuum cleaner with bag
Weight : approx. 5.7 kg
1.2 Re: Certain groups of persons 28
1.3 Re: Appropriate use 29
1.4 Re: Power supply 30
1.5 If the appliance is defective 30
2 Unpacking and assembling 31
2.3 Select additional nozzles depending on the type of floor 34
2.4 Fitting on the selected nozzle 36
3.1 Vacuum cleaning 37
3.2 Adjusting suction power 38
3.3 Switching off the appliance and retracting the power cord 38
3.4 Transport and storage 39
4.1 Changing the dust filter bag 40
4.2 Cleaning / changing the motor protection filter 42
4.3 Cleaning / changing the exhaust filter 43
4.4 Cleaning the housing 44
5 Troubleshooting 45
6 Spare parts and disposal 46
6.1 Accessories and spare parts 46
6.2 Supply sources 46
7.1 Warranty conditions 47
7.2 In case of a warranty claim 47 List of conte nts28
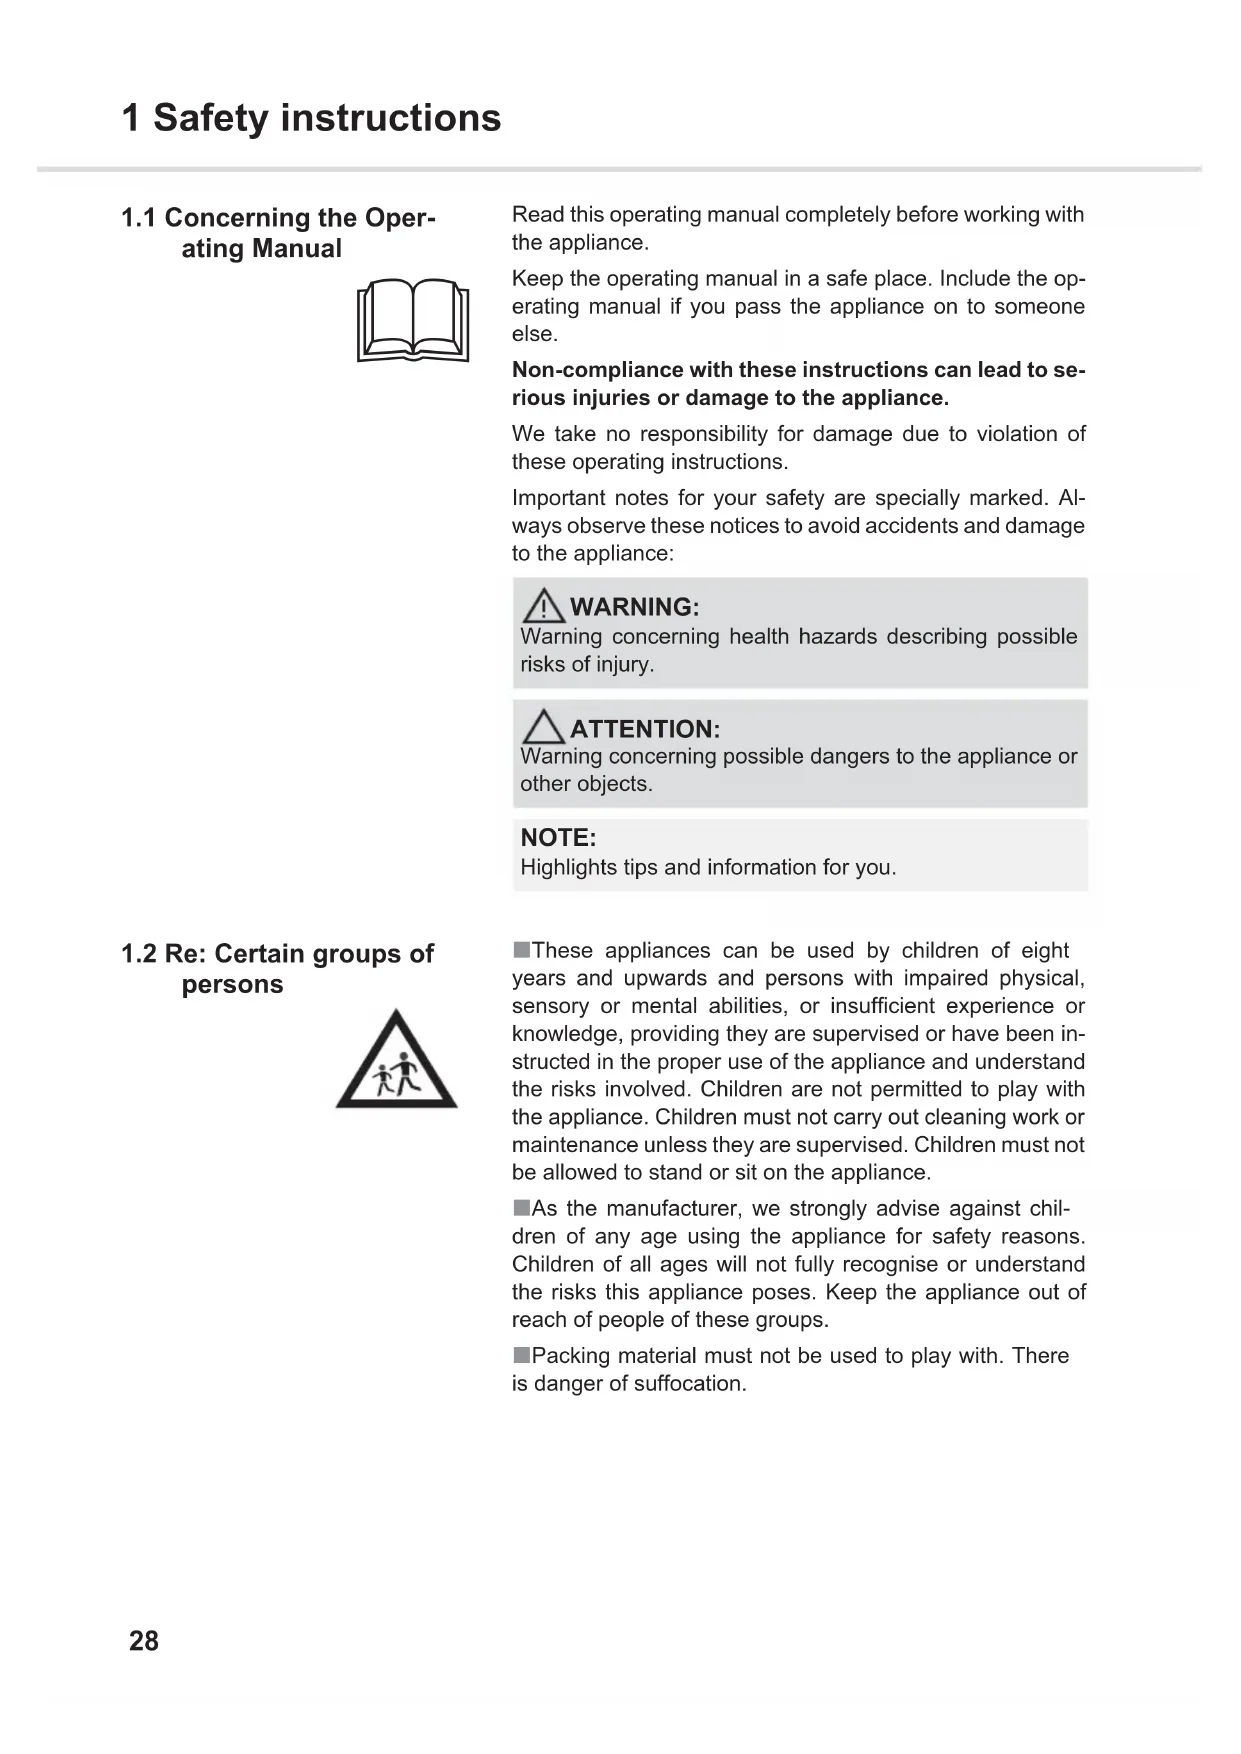
1 Safety instructions 1 Safety instructions 1.1 Concerning the Oper-
ating Manual Read this operating manual completely before working withthe appliance. Keep the operating manual in a safe place. Include the op-erating manual if you pass the appliance on to someoneelse. Non-compliance with these instructions can lead to se-rious injuries or damage to the appliance.We take no responsibility for damage due to violation ofthese operating instructions.Important notes for your safety are specially marked. Al-ways observe these notices to avoid accidents and damageto the appliance: 1.2 Re: Certain groups of
persons These appliances can be used by children of eightyears and upwards and persons with impaired physical,sensory or mental abilities, or insufficient experience orknowledge, providing they are supervised or have been in-structed in the proper use of the appliance and understandthe risks involved. Children are not permitted to play withthe appliance. Children must not carry out cleaning work ormaintenance unless they are supervised. Children must notbe allowed to stand or sit on the appliance. As the manufacturer, we strongly advise against chil-dren of any age using the appliance for safety reasons.Children of all ages will not fully recognise or understandthe risks this appliance poses. Keep the appliance out ofreach of people of these groups. Packing material must not be used to play with. Thereis danger of suffocation.
Warning concerning health hazards describing possiblerisks of injury.
Warning concerning possible dangers to the appliance orother objects.
Highlights tips and information for you.
1 Safety instructions
1.3 Re: Appropriate use
The cylinder vacuum cleaner is intended for home use
only. It is not suitable for commercial use.
Use the cylinder vacuum cleaner only for cleaning dry,
normally soiled floors. With the furniture brush attached,
you may also use the appliance for vacuuming furniture
surfaces. When the upholstery nozzle is in place, uphol-
stery can also be vacuumed.
Any other use is considered inappropriate and is prohibited.
It is especially forbidden:
- Persons, animals, plants, especially hair, fingers and
other parts of the body as well as pieces of clothing
worn on the body. They could be sucked in and cause
- Water and other fluids, especially damp carpet clean-
ing agents. Moisture inside the appliance can cause a
- Toner dust (for laser printers, copying-machines,
etc.). There is danger of fire or explosion.
- Hot ash, burning cigarettes or matches. This could
- Pointed objects, such as glass shards, nails, etc.
They can damage the filters and the appliance.
- Rubble, plaster, cement, fine drilling-dust, cosmetics,
etc. These might damage the appliance.
To use the appliance near explosive or easily flamma-
ble substances. There is danger of fire or explosion.
To use the appliance outdoors. There is danger of rain
or dirt destroying the appliance.
To stick objects into the appliance's openings. It could
To modify or repair the appliance yourself. There is dan-
1 Safety instructions
1.4 Re: Power supply
The appliance is operated with electrical power which
means there is always a risk of electric shock. So please
observe the following in particular:
- Never touch the plug with wet hands.
- Always pull directly on the plug if you want to discon-
nect the appliance from the mains. Never pull the
power cord, it might break.
- Take care that the power cord is not bent, pinched, or
rolled over and ensure it does not come into contact
- Only connect the appliance to 3-pole safety sockets.
- Only use extension cords of sufficient capacity for the
power requirement of the appliance.
- Never immerse the appliance in water or other liquids;
keep it away from rain and moisture.
- Only operate the appliance if your mains voltage is
the same as that indicated on the appliance’s type
plate. The wrong voltage can destroy the appliance.
- If the power cord of this appliance is damaged it must
be replaced by the manufacturer, the manufacturer's
authorised service representative or a similarly quali-
fied person to avoid danger.
- Before you clean or maintain the appliance, switch off
the appliance and unplug the mains plug from the
1.5 If the appliance is
Never use a defective appliance or operate an appli-
ance with a defective power cord. If the power cord of this
appliance is damaged, it must be replaced by the manufac-
turer, the manufacturer's authorised service representative
or a similarly qualified person to avoid danger.
Bring or send a defective appliance to an authorized
dealer or the Royal Appliance service for repair. Address
ZChapter 7.2, ‘In case of a warranty claim’.31
2 Unpacking and assembling
GB 2 Unpacking and assembling 2.1 Unpacking 1. Unpack the appliance and all its accessories. 2. Check the contents for completeness and possibledamage. Information regarding scope of deliveryZPage 26, „Overview of your Galileo“.
Always transport or ship the appliance in its originalpackaging to avoid damage. Keep the packaging for thispurpose. Dispose of no longer needed packaging mate-rial according to the applicable regulations of your coun- try.
Immediately contact your dealer if you have found dam-age resulting from transport.32
2 Unpacking and assembling
2.2 Assembly 1. Insert the connecting tube of the suction hose into theintake opening (Fig. 2) of the cylinder vacuum cleaneruntil you feel and hear it snap into place. 2. Insert the handle into the upper end of the telescopictube until you feel and hear the click lock snap into place(Fig. 3). 3. By slightly pulling apart, check whether handle and tel-escopic tube are securely connected.
Danger of injury! Only assemble the appliance if it is notconnected to the power supply. Otherwise the machinemight start up and parts of your body, hair or pieces ofclothing might be sucked in.
When fitting the two parts together, it may be necessaryto turn them slightly counter to each other, until the youfeel and hear the click lock snap into place.
If you want to disconnect the two elements, you mustpress the release catch on the telescopic tube (Fig. 3/magnifying glass) and then pull the handle out of thetube.
2 Unpacking and assembling
4. Attach the floor nozzle on the lower end of the telescop-
ic tube (Fig. 4), until the you hear and feel the click lock
of the floor nozzle snap into place.
5. By lightly pulling apart, check whether telescopic tube
and floor nozzle are securely connected.
6. Adjust the length of the telescopic tube. Push the re-
lease latch on the tube downward to do this (Fig. 5).
Then extend the telescopic tube to the desired length.
Let go of the release catch while pulling until it locks in
place. You will hear a distinct click.
Your cylinder vacuum cleaner is now ready for use.
When fitting the two parts together, it may be necessary
to turn them slightly counter to each other, until the you
feel and hear the click lock snap into place.
If you want to disconnect the two elements, you must
press the release catch on the telescopic tube (Fig. 4/
magnifying glass) and then pull the handle out of the floor
2 Unpacking and assembling
2.3 Select additional noz-
zles depending on the
type of floor You can extend the functionality of your cylinder vacuumcleaner with the help of additional nozzles as follows: As an accessory the 3-in-1 combi-nozzle (Fig. 6/1) is in- cluded in the scope of delivery. You can use this as: Upholstery nozzle (Fig. 7/1): Use this to clean soft, scratch-resistant surfaces (e.g. upholstered furniture). Furniture brush (Fig. 7/2): Use this to vacuum dust off objects that have sensitive surfaces. Crevice nozzle (Fig. 8/2): Use this to vacuum dustfrom hard-to-reach places.- To do this, just push the "PRESS" button to unlock thefurniture brush attachment (Fig. 8/1) and pull it off.- If you later want to reattach the furniture brush attach-ment, push the "PRESS" button again and slide thefurniture brush attachment back on again (Fig. 8/3). 1
2 Unpacking and assembling
GB Optionally available (i. e. included in the scope of delivery
depending on model and features):
Parquet brush (Fig. 9): This is used for vacuuming
particularly delicate surfaces (e .g. parquet, laminate) with
its long, soft bristles.
Turbo brush (Fig. 10): This is used to vacuum non-
sensitive carpets, runners, mats, and the like.
Mini turbo brush (Fig. 11): This is used to vacuum
non-sensitive upholstery, runners, mats, and the like.
Our (mini) turbo brush can only be used to vacuum
surfaces that are not sensitive. Do not clean any floors
or objects with the (mini) turbo brush that you would not
clean without a second thought with a conventional
brush. Therefore, do not clean sensitive or polished floor
surfaces with the (mini) turbo brush. Nor should you
clean furniture, sensitive carpets, upholstery, covers, or
any material with a sensitive texture with the (mini) turbo
brush. If in doubt, refrain from using the (mini) turbo
brush. In every instance, observe the instructions for
care and cleaning of the respective manufacturer.
2 Unpacking and assembling
2.4 Fitting on the selected
Proceed as follows attach the nozzles:
1. If a nozzle is already mounted, pull it off.
2. Attach the desired nozzle on the lower end of the tele-
scopic tube (Fig. 12) or, if necessary, directly onto the
3. For a secure hold of the nozzle, press it forcefully when
sliding the nozzle on and simultaneously turn it back
4. Keep the other nozzles safe and inaccessible to chil-
Danger of injury! Only attach the nozzles if the appliance
is not connected to the power supply. Otherwise the
machine might start up and parts of your body, hair or
pieces of clothing might be sucked in.
Use only intact nozzles. Defective nozzles may scratch
or damage surfaces and objects.
Irrespective of whether a nozzle has a click lock or not, it
can be attached to the telescopic tube or handle. To
attach nozzles which don’t have a click lock securely, it is
advisable to push them on firmly whilst turning them.
If a nozzle with a click lock was attached before, you
have to unlock it before pulling off (Fig. 4/magnifying
GB 3Operation 3.1 Vacuum cleaning
1. Attach the desired nozzle, ZChapter 2.2, ‘Assembly’ or ZChapter 2.4, ‘Fitting on the selected nozzle’.2. Pull out the power cord until the yellow marking is visible(Fig. 14/1). 3. Insert the mains plug into a socket with ground/safetycontact.4. Switch on the cylinder vacuum cleaner with the on/offswitch (Fig. 15/2). The LED display (Fig. 1/5) is illumi-nated blue.5. Set the selector to "carpet" or "hard floor" according tothe floor covering to be cleaned:- Carpet (Fig. 16):For deep- and short-pile carpets, runners, etc.- Hard floor (Fig. 17): For laminate, tiles, PVC, etc.6. When working with the vacuum cleaner, pull it after youlike a sleigh. Follow the recommendations of the floor-ing manufacturers. WARNING: Danger of injury! A damaged appliance must never beused. Check the vacuum cleaner and the power cordeach time before using it. ATTENTION: Only use the cylinder vacuum cleaner when all filters areintact, dry and correctly fitted. Make sure that no open-ings are clogged. Otherwise the vacuum cleaner mightbe damaged. WARNING: Danger of electric shock! If the red marking shows(Fig. 14/2) retract the cord by pressing the retract buttonto pull in the cable (Fig. 15/1) up to the yellow markagain. Otherwise the cable can tear off. WARNING: Danger of injury! Especially when vacuum-cleaning stairsmake sure that you always stand on a higher level thanthe appliance.
3.2 Adjusting suction
power You can adjust the suction power to suit the type of floor be-ing cleaned. 1. Slide the suction power control to variably adjust thesuction power (Fig. 18/1):- Low suction power ("min"):For example for textiles, such as curtains and drapes- High suction power ("max"):For example for deep-pile carpets
3.3 Switching off the appli-
ance and retracting the
power cord 1. Switch off the cylinder vacuum cleaner with the on/offswitch (Fig. 20/1) and unplug the plug from the mainssocket.2. Keep the plug in your hand. 3. Push the cable retraction button (Fig. 20/2) to retractthe power cord.
Your vacuum cleaner has an integrated protection function that trips before the appliance can overheat (e. g. due to blocked suction paths or an overfilled dust filter bag). If this protective func- tion trips, the suction power will be strongly reduced. If this occurs, switch off the device, unplugthe plug from the socket and eliminate the cause of overheating. You can then turn the clean,fully-assembled vacuum cleaner back on.
The bypass vent (Fig. 19) must be completely closed forvacuuming. With the bypass vent you can quickly reducethe suction power, e.g. to release curtains that have acci-dentally been sucked in.
Danger of injury! During uncontrolled retraction, thepower cord can whip around, become a tripping hazardor knock over objects. Therefore, keep the plug in yourhand and guide the cord when retracting it.
3.4 Transport and storage
To transport the cylinder vacuum cleaner, you can car- ry it by the carrying-handle (Fig. 21). To park it or when interrupting work you can hook the parking/storage hook onto the parking bracket (Fig. 22). Itis recommended to first retract the telescopic tube. For storing you can hook the parking/storage hook into the storage bracket on the bottom of the cylinder vacuumcleaner (Fig. 23). It is recommended to first retract the tele-scopic tube. For prolonged storage replace the dust filter bag with
a new one ZChapter 4.1, ‘Changing the dust filter bag’. Always store the appliance in a cool, dry place and outof reach of children. WARNING: Danger of injury! Switch off the appliance when not work- ing with it and observe the notices under ZChapter 3.3, ‘Switching off the appliance and retracting the powercord’. ATTENTION: Never store the appliance next to heat sources(e.g. stoves or radiators). Avoid exposing it to direct sun-light. Heat can damage the appliance. 1
ter bag Change the dust filter bag - when the LED display (Fig. 24/1) lights up red,- before prolonged storage or - before you send in the appliance. For hygienic reasons, change the dust filter bag at leastonce every three months. 1. Switch off the appliance and unplug the plug from themains socket, ZChapter 3.3, ‘Switching off theappliance and retracting the power cord’. 2. Unlock the dust chamber cover (Fig. 26) and open itwide until it tangibly clicks into place and remains openwithout having to be held. 3. Carefully pull the dust filter bag holder with the filter bagupward and out of the appliance (Fig. 27).
When leaving your working-area, switch off the applianceand mind the notices at ZChapter 3.3, ‘Switching off theappliance and retracting the power cord’. In this way youavoid dust destroying the appliance.
To ensure that the dust compartment cover stays openby itself, it is recommended to first disconnect the suctionhose. To do this push both release buttons simultane-ously (Fig. 25).
Be careful when removing the dust filter bag so that nodust can escape.
It may be that you can better remove the full dust filterbag if you lift it out of the appliance directly together withthe basket. To do this use both shanks (Fig. 27/1).
4. Carefully pull the full dust filter bag carefully out of the
dust bag holder (Fig. 28/A).
5. Take this opportunity to check the motor protection filter
as well (ZChapter 4.2, ‘Cleaning / changing the motor
protection filter’).
6. Remove any dust that may have collected in the dust
7. Slide the new dust filter bag into the filter bag holder
(Fig. 29/A) until it rests precisely on the edge of the dust
8. If you have previously removed the basket, reinsert it
9. Slide the dust bag holder with the new dust bag back
into the two guides (Fig. 31). Push the dust filter bag
holder all the way down.
10. Close the dust compartment cover. It audibly snaps into
If you are sure that it does not contain any prohibited
waste material, you can dispose of the dust filter bag with
your normal domestic waste.
The dust compartment cover can only be closed if the
dust filter bag and dust bag holder have been inserted
4.2 Cleaning / changing
the motor protection
filter Clean the motor protection filter at every filter bagchange, but at the latest every 3 months. Change the motor protection filter each time you open anew package of dust filter bags, as a new motor protectionfilter is always included in the package. However changethe motor protection filter at the latest every 6 months.1. Switch off the appliance and remove the dust filter bag as described in ZChapter 4.1, ‘Changing the dust filter bag’, steps 1-3.2. Pull the basket upward and out of the dust compartment(Fig. 32). 3. Remove the filter holder together with the motor protec-tion filter by pulling it upward and out of the appliance(Fig. 33).4. Hold the filter holder with the motor protection filter overa dustbin, sink or similar receptacle.5. Separate the motor protection filter from the filter holder(Fig. 34).6. Thoroughly knock the dust off of the motor protection fil- ter. 7. If such dry cleaning is insufficient, thoroughly rinse thefilter by hand in running clean cold or hand-warm water. 8. If the motor protection filter is damaged or deformed, re-place it with a new one (ZChapter 6.1, ‘Accessoriesand spare parts’). 9. Push the motor protection filter back into the filter holder(Fig. 34). Ensure that the motor protection filter is locat-ed behind all 4 tabs of the holder (Fig. 34/1) at the sametime.10. Push the motor protection filter with new/cleaned filterback behind its 2 guide rails until it will go no further(Fig. 35).11. Put the basket back into the dust compartment.12. Slide the dust bag holder with the new dust bag backinto its guides, ZChapter 4.1, ‘Changing the dust filterbag’.13. Close the dust compartment cover. It audibly snaps intoplace.
The motor protection filter is washable, but it may not becleaned in dishwashers or washing-machines. Do notuse cleaning agents for cleaning. Then allow the motorprotection filter to dry (approx. 24 hours at room temper-ature). Only put it back into the appliance when it is com-pletely dry.
4.3 Cleaning / changing
the exhaust filter Clean the exhaust filter each time you clean the motorprotection filter. Change the hygienic exhaust filter as soon as it is de-formed or damaged.1. Switch off the appliance and unplug the plug from themains socket, ZChapter 3.3, ‘Switching off theappliance and retracting the power cord’.2. Unlock the exhaust filter cover (Fig. 36) and remove it.3. Take the hygienic exhaust filter out of its bracket andcheck it for fouling (Fig. 37).4. Knock the dirt out of the hygienic exhaust filter over adustbin. 5. Should this be insufficient, clean the filter with a softbrush, e. g. the furniture brush supplied with the appli-ance (Fig. 38).6. If the hygienic exhaust filter is still dirty after this proce-dure, thoroughly rinse it by hand until all dirt is gone(Fig. 39).
The filters are washable, but not suitable for cleaning inwashing machines or dishwashers. Also, do not use deter-gents or brushes with hard bristles to clean them.
4 Maintenance 7. Let the filters dry for approx. 24 hours at room tempera-ture after cleaning. 8. If the filter is damaged or deformed, replace it (orderinginformation ZChapter 6.1, ‘Accessories and spareparts’).9. Place the new / cleaned and completely dry exhaust fil-ter back in its receptacle (Fig. 41). 10. Fit on the exhaust filter cover, starting at the rear.11. Then press the exhaust filter cover firmly down until youfeel and hear it snap into place (Fig. 42). 4.4 Cleaning the housing Only clean the outside of the housing using a slightlydamp cloth.
Only put it back in place when it is completely dry.
Make sure that the hygienic exhaust filter is always prop-erly in its position and the exhaust filter cover is alwayslocked completely in place, otherwise the exhaust air willnot be sufficiently filtered.
Do not use cleaning or scouring agents or alcohol, asthese might damage the appliance's housing.45
GB 5 Troubleshooting Before contacting us or sending the appliance to us, use the following table to check whether you can
correct the problem yourself.
Danger of injury! Never use a defective appliance! Always switch off the appliance and disconnect
it from the mains before starting troubleshooting ZChapter 3.3, ‘Switching off the appliance and
retracting the power cord’.
Problem Possible cause Solution
The integrated overheating pro-
tection has tripped (possibly
due to blocked suction chan-
nels, an overfilled dust filter
Switch the appliance off and unplug the plug
from the socket. Eliminate the cause of over-
heating (e. g. by disassembling telescopic
tube and suction hose and removing the ob-
stacle and/or cleaning filters). After the ap-
pliance has cooled off, you may switch it on
The attached nozzle does not
Fit the correct nozzle, ZChapter 2.4, ‘Fitting
on the selected nozzle’.
The "carpet/hard floor" selector
(Fig. 1/19) is in the wrong posi-
tion for the particular type of
Set the "carpet/hard floor" selector (Fig. 1/
19) to the correct position for the type of
floor, ZChapter 3.1, ‘Vacuum cleaning’,
The power setting does not suit
Set the power to the setting suggested for
the flooring, ZChapter 3.2, ‘Adjusting
The bypass vent (Fig. 1/25) is
Close the bypass vent (Fig. 1/25) ZChapter
3.2, ‘Adjusting suction power’.
The dust filter bag is full. Replace the dust filter bag with a new one,
ZChapter 4.1, ‘Changing the dust filter bag’.
The filters are dirty. Change/clean the respective filter,
ZChapter 4.2, ‘Cleaning / changing the
motor protection filter’ or ZChapter 4.3,
‘Cleaning / changing the exhaust filter’.
tion hose is blocked.
long wooden stick (e.g. a broomstick) to do
The dust filter bag is full. Replace the dust filter bag with a new one,
ZChapter 4.1, ‘Changing the dust filter bag’.
Nozzle, telescopic tube or suc-
tion hose is blocked.
long wooden stick (e.g. a broomstick) to do
If you were unable to solve the problem following this table, contact Customer Service (ZPage 160,
6 Spare parts and disposal
6.1 Accessories and spare
Accessory parts and spare parts can be purchased:
ZPage 160, ‘International Service’
Dispose of the appliance in compliance with the environ-
mental protection laws of your country. Electrical waste
may not be disposed of together with domestic waste. Use
local old-appliance collection points instead. The filters
used are made from environmentally-friendly materials.
You can dispose of these - unlike the device - with domestic
waste. If you are sure that it does not contain any prohibited
waste material, you can dispose of the dust filter bag with
your normal domestic waste.
Item number Contents
GB 7 Warranty 7.1 Warranty conditions
We offer a warranty of 24 months from the date of purchase for the appliances we sell.
Within this warranty period, we will correct all defects free of charge that are due to material or man-
ufacturing faults, either by repair work or replacing the appliance or accessories, at our discretion
(damage to accessory parts does not automatically lead to the entire appliance being replaced).
Damage due to inappropriate use (operation on wrong voltage or type of current, connecting to un-
suitable power supplies, breakage, etc.) are exempt from warranty, as are normal wear and minor
defects that only negligibly affect the appliance's value or serviceability.
Interventions by unauthorised parties and the use of spare parts not supplied by Royal
make the warranty null and void. Consumable parts are not included in the warranty and therefore
must be purchased by the customer!
The warranty is only valid if the date of purchase has been acknowledged by the dealer's stamp and
signature on the warranty card or if a copy of the invoice is included with the appliance that has been
sent in. Warranty work does not extend the warranty period nor does it constitute a claim for a new
7.2 In case of a warranty claim
Send us the appliance with an empty dust filter bag and a short description of the fault in printed
letters. Head your accompanying letter with the comment ‘warranty claim’. Send it to the following
address, including the warranty card or a copy of the receipt:
ZPage 160, ‘International Service’48
der jeweiligen ausländischen Anbieter und der jeweils aktuellen Tarife.
* € 0.14 per minute from German landlines, maximum German mobile phone tariff € 0.42 per minute.
The cost of calls from abroad—outside Germany—depend upon the current prices of the respective foreign