Steam Station Star - Iron NOVA - Free user manual and instructions
Find the device manual for free Steam Station Star NOVA in PDF.


User questions about Steam Station Star NOVA
0 question about this device. Answer the ones you know or ask your own.
Ask a new question about this device
Download the instructions for your Iron in PDF format for free! Find your manual Steam Station Star - NOVA and take your electronic device back in hand. On this page are published all the documents necessary for the use of your device. Steam Station Star by NOVA.
USER MANUAL Steam Station Star NOVA
Steam Station Star Article 320200
natural_image
Line drawing of a steam iron with attached cable and plug, no text or symbols presenttext_image
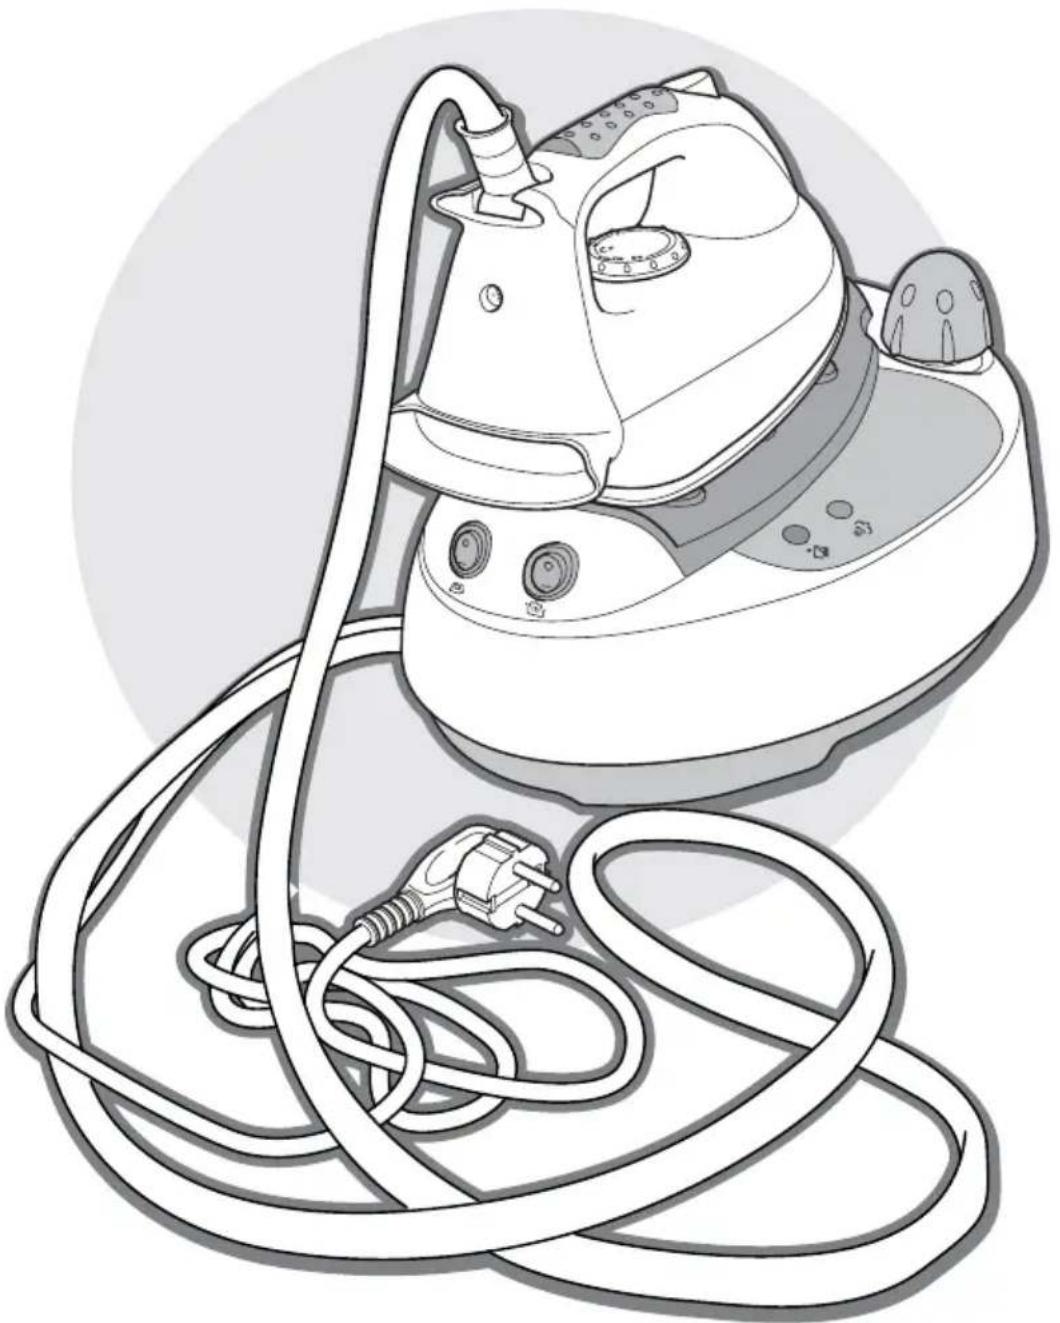
Labeled diagram of a steam iron with numbered parts for identification
Algemene informatie
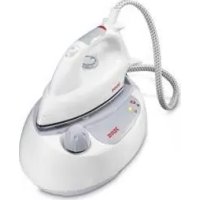
This complete Nova Steam Station Star consists of an iron with a separate steam generator. The iron is equipped with a steam button to give a shot of steam, and a temperature-control dial to set the temperature to the required level.
Operation and controls
See figure 1.
The appliance includes the following components:
1 Temperature-control dial
2 Steam control button
3 l r o n
4 Water reservoir cap
5 Steam generator
6 Holder
7 Indicator light "steam ready"
8 Indicator light "water reservoir empty"
9 On/off switch steam generator
10 Connector with power cord and plug to mains
11 On/off switch iron
12 Double-insulated power cord and steam hose to iron
13 Temperature indicator light
Temperature-control dial
Sets the right ironing temperature for each garment.
Steam control button
Pressing this button delivers a steamblast.
Water reservoir cap
Closes the water reservoir. The tank cap is protected with a pressure lock: you can only open the water reservoir when the pressure inside has lowered sufficiently.
Indicator light "steam ready"
Indicates the steam is ready to use.
Indicator light "water reservoir empty" Indicates you need to refill the water reservoir.
On/off switch steam generator (with 'on' indicator light)
Switches the steam generator on and off. The indicator light in the switch always goes on when you set the on/off switch steam generator to "I" position.
On/off switch iron (with indicator light)
Switches on the iron.
Temperature indicator light
Indicates the temperature of the iron. The indicator goes on and off during ironing.
Before using for the first time
- Read and follow these instructions carefully. Keep this manual for future reference.
- Make sure that the mains voltage is the same as that indicated on the type plate on the appliance.
- Always turn the temperature-control dial to 'min' before putting the plug in the wall socket or removing the plug from the socket.
• Always take care when ironing in the vicinity of children. Never leave an iron unattended when it is switched on, even when the iron is standing on an ironing board. - Touching hot metal parts, hot water or steam can cause burns. Take care when touching hot parts of the steam generator and iron.
1 Before using the iron for the first time, verify that the mains voltage stated on the base of the steam generator is the same as your mains voltage.
2 Remove all labels and stickers that may be attached to the iron.
Some parts of the iron are lightly greased, and it is possible that the iron will emit a little smoke when used for the first time. This smoke will stop after a short period of time, and is not indicative of a defect.
3 To remove residue from the soleplate, set the temperature control dial to 'max', and iron over a damp cloth.
Preparing the appliance for use
- It is recommended that you fill the water reservoir with a mixture of 50% tap water and 50% distilled water. This is particularly desirable in areas with hard water, since this will prevent the formation of excessive limescale.
- Make sure the water reservoir is always filled, even if you do not plan to use the steam function.
1 Place the appliance on a flat sturdy surface.
2 Make sure the appliance is not plugged in.
3 Remove the water reservoir cap (No.4) from the top of the water reservoir.
4 Fill the water reservoir with the indicated quantity of water.
5 Put the water reservoir cap (No.4) back on the water reservoir and close it tightly.
Use
- Never iron over zips, rivets in jeans, etc. These will damage the soleplate. Iron around any such objects.
-
The steam generator's holder for the iron will become hot. Do not touch it whilst you are ironing.
-
Never point the soleplate at persons during use, steam is very hot.
- Check whether ironing-instruction labels are attached to clothing. Always observe any such instructions.
- The filling aperture of the water reservoir must not be opened during use.
- Make sure that the appliance can not fall when you place the iron on the holder.
Dry ironing
1 Fill the water reservoir.
2 Put the iron on the steam generator's holder (No.6).
3 Put the plug in the wall socket and set the on/off switch iron (No.11) to 'l'. The iron starts heating.
4 Adjust the temperature by turning the iron's temperature-control dial (No.1) to the required setting. Adjust the temperature in accordance with the directions given in table 1.
5 When the temperature indicator light on the iron (No.13) turns off, the temperature is reached. You now can start ironing.
Steam ironing
1 Fill the water reservoir.
2 Put the iron on the steam generator's holder (No.6).
3 Put the plug in the wall socket and set the on/off switch iron (No.11) to 'I'. The iron starts heating.
4 Set the temperature-control dial (No.1) in the desired position.
5 Set the steam generator switch (No.9) to 'I'. The steam generator will now heat the water. Once the water has reached the required temperature, the indicator light "steam ready" on the base's control panel (No.7) will light.
6 Adjust the temperature by turning the iron's temperature-control dial (No.1) to the required setting. Adjust the
temperature in accordance with the directions given in table 1.
| Label Type of fabric | Material Temp. | |
| The fabric may not be ironed. | ||
| Synthetic Acryl Modacrylic Polypropylene Polyurethane | 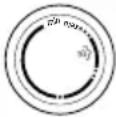 0 0 | |
| Synthetic Acetate Triacetate | 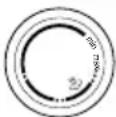 0 0 | |
| Synthetic Metal Cupro Polyamide (nylon) Polyester Modal Viscose | 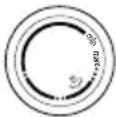 0 0 | |
| Silk Silk | ||
| Wool Wool steam or | dry 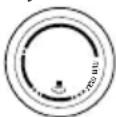 0 0 | |
| Cotton Cotton steam or | dry 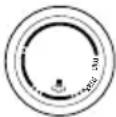 0 0 | |
| Linen | Linen | |
Table 1
7 The temperature indicator light on the iron is illuminated whilst the iron is heating up, and is extinguished once the iron has reached the set temperature. You can now start ironing. 8 Whilst you are ironing you can give a shot of steam by pressing the iron's steam control button (No.2).
9 When pausing during ironing, return the iron to the holder on the steam generator.
10 When you have finished ironing return the iron to the holder on the steam generator, switch the appliance off and remove the plug from the wall socket.
11 Allow the appliance to cool.
Refilling the water reservoir
- The steam station is protected with a safety valve: you can only unscrew the cap of the water reservoir when the pressure has lowered to below 1 bar.
1 When the water level in the reservoir is too low, the indicator light "water reservoir empty" (No.8) on the steam generator's housing lights.
2 Switch off the steam generator and the on/off-switch iron to let the appliance cool down.
3 Remove the plug from the plug socket.
4 You may want to push the steam button to lower the pressure in the water reservoir faster.
5 When the pressure has lowered sufficiently, unscrew the cap.
6 Refill the reservoir, but be careful not to overfill.
7 Install the cap on the water reservoir and screw it tightly.
Turning off and storing the appliance
1 Switch off the on/off switch steam generator and the on/off-switch iron.
2 Remove the plug from the plug socket.
3 Let the appliance cool down completely.
4 Clean the housing and drain all the water from water reservoir. (see 'Maintenance and cleaning').
5 Store the iron in a dry, frost-free location where children can't reach it.
- Store the iron vertically (upright), this will prevent damage to the soleplate.
Maintenance and cleaning
- Never move the steam generator whilst it is switched on or is still hot. Switch off the appliance, and wait until it has cooled down before you move it.
- Never immerse the appliance, the power cord or the plug in water or other liquids. If this happens do not use the appliance any more; dispose of the appliance.
- Never use corrosive or scouring cleaning agents.
- Never scrape over the soleplate with metal objects.
- Never add vinegar or other cleaning agents to the water reservoir when ironing. This could damage the clothing.
- Clean the appliance thoroughly after use.
• Make sure the appliance is not plugged into the plug socket when you are going to clean it.
Maintenance
1 Remove the plug from the wall socket and allow the appliance to cool down completely before cleaning it.
2 Always drain all the water from the reservoir after each use.
3 Wipe limescale and other fouling from the soleplate using a damp cloth and a non-abrasive cleaner.
4 Clean the iron's housing with a soft damp cloth.
Descaling
• The guarantee does not cover limescale complaints or problems.
To prolong the useful life of your steam station and prevent limescale descale the appliance once a month.
1 Rinse the reservoir with clean water.
2 Fill the reservoir with water and vinegar in a 1:10 mixture or with a special descaling agent available from (hardware) stores.
Always verify that the descaling agent is suitable for use with irons! Follow the directions given on the package.
3 Install the cap on the water reservoir and screw it tightly.
4 Put the plug in the wall socket and switch on the appliance.
5 Set the steam generator switch (No.9) to 'I' and wait until the indicator light "steam ready" on the base's control panel (No.7) will light.
6 Allow the descaling agent to flow through the appliance by pressing the steam button for about 2 minutes.
7 Switch off the appliance, remove the plug from the wall socket and leave the appliance one night over to have the descaling detergent do its job.
8 Rinse the reservoir a few times with clean water and fill the reservoir with clean water.
9 Install the cap on the water reservoir and screw it tightly.
10 Put the plug in the wall socket and switch on the appliance.
11 Set the steam generator switch (No.9) to 'I' and wait until the indicator light "steam ready" on the base's control panel (No.7) will light.
12 Allow the clean water to flow through the appliance by pressing the steam button.
Repeat this step until the appliance is completely filled with clean water.
Safety
General information
- Read and follow these instructions carefully. Keep this manual for future reference.
- Use this appliance only in accordance with these instructions.
- This appliance is intended solely for domestic use.
- The use of this appliance by children or persons with a physical, sensory, mental or motor disability or with a lack of the necessary knowledge and experience may cause a hazard. Persons responsible for the safety of such people must give explicit instructions or supervise the use of the appliance.
- Have the appliance repaired only by a qualified electrician. Never try to repair the appliance yourself.
- Only use accessories recommended by the supplier. The use of other accessories may result in damage to the appliance, thereby creating hazards for the user.
- The appliance is not intended to be operated by means of an external timer or separate remote control system.
- Do not use the appliance when it is fallen, shows visible signs of damage or if it is leaking water.
Electricity and heat
- Verify that the mains voltage is the same as that indicated on the appliance's type plate before use.
- Use an earthed plug socket.
- If you use an extension lead, use an earthed extension lead that is suitable
for the appliance's power rating. Unwind the extension lead fully and position it so that nobody can trip over it.
- Always remove the plug from the wall socket when the appliance is not going to be used for a period of time.
- When you remove the plug from the plug socket, pull the plug and not the power cord.
- Never pull the power cord to move the appliance.
- Do not use the appliance if the appliance or the power cord is damaged. Have a damaged power cord replaced by a qualified electrician.
- Make sure the appliance, the power cord and the plug do not come into contact with heat sources, such as a hot hob or a naked flame.
- Make sure the appliance, the power cord and the plug do not come into contact with water, other fluids or chemicals.
- Do not pick up the appliance if it falls into water. Immediately remove the plug from the wall socket. Do not use the appliance anymore.
- The appliance and its parts can become hot while the appliance is in use. To avoid being burnt, take care when touching the appliance and its parts.
- The appliance must be able to dissipate its heat to avoid a risk of fire. Make sure that the appliance has sufficient space around it, and does not come in contact with flammable material. The appliance must not be covered.
During use
- Never use the appliance outdoors.
- Never use the appliance in a humid room.
- Never allow the power cord to hang over the edge of the draining board, worktop or table.
- Make sure your hands are dry when you touch the appliance, the power cord or the plug.
- Turn off the appliance and/or remove the plug from the plug socket in the event of a malfunction during use, before cleaning the appliance, before fitting or removing an accessory and before storing the appliance after use.
- Never leave the appliance unattended when in use.
- Make sure that the appliance is outside the reach of children.
- Certain parts of the appliance can become hot. Do not touch the warm parts of the appliance; these could cause burns.
- Fill the water reservoir with water before switching on the appliance. Fill only with cold water.
- Never fill above the maximum-level indication ('MAX').
- Clean the appliance thoroughly after use (see the ‘Maintenance and cleaning’ section).
- Allow the appliance to cool to room temperature before storage, maintenance and/or cleaning.
U.K. WIRING INSTRUCTIONS
The wires in the mains lead are coloured in accordance with the following code:
As the colours of the wire in the mains lead of this appliance may not correspond with the colour markings identifying the terminals on your plug, proceed as follows:
- The wire which is coloured BLUE must be connected to the terminal which is marked with the letter N or coloured black.
- The wire which is coloured BROWN must be connected to the terminal which is marked with the letter L or coloured red.
- The wire which is coloured GREEN/YELLOW must be connected to the terminal which is marked with the letter E or (earth symbol) and is coloured GREEN or GREEN/YELLOW.
WARNING: THIS APPLIANCE MUST BE EARTHED
With this appliance, if a 13A plug is used a 13A fuse should be fitted. If any other type of plug is used, a 15A fuse must be fitted either in the plug or at the distribution board.
The Environment
Dispose of packaging material, such as plastic and boxes, in the appropriate waste containers.
If you wish to dispose of the appliance whilst it still works properly or can be easily repaired, then ensure that the appliance is recycled.
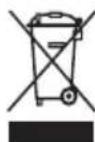
When the appliance reaches the end of its useful life, it should be disposed of in a responsible manner, thereby ensuring the reuse of the appliance or its parts. Do not dispose of the appliance with unsorted refuse; hand it in at the store, or take it to a recognized collection point. Contact your municipality for information about the reception and collection systems in your area.
CE conformity
Applicable European guideline:
2002/95/EC
2002/96/EC