TT 93 F B625C - Fridge VALBERG - Free user manual and instructions
Find the device manual for free TT 93 F B625C VALBERG in PDF.
| Product type | Refrigerator |
| Brand | VALBERG |
| Model | TT 93 F B625C |
| Climate class | SN (10 to 32°C), N (16 to 32°C), ST (16 to 38°C), T (16 to 43°C) – multi-class |
| Thermostat | Adjustable from MIN to MAX, with OK indicator to check temperature ≤ 4°C |
| Defrosting | Manual, water drains into tray above compressor |
| Interior lighting | User-replaceable light source |
| Reversible door | Yes, left or right opening direction (tools required) |
| Shelves | Glass or plastic, adjustable height (one full-width shelf mandatory above vegetable drawer) |
| Vegetable drawer | Yes, 1 drawer |
| Door bins | Yes, in the door |
| Leveling legs | Yes, adjustable at the front |
| Ice cube production | Possible (trays not supplied) in the upper compartment |
| Interior cleaning | Diluted sodium bicarbonate solution, rinse with warm water |
| Exterior cleaning | Damp cloth, standard household product (avoid the seal) |
| Condenser cleaning | Rear grille: vacuum cleaner with soft brush |
| Transport precautions | Wait 8h (upright) or 24h (lying down) before plugging in; 4h before use |
| Moving | By two or more people |
| Repairs | Entrust to a qualified technician, use original parts |
| Warranty | 2 years against manufacturing defects (upon presentation of receipt) |
Frequently Asked Questions - TT 93 F B625C VALBERG
User questions about TT 93 F B625C VALBERG
0 question about this device. Answer the ones you know or ask your own.
Ask a new question about this device
Download the instructions for your Fridge in PDF format for free! Find your manual TT 93 F B625C - VALBERG and take your electronic device back in hand. On this page are published all the documents necessary for the use of your device. TT 93 F B625C by VALBERG.
USER MANUAL TT 93 F B625C VALBERG
Thank you for choosing this HIGHONE product.
Chosen, tested and recommended by ELECTRO DEPOT,
the products of the HIGHONE brand are easy to use,
reliable and of an impeccable standard.
Thanks to this appliance, you can be sure that each
use will bring you satisfaction.
Welcome to ELECTRO DEPOT.
Visit our website: www.electrodepot.fr

Preview of the appliance
Recommended ambient temperature range Temperature control adjustment Description of the appliance

Using the appliance
Installation
Use
Tips for saving energy
Cleaning and maintenance

Useful information
Troubleshooting
Recommended ambient temperatures
Respect the climatic classes indicated in the product information on the appliance's nameplate. You can use this to check the recommended temperature range of the room where the appliance is located:
SN: Between 10 and 32^
- N: Between 16 and 32^ C
ST: Between 16 and 38^
- T: Between 16 and 43^ C
A multi-class appliance can handle the lowest and highest temperature of all classes covered. Using the appliance outside the recommended temperature range will lead to inferior performance and premature ageing.
Temperature control adjustment
For optimal use and to save energy, adjust the temperature control(s) of the appliance according to the ambient temperature of the room, in which it is being used, and respect the climatic class.
Refer to the product sheet to find out the climatic class associated with the minimum and maximum recommended ambient temperatures for the appliance as well as the temperature setting recommended for storing food under optimal conditions.
The ambient temperatures in ^ C are given as a rough guide.
The set positions can be affected by the location of the appliance in the room, how often the door is opened or the load of food inside.
The temperature control may need to be changed to compensate for these factors.
Examples of locations:
- Unheated room in winter like a garage in a cold region.
- Kitchen/lounge area with normal heating.
- Room that is not air-conditioned in summer in a hot region.
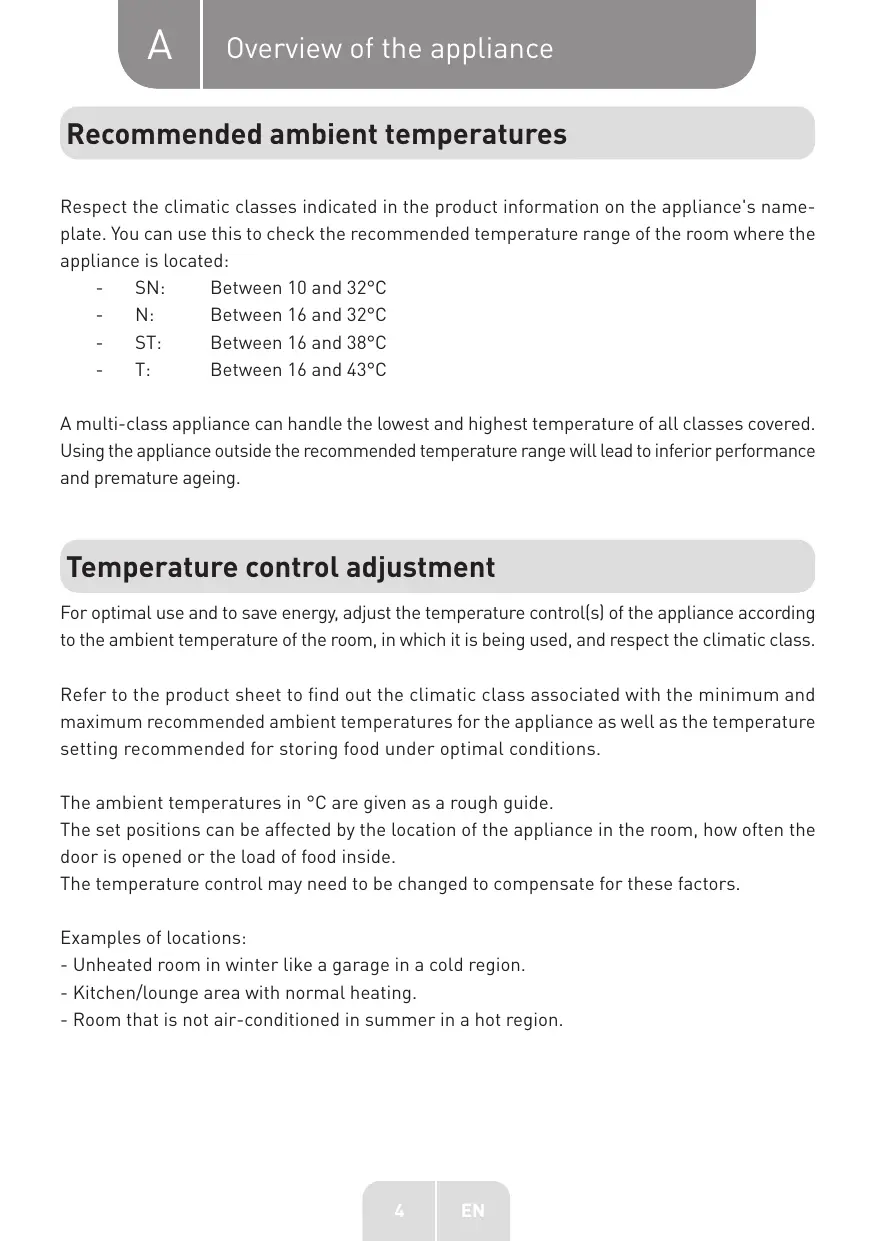
Description of the appliance
1 Temperature control
2 Shelf
3 Levelling foot
Crisper
Door shelf
Upper compartment door
All the illustrations in this user manual are given for illustrative purposes only; please refer to your particular appliance for details.
Installation
CAUTION : Get two or more people to move the appliance. Failure to do so may result in a back injury or other injuries.
Location
- When deciding where to install the appliance, make sure that the floor is level and stable and that the room is adequately ventilated. Do not install your appliance near a heat source, such as a stove, boiler or radiator. Also, do not expose it to direct sunlight, as this may increase power consumption. Extremely cold ambient temperatures can also cause the appliance to malfunction. This appliance is not designed to be used in a garage or outdoors. Do not wrap the appliance with a covering.
- When installing the appliance, make sure that there is a gap of 40~cm on both sides, as well as a 15~cm gap behind it and a 20~cm gap above. This gap allows cold air to flow around the wine cooler and make the cooling process more efficient. The door can open to the right or to the left, depending on the layout of the room and its location.
- What's more, do not expose it to direct sunlight, e.g. in an annexe or a veranda.
- Make sure there is enough space so that the door opens fully.
Cleaning before use
- Wipe the inside of the appliance with a diluted solution of bicarbonate of soda. Then rinse it with warm water using a sponge or a "wrung-out" cloth. Wash the shelves and the salad bin with warm soapy water. Then dry them thoroughly before putting them back inside the appliance. Clean the outside of the appliance with a damp cloth.
- For more information, go to the "Cleaning" section.
WARNING : Before using the appliance
- If the appliance was transported lying down, wait 8 hours before plugging it into the power supply.
- If the appliance was transported lying down, wait 24 hours before plugging it into the power supply.
- In any case, in order to prevent any health hazards, allow 4 hours for your appliance to cool down before putting any food inside.
Interior accessories
This appliance comes with various glass or plastic storage shelves. The different models offer various combinations. You should always slide one of the full-width glass storage shelves in one of the lower guides (above the risper) and leave it there. To do this, pull the storage shelf forwards until you can tilt it up or down, and pull it out.
CAUTION : Carry out the same procedure in reverse order to insert the shelf at a different height. In order to make the most of the volume of the fresh food storage compartment and the frozen food storage compartment, the user can remove one or more shelves, or one or more drawers from the appliance, depending on daily use.
Use
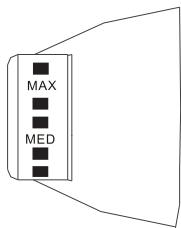
Temperature control
The temperature control is located on the right wall inside the appliance.
OFF: Appliance off
MIN: Minimum
MED:Medium
MAX: Maximum
- Ambient temperatures for using the appliances in accordance with the climate classes. Follow the climate classes specified on the appliance's nameplate. This can be used to check the recommended ambient temperature of the appliance:
A multi-class appliance can handle the lowest and highest temperature of all the classes covered.
Example: SN/N/ST: Can be used between 10 and 32^ C
Using the appliance in temperatures outside the recommended range will lead to inferior performance and premature ageing.
- Thermostat adjustment and OK disc
For optimal use and to save energy, adjust the temperature control of the appliance according to the ambient temperature of the room, in which it is being used, and respect the climate class(es).
The temperature control setting also depends on several factors such as the location of the appliance, how often the door is opened and how much food and drink is in the appliance. The temperature thermostat setting should be adjusted to compensate for these factors.
Important: Make sure that the OK disc located on one of the walls of the appliance is clearly visible at least 6 hours after adjusting the temperature control. Increase the temperature control setting slightly if it is not visible. This disc is located in the cold area of the appliance. This storage area has an average temperature less than or equal to +4^ when the OK message is visible.
Ambient temperatures of the room
- Between 20 and 30^ roughly, the temperature is ideal: MED -1 TRAIT
Examples: Living room with normal heating like a kitchen...
- Below about 20^ , the temperature is low: MIN +1 TRAIT
Examples: Unheated room like a garage...
NOTES : Do not run the appliance at temperatures below the minimum temperature of the climate class
- Above about 30^ , the temperature is high: MED
Examples: Room that isn't air-conditioned in summer...
NOTES : Do not run the appliance at temperatures above the maximum temperature of the climate class
- Depending on the temperature control setting and the factors (listed above) that affect the internal temperature of the appliance, the upper compartment behind the door, which is located above the evaporator, may have to generate more cold. You will then be able to produce ice cubes in ice cube trays (not supplied).
CAUTION :
- Do not store carbonated drinks in this compartment.
- Health risk: This preservation compartment is not a freezer and is not for storing food intended for this purpose beyond its use-by date, even if it is for a short period.
Noises coming from inside the appliance!
- You may find that your appliance makes some unusual noises. Most of these noises are perfectly normal, but you should be aware of them!
- These noises are caused by the refrigerant flowing through the cooling circuit. These noises have got louder since the introduction of CFC-free gases. This is not a fault and does not affect the performance of the appliance. This is the sound of the compressor motor running, as it pumps refrigerant through the system.
Tips for storing food in the appliance
- Cooked meat/fish must always be stored on a shelf above the raw meat/fish to prevent the transfer of bacteria. Keep raw meats/fish in a container that is big enough to collect the juices and cover it properly.
- Place the container on the lowest shelf.
- Leave space around the food so that air can flow inside the appliance. Make sure that the parts of the appliance stay cool.
- To prevent the food from drying out or flavours from being transferred to other food items, wrap them up or keep them covered and separate. It is not, however, necessary to wrap fruit and vegetables.
- Always allow pre-cooked food items to cool down before placing them in the refrigerator. This method maintains the internal temperature of the appliance.
- To prevent cold air from escaping from the appliance, open the door as little as possible. We recommend that you only open the door when you need to add food to the appliance or get food out of it.
Reversing the door
Phillips screwdriver/flathead screwdriver/Allen key
- If you wish to reverse the opening direction of the door, we recommend that you contact a qualified technician. Only attempt to reverse the opening direction of the door on your own, if you think you can.
- Make sure that the appliance is unplugged and empty.
- Adjust the 2 levelling feet to their highest position.
- To remove the door, the appliance must be tilted backwards. Lay the appliance on a solid object so that it cannot slip while the opening direction of the doors is being reversed.
- Keep all the parts that have been removed. They will be needed to refit the door.
- Do not lay the appliance down flat as this could damage the cooling system.
| 1 | Remove the plastic covering from the upper door hinge. |
| 2 | Loosen the 3 screws of the lower bracket. Remove the foot from the opposite side. |
| 3 | Place it on one side. |
| 4 | Slide the appliance door downwards by about 15 cm, then take it off the upper hinge pin and lift it up to release it from the appliance. |
| 5 | Remove the 2 screws from the top bracket and place them on the other side. You will need to remove the plastic caps from the other side beforehand. |
| 6 | Slide the door of the appliance to reattach it to the upper hinge, making sure it is the right way up. Screw the lower hinge into place on the new side. Put the other foot in place on the other side. Replace the plastic cover so that it clicks into place on the door hinge. |
| 7 | Make sure that the door is aligned horizontally and vertically, and that the seals are closed on all sides before tightening the lower hinge. Adjust the levelling feet. |
| 8 | The appliance door must be able to open fully, as shown (W87 x H105 x D107). |
| 9 | To make it level, adjust the two levelling feet on the front of the appliance. If the appliance is not level, the door and the magnetic seal may not be aligned. |
Tips for saving energy
- Be careful not to open the door too frequently, especially in humid and hot weather. Close the door as soon as possible.
- Check that the appliance is sufficiently ventilated (adequate air flow behind the appliance) from time to time.
- Under normal temperature conditions, set the temperature control between the "Min" and "Med" positions.
- Before placing packets of fresh food in the appliance, make sure that they have cooled down to room temperature beforehand.
- If it is the outer condenser, the rear wall should always be cleaned so that it is free of dust, dirt and dirt.
- Always follow the instructions in the section on "Tips for positioning and saving energy". Otherwise, the energy consumption may be significantly higher.
- The appliance must be installed in the coolest part of the room, away from heat-producing appliances or heating ducts, and away from direct sunlight.
- Leave hot food to cool down to room temperature before placing it in the appliance. Overloading the appliance can make the compressor operate for longer periods.
- Be sure to wrap food items properly, and wipe containers dry before placing them in the appliance. This will help to reduce the build-up of frost inside the appliance.
- Do not line the storage bin with aluminium foil, waxed paper or paper towels. Insulators obstruct the flow of cold air and make the appliance less efficient.
- Organise and label food so that you don't have to open the door as often or for as long while searching for something. Remove as much food as you need at a time, then close the door as soon as possible.
Cleaning and maintenance
The defrosting process is manual. 10
- Frost may build up on the internal surface of the appliance.
- The water produced by the defrosting process is channelled towards the collection tank located above the compressor, where it evaporates.
- Check and clean the drain hole regularly so that water can drain from the storage compartment.
Cleaning the inside and outside of the appliance
- Remove all the shelves and the salad bin. In order to remove the salad bin, first remove the shelf from the lower door.
- Wipe the inside of the appliance with a diluted solution of bicarbonate of soda, then rinse with warm water using a sponge or a "wrung-out" cloth.
- Dry the appliance completely before replacing the shelves and the salad bowl.
-
Clean the outside of the appliance with a damp cloth, then wipe it with a standard household cleaning product. Make sure the door is closed to prevent cleaning product from getting inside the magnetic seal or seeping into the appliance.
-
The condenser coil on the back of the appliance and the adjacent components may be cleaned with a vacuum cleaner (soft bristle brush).
Cleaning advice
- Condensation may form on the outside of the appliance. This may be due to a variation in the ambient temperature. Wipe away any moisture that may have built up. If the problem persists, contact a qualified technician.
- Be careful when handling/moving the appliance.
- Hold the appliance by its sides or base when moving it. Under no circumstances should you lift it by holding the edges of the top.
Repairs
This appliance must always be repaired by an authorised technician and only original spare parts should be used. Under no circumstances should you attempt to repair the appliance yourself. Repairs conducted by people with no experience in this kind of work can result in injury or serious malfunction. Contact a qualified technician.
Non-use for a prolonged period
When you will not be using the appliance for a long time, unplug it from the power source, take all the food out and clean the appliance. Then leave the door ajar to prevent unpleasant odours from forming.
Advice in the event of overheating
- The structure of the refrigerator may generate heat when it is running, especially in summer. This is normal due to the radiation of the condenser.
- Condensation: condensation will be spotted on the exterior surface and the door seals of the food preserver when the ambient humidity is high. This is a normal, and the condensation can be removed with a dry cloth.
- Humming: the compressor hums while it is running, especially when it starts and stops.
Replacing the bulb
This product contains a light source exempted of energy efficiency class.
Light source in this product can be replaced by the end user. Please unplug the appliance before any light source change operation.
The light source shall be removed at the end of the product's useful life,
with sorting and recycling done separately.

Troubleshooting
The following problems can be resolved by the user. Call the after-sales service if you are unable to resolve the problems.
| PROBLEM | CAUSE/SOLUTION |
| Not working | ·Check that the food preserver is plugged in and switched on; ·Low voltage; ·Power cut or tripped circuit breaker |
| Odours | ·Smelly foods must be contained in sealed packaging; ·Check that your food is not rotten; ·Check whether the inside needs to be cleaned. |
| Compressor running for prolonged periods | ·It is normal for the refrigerator to run for longer in summer, when the ambient temperature is higher; ·Do not place too much food in the food preserver at any one time; ·Do not add food until it has cooled down; ·Frequent opening of the refrigerator door. |
| The door of the refrigerator does not close properly. | ·The door of the food preserver is jammed by packages of food; ·Too much food; ·Refrigerator not level. |
| Loud noises | ·Check that the food is laid flat and that the refrigerator is level; ·Check that the parts of the refrigerator are correctly positioned. |
Merci!
This product is guaranteed for a period of 2 years from the date of purchase* against any failure resulting from a manufacturing or material defect. This warranty does not cover defects or damage resulting from incorrect installation, improper use or abnormal wear of the product.
*on presentation of the sales receipt.
CONDITION DE GARANTIE
FR