USER MANUAL DF-S 100 SEC ROLLEI
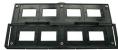
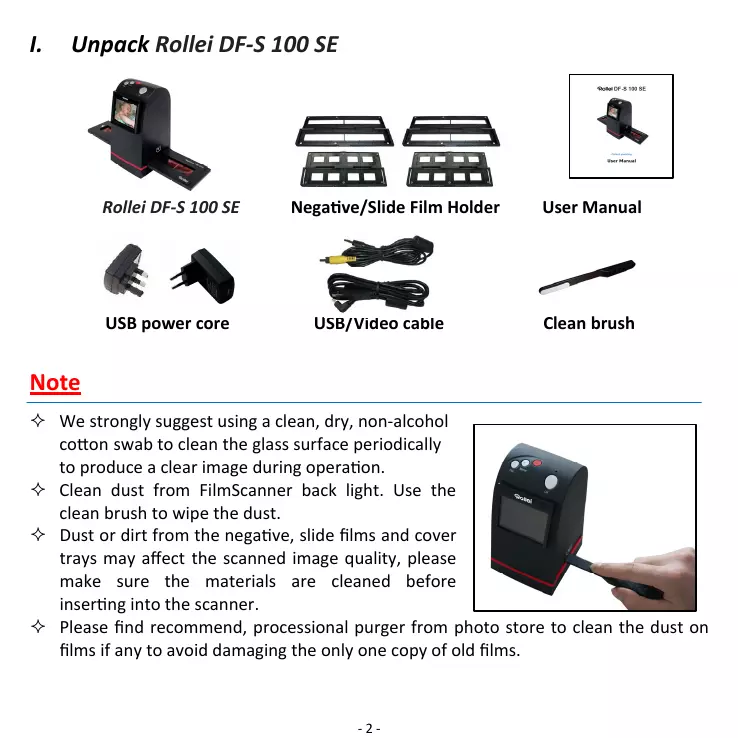
Negative/Slide Film Holder
User Manual


USB power core
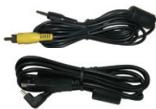
USB/Video cable
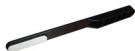
Clean brush
Note
We strongly suggest using a clean, dry, non-alcohol cotton swab to clean the glass surface periodically to produce a clear image during operation.
Clean dust from FilmScanner back light. Use the clean brush to wipe the dust.
Dust or dirt from the negative, slide films and cover trays may affect the scanned image quality, please make sure the materials are cleaned before inserting into the scanner.
Please find recommend, processional purger from photo store to clean the dust on films if any to avoid damaging the only one copy of old films.
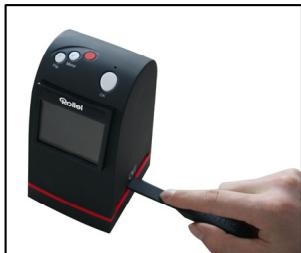
II. Install film into the film holder
Install the Slide into holder
- Open the slide holder as illustrated
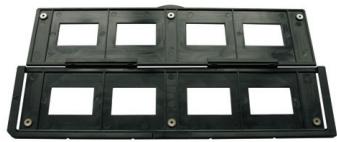
- Put slide into positive slide slot
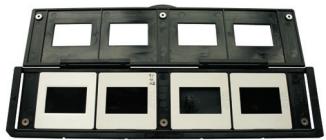
- Close the film holder
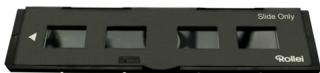
Install the Negative Film into holder
- Open the film holder as illustrated
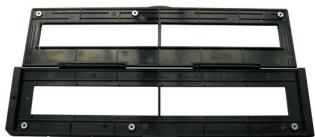
- Install film into negative film slot
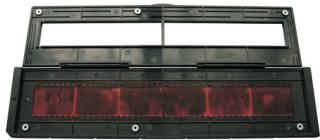
- Close the film holder
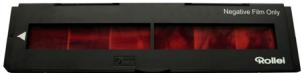
Note
To avoid mirror image, follow the serial numbers (from left to right) on top of film when install negative film into holder
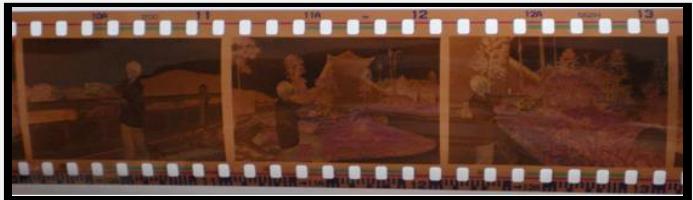
Figure 1
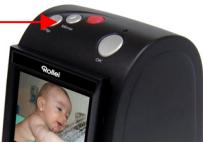
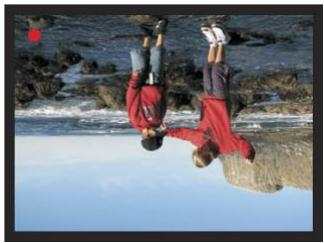
If the image is upside down [see fig.2], the image can be corrected by Flip function with the Flip hard key of the device before capturing, or enter playback edit menu after capturing [see fig.3.4].
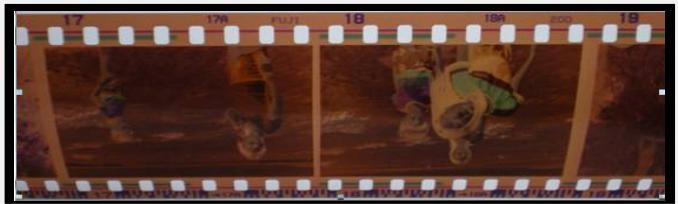
Figure 2
Down/Flip button
(Flip hard key)
Flip
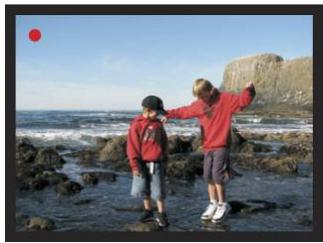
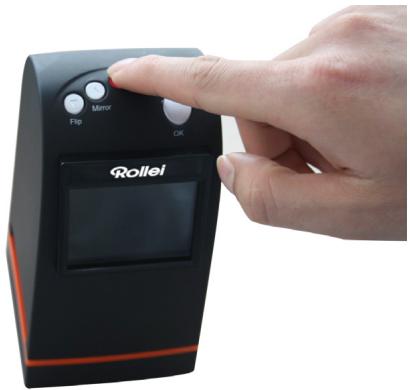
- Press flip hard key on top of device during live view
Figure 3
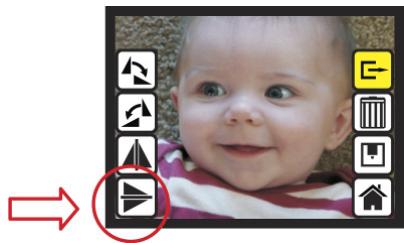
Figure 4
III. Quick Start
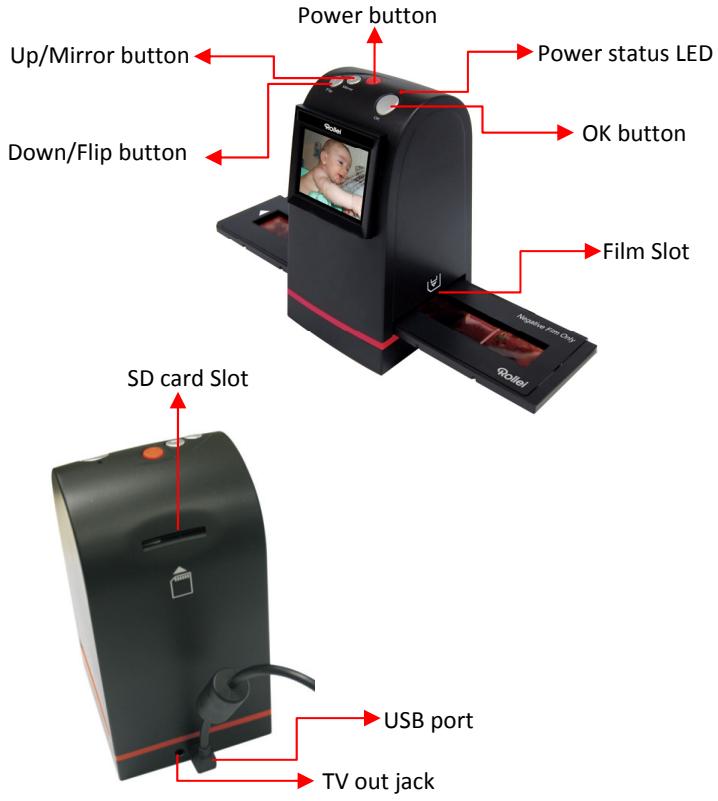
- Put Film in the film cartridge
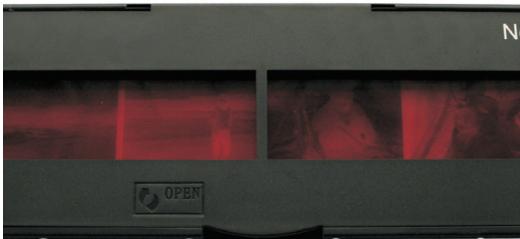
- Insert the film cartridge into Rollei DF-S 100 SE
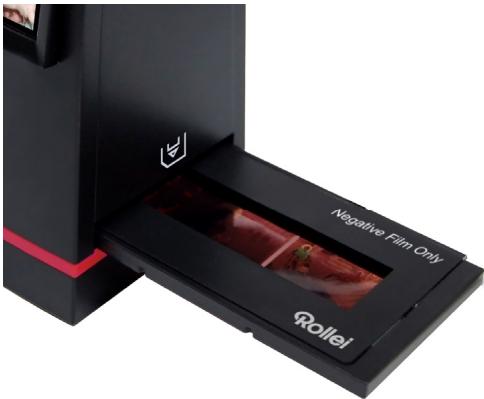
- Connect USB cable to Rollei DF-S 100 SE
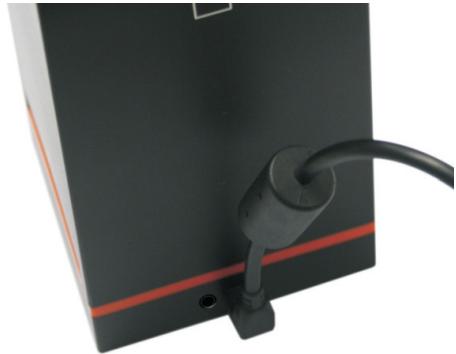
- Turn on Device with the power button
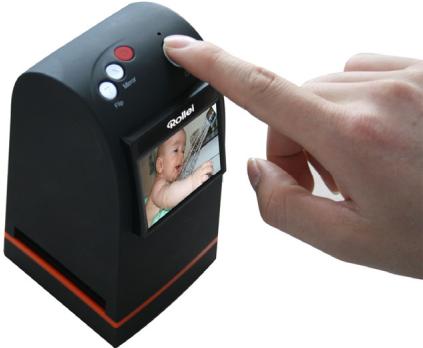
- Press OK button to capture the image
- Follow the menu on display for scanning
- After the capture is finished, take out the SD card which stored capture images
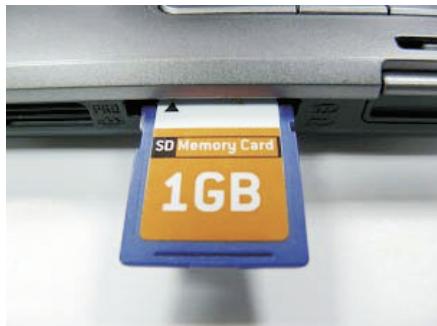
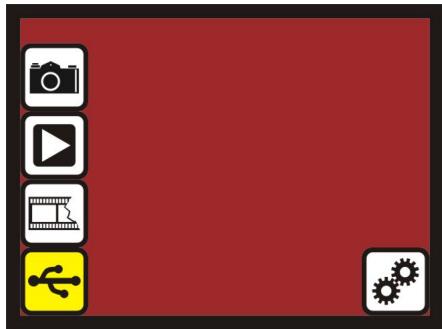
- Or read picture from PC by MSDC mode
IV. Operation Guide
Home: Main menu
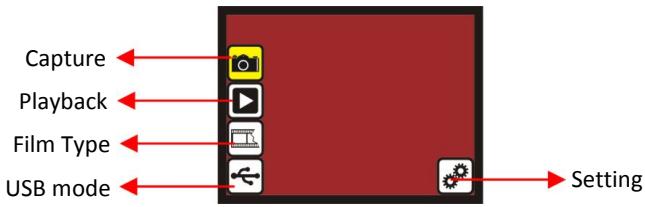
- Capture: capture mode (default)
- Playback: playback mode
- Film Type: define the film type which loaded in cartridge
USB mode: MSDC (Mass Storage Device Class) mode
- Setting: TV out and format option
1. Capture
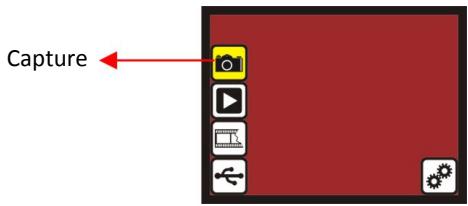
After welcome page, above menu will remains for 5 sec. User can press up/down button for desired menu. Or system will auto enter Capture mode if there is no action during this 5 second period.
1.1 Capture: Mirror/Flip (Hard Key)
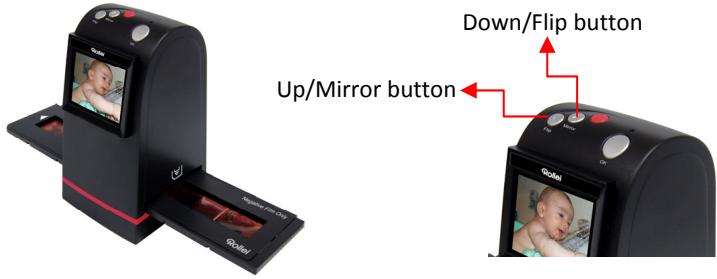
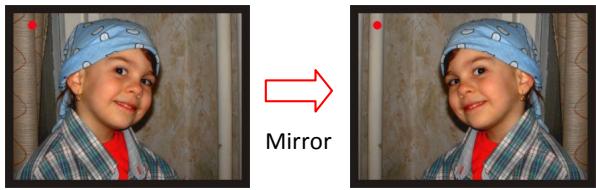
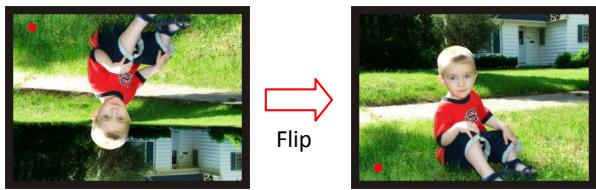
Press Down/Flip button to upside down image
1.2 Capture mode
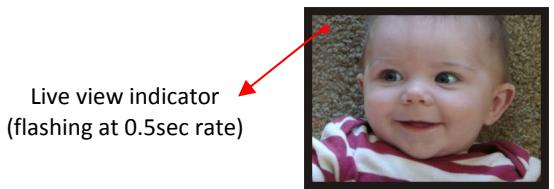
In the capture mode, there will be a red indicator on left top corner to indicate the live view mode. When the film cartridge is inserted into the scanner slot, the image always shows the positive image according to previous defined Film Type (the default setting is "Negative Film"). Reconfirm the film position on the display before pressing the OK button.
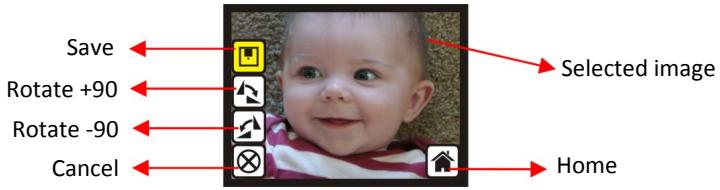
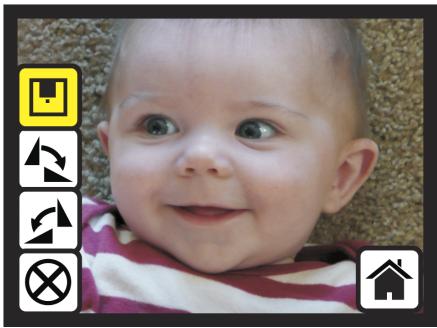
Save: save captured image
- Rotate +90: continue rotate +90 degrees
- Rotate -90: continue rotate -90 degrees (to adjust the picture)
- Cancel: cancel any editing with this image
Home: Back to main menu
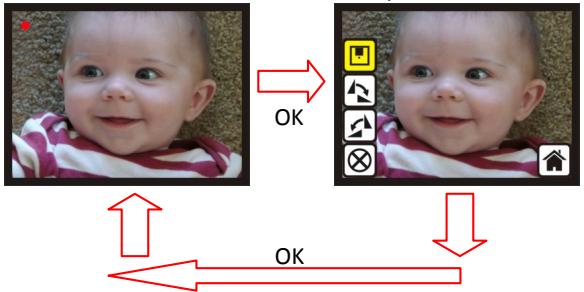
Live View
Pressing the OK button in live view mode, the edit menu appears on the screen. Pressing the OK button again, the current image will be saved on the SD Card. The live view mode appears on the screen again.
1.5 Capture: Save

After pressing the OK button the preview (live view) image will be selected and shown for 3-4 seconds with the 4 icons on the left side of the screen. The save icon is highlighted to confirm the saving. Press OK button to save the picture. The live view mode appears on the screen again.
1.6 Capture: Rotate +/-90 degrees
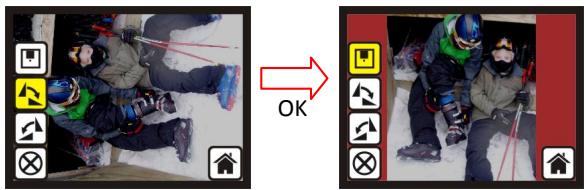
To rotate the picture, select the Rotate +90/-90 icon and press OK button. The picture rotates and the save icon will be highlighted. Press OK button again to save the rotated image on SD Card. The screen returns to the live view mode.
1.7 Capture: Cancel
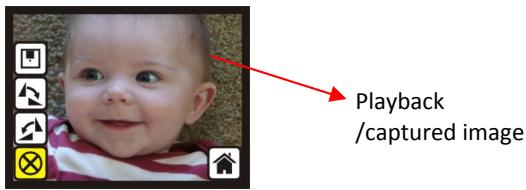
Select Cancel and press OK button to cancel any of the editing step with present selected image and Rollei DF-S 100 SE goes to live view mode (nothing will be saved on the SD Card).
1.8 Capture: Home
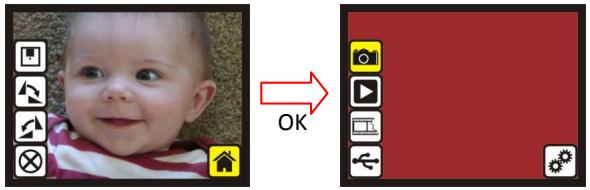
To enter the main menu, highlight the Home icon and press OK button.
1.9 Exit from Edit mode back to Capture mode (Live View)
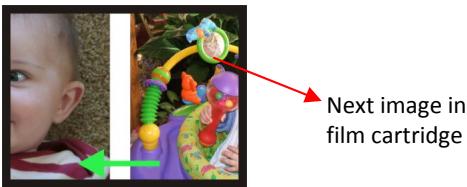
After saving or canceling the picture the capture mode/live view mode appears on the screen again. Move the film cartridge to the next image for editing or capturing.
1.10 Memory full
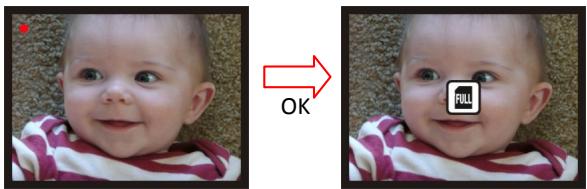
When the internal memory or SD Card is full, an icon "Full" appears on the screen. Please download the pictures from the internal memory to your computer or use another SD Card to continue.
1.11 SD card locked
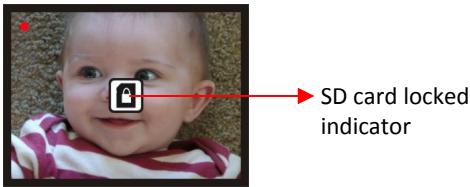
If an "SD Card locked" icon appears on the screen, please unlock the SD Card (slide the lock switch on the SD Card to the unlock position).
1.12 SD card error
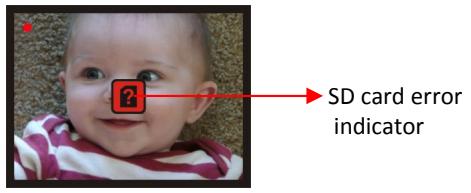
If the "SD Card Error" Icon appears on the screen, please take the SD card out and insert it again. If the fault still appears, try to format the SD Card (Caution: With the format option all files on the card will be deleted!), or use another SD Card to continue the further operation. (Refer to Setting selection on page 31).
2. Playback
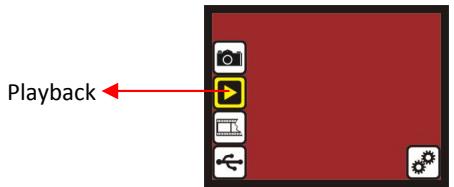
To enter the playback mode access the Main menu (Home icon) and highlight the playback icon. Press OK button to confirm the selection.
2.1 Playback: Auto Slide Show
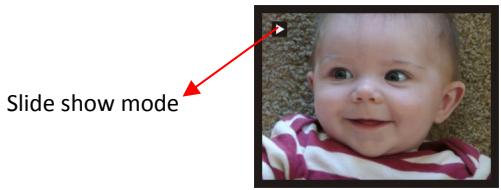
In the playback mode (default setting is slide show) the Screen will auto display all images stored on the SD Card with a 2 seconds interval. To stop the slide show, press OK button.
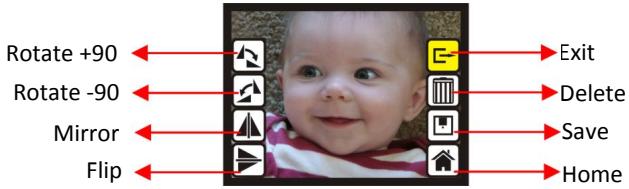
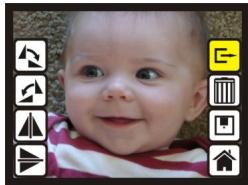
- Rotate +90: captured image rotate +90 degrees
- Rotate -90: captured image rotate -90 degrees
- Mirror: change image left to right
- Flip: upside down image
- Exit: returns to Slide show
- Delete: delete this picture stored on SD card
- Save: save the modified image on SD card
Home:returns to main menu
2.3 Playback: Slide mode -> Edit mode
To stop the slide, show press the OK button. Now a single picture will be displayed. To scroll to the next or previous picture use the Up/down button. If a picture is selected, press OK button to enter the Edit mode again.
2.4 Slide Show -> Single picture -> Edit mode
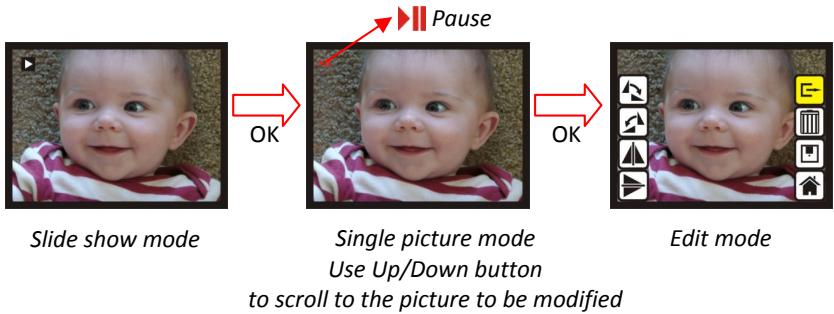
2.5 Playback: Rotate/Mirror/Flip/Save
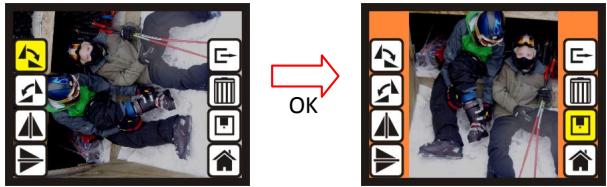
To rotate a picture highlight the rotate function and press OK button. The save icon will be highlighted after rotating. Press OK button again to save modified result and next picture will be shown (N + 1) . For continuously Rotate +90 degrees, move cursor to Rotate again and press OK. (Same for Rotate -90, Mirror, and Flip function)
2.6 Playback: Exit
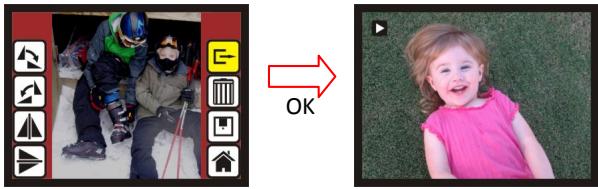
When selecting the Exit function in the edit menu, the display will go back to slide show starting with the current picture in internal memory or SD card without saving any change of present picture
2.7 Playback: Delete
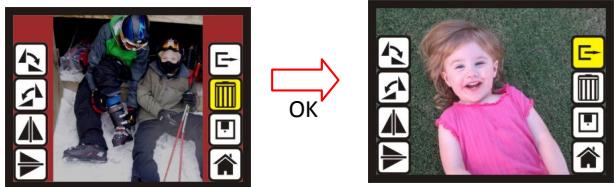
To delete the present selected picture, highlight the Delete Icon and confirm it with OK button. The next Picture will be shown (N + 1) . Cursor goes to Exit icon. If user intend to process continuously delete, just move to delete icon again and press OK to confirm.
2.8 Playback: Home
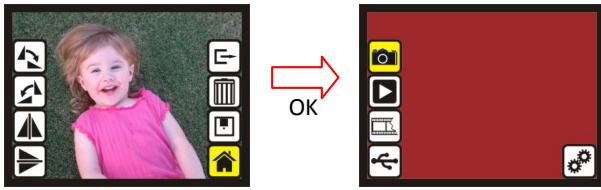
To enter the main menu, select the Home icon and press OK button.
2.9 Playback: No Picture
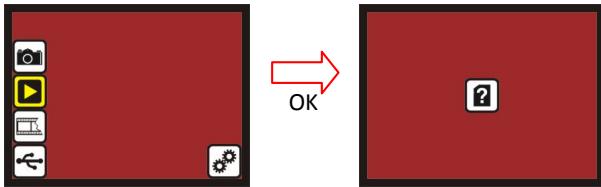
If there is no picture on the internal memory or SD card when enter playback mode, a "No picture icon" will be shown on display.
3. Film Type
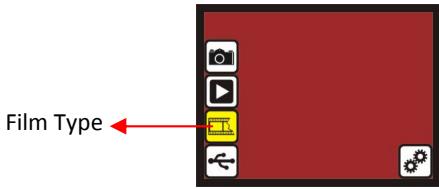
To change the film type definition enter the main menu (Home icon). Highlight the film type icon and confirm with OK button.
3.1 Film Type: Select Film Type
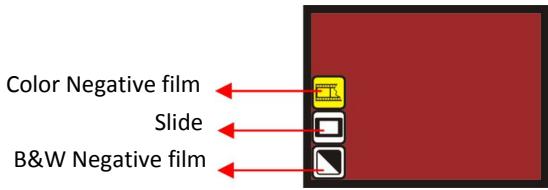
- Negative film: select Negative film when cartridge loaded with negative film
- Slide: select Slide type when load slide in holder
- B&W film: select B&W when cartridge loaded with Black&White negative film
- Highlight desired film type and confirm with OK button.
3.2 Film Type: Example
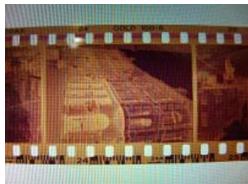
Color Negative film
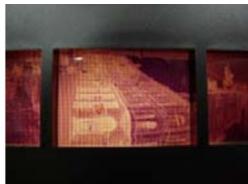
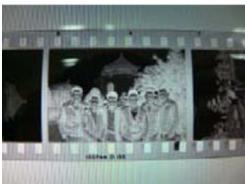
B&W Negative film

Loaded
into
Cartridge
Slide
4. USB Mode
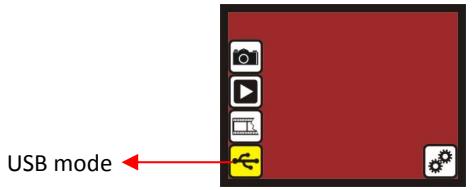
Please select the USB-Mode icon to download the stored pictures from the internal memory or SD Card to your PC.
Connect the Rollei DF-S 100 with the USB Cable to your computer and confirm the USB mode with the OK button.
A Mass storage device will be installed to your computer. Open "My computer" to find the external storage device. Or insert the SD Card in a SD-Card reader to download the pictures directly.
4.1 USB Mode: Status
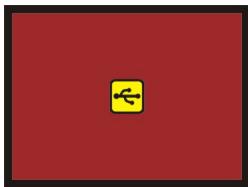
When the Rollei DF-S 100 SE is connected to a computer and the USB-mode is confirmed, a USB-Icon appears on the screen.
5. Setting Mode
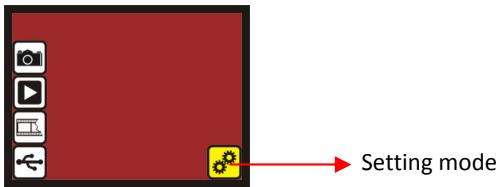
For the TV-Out and Format options enter the Setting mode in the main menu (Home Icon). You can connect the Rollei DF-S 100 SE to a TV to edit the pictures or to view the scanned pictures on the TV display.
Use the format option to format a faulty memory card. Caution: All Files on the card will be deleted!
5.1 Setting Mode
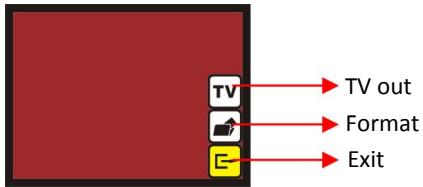
TV out: select NTSC or PAL according to required interface
- Format: format internal memory or SD card
- Exit: returns to main menu
5.2 Setting: TV out
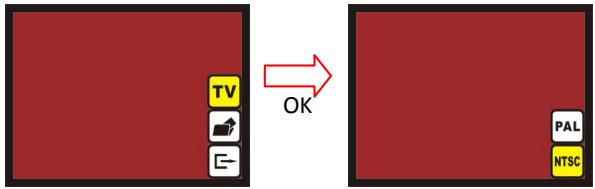
To connect the Rollei DF-S 100 SE to a TV, select the option "TV" and confirm with OK button. Select the desired TV signal (PAL or NTSC) and press OK button again. The TV Display will show the same screen as the Rollei DF-S 100 SE and you can view, edit or scan your pictures on the TV Display.
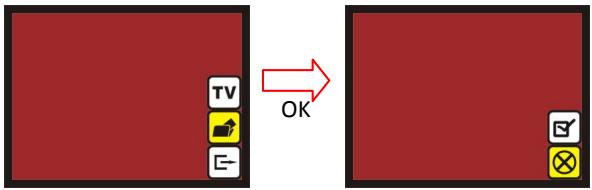
If the internal memory or SD card requires to be formatted by the scanner, you can enter the format mode by press OK button. The default setting is set to "cancel format". Press OK button again to cancel the format or select confirm icon to confirm the format option.
Note
If there is no SD card inside the device, the internal memory will be formatted. If a SD card is inserted in the device, only the SD card will be formatted.
Good bye page
Goodbye
When switching the Rollei DF-S 100 SE off, the Goodbye screen appears on the screen.
V. Specification
| Image Sensor: | 5 mega CMOS sensor |
| Lens: | F no.=2.0, 4 Glass elements, |
| LCD: | 2.4” Color TFT LCD |
| Internal memory: | 24MB NAND Flash (for saving images) |
| Focus Range: | Fixed focus |
| Exposure Control: | Automatic |
| Color Balance: | Automatic |
| Scan Quality: | 1,800 dpi |
| Data Conversion: | 10 bits per color channel |
| Scan Method: | Single pass |
| Light Source: | Back light (3 white LEDs) |
| Interface: | USB 2.0, TV-out (video 3.5mm jack) |
| USB Configuration: | Mass Storage Device Class/MSDC |
| Power: | 5V adapter, or USB power |
| Dimensions: | 82x86x152mm |
| Weight: | 0.41kg |