NC - 3D Printer CREALITY - Free user manual and instructions
Find the device manual for free NC CREALITY in PDF.


User questions about NC CREALITY
0 question about this device. Answer the ones you know or ask your own.
Ask a new question about this device
Download the instructions for your 3D Printer in PDF format for free! Find your manual NC - CREALITY and take your electronic device back in hand. On this page are published all the documents necessary for the use of your device. NC by CREALITY.
USER MANUAL NC CREALITY
Create reality, achieve dreams
HALOT-ONE PLUS
HALOT-ONE PLUS
3D Printer User Manual
Dear Consumers,
Thank you for choosing our products. For the best experience, please read the instructions before operating the Printer. Our teams are always ready to render you the best services. Please contact us via the phone number or e-mail address provided at the end when you encounter any problem with the Printer.
For a better experience in using our product, you can also access how to use the printer in the following ways:
View the accompanied instructions and videos in the U disk.
Visit our official website www.creality.com to find relevant software/hardware information,contact details and operation and maintenance instructions.
Firmware Upgrade
Please login the official website https://www.creality.com/download, switch the language select the relevant printer and model and download the required firmware ou can use it after the installation.
NOTES
1 Do not use the printer any way other than described to avoid personal injury or property damage.
Do not place the printer near any heat source or flammable or explosive objects. We suggest placing it in a well-ventilated, low-dust environment.
Do not expose the printer to violent vibration or any unstable environment, as this may cause poor print quality.
4 Please use recommended resin in case damage to machine.
Do not use any other power cable except the one supplied. Always use a grounded three-prong power outlet.
^ 6 Please do not open the plastic cover during usage, otherwise the printing will be interrupted.
Do not wear cotton gloves when operating the printer. Such cloths may become tangled in the printers moving parts leading to burns, possible bodily injury, or printer damage.
Please wait after the print is finished. please wear gloves to take out the print tools.
Clean the printer frequently. Always turn the power off when cleaning, and wipe with a dry cloth to remove dust, adhered printing plastics or any other material off the frame, guide rails, or wheels. Use glass cleaner or isopropyl alcohol to clean the print surface.
10 Children under 10 years should not use the printer without supervision.
Tips Do not plug or unplug the power cord when power on.
Users should comply with the laws and regulations of the corresponding countries and regions where the equipment is located (used), abide by professional ethics, pay attention to safety obligations, and strictly prohibit the use of our products or equipment for any illegal purposes. Creality will not be responsible for any violators' legal liability under any.
Contents
Equipment Introduction 01-01
Equipment Parameters 02-02
Parts List 03-03
Assemble the 3D Printer 04-05
Use the 3D Printer 06-10
Print Method 11-16
Wiring Connection 17-17
Troubleshooting 18-18
FCC Statement 19-19
IC Caution 20-20
1. Equipment Introduction
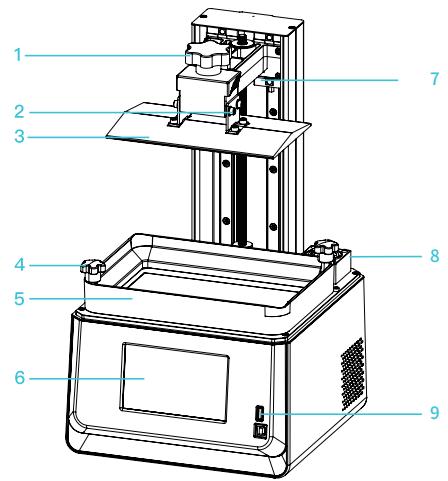
1 Hexalobular socket screw
2 Leveling screw
3 Platform plate
4 Resin vat fixing screw
5 Resin vat
6 Touch screen
7 Limit sensor
8 Air filter
9 USB port
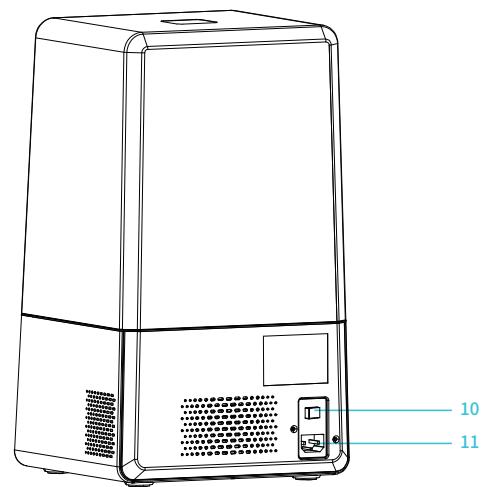
10 Power switch
11 Power receptacle
2. Equipment parameters
Basic Parameters
| Model Name | HALOT-ONE PLUS |
| Build Size | 172*102*160mm (length*width * height) |
| XY Axis Resolution | 4320*2560 |
| XY Axis Accuracy | 0.04mm |
| Print Speed | 1-4S/ layer |
| Layer Thickness | 0.01-0.2mm |
| Touch Screen | 5 inch touch screen |
| Light Source Type | Integral Light Source(wavelength 405nm) |
| Rated Voltage | 100-240V~,50/60Hz |
| Rated Power | 100W |
| Machine Size | 236*243*418 mm |
| Package Size | 310*300*530mm |
| Net Weight | 6.8KG |
| Gross Weight | 8.6KG |
| Print Method | USB Disk, Creality Cloud App, Creality Cloud Online, WiFi Print |
| Machine Language | 中文(简/繁)/ English/ Espanol/ Deutsche/ Frangais/ Pucchkii/ Português/ Italiano/ Türk/Netherlands/Polskie/日本語/韓語 |
| Slicing Software Operation System | Win7/Win8/Win 10 64bit, Mac system(32-bit is not supported) |
| Compatible Resin | Common rigid photosensitive ,Standard resin ,High hardness ,High toughness ,Dental model resin |
3. Parts Content List

Print platform x 1
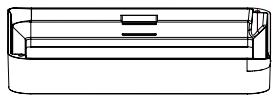

Resin vat x 1
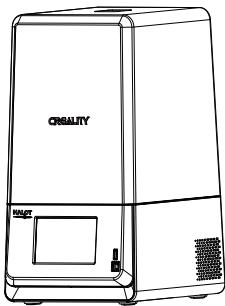

3D printer x 1

Tool list

U disk x 1
Screwdrivers x 1set

3 Power cable x 1

4 Paper funnel x 2
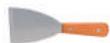
Metalbladex1

6 Release film x 1

7 Plastic blade x 1

8 Calibration card x 1

9 Tray fixing screw x 2
4. Assemble the 3D Printer
Take out the resin vovt align the two tray fixing screws with the corresponding holes and tighten them to fix. (as the picture shows)
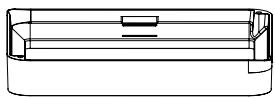

Resin vat x 1


Tray fixing screw x 2
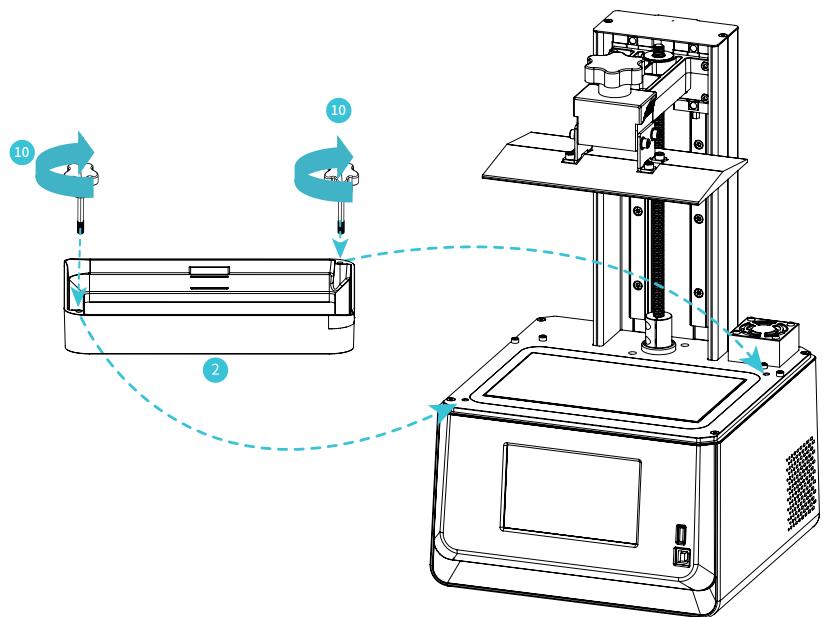
4. Assemble the 3D Printer
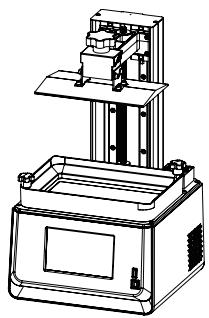
Machine body x 1
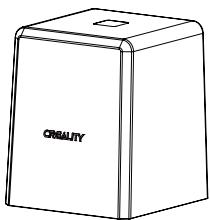
Plastic Upper cover x 1
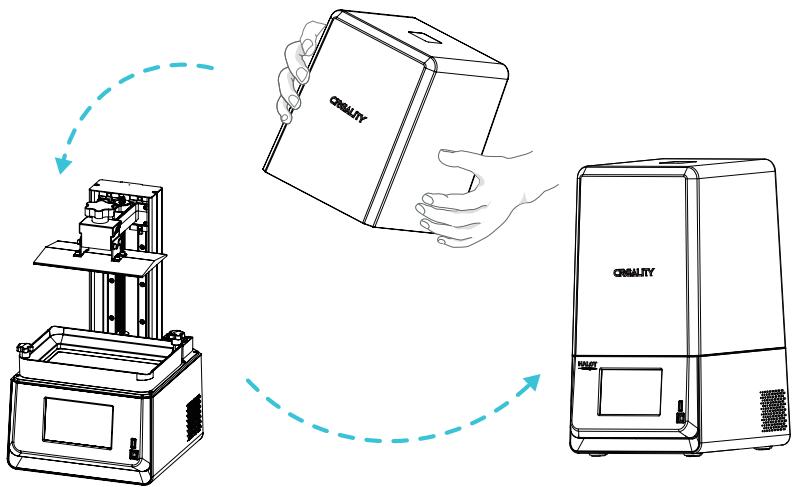

Note: put the upper cover on the machine body and the installation is completed.
6. Interface Information
Settings
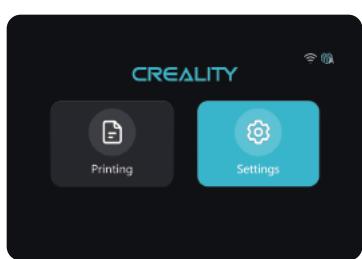
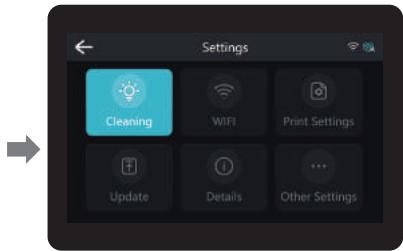
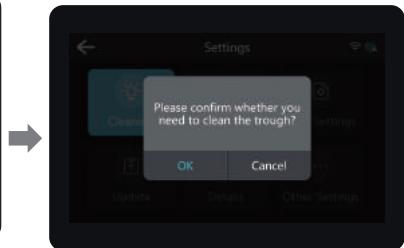
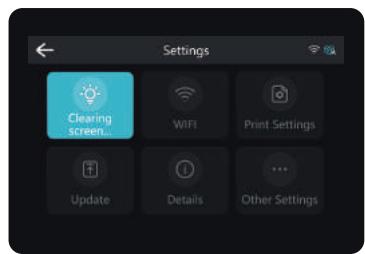

Note: Check whether the light source is normal The UI interfaceis only for reference , the actual UI.
7. Leveling Platform
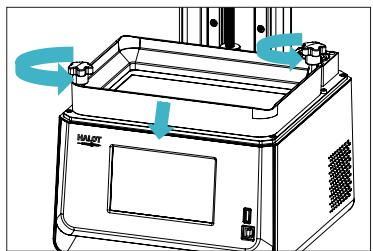
1. Raise the platform, loosen rubber screws on the left and right sides of the resin vat, and take out the resin vat.
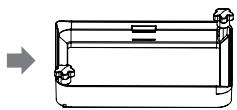
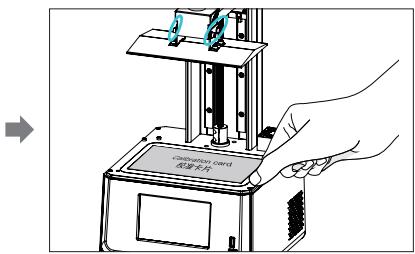
2. Loose the four screws on the connecting plate on molding platform plate, attach calibration card on the printing screen, press Settings Print Settings Z axis movement Leveling, Check whether the platform fits evenly with the paper by referring to the steps on Page 8.
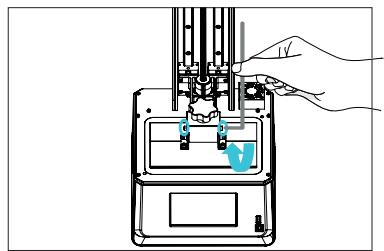
3. After confirming that the calibration card fit evenly, lock the four screws of the platform.

Note: The platform has been leveled at the factory. If it needs leveling due to transportation or other reasons, please follow the steps below to adjust the printing platform.
7. Leveling Platform


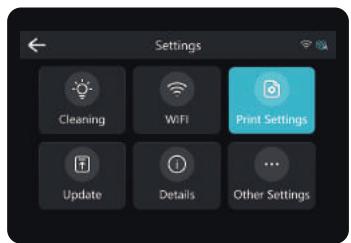

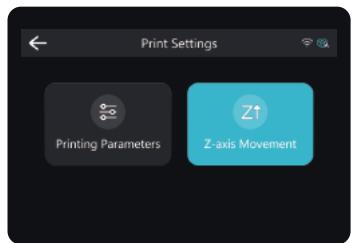

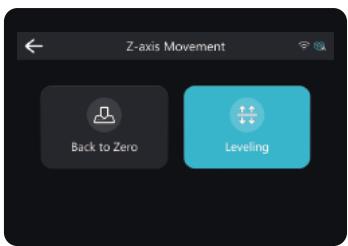

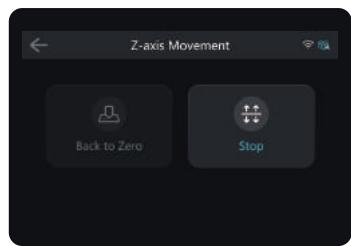

Note: The UI is only for reference only and shall be subject to the actual UI.
8. Load Resin
Pour the UV photosensitive resin into the resin vat. The slot capacity is 250ml / 450ml / 650ml .
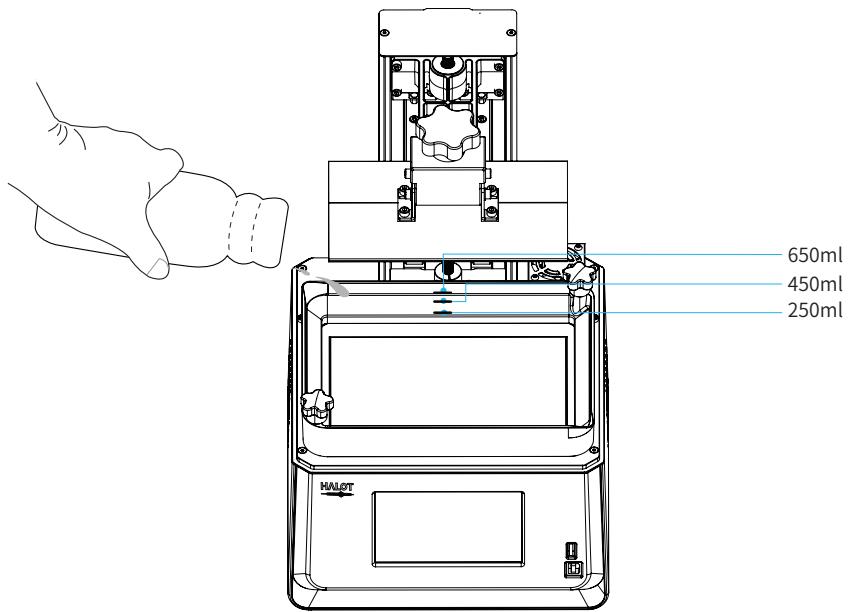

Tips: How to change resin?
Take out the resin vat slowly, pour out the remaining resin into the container, clean the resin vat, pour in new resin, and then install the resin vat to the machine.

Caution: Resin may cause skin irritation or an allergic skin reaction.
Please wear gloves before use to avoid direct contact with the skin.
9. Release Film (FEP) Replacement
a.
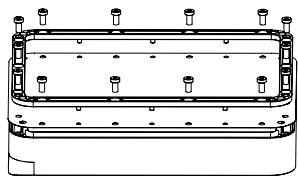
a. First, remove the 14 screws at the bottom of the tray and take out the broken release film (FEP).
b. Then place the release film between the two steel frames.
c. Finally, put the assembled steel frame back into the tray and tighten 14 screws.
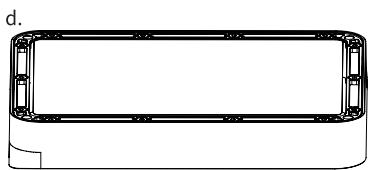
d. The installed release film is as show.
b.

Parameters

Size:216*158mm

Thickness:0.15-0.2mm

Light Transmittance :95%
10. USB Disk Printing
1. Slicer

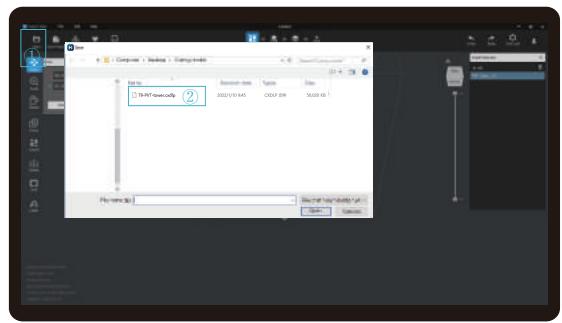
1. Open the slicer software of HALOT BOX, click "Open" on the top left of the screen and add model file;


2. If the model needs to add support, click the upper left icon① to set corresponding parameters②.
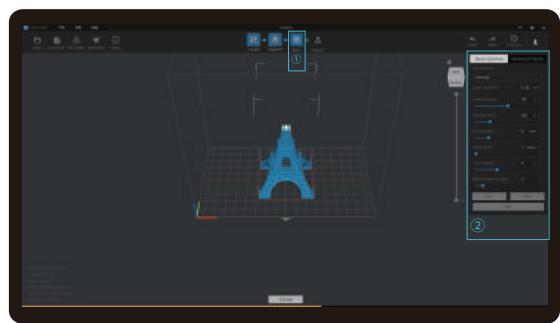
3. Click icon ① Setting slice printing parameters ② Click

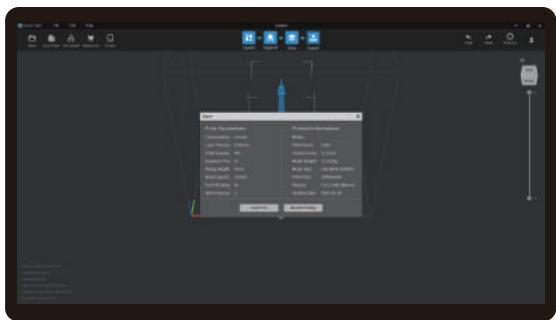
4 wait for slice to be finished Select "Local Printing" to save the sliced file.

Note: The UI interface is for reference only, and shall be subject to the actual UI may be different.
2.Print
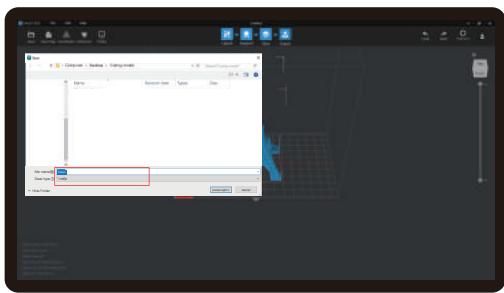
1. Generate cxdlp file and save the file to U disk

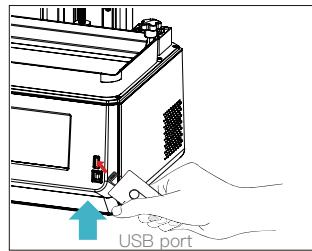
2. Insert the USB disk

Note: The UIinterface is for reference only, and shall be subject to the actual UI.

Warning: During the printing process the machine can't be shaken, so as not to avoid influencing affect the printing quality.
10. USB Disk Printing
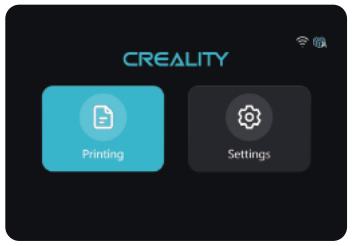

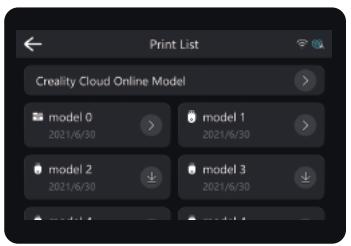

1. Select USB disk files;
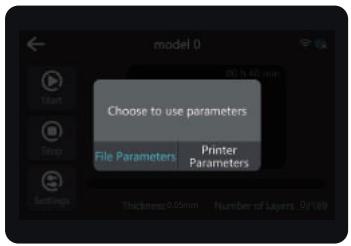
2. Choose to use parameters;
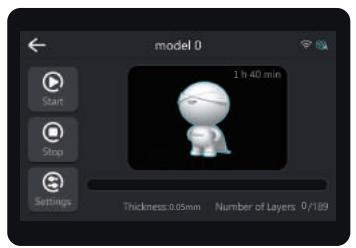
2. Press "Start" button

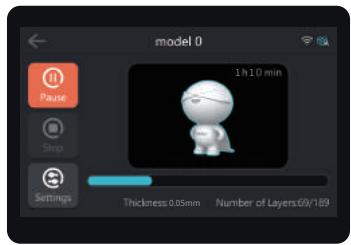
3. Printing...

Note: The UI interface is for reference only, and shall be subject to the actual UI. The machine stores the file being printed by default.
11. Creality Cloud Online
Make sure WiFi is correctly connected before using online printing
Steps: Settings WiFi Select the corresponding WiFi.
Warm Tips: ① Only 2.4GHz WiFi is applicable to the 3D printer, and it cannot be connect to 5GHz WiFi routers;
② Only WPA-PSK/WPA2-PSK security protocol is applicable to the 3D printer, and other protocols may result in the failure to connect the printer to WiFi properly. To change the security protocol, users may change it in setting interface of the router.
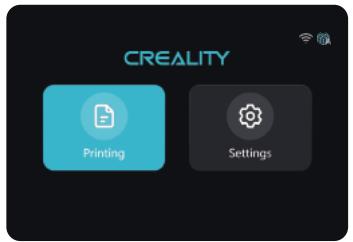
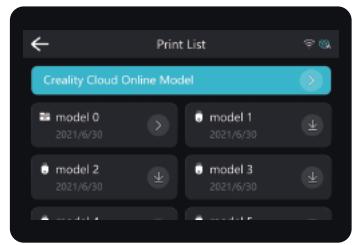

1. Click Creality Cloud online model;
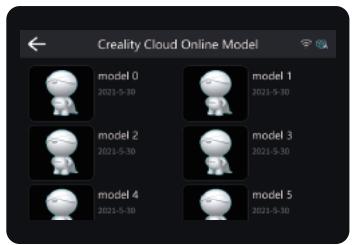
2. Select the model;
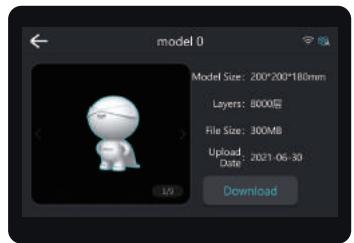
3. Download the model;
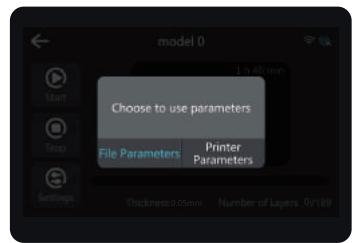
4. Choos to use parameters;

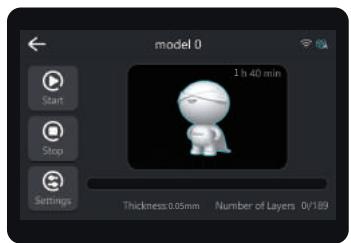
5. Click "Start" to print.

Note: View and set printing parameters The UI interfaceis only for reference the actual UI.
12. Creality Cloud App Print
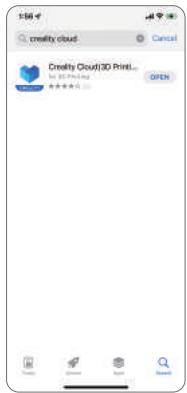
1. Download
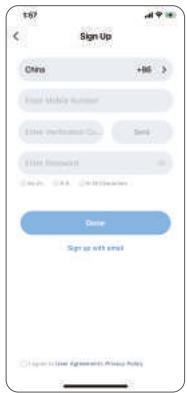
2. Register
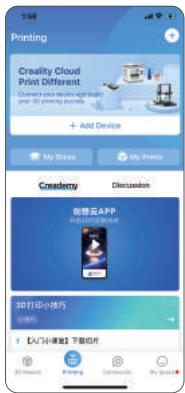
3. Add equipment
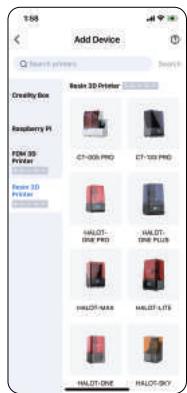
4. Scan QR Code
Settings Detail
Connect to Creality Cloud QR code
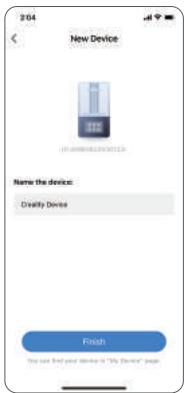
5. Device naming
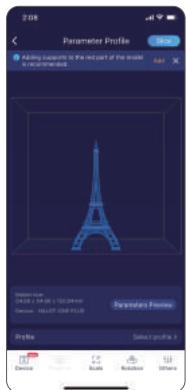
6. Select model, set the printer and parameters, and click "Slice".
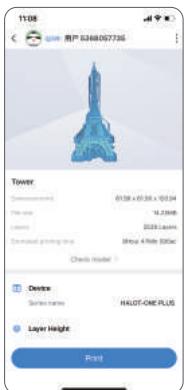
7. Upon completion of slicing, click "Printer".
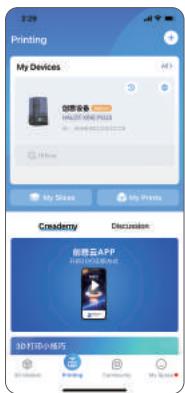
8. Select device

9. Print progress

Notes:
- The steps for adding devices vary for different mobile phone operating systems;
- Set the correct area in "Settings - Other Settings - Language and Area".
3.Make sure WiFi is correctly connected before using online printing.
13.WIFI Print
1. Slicer

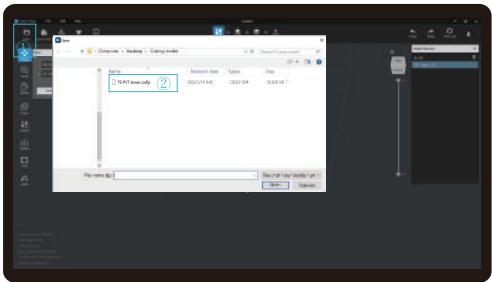
- Open the slicer software of HALOT BOX, click "open" on the left of the screen and add model file.

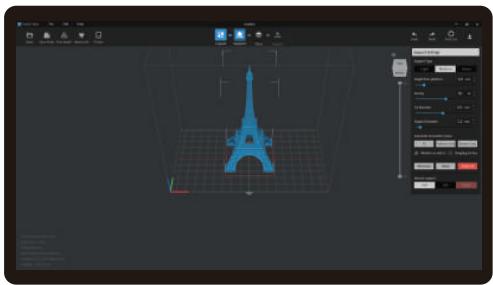
- If the model needs to add support, click the upper left icon to set corresponding parameters.
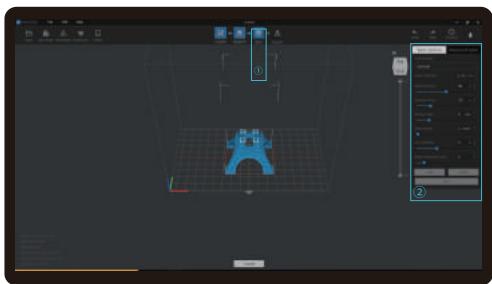
- Click icon ① Setting slice printing parameters ② Click.

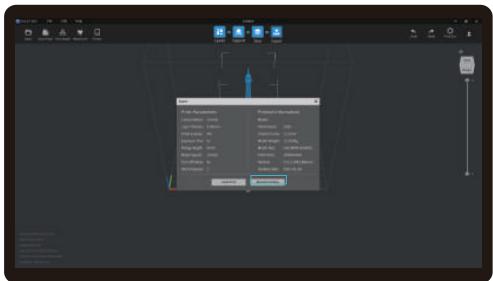
- wait for slice to be finished Select "Remote Printing" for WiFi printing.
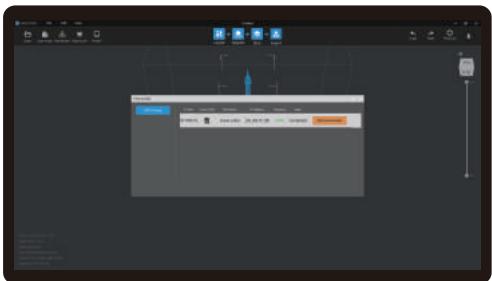
- Once the transmission is over, select the file on the machine to start printing.

Note: Make sure the HALOT BOX and the printer are connected to the same WiFi.
14.Wiring Connection
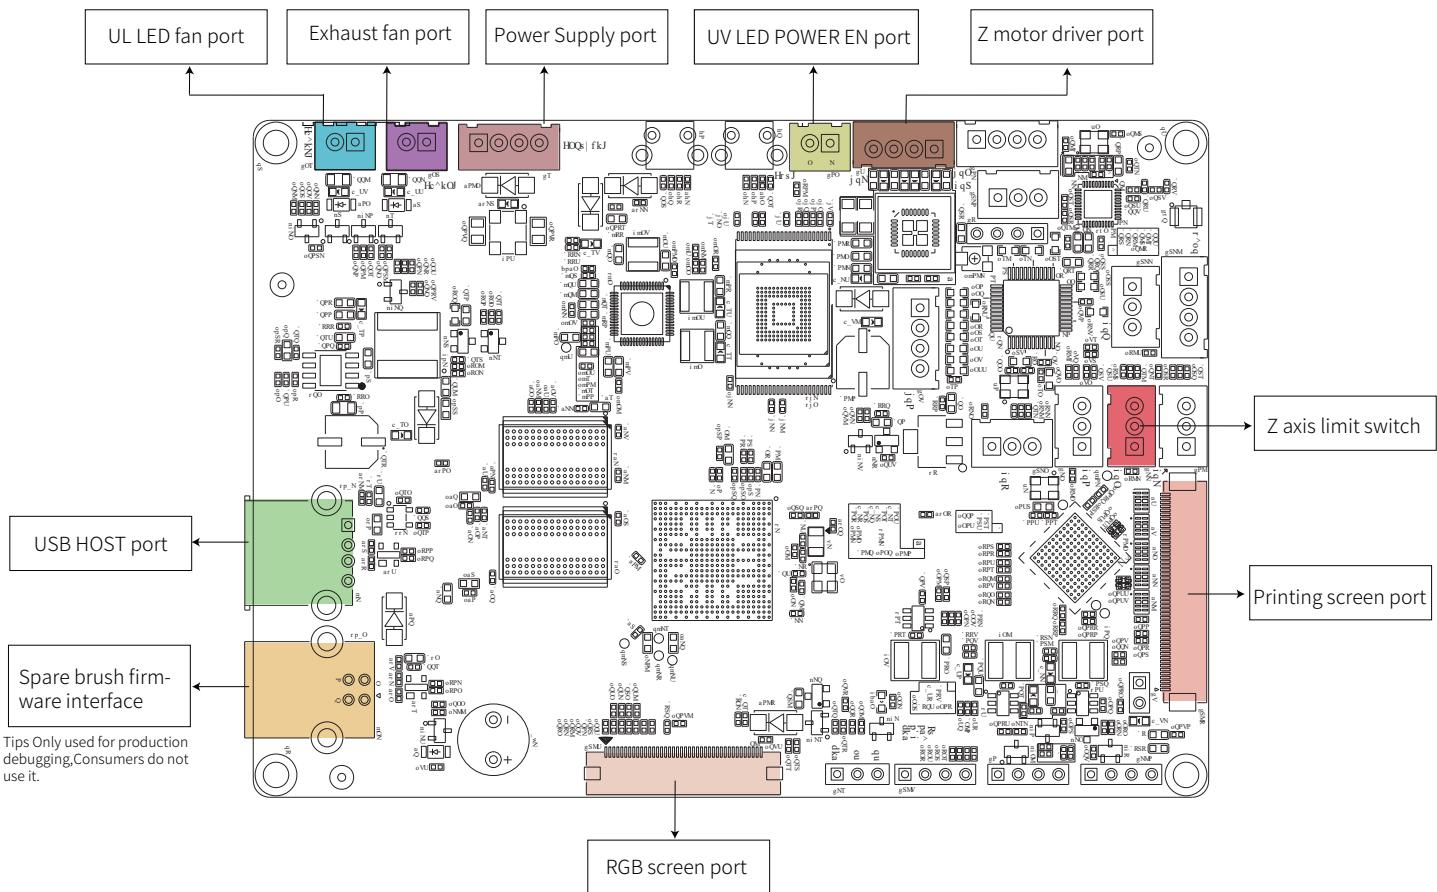
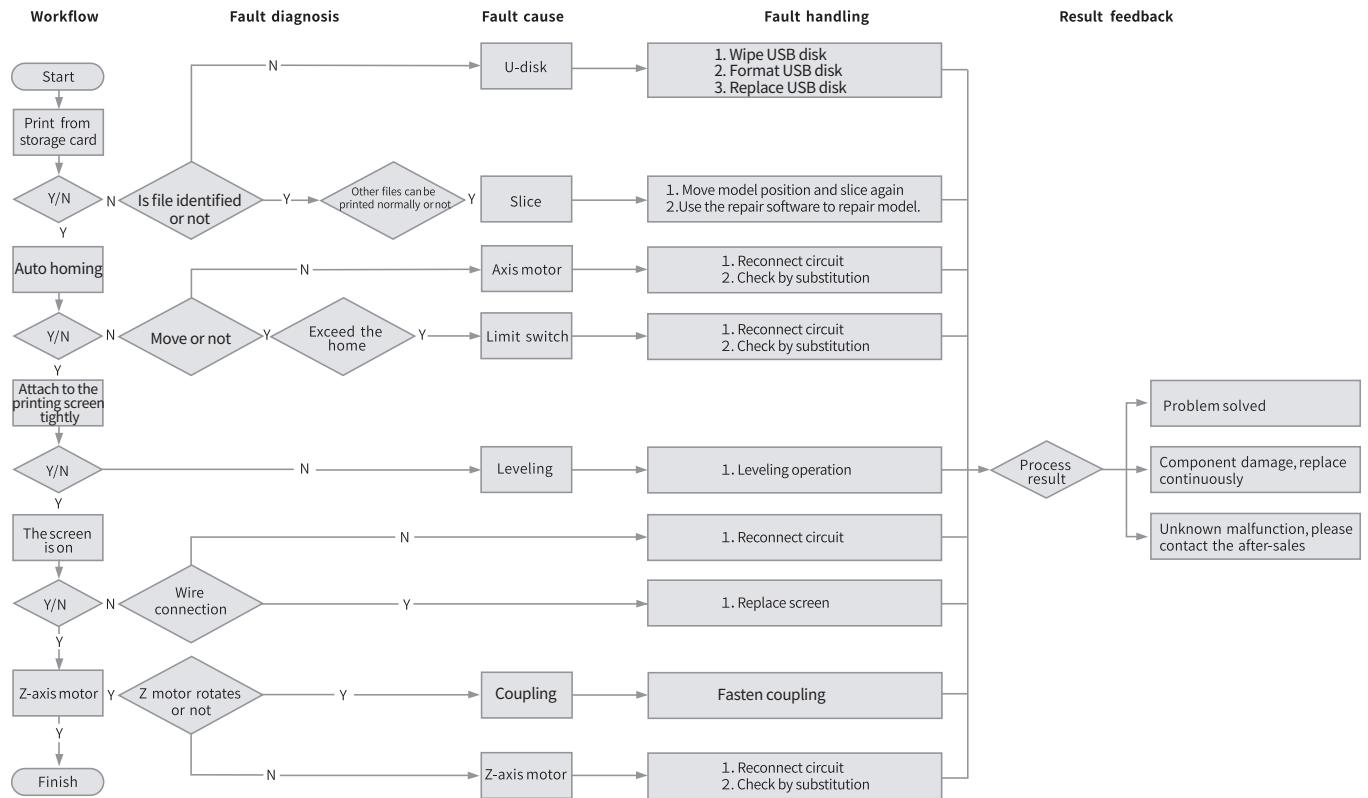
FCC Statement
FCC Caution:
Any Changes or modifications not expressly approved by the party responsible for compliance could void the user's authority to operate the equipment.
This device complies with part 15 of the FCC Rules. Operation is subject to the following two conditions: (1) This device may not cause harmful interference, and (2) this device must accept any interference received, including interference that may cause undesired operation.
IMPORTANT NOTE:
Note: This equipment has been tested and found to comply with the limits for a Class B digital device, pursuant to part 15 of the FCC Rules. These limits are designed to provide reasonable protection against harmful interference in a residential installation. This equipment generates, uses and can radiate radio frequency energy and, if not installed and used in accordance with the instructions, may cause harmful interference to radio communications. However, there is no guarantee that interference will not occur in a particular installation. If this equipment does cause harmful interference to radio or television reception, which can be determined by turning the equipment off and on, the user is encouraged to try to correct the interference by one or more of the following measures:
—Reorient or relocate the receiving antenna.
—Increase the separation between the equipment and receiver.
-Connect the equipment into an outlet on a circuit different from that to which the receiver is connected.
—Consult the dealer or an experienced radio/TV technician for help.
FCC Radiation Exposure Statement:
This equipment complies with FCC radiation exposure limits set forth for an uncontrolled environment.
This equipment should be installed and operated with minimum distance 20cm between the radiator& your body.
IC Caution:
This device complies with Industry Canada’s licence-exempt RSSs. Operation is subject to the following two conditions:
(1) This device may not cause interference; and
(2) This device must accept any interference, including interference that may cause undesired operation of the device.
To maintain compliance with RF exposure guidelines, this equipment should be installed and operated with a minimum distance of 20cm between the radiator and your body.
18F, JinXiuHongDu Building, Meilong Blvd., Longhua Dist., Shenzhen,
China 518131
Official Website: www.creality.com
Tel: +86 755-8523 4565
E-mail: info@creality.com cs@creality.com







210-177974