
CV-Laser Module - Uncategorized CREALITY - Free user manual and instructions
Find the device manual for free CV-Laser Module CREALITY in PDF.


| Product Type | Laser Module for 3D Printers / Engravers |
| Brand | Creality |
| Model | CV-Laser Module |
| Laser Wavelength | 445 nm (Blue) |
| Output Power | 10 W |
| Laser Class | Class 4 |
| Dimensions (L x W x H) | 85 x 85 x 60 mm |
| Weight | 300 g |
| Power Supply | 12 V DC, 5 A |
| Engraving Area | Up to 400 x 400 mm (depends on printer) |
| Supported Materials | Wood, leather, paper, plastic, some metals (with coating) |
| Focus Adjustment | Manual, using knurled ring |
| Interface | PWM signal, compatible with 3D printer mainboards |
| Cooling | Air-cooled (built-in fan) |
| Safety Features | Laser safety goggles recommended; includes safety lock |
| Maintenance | Clean lens with lint-free cloth; keep fan vent unobstructed |
| Spare Parts Available | Yes, lenses, fans, and driver boards sold separately |
| Repairability | Modular design; user-replaceable diode and lens |
| Compatibility | Creality Ender series, CR series, and other Marlin-based printers |
| General Info | User manual available in PDF; free download from notice-facile.com |
Frequently Asked Questions - CV-Laser Module CREALITY
User questions about CV-Laser Module CREALITY
0 question about this device. Answer the ones you know or ask your own.
Ask a new question about this device
Download the instructions for your Uncategorized in PDF format for free! Find your manual CV-Laser Module - CREALITY and take your electronic device back in hand. On this page are published all the documents necessary for the use of your device. CV-Laser Module by CREALITY.
USER MANUAL CV-Laser Module CREALITY
CV-Laser Module User manual
激光模组用户使用手册
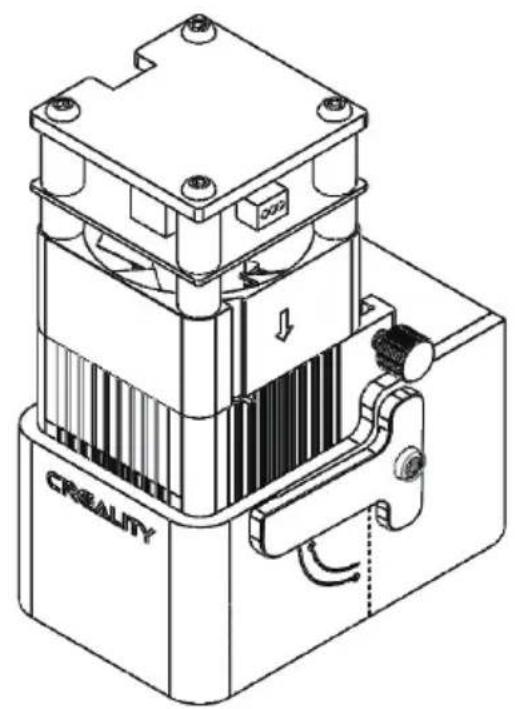
natural_image
Technical line drawing of a mechanical device with labeled components (no readable text or symbols beyond 'CREALITY' and part numbers)Dear Consumers
Thank you for choosing our products. For the best experience, please read the instructions before operating the product. Our teams will always be ready to render you the best services. Please contact us via the phone number or e-mail address provided at the end when you encounter any problem.
Visit our official website www.creality.com to find relevant software/hardware information, contact details and operation and maintenance instructions.
尊敬的用户:
For a better experience in using our product, you can also learn how to use the Printer in the following ways: 为了您能够更好的体验我们的产品,你还可以从以下方式获取设备操作知识:
国内: https://www.crealitycloud.cn/post-detail/7657 (CV-Laser Module的安装与应用)
Overseas: https://www.crealitycloud.com/post-detail/8672 (CV-Laser Module Installation And Application)

Scan QR code to watch installation videos
扫描二维码观看产品安装视频
Notes 使用须知
Using the high-density laser beam to heat up the workpiece surface when engraving or cutting aims to gasify without combustion. While most workpieces are essentially combustible, which may be ignited, leading to open fire and consequently to the machine breakdown and environmental contamination. Please follow the following operating principles.
It is prohibited to store the machine in areas close to combustible and explosive substances, volatile solvents or source of heat. Instead, store it in a well-ventilated, cool and dust-free place;
② Make sure that only the specific attached power cord rather than other similar power cords are used during installation;
Do regular maintenance. Clean the product with a dry cloth when the power is turned off, wiping away dust and foreign matter;
4 Ensure to run the laser at 0°C-35°C. Operation at sub-zero temperature is prohibited;
6 Switch off the machine if it is offline for an extended period of time, and unplug the power cord; It is prohibited to run the machine under wet environment or in thunderstorm weather;
6 It is prohibited to come in contact with electronic areas with hands or other tools when the machine is connected to power supply;
7 Touching any moving parts and laser module while the machine is running is prohibited;
8 Wear goggles to prevent vision damage arising from exposure to the laser spot during laser engraving operation;
9 It is advisable to run the machine under well ventilated condition as laser engraving may generate small amount of fume or gas;
Children under 10 years old are not allowed to run the machine without adult presence, which otherwise may lead to personal injury;
11 Put in place fire extinguishers in case of use, which shall be regularly checked. It is prohibited to keep the machine unattended while it is running;
Users should comply with the laws and regulations of the corresponding countries and regions where the equipment is located (used), abide by professional ethics, pay attention to safety obligations, and strictly prohibit the use of our products or equipment for any illegal purposes. Creality will not be responsible for any violators' legal liability under any circumstance.
1 护目排风罩 | Eye protect exhaust hood
② 激光头 | Laser head
3 圆柱头拧螺丝 | Cylindrical head screw
4 定焦条 | Focusing bar
⑤ 活性炭吸烟棉 | Activated carbon smoking-adsorption cotton
6 轴流风扇 | Axial fan
2. Equipment Parameters 设备参数
| Product Parameters 产品参数 | |
| Name | 产品名称 | Laser Module |
| Model | 型号 | CV-Laser Module |
| Size | 产品尺寸 | 185mm×180mm×85mm |
| Net Weight | 产品净量 | 400g |
| Gross Weight | 产品毛重 | 540g |
| Power Supply | 电源要求 | DC 24V |
| Laser Source | 激光源 | 半导体激光器 | Semiconductor laser unit |
| Laser wave length激光波长 | 450±5nm |
| Laser power | 光功率 | 1.6W |
| Safety Class | 安全等级 | Class IV (FDA 分类标准) (FDA classification standard) |
| Range of operating temperature工作温度范围 | 0°C-35°C |
| Support materials | 支持材料类型 | Cardboard, wood, bamboo, rubber, leather, fabric, acrylic, plastic, etc.纸板、木板、竹板、橡胶板、皮革、织物、亚克力、塑料等 |
3. Package Content 零部件清单
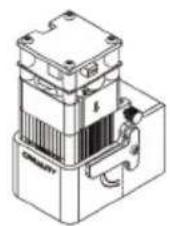
1 Laser Module 激光模组 x 1
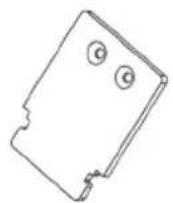
2 Laser head fixing plate 激光头固定板 x 1
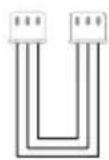
3 Laser module wire 激光模组线 x 1
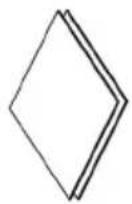
4 Wood plate
木板 x 2
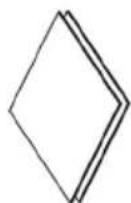
5 Brown paper
牛皮纸 x 2
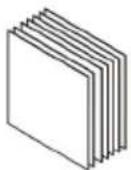
6 Color card paper
彩色卡纸 x 7
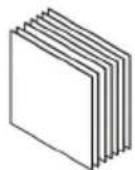
7 Color asphalt felt paper
彩色毛毡纸 x 7
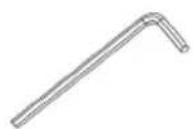
8 M2 Socket head wrench
M2内六角扳手 x 1
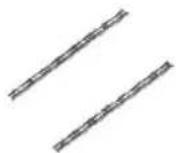
9 Soft magnetic strip 软磁条 x 2
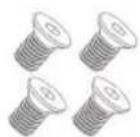
10 Hexagon socket countersunk head screw 内六角沉头螺丝x4

Hexagon socket
圆柱头手拧螺丝x1
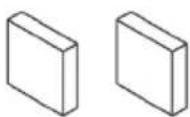
12 Activated carbon smoking-adsorption cotton 活性炭吸烟棉x 2
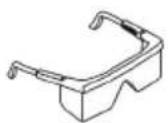
13 Safety goggles
防护眼镜 x 1
14 Black cable tie
黑色尼龙扎带x 3
15 Dustless cloth
无尘布x 1
16 Instruction manual
说明书x 1
4. Assembling 组装说明
1、Take the printer Ender-3 S1 as an example: 以Ender-3 S1为例:
Remove the hotend kit 拆下喷头组件
Please make sure that before removing the hotend kit, you should firstly take off the print material from the nozzle while it is heated. Disconnect the power and allow it to cool to room temperature. Unplug the cable and loosen the four screws to remove the hotend kit.
4. Assembling 组装说明
2、Install the laser head fixing plate 安装激光头固定板
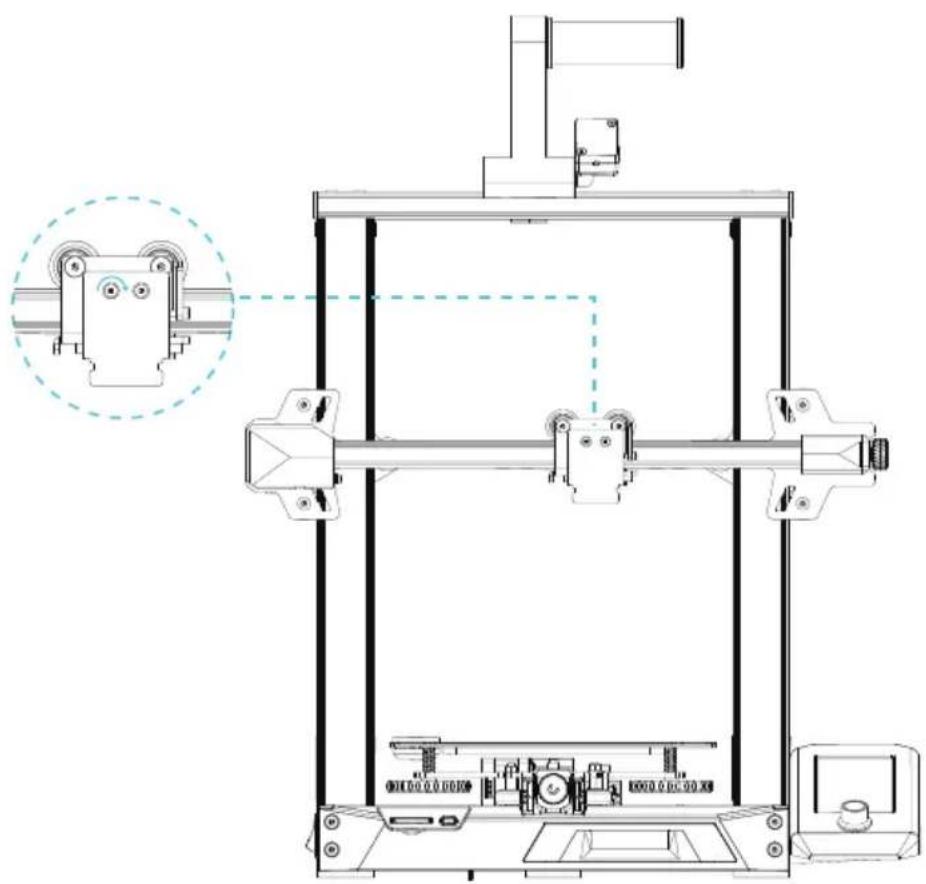
Take out the laser head fixing plate and the two Hexagon socket countersunk head screw from the box, attach the fixing plate to the machine and tighten the two countersunk screws using an Allen key(clockwise).
1 Laser head fixing plate 激光头固定板 x 1

2 Hexagon socket countersunk head screw 内六角沉头螺丝x 2
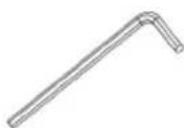
3 M2 Socket head wrench M2内六角扳手 x 1
natural_image
Technical line drawing of a 3D printer with mechanical components and a magnified inset showing the internal structure (no text or symbols present)4. Assembling 组装说明
3、Installing the Laser Module 安装激光模组
Take out the Laser Module and 1 hand screw with cylindrical head from the box, attach the Laser Module to the fixing plate and tighten it using the cylindrical head hand screw (clockwise direction).
4. Assembling 组装说明
4、One side of the laser module cable plugs into the machine's expansion port and the other side into the laser head.
natural_image
Technical line drawing of a 3D printer assembly with mounting base and mechanical arms (no text or symbols)5. Firmware update 固件更新
When using the laser module on the Ender-3 S1 for the first time, please check if the motherboard firmware and the screen firmware are the applicable versions respectively. The method is as follows.
Connect the machine to the power supply, turn on the power switch on the side, select "Control" - "Info", the firmware version number should be V1.0.4 or above.
5.1.2 Insert the SD card into the machine and turn on the power to update automatically. 将SD卡插入机器,上电即可自动更新。
5.2 Screen firmware 屏幕固件
5.2.1 Copy the private file to the TF card:
将private文件夹拷贝至TF卡:

natural_image
Illustration of a yellow folder with a white document or paper sheet, labeled 'private' at the bottom (no other text or symbols)
natural_image
Simple 3D block diagram with green and purple layers, no text or symbols present5.2.2
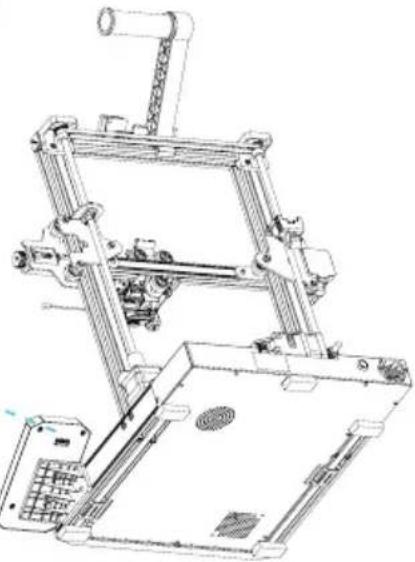
① Unplug the screen cable and then remove the screen from the screen holder.
将屏幕线拔出,然后把屏幕从屏幕支架取下。
② Use an Allen key to unscrew the four screws on the back of the screen and remove the lower cover of the screen. 使用内六角扳手将屏幕背后的四颗螺丝拧出,卸下屏幕下盖。
③ Insert the TF card into the TF card slot of the motherboard, plug in the screen cable and power on to update automatically.
④ After the update is complete, power off, remove the TF card, reinstall the screen and restart the machine.

② TF卡(自备)
TF card x 1 (Self-Provided)
Screen cable terminals
Four screws
四颗螺丝
屏幕线插口
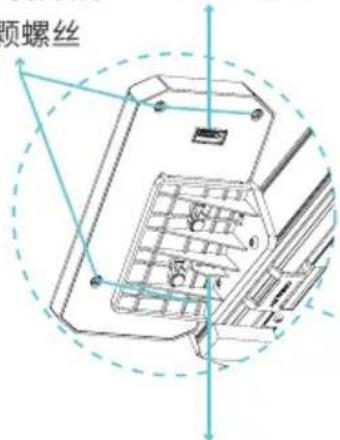
The screen holder 屏幕支架
natural_image
Technical line drawing of a mechanical assembly with no visible text or symbols6. Software installation 软件安装
Please visit the following weblink Creality_Print : https://www.creality.com/download 请访问如下网址下载软件 Creality_Print : https://www.creality.com/download
Creality_Print supports either Windows or Mac system, please choose the right software version when download. Creality_Print支持Windows和Mac操作系统,下载时注意区分。
natural_image
Simple icon of a computer monitor with a stylized 'G' logo, no text or symbols present.Creality_Print.exe

1、Double click to open the software installation package, click "Next" - "Accept".
![Creation Import Setup Choose Install Location Choose the folder from which to install Capacity Point Setup will install Capacity Point to the following folder. It will be in a different folder, click Browse and select another folder. Dash next to continue. Destination Folder [0]Capacity Point Spread... Stock request: 36.1.5 FPS Stock availability: 289 GB Select Install Provider (SIP) < Back Next > Cancel](/content/2026/05/855848/images/023c5c269b5651d6da7777cbc94178f71c875bc4e402a7c83116389c9d5eb96b.jpg)
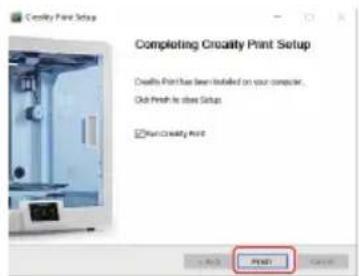
2、Confirm the installation location of the software, click "Browse..." - "Next" - "Install" (not recommended to install on C drive) - "Finish".
natural_image
Simple icon of a computer monitor with a stylized face, no text or symbols present.Creality_Print.exe

Take the Ender-3 S1 Laser as an example, click on the locations as shown to add your machine in turn. 以Ender-3 S1 Laser为例,依次点击如图所示位置添加您的机器。
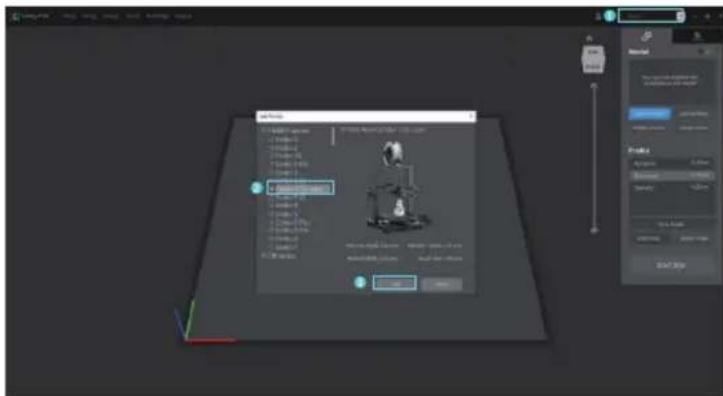
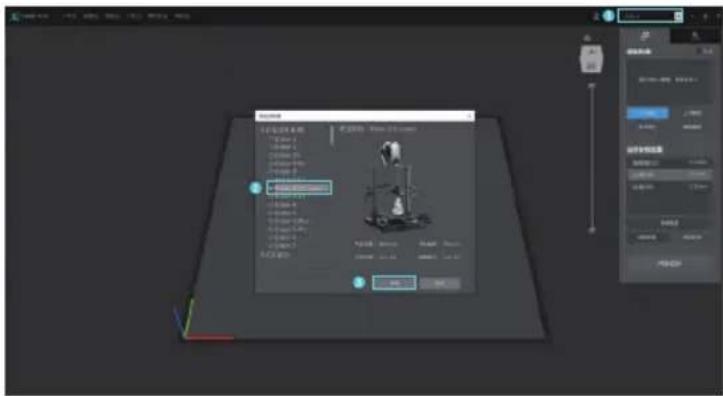
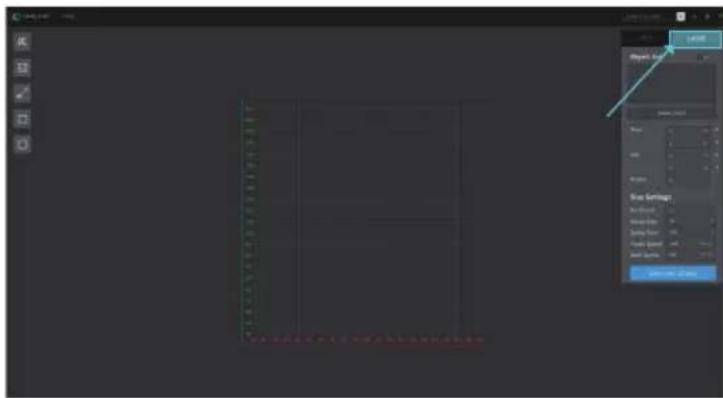
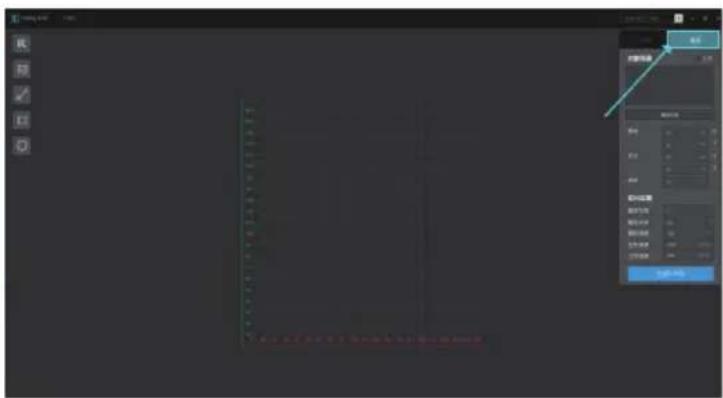
2、Make sure the current status is "Laser". 确保当前状态为激光雕刻模式。
3、Click on the "Picture" button on the left and find the image file you need to engrave. Open to import the picture into the CrealityPrint software.
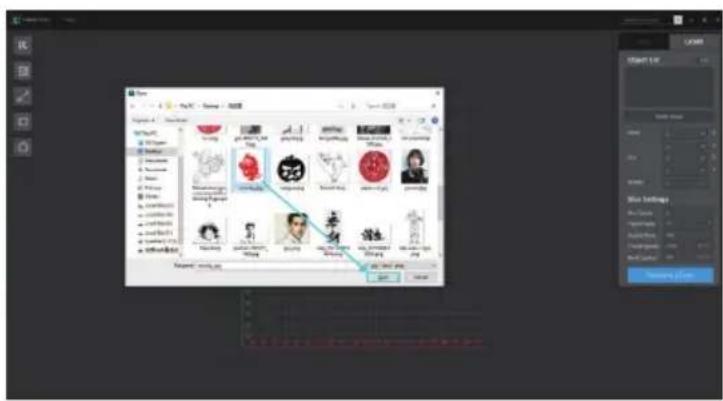
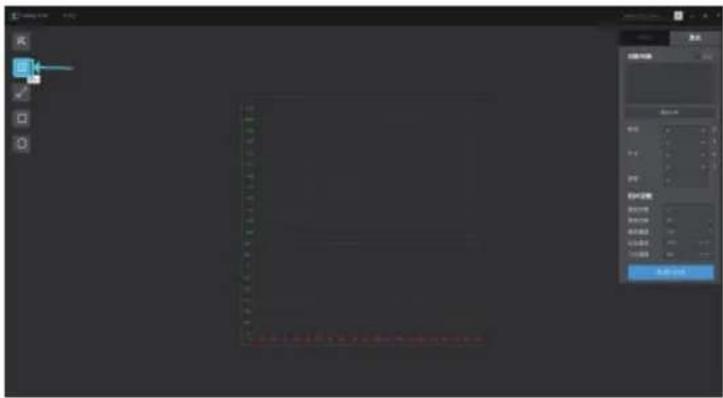
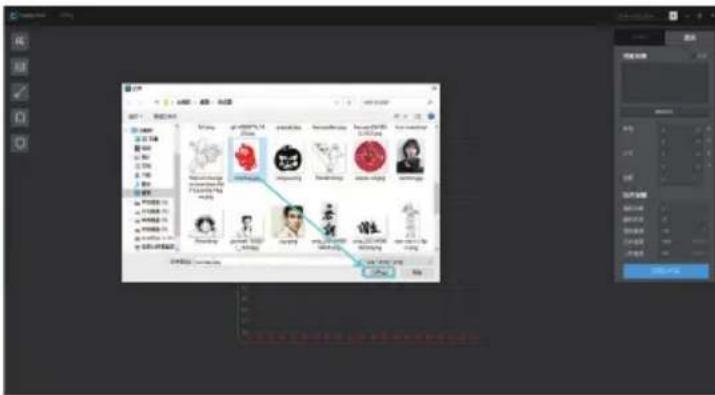
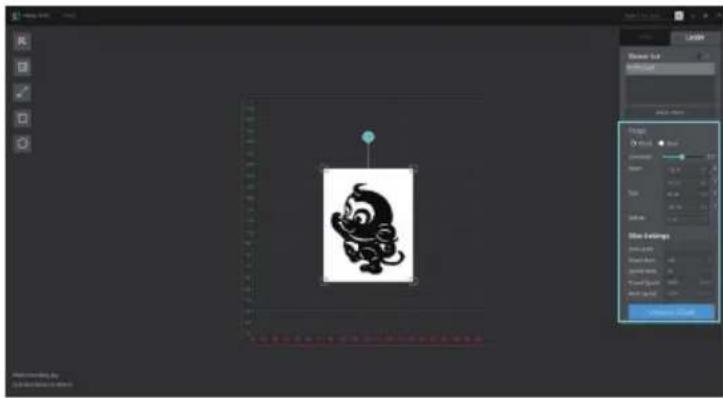
4、Adjust the position, size, rotation angle and other parameters of the file in the right-hand console, setting the processing mode and working parameters, finally preview the processing effect of it. 在右侧控制台中调整图像文件的位置、尺寸、旋转角度等参数,并设置图像的处理模式、工作参数等,最后对图像的加工效果进行预览。
natural_image
Screenshot of a graphic design software interface showing a stylized black dragon design on a dark background, with no visible text or symbols.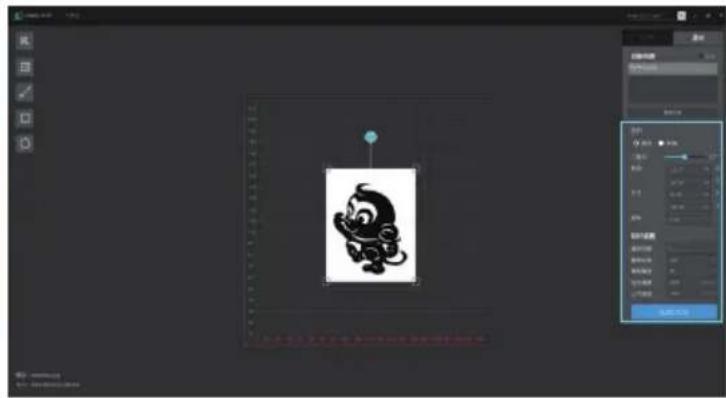
natural_image
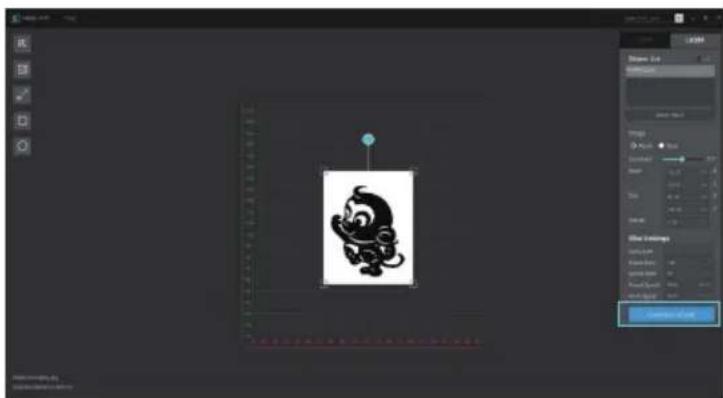
Screenshot of a graphic design software interface showing a stylized black dragon motif on a dark background, with tool panels and no readable text or symbols.5、Finally, click on "Generate G-Code" to save the engraving file on the SD card. 最后点击“生成G代码”,将雕刻文件保存在SD卡中。
natural_image
Digital artwork editing interface showing a stylized black dragon design on canvas, with tool panels and no readable text or symbols.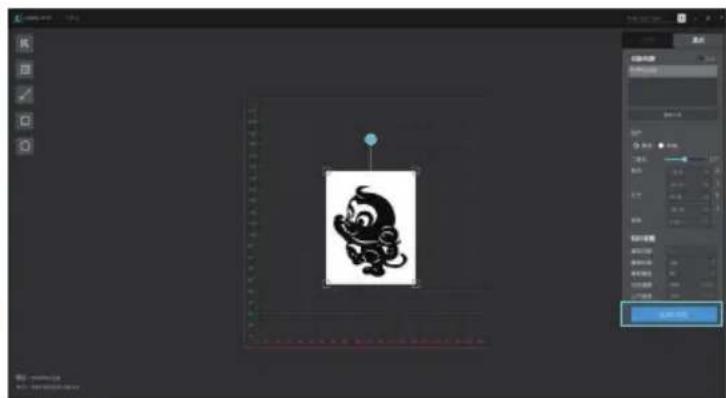
natural_image
Screenshot of a graphic design software interface showing a stylized black dragon design on canvas, with tool panels and no readable text or symbols.9. Engraving 开始雕刻
1、Insert the SD card into the machine and turn on the power switch on the side.
2、After the machine is switched on, if you are using it for the first time, please select laser engrave.
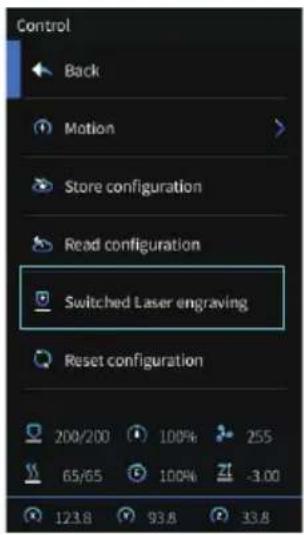
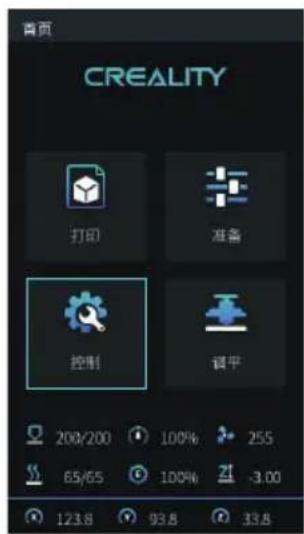
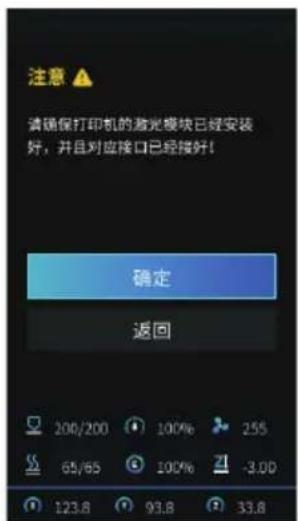
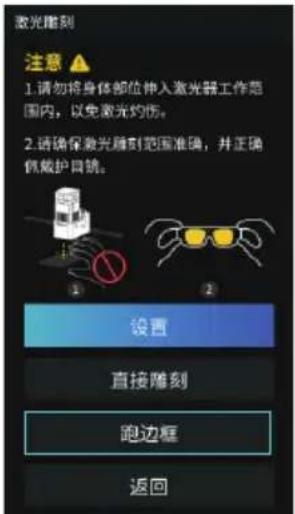
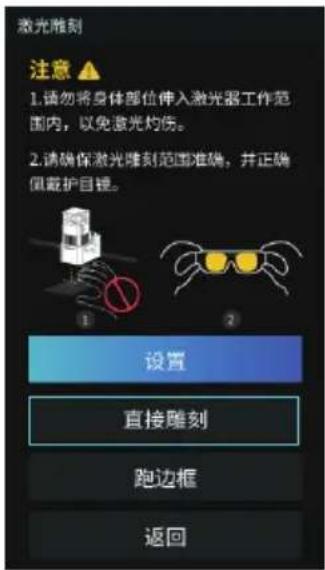
The software pops up the following prompt box. Please ensure that the laser module is installed correctly (note that the laser module must be installed and removed only when the power is off) and select "Confirm".
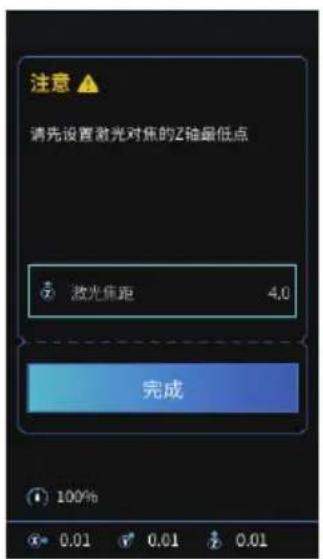
3、Please place the engraving material under the laser head, counter-clockwise push the fixed focus bar, adjust the laser focus to the appropriate value through the knob (different thickness of the material corresponding to different values), until the focusing bar touches the engraved material surface when natural vertical down. Finally, clockwise push the focusing bar until it is attached by the magnet, then select "Finish".
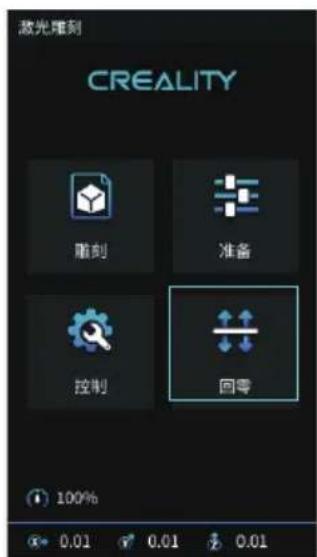
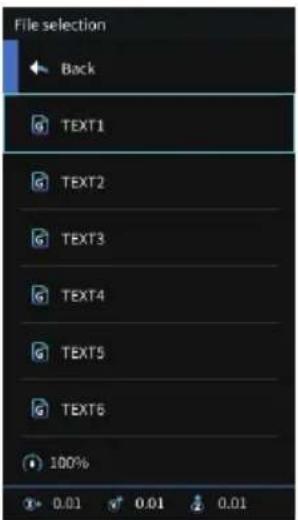
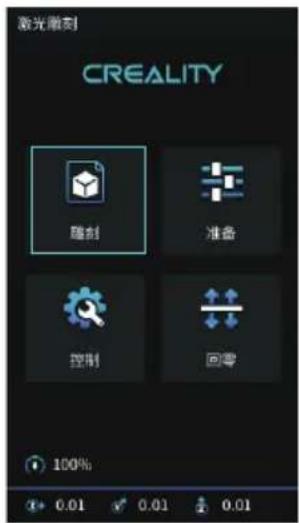
Select "Run Range", the laser head will move repeatedly around the maximum X and Y edges. You can adjust the engraving material to the right position.
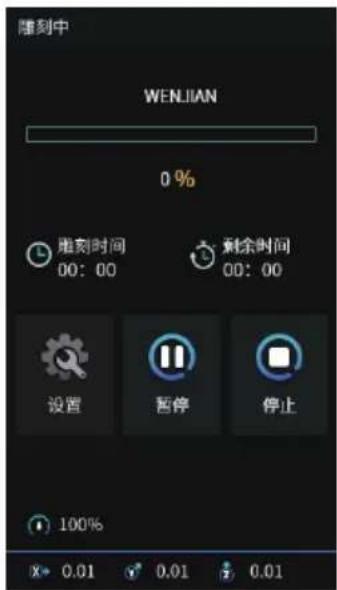
If you need to pause during engraving, please select "Pause" and select "Print" again for the machine to continue. If you need to cancel the engraving task, please select "Stop".
When engraving or cutting thin objects (e.g. paper), the laser may penetrate the object and leave marks. It is recommended to put a flat object which laser cannot penetrate, such as aluminium or stainless steel plates, before you put the engraving material.
需要注意:
Due to the differences between models, product images and description only for reference purpose, please see the subject produce. The final explanation rights shall be reserved by ShenZhen Creality 3D Technology Co., Ltd.
SHENZHEN CREALITY 3D TEC
18F, JinXiuHongDu Building, Meilong Blvd., Longhua Dist., Shenzhen,
China 518131
Official Website: www.creality.com
Tel: +86 755-8523 4565
E-mail: info@creality.com cs@creality.com

深圳市创想三维科技股份有限公司

- CV-Laser Module User manual
- 激光模组用户使用手册
- Dear Consumers
- 尊敬的用户:
- Notes 使用须知
- Equipment Parameters 设备参数
- Package Content 零部件清单
- Assembling 组装说明
- 2、Install the laser head fixing plate 安装激光头固定板
- 3、Installing the Laser Module 安装激光模组
- Firmware update 固件更新
- Screen firmware 屏幕固件
- Copy the private file to the TF card:
- 5.2.2
- Software installation 软件安装
- Engraving 开始雕刻
- 需要注意:
- SHENZHEN CREALITY 3D TEC
- 深圳市创想三维科技股份有限公司
Brand : CREALITY
Model : CV-Laser Module
Category : Uncategorized