
AFS 100 - Digital film scanner AGFAPHOTO - Free user manual and instructions
Find the device manual for free AFS 100 AGFAPHOTO in PDF.
| Product type | Digital film scanner |
| Brand | AGFAPHOTO |
| Model | AFS 100 |
| Sensor | 1/3.2" 5 MP CMOS |
| Resolution | 5 MP (native) - 10 MP (interpolated) |
| Storage | SD/SDHC card up to 32 GB (not included) |
| Lens | Fixed focal length F/6.0, F = 6.34 mm |
| Focus range | 5.6 cm |
| Image format | JPEG |
| Display | 2.36" TFT |
| TV output | NTSC/PAL |
| Interface | USB 2.0 high speed |
| Power supply | 5 V DC (adapter included or USB port) |
| Weight | 298 g |
| Box contents | Scanner, USB cable, AV cable, negative holder, slide holder, 5V adapter, manual, cleaning brush |
| Main functions | Scanning slides and negatives (black and white, color), exposure adjustment, image rotation/flip, on-screen viewing, export via USB or SD card |
| Maintenance and cleaning | Display: dry, alcohol-free cotton swab; backlight panel: provided brush inserted into side opening |
| Safety | Do not expose to rain/humidity, do not disassemble, avoid heat sources, do not obstruct ventilation, unplug if not used for a long time |
| Spare parts and repairability | Repairs by qualified personnel only; limited 1-year warranty |
| After-sales service | aftersaleservice@gtcompany.fr, +33 1 85 49 10 26 |
Frequently Asked Questions - AFS 100 AGFAPHOTO
User questions about AFS 100 AGFAPHOTO
0 question about this device. Answer the ones you know or ask your own.
Ask a new question about this device
Download the instructions for your Digital film scanner in PDF format for free! Find your manual AFS 100 - AGFAPHOTO and take your electronic device back in hand. On this page are published all the documents necessary for the use of your device. AFS 100 by AGFAPHOTO.
USER MANUAL AFS 100 AGFAPHOTO
Digital Film Scanner
Realiview AFS100
User Manual
Important: Do not expose this product to rain or moisture to prevent any liquid damage.
Caution: Do not disassemble this unit. To prevent any risk of electric shock, do not remove the cover.
Ventilation: The device should be situated so that its location or position does not interfere with its proper ventilation. For example, the unit should not be situated on a bed, sofa, rug or similar surface that may block the ventilation openings.
Heat: The device should be kept away from sources of high heat such as radiators or stoves.
Cleaning: We strongly suggest using a clean, dry, non-alcohol cotton swab to clean the glass surface periodically to maintain a clear image.
Inactivity period: The USB cord of the device should be unplugged from the computer or the power adapter when the unit is left unused for a long period of time.
USB overloading: Try not to overload the USB ports of your computer. If you have too many USB powered devices connected to your computer, there may not be enough power for the film scanner to operate properly.
Servicing: The user should not attempt to service the device beyond the means described in the operating instructions. All other servicing should be referred to a qualified person.
Film Holder: The design of the film holder follows ISO standard. In some cases, the holes on the film will not match exactly to alignment of the holder. This is caused by non-standard cameras. In this case, there will be a small black line on the edge of the frame that can easily be cropped out using photo editing software. ISO - international Organization for Standardization
PACKAGE CONTENTS
- Film scanner
- USB cable
AV cable - Negative film holder
- Positive slide holder
- DC5V adapter
- User's Manual
Brush
NOTE: You can use the provided brush to clean the backlight panel
- To do so, place the film scanner on the side and insert the end of the brush into the door on the right side
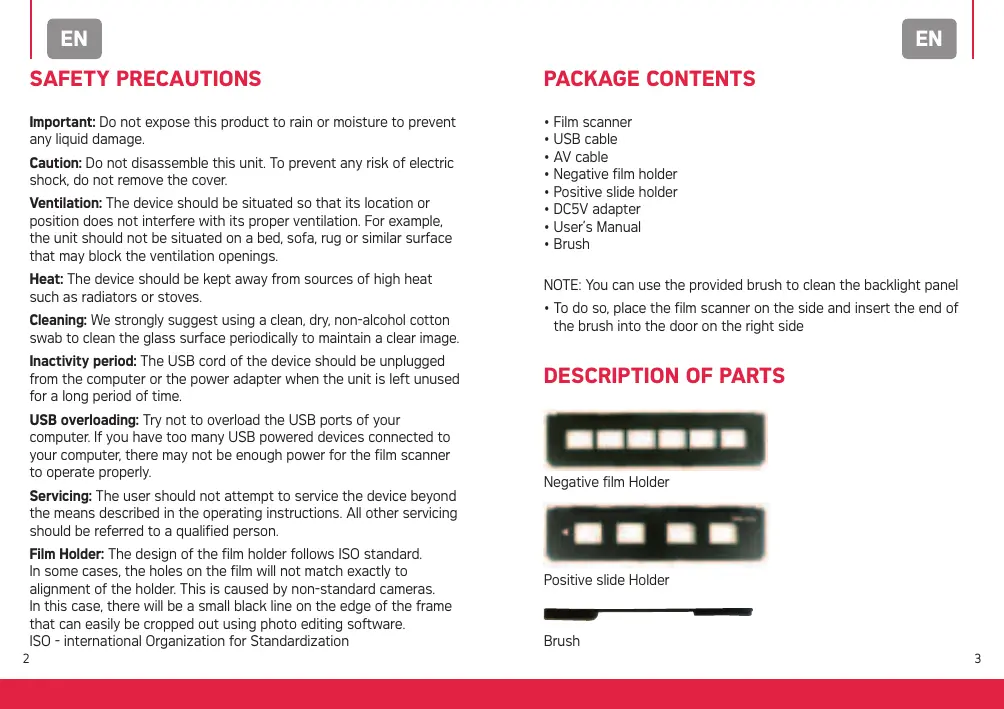
DESCRIPTION OF PARTS
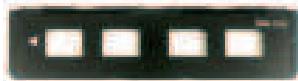
Negative film Holder
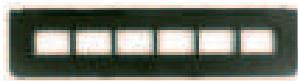
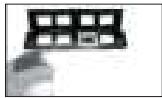
Positive slide Holder

Brush
LOADING SLIDES AND NEGATIVES INTO THE HOLDERS
Note: Handle slides and negatives with care.
Any dust, scratch or fingerprint will be visible on your saved images.
SLIDES

[1]
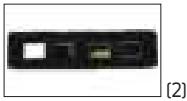
- Open the film holder at the marked spot on the top and place the slides into the dedicated slots, it should fit perfectly.
- Close the slide holder and press the edges to lock it in place.
NEGATIVES

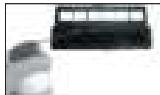
[1]
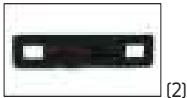
- Open the negative holder at the marked spot on the top. With the negative holder laid open place the negative into the holder so the notches line up with the notches on the holder.
- Close the negative holder and press the edges to lock it in place.
INSERTING HOLDERS INTO THE FILM SCANNER
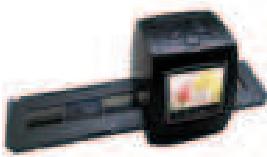
Insert the negative or slide holder into the slot on the right side of the film scanner as shown on the picture.
- Load slides or negatives into the corresponding holder
- Insert the holder into the scanner
- Connect the scanner to a power source (PC or power adapter)
- Press the power button to turn on the scanner
- Press the Scan button to start scanning
- When done using the scanner, take the storage card out
- Pictures can also be viewed on a PC via USB Connection
MAIN MENU & MODES

Main Menu
When you power on the device, it automatically goes into capture mode. Press the Menu button to access the main menu.
In the main menu, you will find different modes and submenus:

Language Setting
Choose a language between English, German, Italian, Spanish, Traditional Chinese, Simplified Chinese, Japanese and French. Press OK to confirm

Resolution
Select "Resolution" to change the resolution. Press OK to confirm

Storage
To preview or copy pictures [saved on the SD card] to a PC, connect the scanner to a PC using a USB cable. Turn on the scanner, then from the main menu, select "USB MSDC", the screen will turn black.
CAPTURE FUNCTIONS

Capture
Select "Capture" to enter capture mode.
Before entering capture mode, choose a film type or change the EV value.
Press OK to confirm

Exposure
In "Capture" select EV to change the exposure value. Use the left and right arrows to adjust the EV.
Press OK to confirm

Film Type
- Black & White
- Slides
- Negatives Film
In "Capture", select Film Type to choose a film type and press OK to confirm.
It will automatically enter Capture mode.
CAPTURE MODE

Shooting mode
0000 - Scanning amount available
5M - Resolution
Memory type
Mirror Image/Rotation
Before scanning, if you need to invert or rotate your image, press the left or right keys to adjust it.


Press the left key to invert the image


Press the right key to flip the image
When you are satisfied with the image, press "Scan" to save it.
PLAYBACK MODE
From the main menu select "Playback" to view your saved photos. Use the left and right keys to browse through the photo gallery.
In playback mode, press "Menu" to display more options, press it again to hide the options.

- +90^ Rotation
- -90^ Rotation
- Delete: Delete picture from the memory card
4.Exit:return to playback mode - Save changes
- Go back to capture mode Press OK to confirm
Delete/Return
To delete a picture, select it and press "Menu", then select the bin icon. Press OK to confirm.
LeavingPlaybackmode
To go back to the main menu, select the house icon, press OK to confirm and then press "Menu".
PRECAUTIONS DE SÉCURITÉ
Notice of compliance for the European Union
Products bearing the CE mark comply with the applicable European directives and associated harmonised European standards.
Disposal of waste equipment by users in the European Union
This symbol means that according to local laws and regulations it is prohibited to dispose of this product with household waste. Instead it is your responsibility to protect the environment and human health by handing over your used device to a designated collection point for the recycling of waste electrical and electronic equipment. For more information about where you can drop off your waste equipment for recycling please contact your local city office, your household waste disposal service or the shop where you purchased the product.
Product manufactured for and distributed by:
GT COMPANY - 5 rue de la Galmy - 77700 Chessy - France +33 (0) 1.61.10.09.25 - www.gtcompany.fr
AgfaPhoto is used under license of Agfa-Gevaert NV. For this product a sub-license has been granted by AgfaPhoto Holding GmbH (www. agfaphoto.com). Neither Agfa-Gevaert NV nor AgfaPhoto Holding GmbH manufacture this product or provide any product warranty or support. For service, support and warranty information, contact the distributor or manufacturer.