
CAN1700R STEAM CAPSULE - Steam cleaner HOOVER - Free user manual and instructions
Find the device manual for free CAN1700R STEAM CAPSULE HOOVER in PDF.

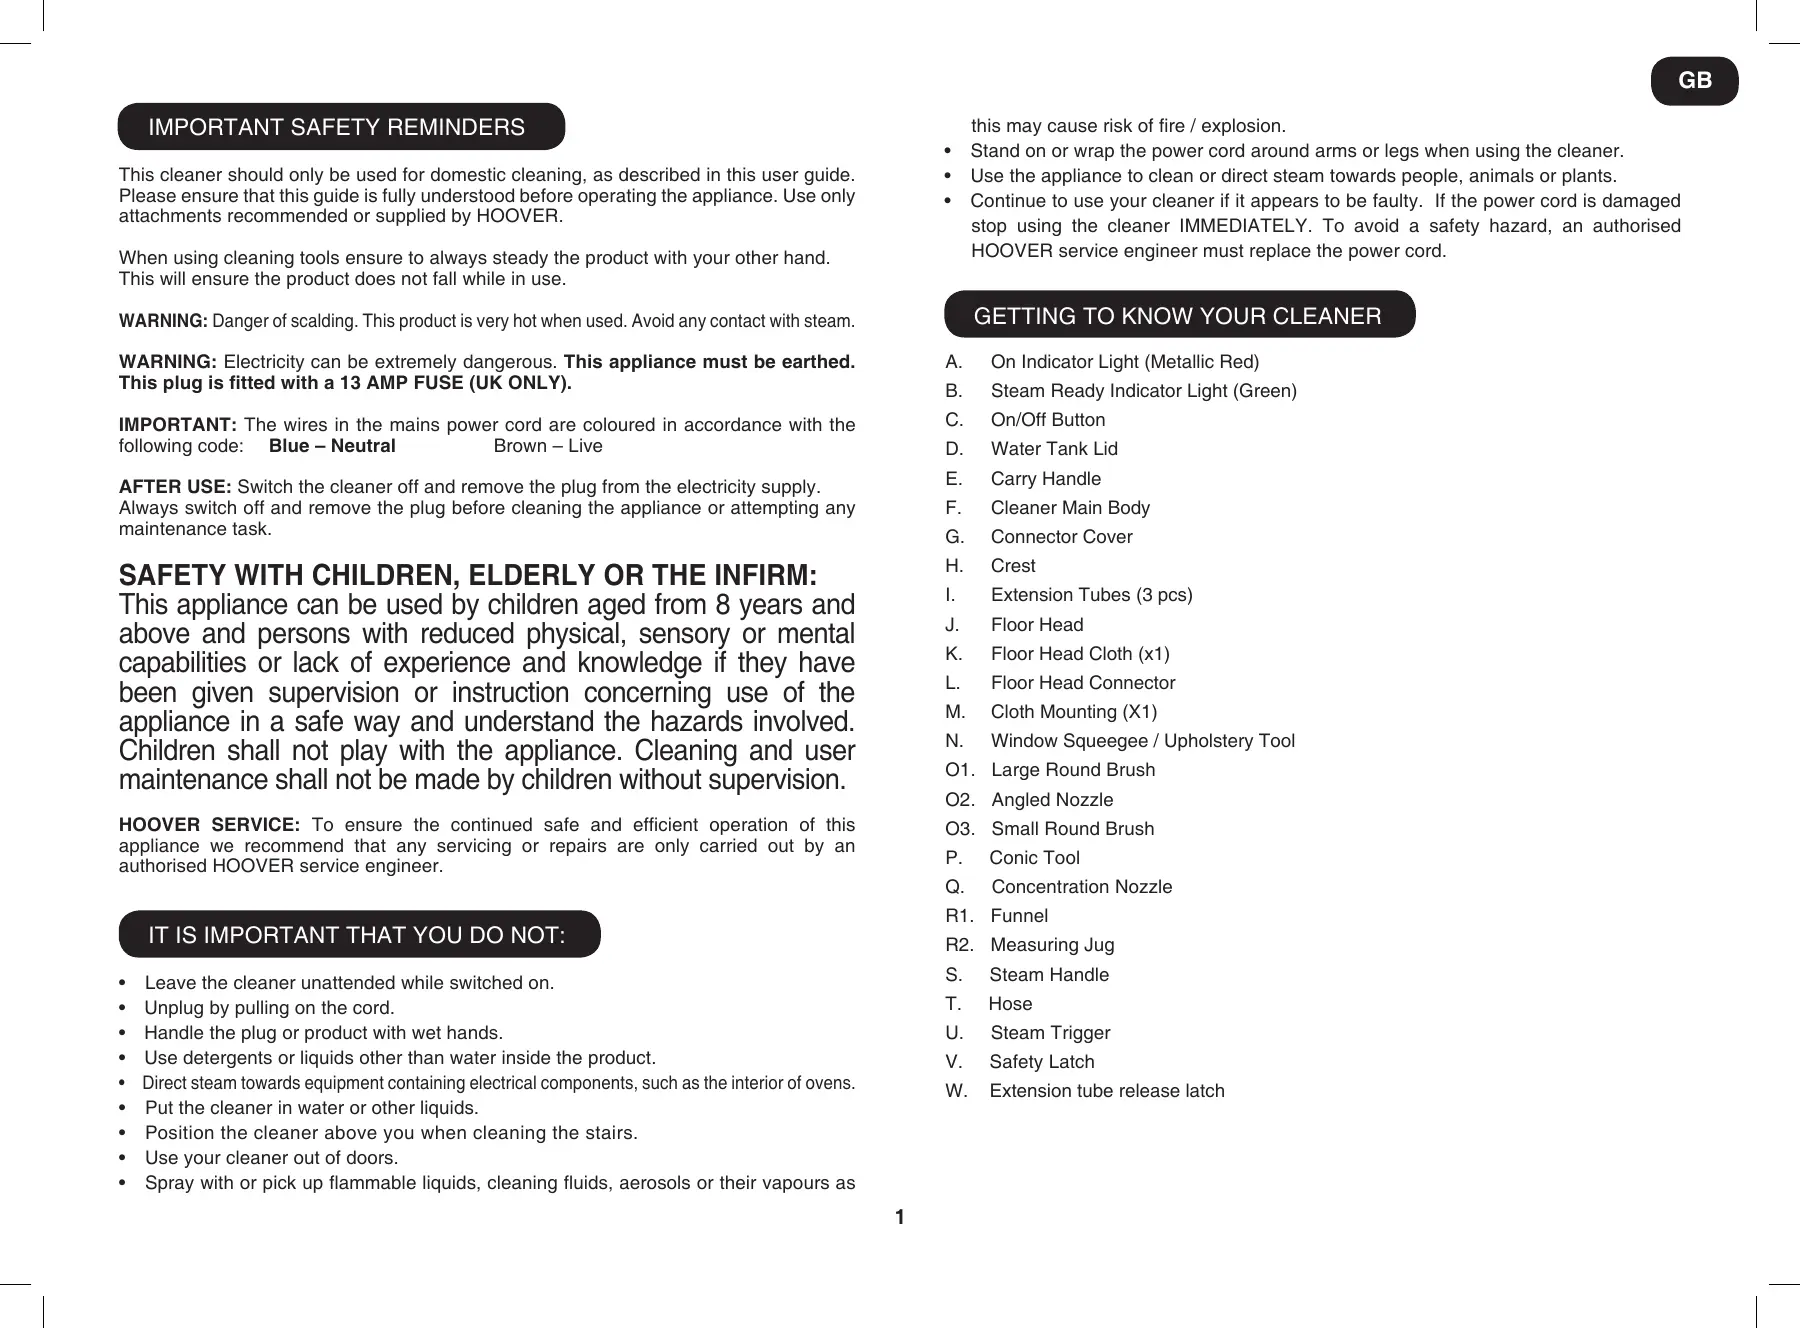


| Product type | Steam cleaner |
| Brand | Hoover |
| Model | CAN1700R STEAM CAPSULE |
| Power supply | Mains 220-240 V, 50-60 Hz |
| Rated power | 1500 W (estimated) |
| Water tank capacity | 350 ml (estimated) |
| Heat-up time | A few seconds (green indicator) |
| Cable length | 5 m (estimated) |
| Weight | 3 kg (estimated) |
| Body material | Plastic |
| Included accessories | 3 extension tubes, mop head, microfiber pad (x1), fabric support, window squeegee/flat suction nozzle, large round brush, angled nozzle, small round brush, conical tip, concentration nozzle, funnel, measuring cup |
| Main functions | Steam cleaning of hard floors, refreshing carpets and rugs, stain removal with accessories |
| Safety | Safety latch on handle, integrated child lock |
| Maintenance | Descaling if hard water, wash microfiber pads at max 30°C without bleach or fabric softener |
| Usage | Unplug before refilling or changing accessory, do not spray on people, animals, or plants |
Frequently Asked Questions - CAN1700R STEAM CAPSULE HOOVER
User questions about CAN1700R STEAM CAPSULE HOOVER
0 question about this device. Answer the ones you know or ask your own.
Ask a new question about this device
Download the instructions for your Steam cleaner in PDF format for free! Find your manual CAN1700R STEAM CAPSULE - HOOVER and take your electronic device back in hand. On this page are published all the documents necessary for the use of your device. CAN1700R STEAM CAPSULE by HOOVER.
USER MANUAL CAN1700R STEAM CAPSULE HOOVER
This cleaner should only be used for domestic cleaning, as described in this user guide. Please ensure that this guide is fully understood before operating the appliance. Use only attachments recommended or supplied by HOOVER.
When using cleaning tools, always steady the product with your other hand. This will ensure the product does not fall while in use.
WARNING: Danger of scalding. This product is very hot when used. Avoid any contact with steam.
WARNING: Electricity can be extremely dangerous. This appliance must be earthed. This plug is fitted with a 13 AMP FUSE (UK ONLY).
IMPORTANT: The wires in the mains power cord are coloured in accordance with the following code: Blue - Neutral, Brown - Live.
AFTER USE: Switch the cleaner off and remove the plug from the electricity supply. Always switch off and remove the plug before cleaning the appliance or attempting any maintenance task.
SAFETY WITH CHILDREN, ELDERLY OR THE INFIRM:
This appliance can be used by children aged from 8 years and above and persons with reduced physical, sensory or mental capabilities or lack of experience and knowledge if they have been given supervision or instruction concerning use of the appliance in a safe way and understand the hazards involved. Children shall not play with the appliance. Cleaning and user maintenance shall not be made by children without supervision.
HOOVER SERVICE: To ensure the continued safe and efficient operation of this appliance, we recommend that any servicing or repairs are only carried out by an authorised HOOVER service engineer.
IT IS IMPORTANT THAT YOU DO NOT:
- Leave the cleaner unattended while switched on.
- Unplug by pulling on the cord.
- Handle the plug or product with wet hands.
- Use detergents or liquids other than water inside the product.
- Direct steam towards equipment containing electrical components, such as the interior of ovens.
- Do not put the cleaner in water or other liquids.
- Do not position the cleaner above you when cleaning the stairs. Do not use your cleaner out of doors.
- Do not spray with or pick up flammable liquids, cleaning fluids, aerosols or their vapours as
this may cause risk of fire / explosion.
- Do not stand on or wrap the power cord around arms or legs when using the cleaner.
- Do not use the appliance to clean or direct steam towards people, animals or plants.
- Do not continue to use your cleaner if it appears to be faulty. If the power cord is damaged stop using the cleaner IMMEDIATELY. To avoid a safety hazard, an authorised HOOVER service engineer must replace the power cord.
GETTING TO KNOW YOUR CLEANER
A. On Indicator Light (Metallic Red) B. Steam Ready Indicator Light (Green) C. On/Off Button D. Water Tank Lid E. Carry Handle F. Cleaner Main Body G. Connector Cover H. Crest I. Extension Tubes (3 pcs) J. Floor Head K. Floor Head Cloth (x1) L. Floor Head Connector M. Cloth Mounting (X1) N. Window Squeegee / Upholstery Tool O1. Large Round Brush O2. Angled Nozzle O3. Small Round Brush P. Conic Tool Q. Concentration Nozzle R1. Funnel R2. Measuring Jug S. Steam Handle T. Hose U. Steam Trigger V. Safety Latch W. Extension tube release latch
ASSEMBLING YOUR CLEANER
Remove all components from the packaging.
- Attach the hose to the main body of the cleaner. [2]
- Attach the extension tube to the hose handle. Connect the other extension tubes together. [3]
- Attach the floor head connector to the floor head. Rotate the connector in place. [4]
- Attach the extension tubes to the connector until it clicks in place. [5]
- Ensure the handle safety latch is locked. [6]
NOTE: To remove the extension tube from the handle or the floor head from the tubes, press the release latch and pull apart.
USING YOUR CLEANER
- Remove the clean water lid by pushing down and turning anti-clockwise. [7]
- Fill the measuring jug no more than the Max fill line.
- Insert the funnel into the water tank and fill the unit with water. [8]
- Replace the lid by pushing down and turning clockwise.
- Ensure the handle safety latch is locked. [6]
IMPORTANT: Always unplug the cleaner and press the steam release trigger to release any remaining steam pressure before adding water.
Steam cleaning hard floors
- Ensure the floor head is connected to the extension tube.
- Plug the steam cleaner into the main power and switch on. The red ON light will illuminate. [9]
- After a few minutes the green Steam Ready light will illuminate indicating the cleaner is ready for use.
- Release the steam handle safety latch. [10]
- To produce steam press the Steam Trigger Button. [11]
- Move the cleaner slowly backwards and forwards, paying particular attention to high traffic areas.
Refreshing carpets
IMPORTANT: Always unplug the cleaner and press the steam release trigger to release any remaining steam pressure before adding water or changing a textile pad or accessory tool.
- Place the floor head onto the floor cloth. [12]
- Lift the levers on either side of the floor head to secure each end of the floor cloth in place. [13]
- Repeat steps 2-6 as detailed above.
ACCESSORIES
- Ensure the handle safety latch is locked. [6]
- To attach the concentration nozzle, push it onto the handle/extension tube until it clicks in place. [14]
- Push the desired small tool onto the conic tool and concentration tool, aligning the arrows. [15]
- Twist clockwise to secure in place. [15]
- Plug the steam cleaner into the main power and switch on. The red ON light will illuminate. [9]
- After a few seconds, the green Steam Ready light will illuminate, indicating the cleaner is ready for use.
- Release the steam handle safety latch. [10]
- To produce steam, press the Steam Trigger Button. [11]
NOTE: The conic tool must be attached before fitting any other small tools.
Conic tool: Use on heavily soiled areas such as showers, kitchens. [16] Window squeegee: Use on windows and mirrors for a smear-free clean. [17] Upholstery tool: Use the upholstery cloth over the window tool for use on sofas and chair fabrics. [18]
Large round brush: Use on stubborn grease and grime. [19]
Small round brush: For oven grills and racks. [20]
Angled nozzle: For hard-to-reach areas such as taps etc. [21]
IMPORTANT: Always unplug the cleaner when adding water, changing a textile pad or accessory tool.
CLEANER MAINTENANCE
IMPORTANT: ALWAYS ENSURE THE CLEANER HAS FULLY COOLED DOWN BEFORE PERFORMING ANY MAINTENANCE TASKS.
Empty the water tank
- Unplug the cleaner from the main power and ensure the unit has cooled.
- Hold the steam trigger down to release any remaining steam pressure. [11]
- Put the steam handle safety latch on. [6]
- Remove the clean water lid by pushing down and turning anti-clockwise. [7]
- Lift the cleaner and empty any remaining water. [22]
Removing and cleaning the textile pad
- Unplug the cleaner from the main power and ensure the unit has cooled.
- Remove the cleaning cloths from floor head or window tool.
- Wash the cleaning cloths by hand or machine with a mild detergent at max temperature 30°C.
IMPORTANT: Do not use bleach or fabric softener when washing the textile pad.
TROUBLESHOOTING
Should you have a problem with the product, complete this simple user checklist before calling your local HOOVER service.
The steam cleaner will not switch on.
- Check the unit is plugged in.
- Check the power cord.
The product is not producing steam.
- Check the unit is switched on. There may be no water in the water tank.
- The safety latch may be locked. If so unlock the safety latch.
- The water is not at the correct temperature. The green light will illuminate when ready.
The cleaner is taking a long time to heat up. - If you live in a hard water area the water tank may have become blocked. The unit will have to be descaled. The cleaning cloth won't pick up dirt. - The cleaning pad may already be saturated with dirt and needs to be washed. Refer to the Maintenance section.
IMPORTANT INFORMATION
Hoover Service
Should you require service at any time, please contact your local Hoover Service office.
Quality
Hoover's factories have been independently assessed for quality. Our products are made using a quality system which meets the requirements of ISO 9001.
The Environment:
This appliance is marked according to the European Directive 2011/65/EC on Waste Electrical and Electronic Equipment (WEEE). By ensuring this product is disposed of correctly you will help prevent potential negative consequences for the environment and human health, which could otherwise be caused by inappropriate waste handling of this product.
The symbol on the product indicates that this product may not be treated as household waste. Instead it shall be handed over to the appliance collection point for recycling of electrical and electronic equipment. Disposal must be carried out in accordance with the local environmental regulations for waste disposal. For more detailed information about treatment, recovery and recycling of this product, please contact your local council, your household waste disposal service or the shop where you purchased the product.

This product complies with the European Directives 2006/95/EC, 2004/108/EC and 2011/65/EC.
HOOVER Limited Pentrebach, Merthyr Tydfil, Mid Glamorgan CF48 4TU
Your Guarantee
The guarantee conditions for this appliance are as defined by our representative in the country in which it is sold. Details regarding these conditions can be obtained from the dealer from whom the appliance was purchased. The bill of sale or receipt must be produced when making any claim under the terms of this guarantee.
Subject to change without notice.
IMPORTANT SAFETY REMARKS
IMPORTANT SAFETY REMINDERS
SAFETY FOR CHILDREN, ELDERLY AND VULNERABLE PEOPLE
BEFORE YOU START CLEANING
Do not forget to turn off the appliance and unplug it from the electrical outlet before cleaning or maintenance.
SAFETY OF CHILDREN AND PERSONS WITH REDUCED PHYSICAL, SENSORY OR MENTAL CAPABILITIES: Children older than eight years, as well as persons with reduced physical, sensory or mental capabilities or lack of experience and knowledge, may use the appliance if they are supervised or have been instructed on the safe use of the appliance and understand the risks that may arise from its use. Children must not play with the appliance. Do not allow children to clean or maintain the appliance without supervision.
HOOVER SERVICE AND MAINTENANCE: To guarantee the safe and reliable operation of this appliance, we recommend that you have authorized Hoover service engineers carry out any technical maintenance or repairs.
IMPORTANT: DO NOT DO THE FOLLOWING:
Do not leave the vacuum cleaner unattended while it is switched on - switch it off and unplug it. Do not hold the vacuum cleaner or the plug with wet hands. Do not use cleaning agents or liquids other than water inside the appliance.
- Do not direct steam at equipment containing electrical components, such as the inside of the appliance. Do not immerse the vacuum cleaner in water or other liquids. When cleaning stairs, place the vacuum cleaner below you. Do not use the vacuum cleaner outdoors.
- Do not vacuum up flammable liquids, cleaning liquids, aerosols or their vapors, as this could lead to fire or explosion. While the vacuum cleaner is operating, do not stand on the power cord or run it over your hands or feet.
- Do not use the appliance to clean people, animals, or plants, or direct steam at them.
- Do not continue to operate the vacuum cleaner if signs of malfunction appear. Immediately switch off the vacuum cleaner if the power cord is damaged. To avoid safety hazards, the power cord must be replaced by an authorized Hoover service engineer.
GET TO KNOW YOUR VACUUM CLEANER
A. "ON" indicator (red) B. "Steam ready" indicator (green) C. "Power" button D. Water tank lid E. Handle for carrying F. Vacuum cleaner body G. Connector cover H. Comb I. Extension tube (3 pcs.) J. Floor nozzle K. Crevice tool (x1) L. Crevice tool connector M. Cloth attachment (x1) N. Window/glass scraper O1. Large round brush O2. Angle nozzle O3. Small round brush P. Conical nozzle Q. Dense nozzle R1. Socket R2. Measuring cup S. Handle for the tool T. (unclear) U. Steam trigger V. Safety lock W. Release button for extension tube
ASSEMBLING THE VACUUM CLEANER
Remove the components of the vacuum cleaner from the packaging.
- Attach the handle to the main body of the vacuum cleaner. [2]
- Attach the extension hose to the handle. Connect the remaining hoses. [3]
- Attach the nozzle connector to the nozzle. Turn the connector into place. [4]
- Attach the additional hoses to the connector until they click into place. [5]
- Make sure the safety latch on the handle has engaged. [6]
NOTE: To remove the additional hose from the handle or nozzle, press the release latch and pull it to the side.
OPERATING THE VACUUM CLEANER
BEFORE YOU START CLEANING
- Remove the lid from the clean water reservoir by pressing on it and turning counterclockwise. [7]
- Fill the measuring cup no more than to the maximum mark.
- Insert the funnel into the water reservoir and fill the appliance. [8]
- Replace the lid, pressing on it and turning clockwise.
- Make sure the safety latch on the handle has engaged. [6]
WARNING! Before any maintenance, always unplug the appliance and release any remaining steam using the steam release button.
Cleaning hard floors
- Make sure the floor nozzle is connected to the extension hose.
- Insert the plug into the socket and switch on. The red indicator lights up. [9]
- After a few minutes, the green ready indicator shows that the vacuum cleaner is ready for use.
- Release the safety catch of the steam handle. [10]
- To use it, press the steam button. [11]
- Vacuum slowly and thoroughly, paying special attention to heavily soiled areas.
Carpet cleaning
The small round brush is for cleaning the handle. [20]
The corner nozzle is for hard-to-reach areas, such as water taps, etc. [21]
WARNING! Before filling with water or changing the cloth or nozzle, always unplug the appliance from the socket.
MAINTENANCE OF THE VACUUM CLEANER
WARNING! BEFORE PERFORMING TECHNICAL MAINTENANCE ON THE VACUUM CLEANER, MAKE SURE IT HAS COOLED DOWN COMPLETELY.
Empty the water reservoir
- Unplug the vacuum cleaner and make sure the cooling block is cool.
- Press the steam trigger to release any remaining pressure. [11]
- Engage the safety catch of the steam handle. [6]
- Remove the water tank by lifting it and turning it counterclockwise. [7]
- Lift the hose to drain the remaining water. [22]
Remove and clean the textile filter.
- Disconnect the hose from the mains and make sure that the heating block has cooled down.
- Remove the ironing board cover or the window cleaning cover.
- Wash the cloth by hand or in a washing machine with a mild detergent at a maximum temperature of 30°C.
CAUTION! Do not use fabric softener or conditioner when washing the textile filter.
TROUBLESHOOTING
If any problems occur with the appliance, before calling HOOVER technical service, perform the following simple checks.
The steam iron does not turn on.
- Check the plug and socket.
- Check the power cord.
The appliance does not produce steam.
- Make sure the appliance is turned on. Possibly the water tank is empty. Possibly the safety lock is engaged. If so, disengage the safety lock.
- Incorrect water temperature. The green indicator lights up when ready.
The water heater heats up. - If the water in your region is hard, the reservoir may become clogged with scale. It is necessary to remove the scale from the reservoir. The pump does not collect dirt. The pump may already be saturated with dirt and may need to be
flushed. Refer to the "Maintenance" section.
IMPORTANT INFORMATION
Hoover company service


- SAFETY WITH CHILDREN, ELDERLY OR THE INFIRM
- IT IS IMPORTANT THAT YOU DO NOT
- GETTING TO KNOW YOUR CLEANER
- ASSEMBLING YOUR CLEANER
- USING YOUR CLEANER
- STEAM CLEANING HARD FLOORS
- REFRESHING CARPETS
- ACCESSORIES
- CLEANER MAINTENANCE
- IMPORTANT: ALWAYS ENSURE THE CLEANER HAS FULLY COOLED DOWN BEFORE PERFORMING ANY MAINTENANCE TASKS
- EMPTY THE WATER TANK
- REMOVING AND CLEANING THE TEXTILE PAD
- TROUBLESHOOTING
- IMPORTANT INFORMATION
- HOOVER SERVICE
- QUALITY
- THE ENVIRONMENT
- YOUR GUARANTEE
- IMPORTANT SAFETY REMARKS
- IMPORTANT SAFETY REMINDERS
- SAFETY FOR CHILDREN, ELDERLY AND VULNERABLE PEOPLE
- BEFORE YOU START CLEANING
- IMPORTANT: DO NOT DO THE FOLLOWING
- GET TO KNOW YOUR VACUUM CLEANER
- ASSEMBLING THE VACUUM CLEANER
- OPERATING THE VACUUM CLEANER
- WARNING! BEFORE ANY MAINTENANCE, ALWAYS UNPLUG THE APPLIANCE AND RELEASE ANY REMAINING STEAM USING THE STEAM RELEASE BUTTON
- CLEANING HARD FLOORS
- CARPET CLEANING
- MAINTENANCE OF THE VACUUM CLEANER
- WARNING! BEFORE PERFORMING TECHNICAL MAINTENANCE ON THE VACUUM CLEANER, MAKE SURE IT HAS COOLED DOWN COMPLETELY
- EMPTY THE WATER RESERVOIR
- REMOVE AND CLEAN THE TEXTILE FILTER
- HOOVER COMPANY SERVICE
Brand : HOOVER
Model : CAN1700R STEAM CAPSULE
Category : Steam cleaner