
RC 20 ET - Electric heating ALPATEC - Free user manual and instructions
Find the device manual for free RC 20 ET ALPATEC in PDF.
| Product type | Electric heater |
| Brand | ALPATEC |
| Model | RC 20 ET |
| Power supply | 230 V – 50 Hz |
| Maximum power | 2000 W |
| Display | Digital screen |
| Remote control | Yes |
| Oscillation | Yes, 86° amplitude |
| Ionizer | Yes |
| Timer | Programmable up to 23 hours |
| Temperature range | 15°C to 35°C |
| Adjustable power | 2 levels (low/full) |
| Fan mode | Yes, automatic |
| Safety | Automatic shut-off in case of overheating or tipping over |
| Particle filter | Washable, regular cleaning recommended |
| Cleaning | Soft cloth and vacuum; do not immerse |
| Usage | Indoor only, dry room |
| Minimum distance from wall | 5 cm |
Frequently Asked Questions - RC 20 ET ALPATEC
User questions about RC 20 ET ALPATEC
0 question about this device. Answer the ones you know or ask your own.
Ask a new question about this device
Download the instructions for your Electric heating in PDF format for free! Find your manual RC 20 ET - ALPATEC and take your electronic device back in hand. On this page are published all the documents necessary for the use of your device. RC 20 ET by ALPATEC.
USER MANUAL RC 20 ET ALPATEC
natural_image
Exterior view of a modern electric heating tower with digital display and heat sink (no text or symbols visible)
FRANÇAIS
TELECOMMANDE
For your comfort and safety, ALPATEC has checked all the steps of manufacturing. The products have been made for you to enjoy their design and easiness to use.
ALPATEC, a complete range of air conditioners, coolers, fans and heaters for you to be completely satisfied.
CAUTION
PLEASE READ ALL THESE INSTRUCTIONS CAREFULLY BEFORE USING THIS APPLIANCE.
- Make sure that the voltage rating on the type plate corresponds to your main voltage. Any error in connecting the appliance invalidates the guarantee.
- Keep out of children and do not allow them to operate this appliance.
- Only use the appliance for domestic purposes and in the way indicated in these instructions.
- From time to time, check the cord for damages. Never use the appliance if cord or appliance show any sign of damage.
- Never immerse the product in water or any liquid for any reasons.
- It is not recommended to use this appliance in humid ambient as bathroom...
- Do not use the appliance outdoors.
- Do not use if you have wet hands.
- Do not cover the appliance. Do not put cloth on the appliance.
- Warning! The appliance is warm when in use. Use the handle.
- Keep combustible materials such as drapes, clothing, towels... at least 3 feet away from the appliance
- Never move or range the appliance by pulling the cord.
- Unplug the appliance before cleaning or replacement of any parts.
- Do not clean the appliance with abrasive chemicals.
- Never use accessories that are not recommended or supplied by the manufacturer. It could constitute a danger to the user and risk to damage the appliance.
- All interventions made by a non-qualified person can be dangerous; in this case guarantee conditions would be cancelled. As all electrical products, a competent electrician must repair it.
- Never insert metallic object through the grid.
- When the appliance is not use for a long time, protect it from dust and moist.
- Keep a minimum space of 50 cm from the wall.
- Do not use near flammable gas and dust.
- Should the heater not be used for a long period, pack it to prevent dust entering and place it in dry and well ventilated place.
- Do not insert any conductive article inside the front or the back nets, to avoid any electric shock.
THE MANUFACTURER WILL NOT ASSUME ANY RESPONSABILITY IN CASE OF NON ADHERENCE TO THESE INSTRUCTIONS.
SAVE THIS USER MANUAL CAREFULLY.
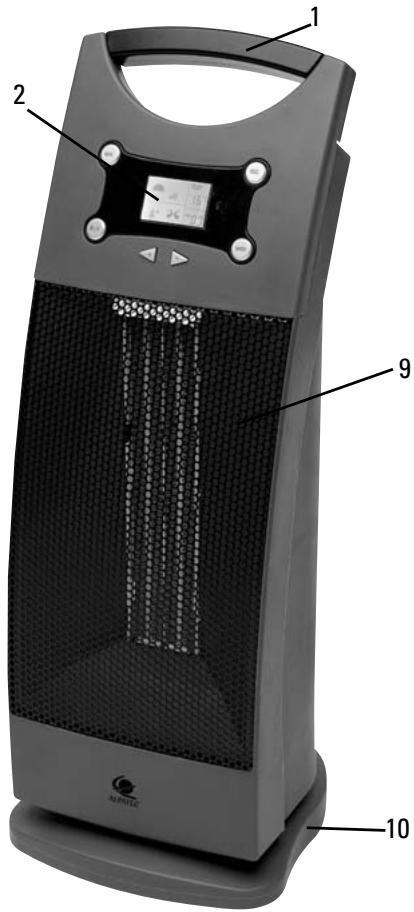
PARTS LIST
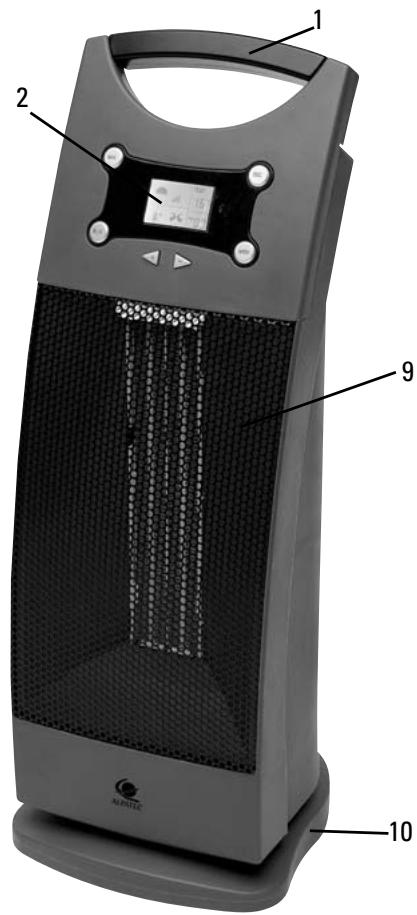
1- Handle
2- LCD display
3- On / Off
4- High / Low
5- Swing
6- Mode
7- Touch + and -
8- Receive window remotely
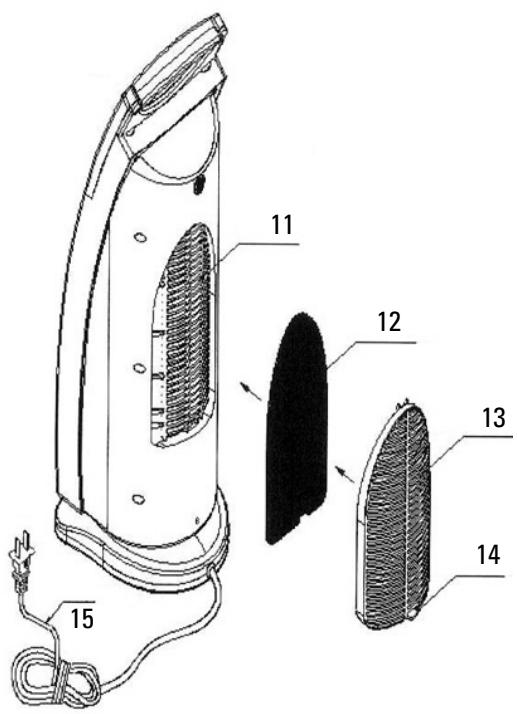
9- Net cover
10- Pedestal
11- Anion exit
12- Air filter net
13- Knock-down net
14- Lock behind net
15- Power cord
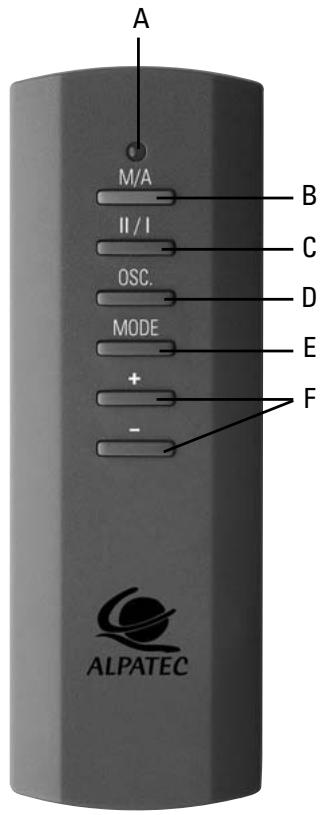
REMOTE CONTROL
A- Controller indicator lamp
B- On / Off
C- High / Low
D- Swing
E- Mode
F- Mode + and -
SPECIFICATIONS
Modèle RC 20 ET
Voltage 230 V – 50 Hz
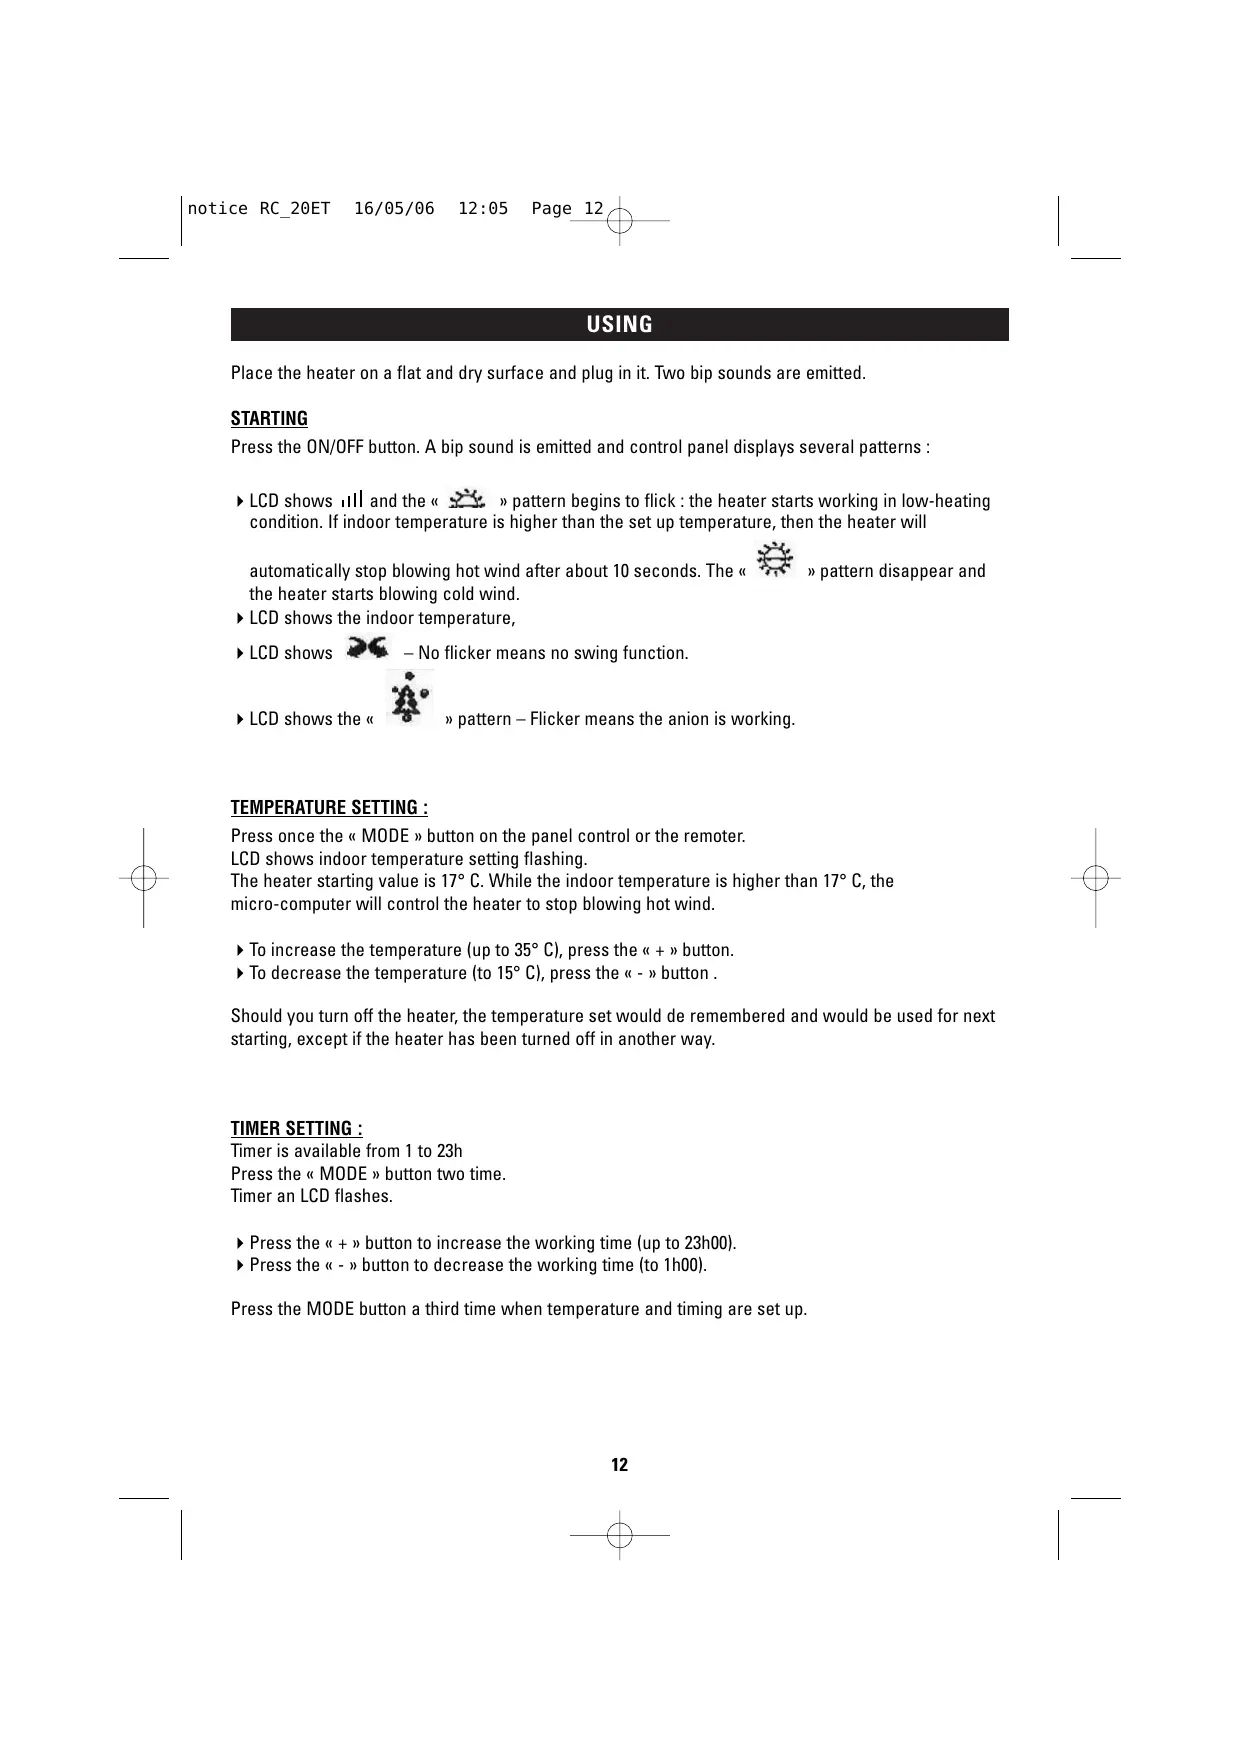
Place the heater on a flat and dry surface and plug in it. Two bip sounds are emitted.
STARTING
Press the ON/OFF button. A bip sound is emitted and control panel displays several patterns :
LCD shows ill and the « 🎨 » pattern begins to flick : the heater starts working in low-heating condition. If indoor temperature is higher than the set up temperature, then the heater will
automatically stop blowing hot wind after about 10 seconds. The « 🌿 » pattern disappear and the heater starts blowing cold wind.
▶ LCD shows the indoor temperature,
▶ LCD shows ➕ – No flicker means no swing function.
▶ LCD shows the « » pattern – Flicker means the anion is working.
TEMPERATURE SETTING :
Press once the « MODE » button on the panel control or the remoter.
LCD shows indoor temperature setting flashing.
The heater starting value is 17^ C. While the indoor temperature is higher than 17^ C, the micro-computer will control the heater to stop blowing hot wind.
▶ To increase the temperature (up to 35^ C), press the « + » button.
▶ To decrease the temperature (to 15^ C), press the « - » button.
Should you turn off the heater, the temperature set would de remembered and would be used for next starting, except if the heater has been turned off in another way.
TIMER SETTING :
Timer is available from 1 to 23h
Timer an LCD flashes.
▶ Press the « + » button to increase the working time (up to 23h00).
▶ Press the « - » button to decrease the working time (to 1h00).
Press the MODE button a third time when temperature and timing are set up.
POWER SETTING
While the set temperature is higher than indoor temperature, the LCD shows ill and the « 🎨 » pattern begins to flick. The heater then works in low-heating mode.
▶ Press the HIGH/LOW button. LCD shows , the sun pattern flicks, the heater starts working in high-heating speed.
▶ Press the HIGH/LOW button again. LCD shows ||, the sun pattern flicks, the heater starts working in low-heating speed.
SWING :
LCD shows flicker. The heater starts swinging.
Press the « SWING » button again, the heater stops swinging.
To turn off the heater, press ON/OFF button.
AUTOMATIC CUT-OFF :
This appliance is equipped with an automatic cut-off device in case of overheating or fall. The appliance restarts automatically when temperature reaches a normal level or when the appliance is replaced normally.
CLEANING
- Switch off and unplug the appliance.
- The dust may be removed with a soft cloth or a vacuum cleaner.
- Clean the body with a soft, dry cloth (never immerse appliance in water), do not allow water to run into the interior of the heater.
- When the heater is not use for a long time, protect it from dust and dry.
- The cotton filter should be regularly washed. Press the lock button on the back net and pull it out. Take out the cotton filter and wash it with a water lower than 30^ C mixed with normal powder.
Instructions on environment protection
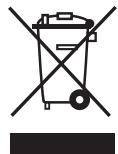
Do not dispose of this product in the usual household garbage at the end of its life cycle; hand it over a collection point for the recycling of electrical and electronic appliances. The symbol on the product, the instructions for use or the packing will inform about the methods of disposal. The materials are recyclable as mentioned in its marking. By recycling or others forms of re-utilization of old appliances, you are making an important contribution to protect our environment. Please inquire at the community administration for the authorized disposal location.
ALPATEC
SOLUTIONS CLIMATIQUES
05/06


- FRANÇAIS
- TELECOMMANDE
- CAUTION
- PLEASE READ ALL THESE INSTRUCTIONS CAREFULLY BEFORE USING THIS APPLIANCE.
- THE MANUFACTURER WILL NOT ASSUME ANY RESPONSABILITY IN CASE OF NON ADHERENCE TO THESE INSTRUCTIONS.
- PARTS LIST
- REMOTE CONTROL
- SPECIFICATIONS
- STARTING
- TEMPERATURE SETTING :
- TIMER SETTING :
- POWER SETTING
- SWING :
- AUTOMATIC CUT-OFF :
- CLEANING
- Instructions on environment protection
- ALPATEC
- SOLUTIONS CLIMATIQUES
Brand : ALPATEC
Model : RC 20 ET
Category : Electric heating