
KS001 - KVM switch SWEEX - Free user manual and instructions
Find the device manual for free KS001 SWEEX in PDF.
| Product type | KVM Switch |
| Brand | SWEEX |
| Model | KS001 |
| Number of ports | 2 ports (PC1 and PC2) |
| Fixed connectors | 2 integrated KVM cables: 1 x PS/2 keyboard, 1 x PS/2 mouse, 1 x VGA (15 pins), 1 x 3.5mm audio |
| Power supply | Powered by PS/2 port (no power adapter needed) |
| Supported operating systems | Windows 98SE, 2000, XP |
| Maximum resolution | 1920 x 1440 pixels |
| Horizontal video frequency | 30 - 180 kHz |
| Vertical video frequency | 43 - 250 Hz |
| Maximum video bandwidth | 250 MHz |
| Auto-scan function | Yes, with adjustable interval (5 to 30 seconds) |
| LED indicators | 3 LEDs: PC1 (green), PC2 (green), AUTO (red) |
| Switching | By keyboard shortcut (press Scroll Lock twice) or auto-scan |
| Audio support | Yes, 3.5mm audio jack for speakers |
| Dimensions (approx) | Approximately 10 x 6 x 2 cm |
| Weight (approx) | Approximately 150 g |
| Box contents | KVM Switch, CD-ROM with manual |
| Maintenance | Clean with a dry, soft cloth. Avoid moisture and dust. |
| Safety | Do not open the device (voids warranty). Avoid shocks and extreme temperatures. |
| Warranty | 3 years (except software and batteries) |
Frequently Asked Questions - KS001 SWEEX
User questions about KS001 SWEEX
0 question about this device. Answer the ones you know or ask your own.
Ask a new question about this device
Download the instructions for your KVM switch in PDF format for free! Find your manual KS001 - SWEEX and take your electronic device back in hand. On this page are published all the documents necessary for the use of your device. KS001 by SWEEX.
USER MANUAL KS001 SWEEX
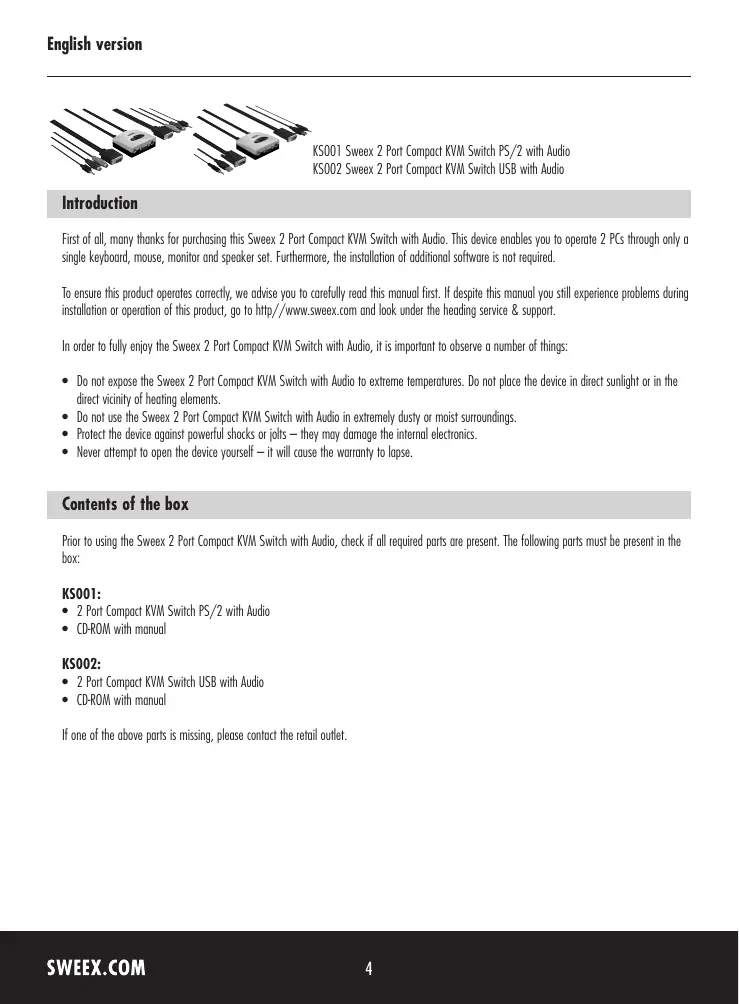
KS001 Sweex 2 Port Compact KVM Switch PS/2 with Audio
KS002 Sweex 2 Port Compact KVM Switch USB with Audio
Introduction
First of all, many thanks for purchasing this SweeX 2 Port Compact KVM Switch with Audio. This device enables you to operate 2 PCs through only a single keyboard, mouse, monitor and speaker set. Furthermore, the installation of additional software is not required.
To ensure this product operates correctly, we advise you to carefully read this manual first. If despite this manual you still experience problems during installation or operation of this product, go to http://www.sweex.com and look under the heading service & support.
In order to fully enjoy the Sweeex 2 Port Compact KVM Switch with Audio, it is important to observe a number of things:
- Do not expose the SweeX 2 Port Compact KVM Switch with Audio to extreme temperatures. Do not place the device in direct sunlight or in the direct vicinity of heating elements.
- Do not use the Sweeex 2 Port Compact KVM Switch with Audio in extremely dusty or moist surroundings.
- Protect the device against powerful shocks or jolts - they may damage the internal electronics.
- Never attempt to open the device yourself—it will cause the warranty to lapse.
Contents of the box
Prior to using the Sweeex 2 Port Compact KVM Switch with Audio, check if all required parts are present. The following parts must be present in the box:
KS001:
- 2 Port Compact KVM Switch PS/2 with Audio
- CD-ROM with manual
KS002:
- 2 Port Compact KVM Switch USB with Audio
- CD-ROM with manual
If one of the above parts is missing, please contact the retail outlet.
Specifications KS001
- 2 fixed client KVM cables
Supports: keyboard, mouse, monitor and speaker set - Client KVM cable: 1 x PS/2 for keyboard, 1 x PS/2 for mouse, 1 x 15-pin D-SUB for video card and 1 x 3.5 mm audio cable for audio-out
- Auto-scan function
- Switch between PCs through keyboard shortcut (auto-scan)
- PS/2-powered
Maximum monitor resolution: 1920 x 1440
Horizontal video frequency: 30 - 180 KHz
Vertical video frequency: 43 - 250Hz
Maximum video bandwidth: 250 MHz
Supports:Windows 98SE,2000 and XP
Specifications KS002
- 2 fixed client KVM cables
Supports: keyboard, mouse, monitor and speaker set - Client KVM cable: 1 x USB for keyboard and mouse, 1 x 15-pin D-SUB for video card and 1 x 3.5 mm audio cable for audio-out
- USB 1.1 compliant
- Auto-scan function
- Switch between PCs through keyboard shortcut (auto-scan)
USB bus powered
Maximum monitor resolution: 1920 x 1440
Horizontal video frequency: 30 - 180kHz
Vertical video frequency: 43 - 250Hz
Maximum video bandwidth: 250 MHz
Supports: Windows 2000 and XP
Installation of hardware
Take the following precautionary measures prior to installing the device:
- Ensure the PC is switched off and disconnected from the mains.
- Disconnect the printer and monitor cables (they have their own power supplies) to make absolutely sure the PC is not live.
- Disconnect the keyboard, the mouse and the speaker set from the PC also.
- Connect the keyboard, the mouse and the monitor to the front of the Sweeex 2 Port Compact KVM Switch with Audio. Connect the speaker set to the rear of the KVM switch. Note the correct colour coding when connecting the keyboard and the mouse (purple for the keyboard and green for the mouse).
- Subsequently, connect the fixed cables (keyboard, mouse, monitor and speaker set) of the KVM switch to the relevant PCs. When using the Sweex Compact 2 Port USB KVM Switch with Audio, there are no separate cables for the keyboard and the mouse, viz., this is a single USB cable.
- Now reconnect all other cables to the PC.
- Switch on the monitor and PC again.
Operation
The desired PC can be selected by means of the auto-scan function. This function is enabled by pressing the 'SCROLL LOCK' button twice in quick succession. The Sweex 2 Port Compact KVM Switch with Audio is now been set to auto-scan mode. By pressing the 'ESC' button once the auto-scan function is disabled.
Note! When in auto-scan mode the keyboard and mouse cannot be used!
Auto-scan mode
When in the auto-scan mode, the SweeX 2 Port Compact KVM Switch with Audio automatically switches PC after a couple of seconds. The time interval depends on the setting. The interval is visually displayed by blinking keyboard LEDs (scroll lock, caps lock and num lock). By means of the ^ + and · buttons on the numerical part of the keyboard, the interval time can either be increased (+) or reduced (·)
The overview below shows all interval times and corresponding visual displays:
| Seconds | Num Lock | Caps Lock | Scroll Lock |
| 5 | Off | Off | On |
| 10 | On | Off | Off |
| 15 | On | Off | On |
| 20 | Off | On | Off |
| 25 | Off | On | On |
| 30 | On | On | Off |
The default time interval value is 5 seconds. Thus visually, only the scroll lock LED will be blinking when in auto-scan mode.
LED indicators
The Sweex 2 Port Compact KVM Switch with Audio contains 3 LEDs:
| LED indicators | Colour | Status | Meaning |
| PC1 - PC2 | Green | On | Indicates that PC1 - PC2 has been selected as active PC |
| AUTO | Red | On | Auto-scan mode is active. The KVM switch now switches between PC1 and PC2 at a certain time interval. |
| Off | PC1 - PC2 is selected |
Warranty
All products under the Sweex brand are warranted for a period of three years. We do not grant support or warranties for any software and/or (rechargeable) batteries included. Settlement of guarantee only takes place via the dealer where you have purchased the product in question.
The rightful owner has and retains title to all brand names and related rights mentioned in this manual.