USER MANUAL TRIP 5W BONTRAGER
Tripl 2, 2L, 3 and 5W
Owner's Manual.
WELCOME.
Thank you for buying a Bontrager Trip ™ computer. We hope this computer gives you miles (or kilometers) of pleasure.
Your Trip computer may not include all of the features discussed in this manual. This manual covers Trip 2, 2L, 3 and 5W models.
Please read this manual carefully. If you do not understand the information, or you have a question that this manual does not cover, consult your Authorized Bontrager Dealer or visit www.bontrager.com.
Safety When Riding
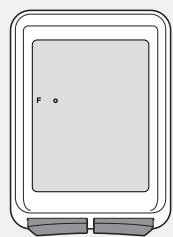
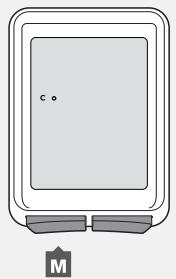
When riding your bicycle, do not stare at the computer for a long time (Figure 1). Failure to pay attention to the road ahead of you, obstacles, and traffic could result in a loss of control, serious injury, or death. Stay alert!
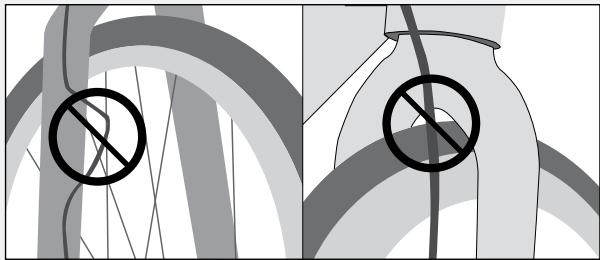
Make sure wires cannot contact the tire, rim, or spokes. Contact with wires could damage the computer or cause you to lose control and fall.
Terms Used
| Hold | Press a button continuously for about two seconds. |
| Press | Push a button once, briefly. |
| Reset | Set all values in the memory to 0 (zero) and erase all settings. |
| Trip Restart | Set Trip values (only) in the memory to 0 (zero). |
| Scroll | Press several times to scroll through a list of values or display elements. |

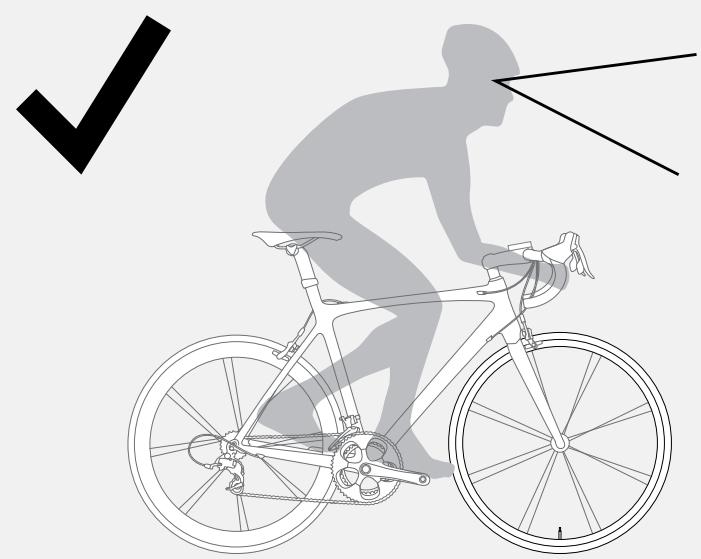
Figure 1. Do Not Stare at Computer for Long Periods of Time.
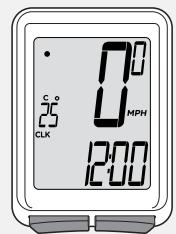
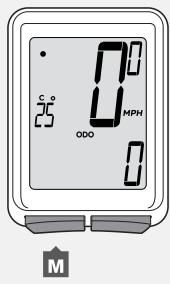
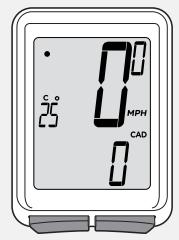
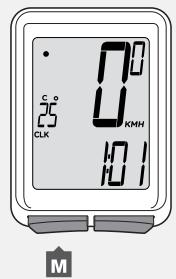
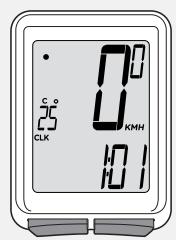
Display Elements and Abbreviations
The Trip can be used on two bicycles with different wheel sizes while still calculating data correctly for each wheel size. You must first set the wheel sizes and choose the appropriate bike setting before riding.
Trip Data (can be reset to 0 without affecting Odometer (ODO) total)
- Trip Distance (TRP)
- Average Speed (AVG) and Maximum Speed (MAX)
- Ride Time (TME)
Abbreviations and Screen Terms
| Abbreviation | Meaning |
| AVG | Average Speed |
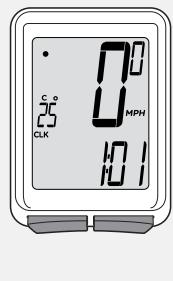
| CLK | Clock |
| CUR | Current Speed |
| MAX | Maximum Speed |
| ODO | Odometer |
| TME | Ride Time |
| TRP | Trip Distance |
| CAD | Cadence |
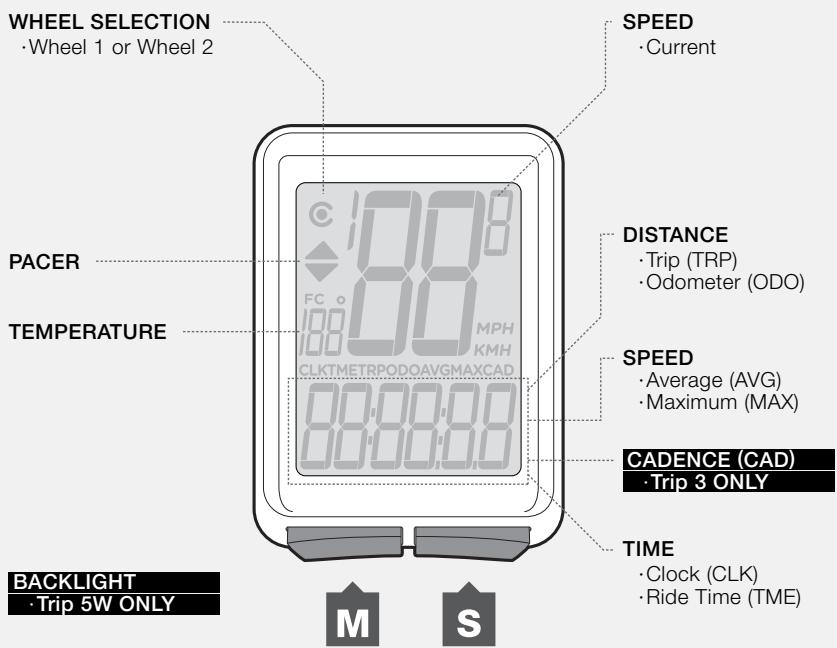
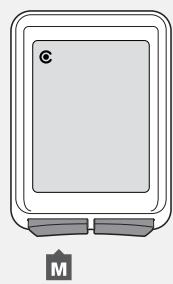
Figure 2. Display Elements and Buttons.
After you install the battery, you can program the wheel size and units.
Install the Battery
To prolong the life of the battery, it is not installed at the factory. (See Figures 10 and 11 at the end of the manual for further help installing the battery.)
To Program Your Trip
This procedure programs your Trip cycle computer for the first time or after a Reset. If you would like to program individual features or advanced settings, see the sections Additional Information & Features and Advanced Settings.
- Install the battery (or push the Reset button—see Figure 12 at end of manual).
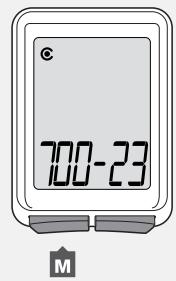
- The wheel size appears on the display.
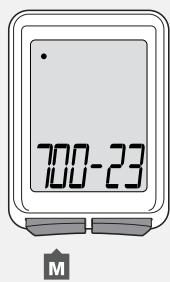
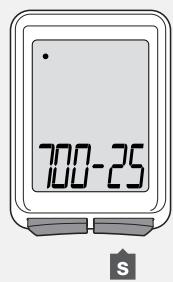
- To change the wheel size, press M.
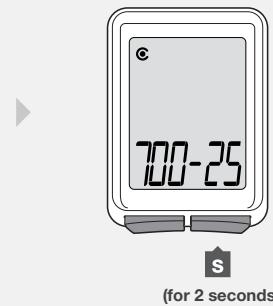
To select, press S.
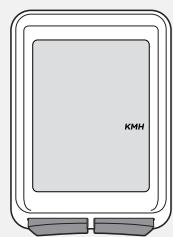
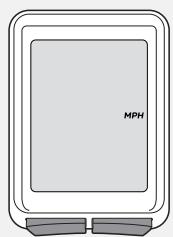
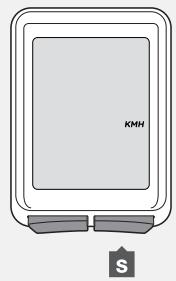
- To scroll between units of measurement, Miles per Hour (MPH) or Kilometers per Hour (KMH), press M.
- To select, press S
- To change to ^ F or ^ C , press M.
1.
2.
3.
M
s
M
4.
5.
6.
- To select, press S. The Trip returns to CLK.

7.
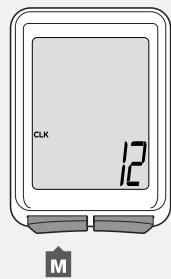
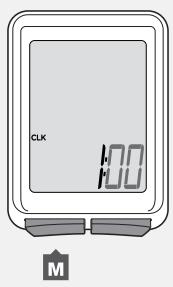
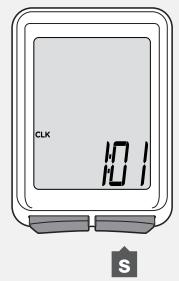
To Set the Clock
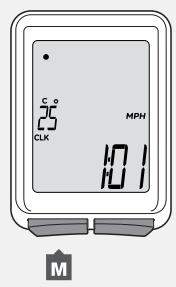
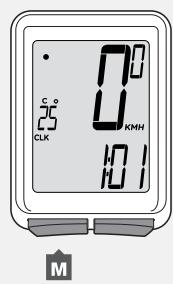
1.Scroll M to CLK.
2. Hold S for 2 seconds.
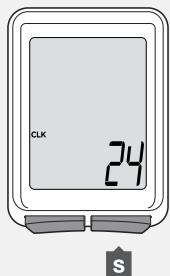
3. To change to 12hr or 24hr clock, press M.
4.
5.
6.
- To select, press S
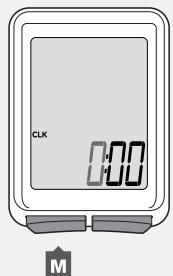
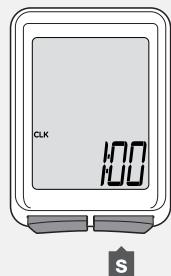
- To change the flashing digit for hours, press M
- To select, press S.
7.
8.
- To change the flashing digit for minutes, press M.
- To select, press S. The Trip returns to CLK.
7.
8.
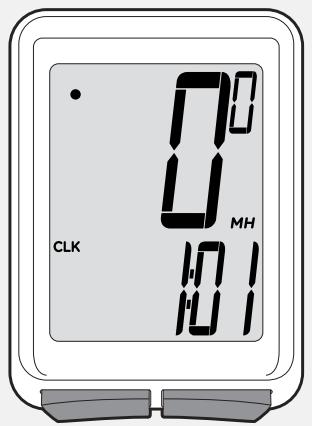
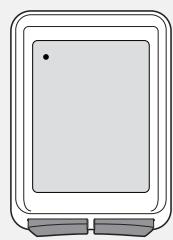
Automatic Sleep Mode
If the Trip's sensors do not send a signal to the computer head for 10 minutes, the Trip switches to Sleep Mode to prolong battery life (Figure 3).
Figure 3. Display in Sleep Mode.
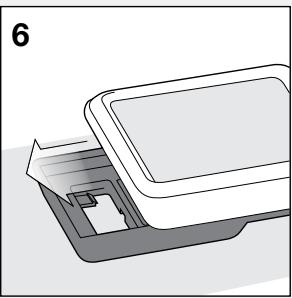
To Remove the Computer from the Computer Base
Press firmly on the computer (not on the base) in a rearward direction (Figure 4).
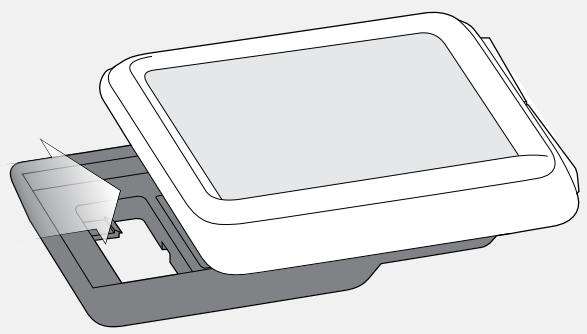
Figure 4. Removing the Computer from the Base.
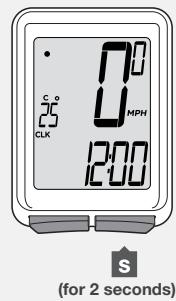
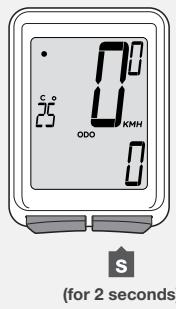
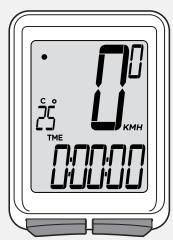
Trip Restart (Set the Trip Data to Zero)
Trip Restart resets the following Trip data to zero:
- Trip Distance (TRP)
- Speed AVG and MAX
- Ride Time (TME)
To Restart
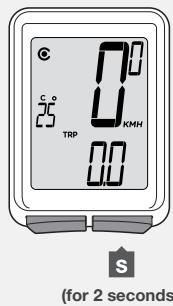
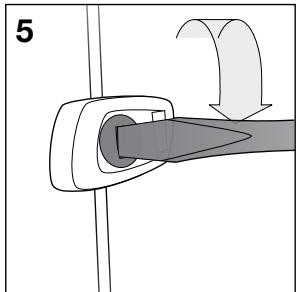
Hold S and M at the same time for two seconds (Figure 5).
The trip data restarts at '0'.

(and)

Figure 5. Restart the Trip Data.
(for 2 seconds)
Backlight (Trip 5W only)
The Trip 5W has a backlit display. The backlight provides a light source behind the display so that the numbers are more visible. To save battery life, the backlight automatically switches to Off after five seconds.
To Switch the Backlight to On
While viewing any display hold M for two seconds (Figure 6).
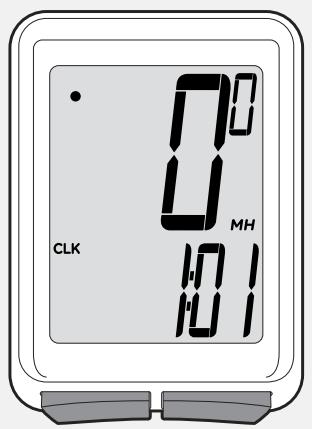

Figure 6. Switch the Backlight On.
(for 2 seconds)
Cadence (Trip 3 only)
Cadence is a measurement of how fast you are pedaling, counted as the number of complete revolutions per minute (RPM) of the crankset.
To see Cadence
1.Scroll M to CAD.
1.
Advanced Settings
This section explains how to set individual features of your Trip, and how to set advanced features including a second wheel size.
To Set the Units of Measurement
1.Scroll M to MAX.
2. Hold S for two seconds.
3. To change to MPH or KMH, press M.
- To select, press S.
- To change to ^ F or ^ C , press M.
- To select, press S. The Trip returns to MAX.
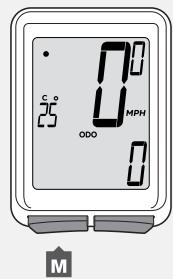
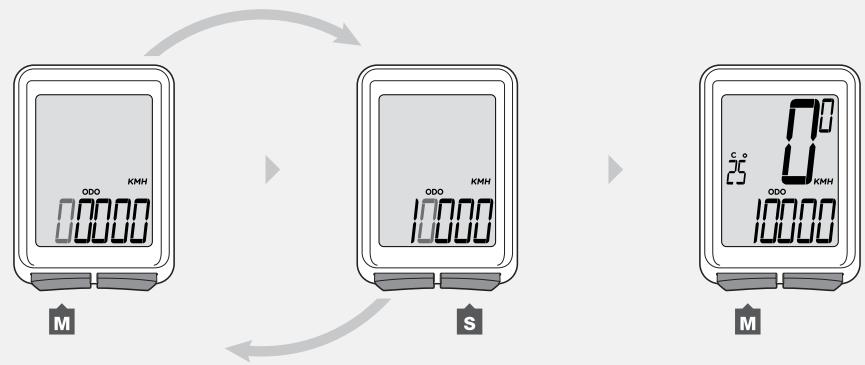
To Set the Odometer
1.Scroll M to ODO.
2. Hold S for two seconds. The odometer appears.


1.
2.
3.

4.
5.
6.
1.
2.
- To change the flashing digit, press M.
To select, press S.
- Repeat step 3 to change the other digits. The Trip returns to ODO.
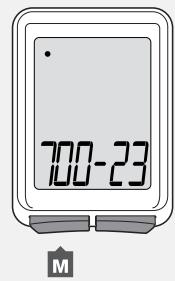
Custom Wheel Size
The menu on your computer for tire size is based on averages, but there is some variation in actual tire size even between tires marked as the same. You can make your computer more accurate by setting a custom wheel size.
To Set a Custom Wheel Size
Measure the roll-out (Figure 7).
Roll-out is the distance your bicycle travels in exactly one revolution of the wheel. If one wheel on your bicycle is bigger, measure the wheel with the magnet.
- Start with the valve stem of the wheel directly perpendicular to the floor.
- Mark the floor at the valve stem. Placing an object on the floor makes a good mark.
- Roll the bike straight forward one revolution of the wheel, so that the valve stem is again directly over the floor.
- Mark the new location of the valve stem.
- Measure the distance between the marks in millimeters. The result is your Custom Wheel Size.
3.
4.
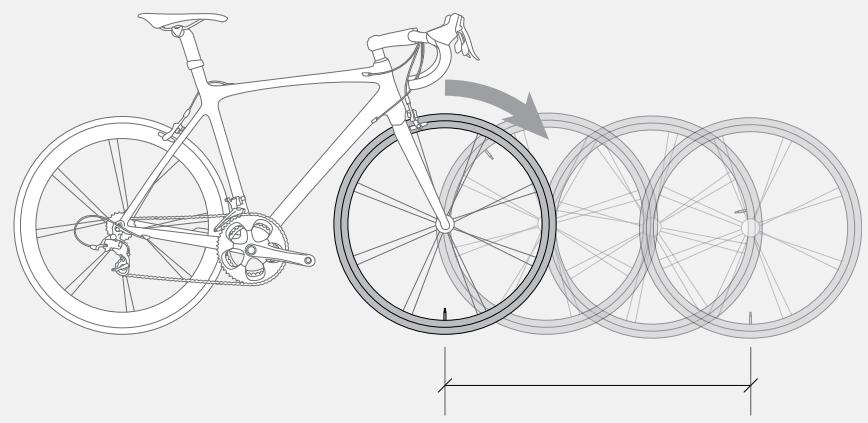
Figure 7. Measuring Roll-out.
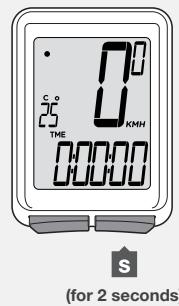
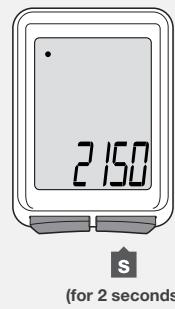
1.Scroll M to TME.
2. Hold S for two seconds until the wheel size appears. To program the second wheel size, press Set to change the preferred Wheel Selection icon to Wheel 1 or Wheel 2, and press M to select.
3. Scroll M to the four-digit number (example: 2050).
1.
2.
3.
- Press s.
To change the flashing digit, press M.
To select, press S.
Repeat step 4 for the other digits.
- To save and exit, hold S for two seconds. The Trip returns to the TME display.
4.
5.
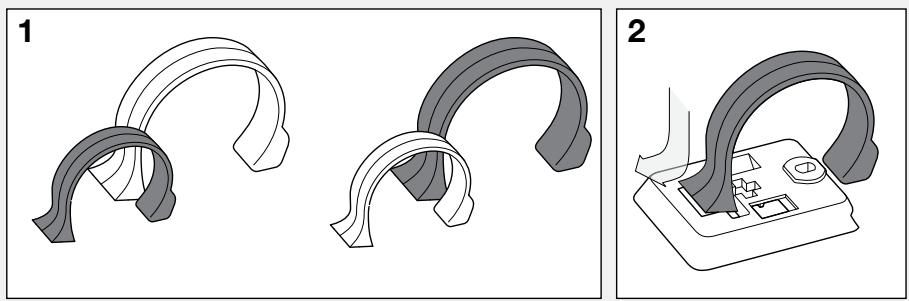
Second Wheel Size (Trip 4W only)
The Trip can store two different wheel sizes. The icon for Wheel 1 (Figure 8) is a small circle. Wheel 2 is a partial circle surrounding the Wheel 1 icon (Figure 9). The odometer combines the distance accumulated on both wheel settings.
Figure 8. Wheel 1 Icon.
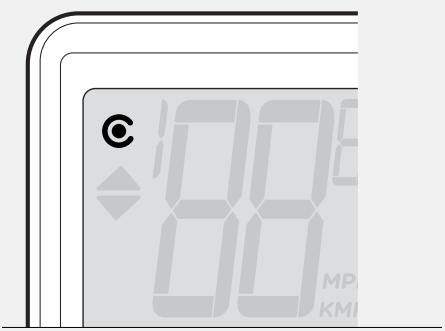
Figure 9. Wheel 2 Icon.
To Set the Second Wheel Size
1.Scroll M to TME.
2. Hold S for two seconds
The Wheel Selection icon appears.
- To change to Wheel 1 or Wheel 2, press S.
M
s
(for 2 seconds)
s
1.
2.
3.
- To select, press M. The wheel size appears.
- To change the wheel size, press M.
- To select, hold S for two seconds. To set a custom a wheel size, refer to the instructions listed earlier in the manual.
4.
5.
6.
To Ride with the Second Wheel Size
1.Scroll to TRP.
2. Hold S for two seconds.
1.
2.
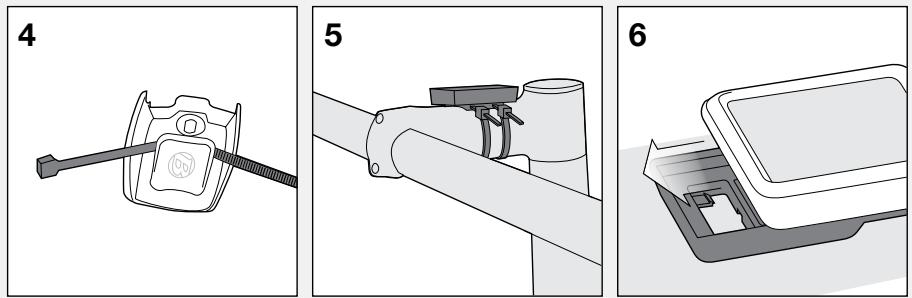
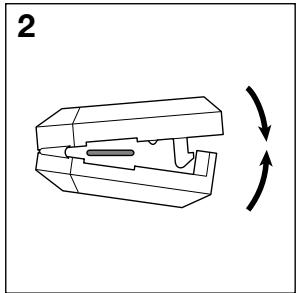
Installation
Trip 2, 2L, 3 (wired)
Handlebar Mount
Stem Mount
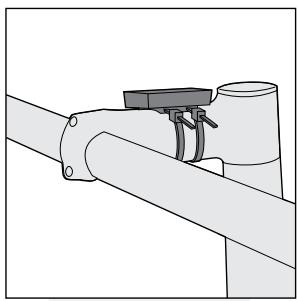
Attach Wire
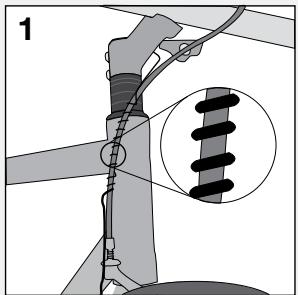
Make sure the computer wire cannot contact the tire, rim, or spokes. Contact with wires could damage the computer or cause you to lose control and fall.

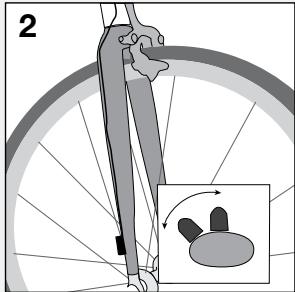
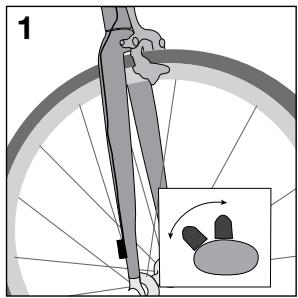
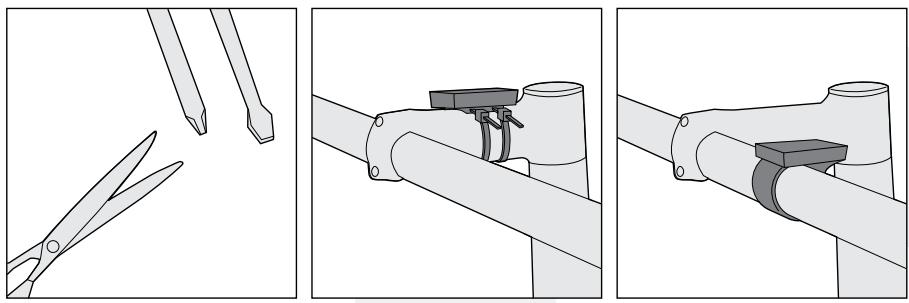
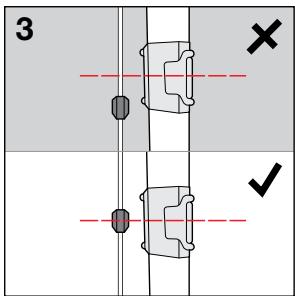
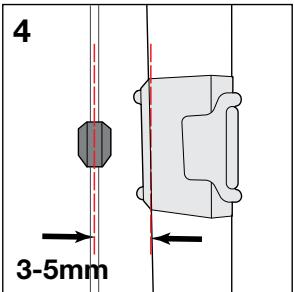
Install Wheel Magnet
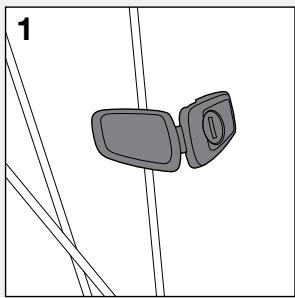
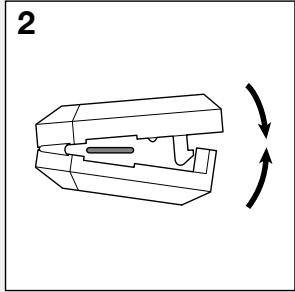
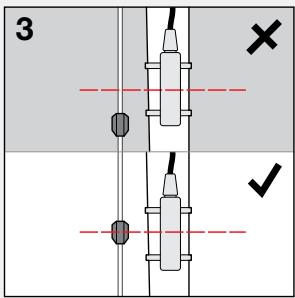
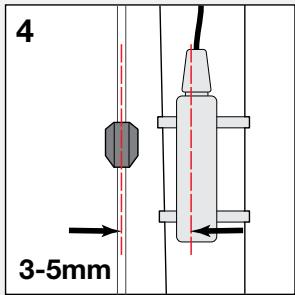
Install Wheel Sensor
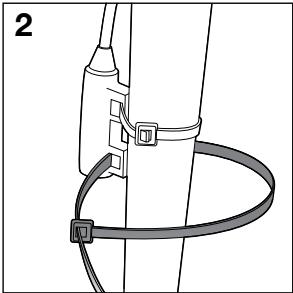
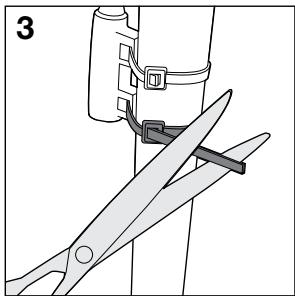
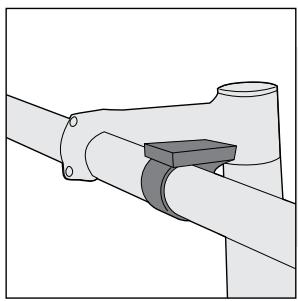
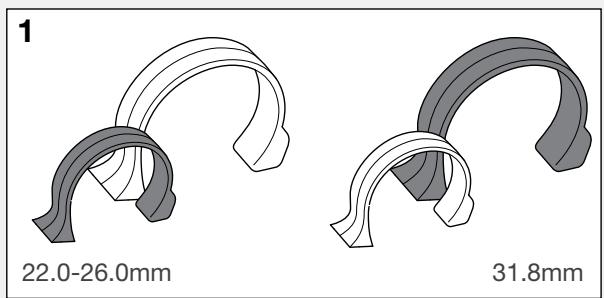
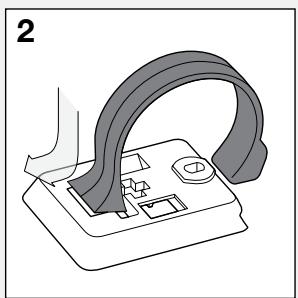
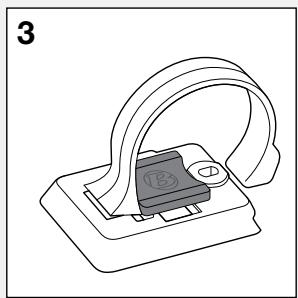
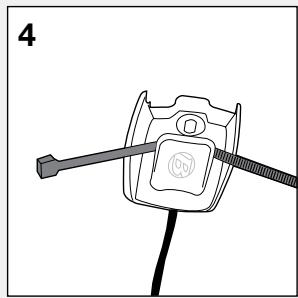
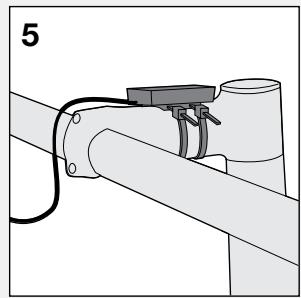
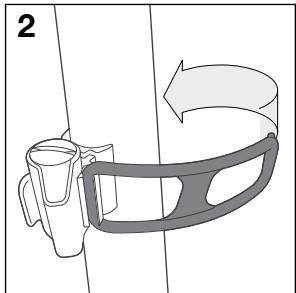
Trip 5W (wireless)
Handlebar Mount

Stem Mount
Install Wireless Wheel Sensor
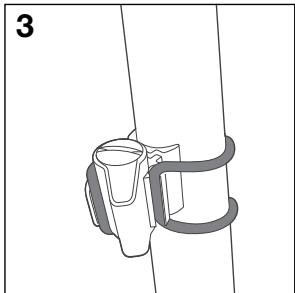
Install Wheel Magnet

Battery Maintenance
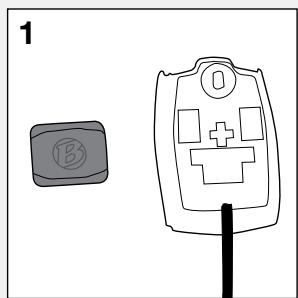
If the computer is giving erratic information, the battery may be running low. Replace the battery whenever the computer malfunctions, or every 6 months. When purchasing a new battery, it is best to take the old battery to the store with you. This is the battery type: CR2032, lithium cell, 3 volts.
When the battery is removed, the computer automatically resets function totals to zero. After installing a new battery, you can manually set your totals, but you must note those values before removing the battery.
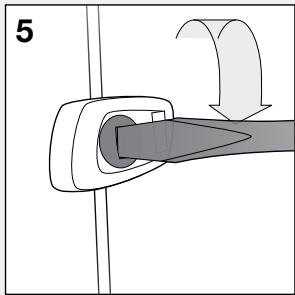
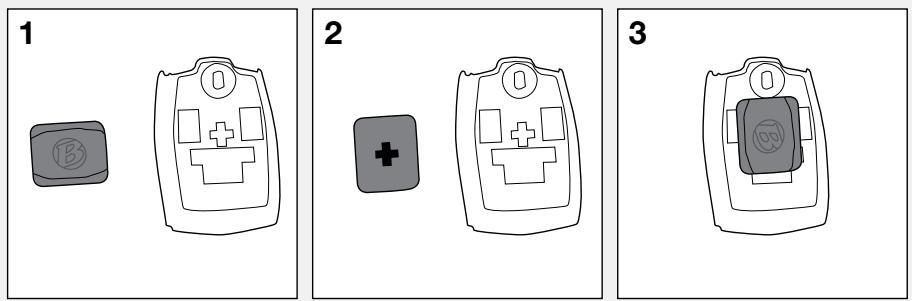
To Replace the Battery
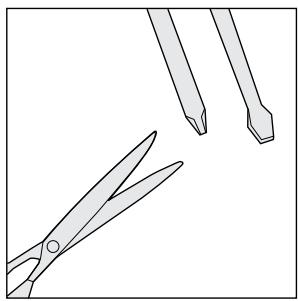
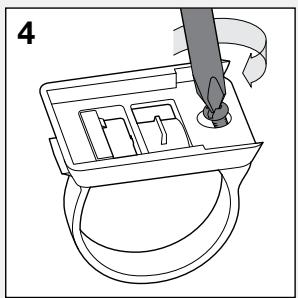
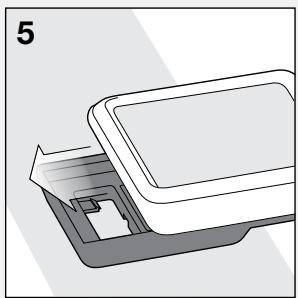
- Remove the computer from its base. Rotate the battery cover about one-quarter turn in a counter-clockwise direction (Figure 10). A coin or flat head screwdriver works well for this.
- Lift the battery cover, exposing the battery. Be careful to avoid losing the rubber O-ring seal.
- Remove the old battery.
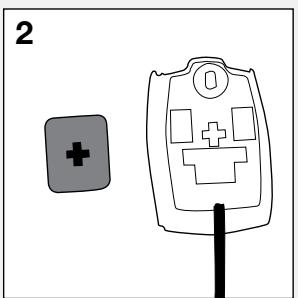
- Insert the new battery with the 'cross' and identifying label pointing up (Figure 11).
- Replace the battery cover with O-ring seal and rotate clockwise one-quarter turn.
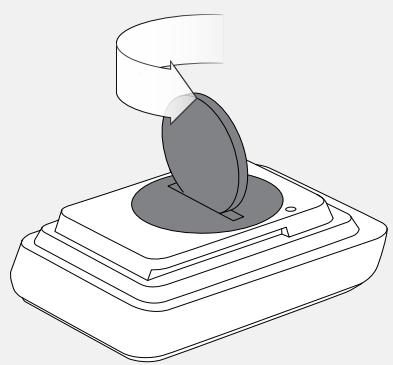

Figure 10. Removing the Battery Cover
Figure 11. Insert the New Battery
Reset
A Reset erases all data and settings. Before a Reset, you may wish to record the total miles (or kilometers) of the odometer so you can set the odometer to this number later during set up.
Hold the Reset button (AC) for two seconds (Figure 12). A ball point pen works well for this. The button is on the back of the computer.
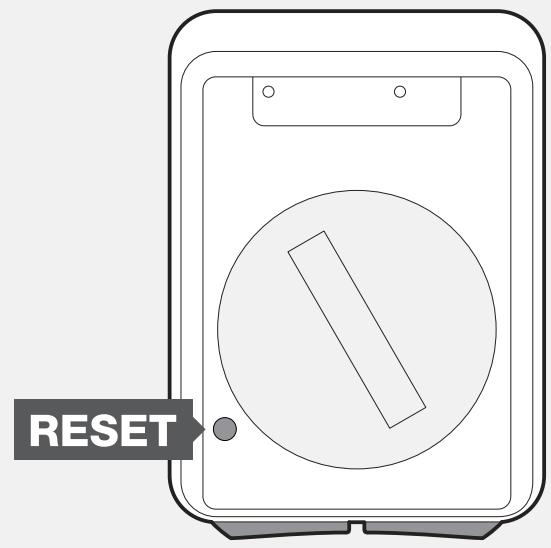
Figure 12. Reset Button
If you experience a problem with your Trip computer, consult this guide for troubleshooting and solutions. Your local Bontrager Dealer can also assist you.
Symptom
Possible Causes
Solution
| Display is blank | Battery is low, not installed, or installed incorrectly | Reinstall new battery |
| Data is erratic | Magnet misaligned with—or too far away from—sensor | Readjust magnet and sensor placement |
| Battery is low, not installed, or installed incorrectly | Replace battery |
| Current speed is missing | Magnet misaligned with—or too far away from—sensor | Readjust magnet and sensor placement |
| Wireless sensor battery is low (Trip 5W only) | Replace battery battery in sensor |
| Cadence is missing (Trip 3 only) | Magnet misaligned with—or too far away from—sensor | Readjust magnet and sensor placement |
| Speed is incorrect | Wheel size is incorrect | Reset wheel size |
| Magnet misaligned with—or too far away from—sensor | Readjust magnet and sensor placement |
Limited Warranty
See bontrager.com or Bontrager dealer for detailed warranty information.
www.bontrager.com
Bontrager & Bontrager B-Dot are registered trademarks of Trek Bicycle Corporation.
©2007 Trek Bicycle Corporation, Waterloo, Wisconsin 53594 USA. All rights reserved.