OPEN TOP SWING - Baby swing HAUCK - Free user manual and instructions
Find the device manual for free OPEN TOP SWING HAUCK in PDF.



User questions about OPEN TOP SWING HAUCK
0 question about this device. Answer the ones you know or ask your own.
Ask a new question about this device
Download the instructions for your Baby swing in PDF format for free! Find your manual OPEN TOP SWING - HAUCK and take your electronic device back in hand. On this page are published all the documents necessary for the use of your device. OPEN TOP SWING by HAUCK.
USER MANUAL OPEN TOP SWING HAUCK
Please check the list of parts to ensure
that all parts have been delivered:
1 Motor housing (A)
2 Base bar (A)
3 Play element
4 Seat
5 Swivel housing (B)
6 Rocking bar, right (B)
7 Bar, right (B)
8 Back adjuster
9 Back bar
10 Base bar, right (B)
11 Back base bar
12 Cover (not shown)
13 Base bar, left (A)
14 Center bar, front
15 Play tray
16 Bar left (A)
17 Belt

Toebehoren
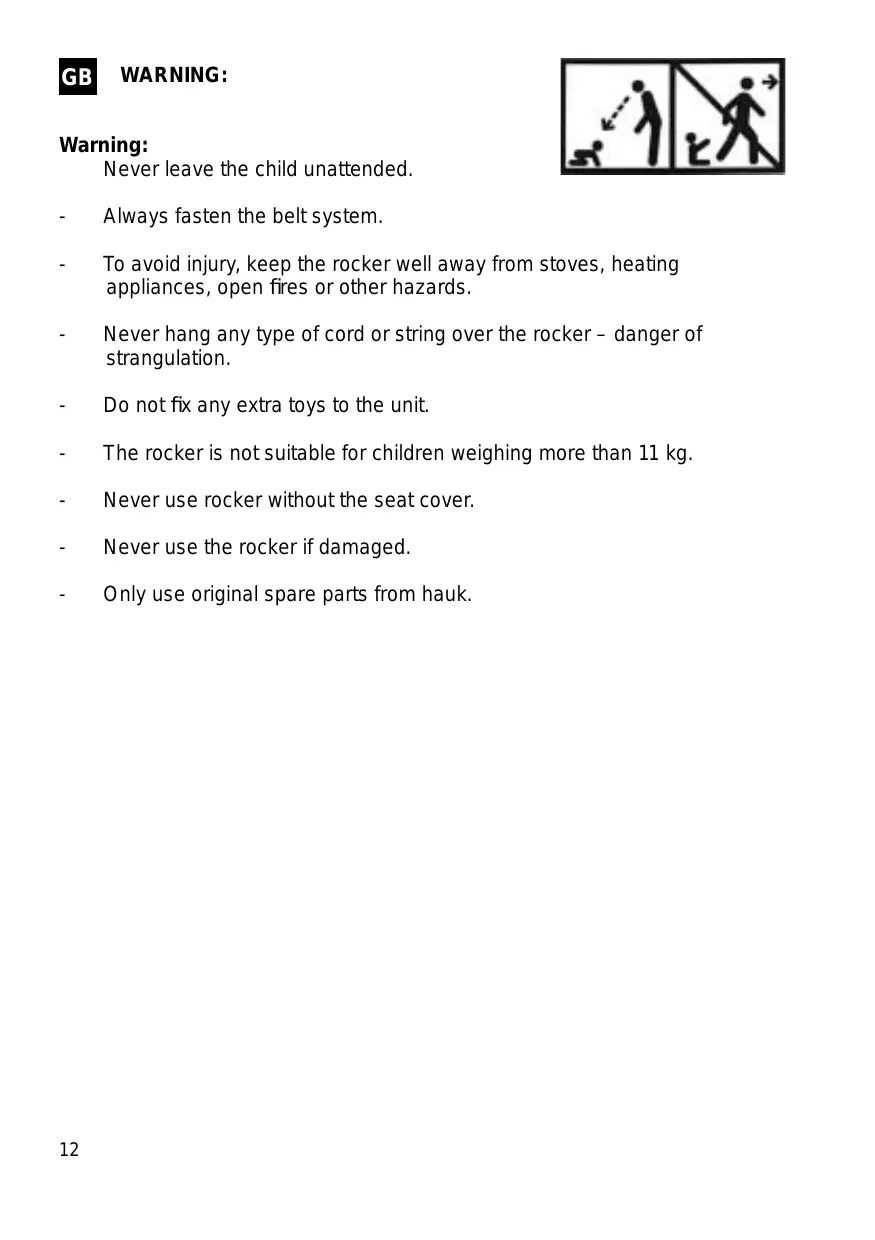
Never leave the child unattended.
Always fasten the belt system.
- To avoid injury, keep the rocker well away from stoves, heating appliances, open fires or other hazards.
- Never hang any type of cord or string over the rocker – danger of strangulation.
- Do not fix any extra toys to the unit.
- The rocker is not suitable for children weighing more than 11kg .
- Never use rocker without the seat cover.
- Never use the rocker if damaged.
- Only use original spare parts from hauk.
When assembling the parts, please make sure that "A" parts are fitted to "A" parts and "B" parts are fitted to "B" parts.
- Connect left base bar ( 13 ) to front center bar ( 14 ).
- Connect right base bar (10) to front center bar (14).
- Push back base bar (11) onto base bars (13) and (14).
- Insert left bar (16) into back bar (9).
- Insert right bar (7) into back bar (9).
- Fit left bar ( 16 ) and right bar ( 7 ) connected by back bar ( 9 ) onto base bars ( 13 ) and (10 ).
- Connect motor housing (1) to left bar (16).
- Connect motor housing (5) to right bar (7).
- Insert left rocking bar (2) and right rocking bar (6) into round holes in seat (4) and fasten.
- Push crossbars of back adjuster ( 8 ) onto rocking bars ( 2 ) and ( 6 ) .
- Push play tray ( 15 ) onto the right side of rocking bar ( 6 ), fold downwards and snap into place on left side.
- Fix play element (3) to play tray.
- Engage rocking bars (6) and (2) in the holes in the motor housing (1) and swivel housing (5).
- Open belt system ( 17 ) and feed through cover ( 12 ).
Now check that all joints are properly engaged and that the required stability is achieved.
GB FITTING BATTERIES:
- Open the battery compartment using a coin. Remove the lid.
- Fit 4 batteries (each 1.5V ). Ensure that the batteries are properly fitted. Refit lid. We recommend using alkali batteries.
USE BATTERIES SAFELY:
- Keep batteries out of the reach of children.
- Never attempt to charge alkali batteries. They may explode or leak.
- Keep batteries away from fire, as they may explode or give off poisonous substances.
Always replace all batteries in one go. - To prevent leaking, remove all batteries whenever the rocker is not used for long periods.
Before using, please make sure no parts are missing and that the rocker is not damaged. - Never use the rocker if parts are missing or damaged. For spare parts, please contact our customer services department. Do not replace parts yourself.
TAKING THE ROCKER INTO SERVICE:
- Place the child in the seat and fasten the belt system.
- When taking the rocker into service, give the seat a slight push to start it off.
- Select your melody using the music button.
The cover ( 12 ) can be washed at 30^ in the washing machine using the delicates cycle.
Use a damp cloth to clean plastic and metal parts.
Avertissement:
IMPORTANT- KEEP IT FOR LATER READING
CONSERVER CE MODE D'EMPLOI POUR UN
USAGE ULTERIEUR ET LE LIRE ATTENTIVEMENT
BELANGRIJK - BEWAAR ALS NASLAGWERK
TUV Thuringen