UNI_FP_100 - Washing machine Uniprodo - Free user manual and instructions
Find the device manual for free UNI_FP_100 Uniprodo in PDF.


User questions about UNI_FP_100 Uniprodo
0 question about this device. Answer the ones you know or ask your own.
Ask a new question about this device
Download the instructions for your Washing machine in PDF format for free! Find your manual UNI_FP_100 - Uniprodo and take your electronic device back in hand. On this page are published all the documents necessary for the use of your device. UNI_FP_100 by Uniprodo.
USER MANUAL UNI_FP_100 Uniprodo
Montageschritte:
①
②
- Komplett montieren

This User Manual has been translated using machine translation. We have made every effort to ensure the translation is accurate, but please note that automated translations are not perfect and are not meant to replace human translators. The official version of the User Manual is in English. Any differences between the translated version and the original English are not legally binding. If you have any questions about the accuracy of the translation, please refer to the English version, which is the official reference. More language versions are available upon request via info@expondo.com.
1. Technical data
Table 1: Technical data of the product
| Parameter description | Parameter value |
| Product name | Fire Pit |
| Model | UNI_FP_100 |
| Colour | Black |
| Thickness [mm] | 1.2 |
| Inner dimensions [cm] | 37 x 37 x 18 |
2. General description
The user manual is designed to assist in the safe and trouble-free use of the device. The product is designed and manufactured in accordance with strict technical guidelines, using state-of-the-art technologies and components. Additionally, it is produced in compliance with the most stringent quality standards.
DO NOT USE THE DEVICE UNLESS YOU HAVE THOROUGHLY READ AND UNDERSTOOD THIS USER MANUAL.
To increase the product life of the device and to ensure trouble-free operation, use it in accordance with this user manual and regularly perform maintenance tasks. The technical data and specifications in this user manual are up to date. The manufacturer reserves the right to make changes associated with quality improvement. The device is designed to reduce noise emission risks to a minimum, taking into account technological progress and noise reduction opportunities.
2.1. Legend
| Icon | Description |
 | The product satisfies the relevant safety standards. |
 | Read instructions before use. |
 | The product must be recycled. |

WARNING! or CAUTION! or REMEMBER! Applicable to the given situation.
(general warning sign)
PLEASE NOTE! DRAWINGS IN THIS MANUAL ARE FOR ILLUSTRATION PURPOSES ONLY AND IN SOME DETAILS MAY DIFFER FROM THE ACTUAL PRODUCT.
3. Use guidelines
THE USER IS LIABLE FOR ANY DAMAGE RESULTING FROM UNINTENDED USE OF THE DEVICE.
3.1. Device description
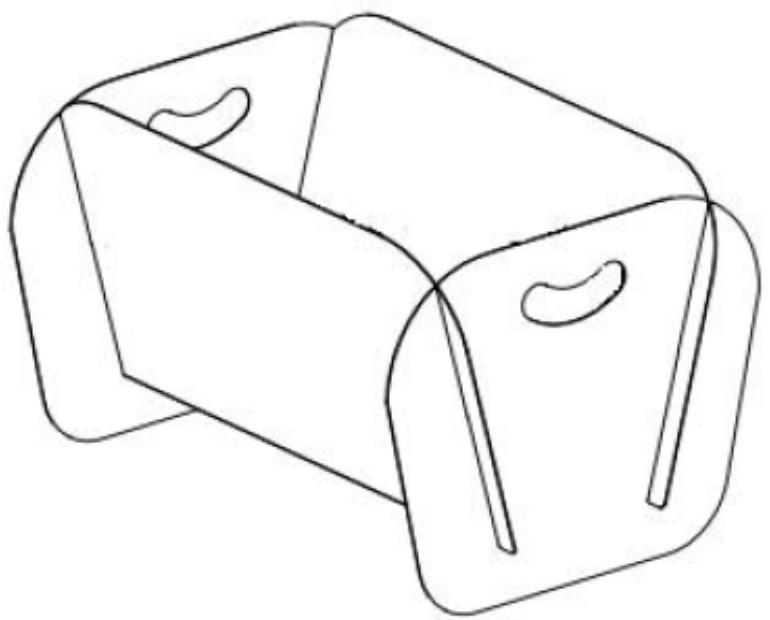
3.2. Assembling the device
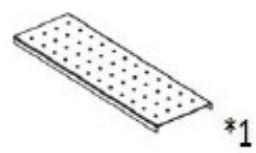
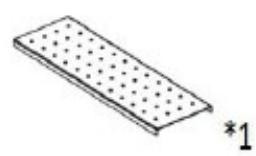
Part List:

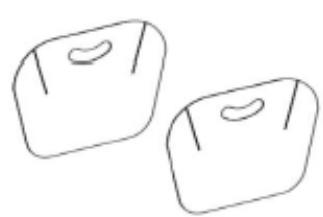
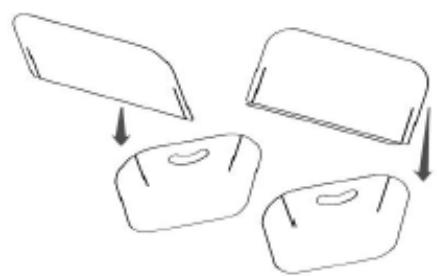
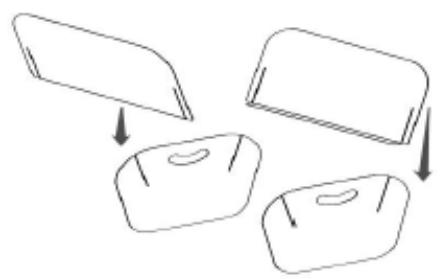
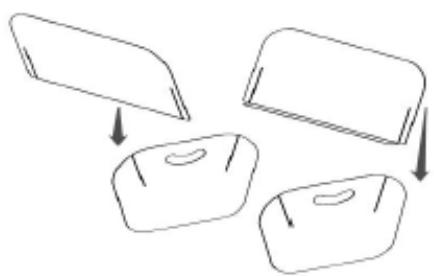
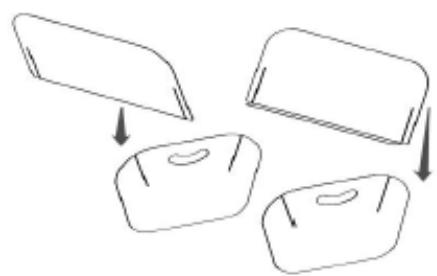
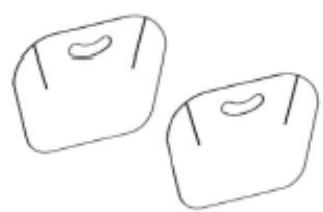
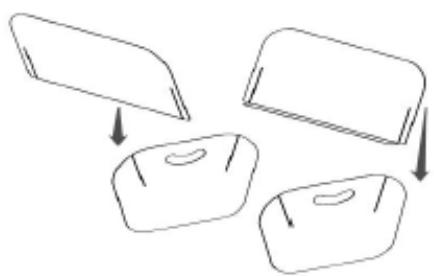
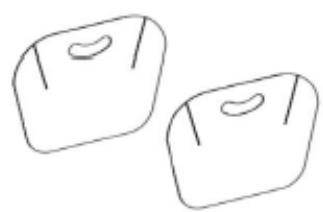
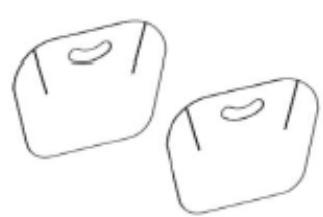
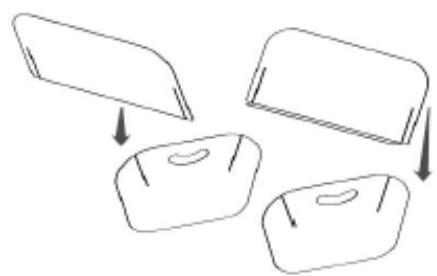
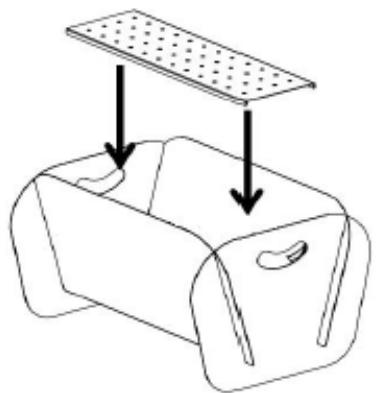
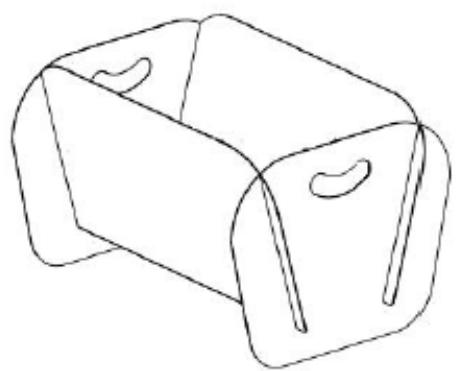
Assembly steps:
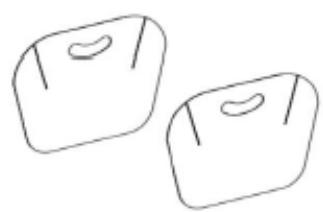
①
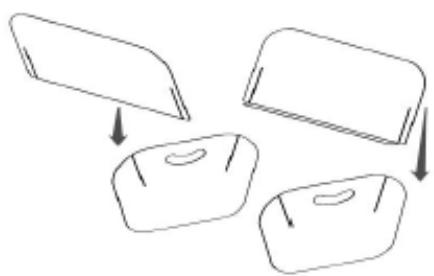
②
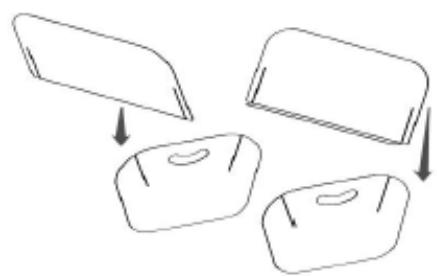
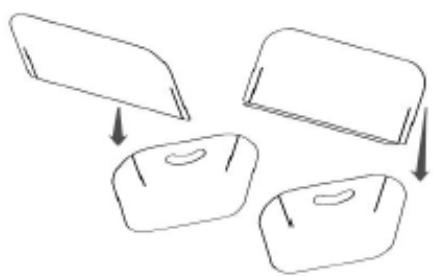
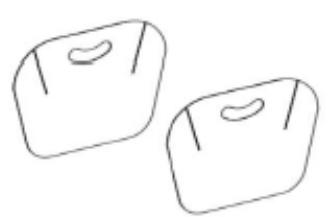
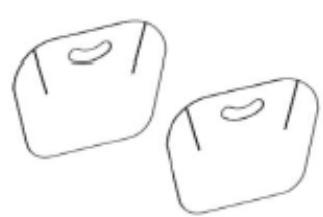
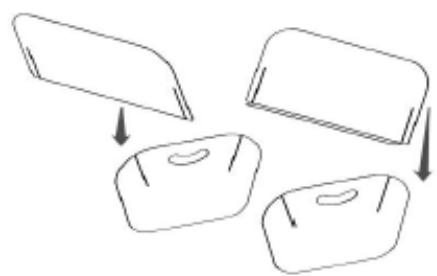
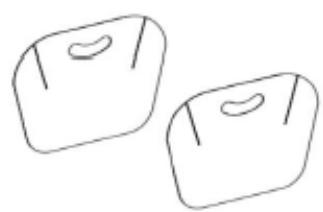
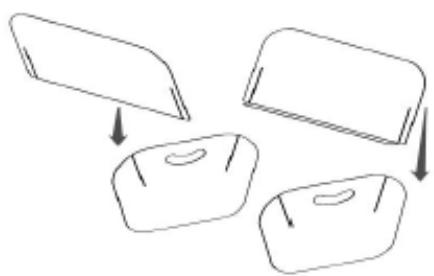
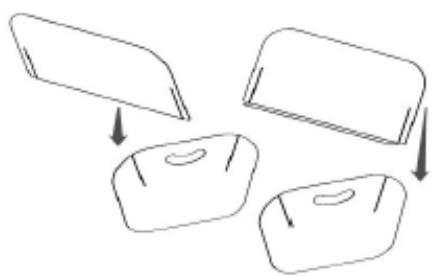
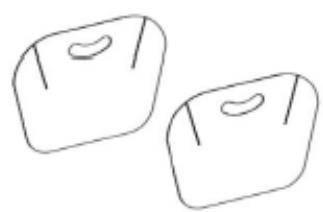
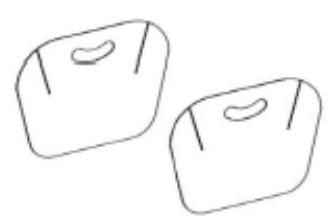
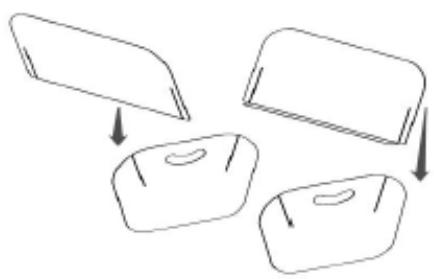
- Get both side pads with handles ready
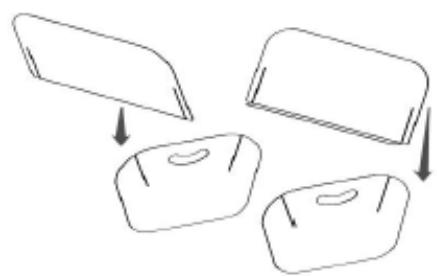
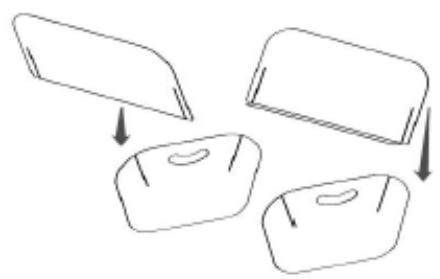
- Insert the from and rear pads by the cutting line
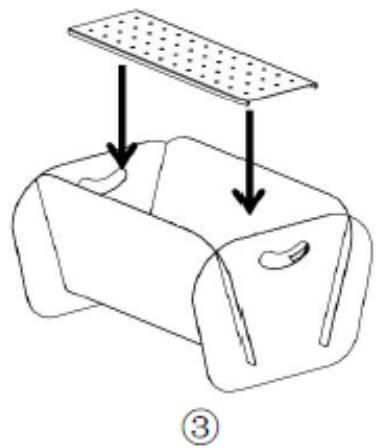
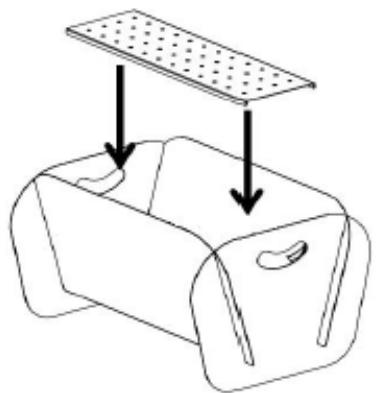
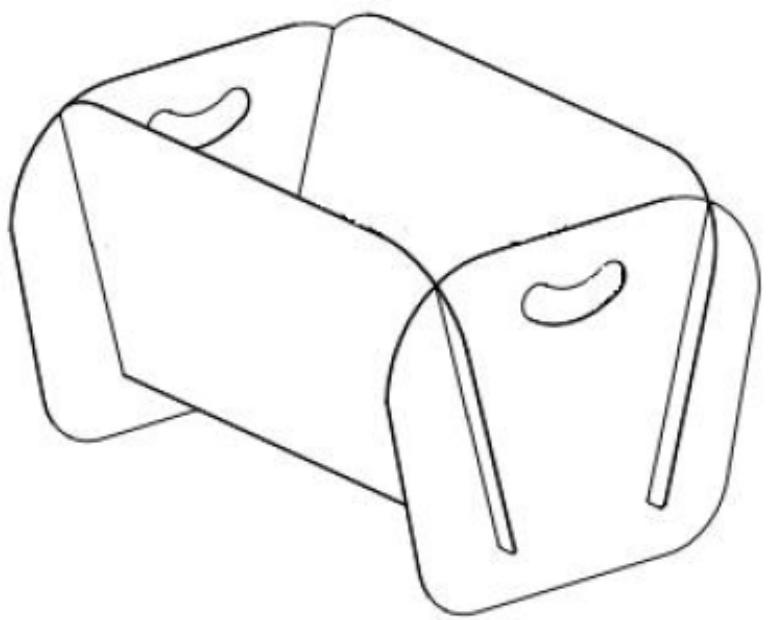
- Put in charcoal board
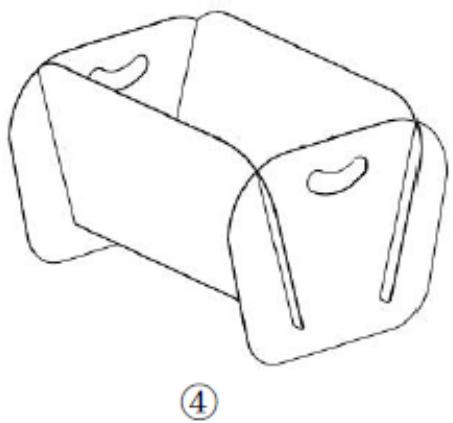
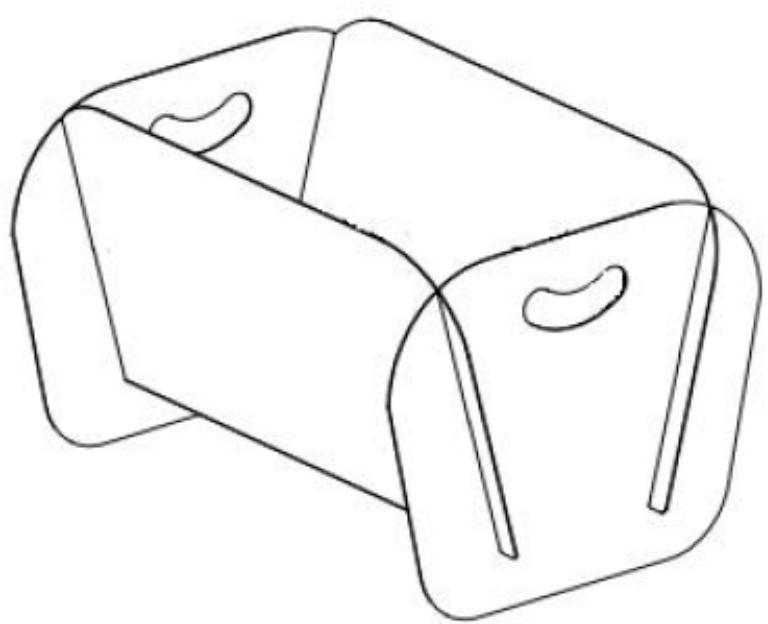
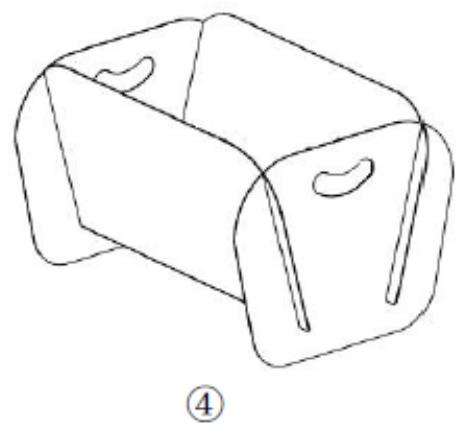
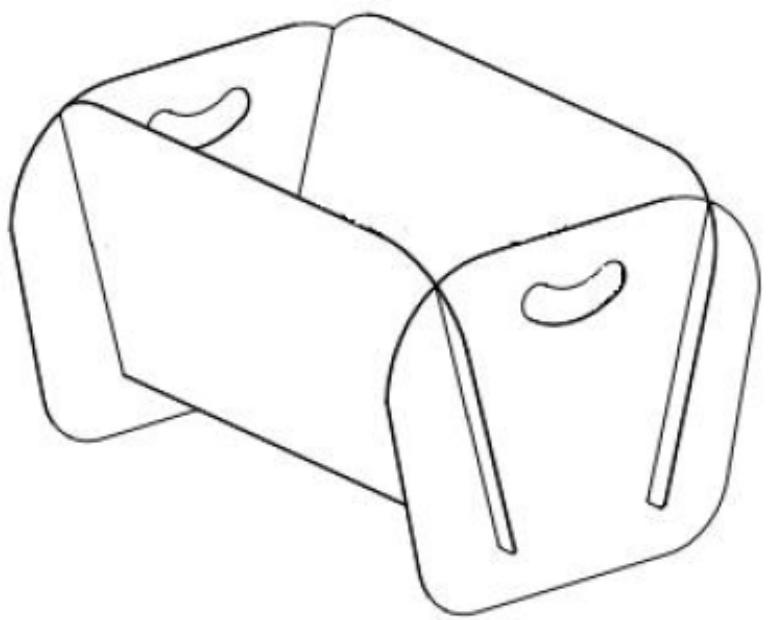
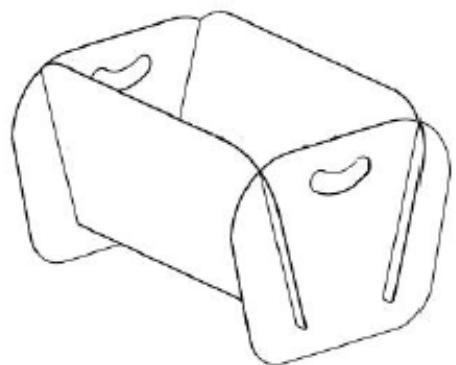
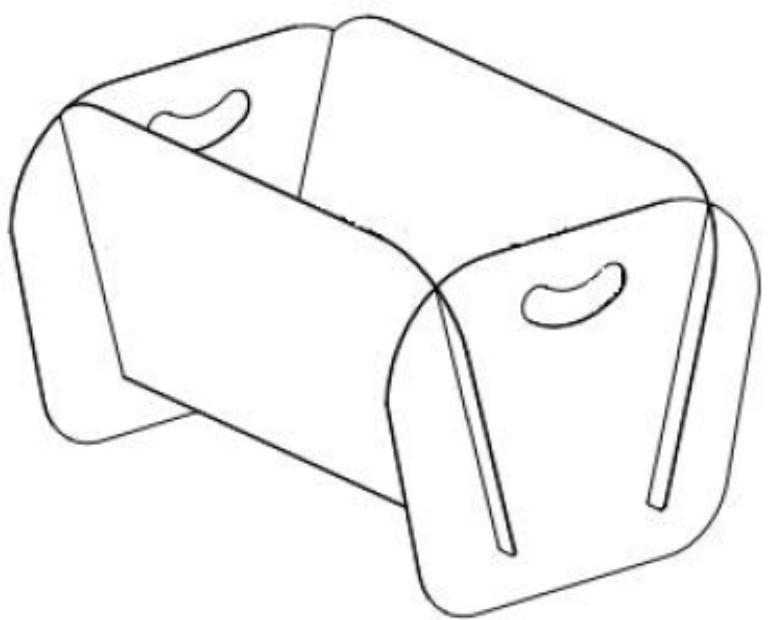
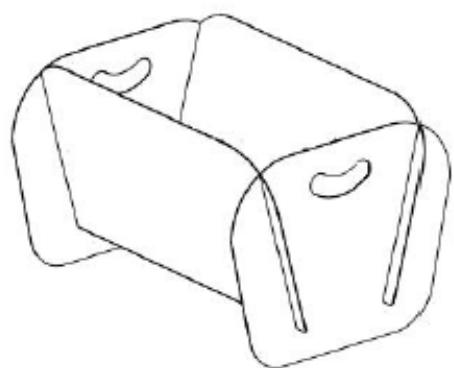
- Install complete

UŻYTKOWNIK PONOSI ODPOWIEDZIALNOŚĆ ZA WSZELKIE SZKODY WYNIKAJĄCE Z NIEZAMIERZONEGO UŻYTKOWANIA URZĄDZENIA.
Kroki montażu:
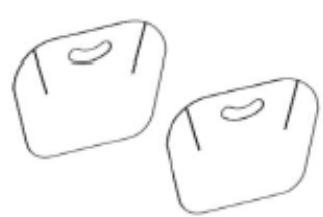
①
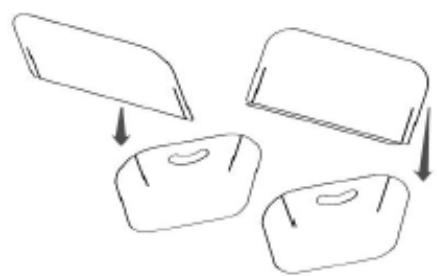
②
- Zainstaluj całość

UŽIVATEL JE ODPOVĚDNÝ ZA JAKÉKOLI ŠKODY ZPŮSOBENÉ NEZÁMĚRNÝM POUŽITÍM ZAŘÍZENÍ.
3.1. Popis zařízení

Kroky montáže:
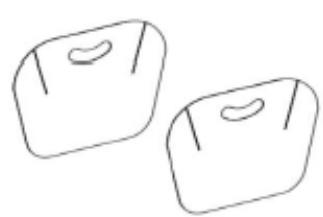
①
②
③
④
- Dokončete instalaci

L'UTILISATEUR EST RESPONSABLE DE TOUT DOMMAGE RÉSULTANT D'UNE UTILISATION NON CONFORME DE L'APPAREIL.
Étapes d'assemblage

①

②
- Placez la plaque de charbon

L'UTENTE È RESPONSABILE DI QUALSIASI DANNO DERIVANTE DA UN USO IMPROPRIO DEL DISPOSITIVO.
①
②
Pasos de montaje:
①
②
- Instale el conjunto

A FELHASZNÁLÓ FELELŐS A KÉSZÜLÉK NEM SZÁNDÉKOS HASZNÁLATÁBÓL EREDMÉNYEZETT BÁRMILYEN KÁRÉRT.
①
②
BRUGEREN ER ANSVARLIG FOR ENHVER SKADE, DER OPSTÅR SOM F∅LGE AF UTILSIGTET BRUG AF ENHEDEN.
Samlingstrin:
①
②
- Sæt kulbrættet i
- Installer komplet

KÄYTTÄJÄ ON VASTUUSSA KAIKISTA VAHINGOISTA, JOTKA JOHTUVAT LAITTEEN TARKOITUKSETTOMASTA KÄYTÖSTÄ.
Kokoamisvaiheet:
①
②
- Asennus valmis

DE GEBRUIKER IS AANSPRAKELIJK VOOR SCHADE DIE VOORTKOMT UIT ONBEDOELD GEBRUIK VAN HET APPARAAT.
①
②
BRUKEREN ER ANSVARLIG FOR ENHVER SKADE SOM F∅LGE AV UTILTENKT BRUK AV ENHETEN.
Monteringstrinn:
①
②
ANVÄNDARE ÄR ANSVARIG FÖR ALLA SKADOR SOM UPPSTÅR TILL FÖLJD AV OAVSIKTLIG ANVÄNDNING AV ENHETEN.
Monteringssteg:
①
②
- Sätt i kolbrädan

- Färdig installation

O USUÁRIO É RESPONSÁVEL POR QUAISQUER DANOS RESULTANTES DO USO INDEVIDO DO APARELHO.
Etapas de montagem:
①
②
③
④
POUŽÍVATEL' JE ZODPOVEDNÝ ZA AKÉKOL'VEK POŠKODENIE SPÔSOBENÉ NEURČENÝM POUŽITÍM ZARIADENIA.
3.1. Popis zariadenia
3.2. Montáž zariadenia
Zoznam dielov:

Kroky montáže:
①
②
③
④
ПОТРЕБИТЕЛЯТ Е ОТГОВОРЕН ЗА ВСЯКАКВИ ЩЕТИ, В РЕЗУЛТАТ ОТ НЕПРЕДНАЗНАЧЕНАТА УПОТРЕБА НА УСТРОЙСТВОТО.
①

②
③
④
③
④
- Ολοκληρώστε την

KORISNIK JE ODGOVORAN ZA BILO KAKVU ŠTETU NASTALU NENAMJERNOM UPORABOM UREĐAJA.
3.1. Opis uređaja
①
②
- Pripremite obje bočne pločice s ručkama
- Umetnite prednju i stražnju pločicu uz liniju rezanja
③
④
NAUDOTOJAS YRA ATSAKINGAS UŽ BET KOKIĄ ŽALA, ATSIRANDANČIĄ DĚL NETINKAMO JRENGINIO NAUDOJIMO.
3.2. Irenginio surinkimas
Dalių sąrašas:

①
②
UTILIZATORUL ESTE RESPONSABIL PENTRU ORICE DAUNE REZULTATE DIN UTILIZAREA NECONORATĂ A DISPOZITIVULUI.
Pași de asamblare:
①
②
- Instalați complet

UPORABNIK JE ODGOVOREN ZA VSAKO ŠKODO, KI NASTANE ZARADI NENAMERNE UPORABE NAPRAVE.
3.1. Opis naprave
①
②
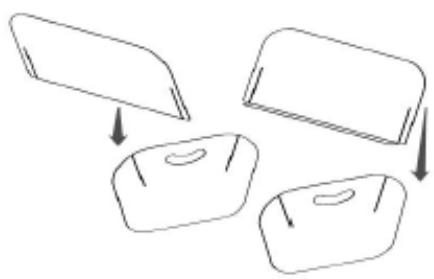
- Pripravite obe stranski blazinici z ročaji
- Vstavite sprednjo in zadnjo blazinico ob liniji reza
③
④
ENVIRONMENTAL AND DISPOSAL INSTRUCTIONS: For the disposal of the device please consider and act according to the national and local rules and regulations.



Brand : Uniprodo
Model : UNI_FP_100
Category : Washing machine