
SKAT 1000 EDS A1 COFFEE MACHINE - Coffee machine SILVERCREST - Free user manual and instructions
Find the device manual for free SKAT 1000 EDS A1 COFFEE MACHINE SILVERCREST in PDF.
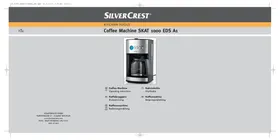



| Product Type | Filter coffee machine |
| Brand | SILVERCREST |
| Model | SKAT 1000 EDS A1 |
| Power supply | 220-240 V ~ 50 Hz, 1000 W |
| Maximum capacity | 12 cups (approx. 1.5 L) |
| Filter type | Coffee filter size 1x4 |
| Main functions | Time programming, timer, automatic shut-off after 2 h, keep warm |
| Display | LED display with clock and indicators |
| Carafe material | Glass |
| Hot plate | Keep warm for 2 hours |
| Automatic shut-off | Yes, after 2 hours |
| Delayed programming | Yes, via timer function |
| Water level indicator | Graduated scale on the reservoir |
| Accessories included | Glass carafe, measuring spoon, user manual |
| Maintenance and cleaning | Clean exterior with damp cloth, regular descaling recommended |
| Safety | Do not open during preparation, do not immerse, automatic shut-off |
| Warranty | 3 years |
| Customer service (France) | Tel: 0871 5000 700 (£0.10/min) for UK, other channels available |
| Importer | KOMPERNASS GMBH, Burgstrasse 21, D-44867 Bochum |
Frequently Asked Questions - SKAT 1000 EDS A1 COFFEE MACHINE SILVERCREST
User questions about SKAT 1000 EDS A1 COFFEE MACHINE SILVERCREST
0 question about this device. Answer the ones you know or ask your own.
Ask a new question about this device
Download the instructions for your Coffee machine in PDF format for free! Find your manual SKAT 1000 EDS A1 COFFEE MACHINE - SILVERCREST and take your electronic device back in hand. On this page are published all the documents necessary for the use of your device. SKAT 1000 EDS A1 COFFEE MACHINE by SILVERCREST.
USER MANUAL SKAT 1000 EDS A1 COFFEE MACHINE SILVERCREST
GB Coffee Machine IE Operating instructions SE Kaffebryggare
Bruksanvisning
FI Kahvinkeitin
Käyttöohje
DK Kaffemaskine
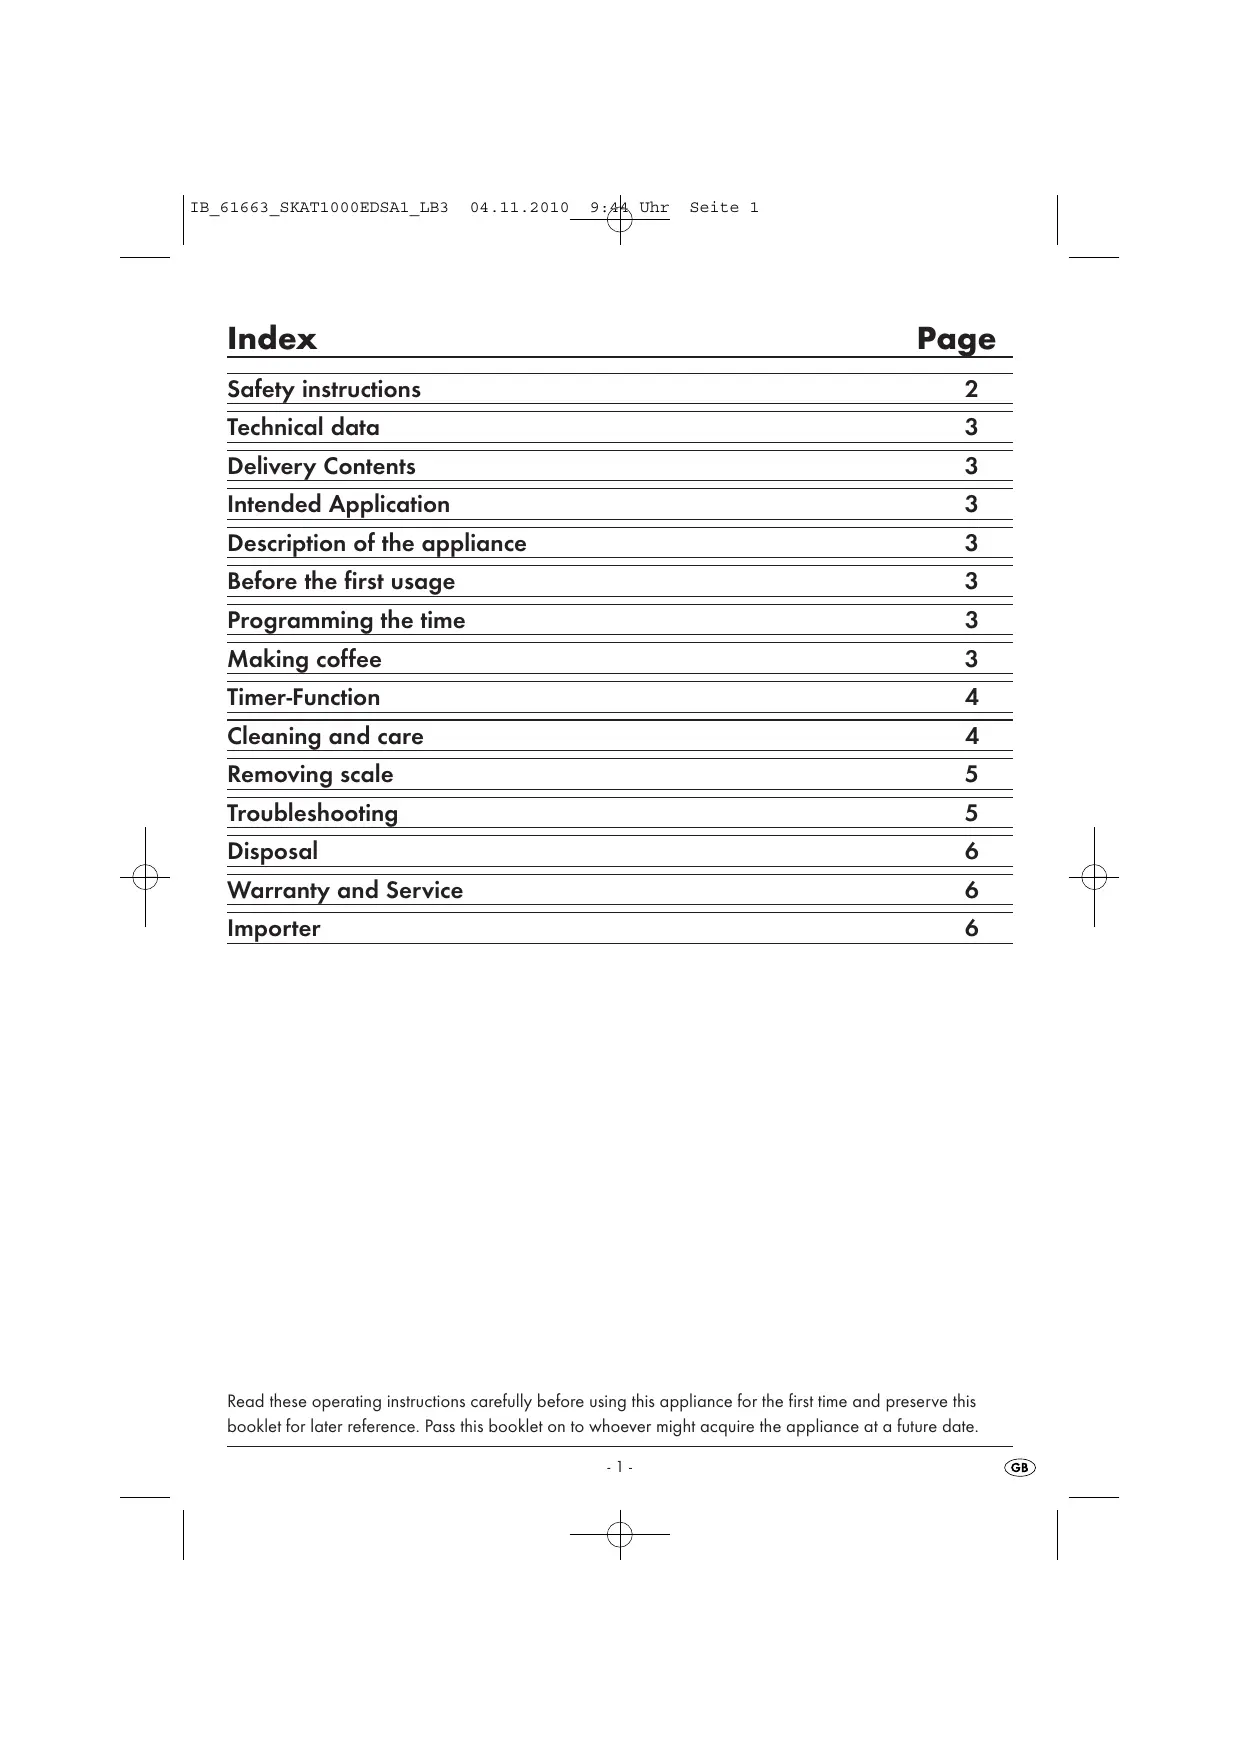
Safety instructions 2
Technical data 3
Delivery Contents 3
Intended Application 3
Description of the appliance 3
Before the first usage 3
Programming the time 3
Making coffee 3
Timer-Function 4
Cleaning and care 4
Removing scale 5
Troubleshooting 5
Disposal 6
Warranty and Service 6
Importer 6
Read these operating instructions carefully before using this appliance for the first time and preserve this booklet for later reference. Pass this booklet on to whoever might acquire the appliance at a future date.
Safety instructions
Danger of electric shock!
- Connect the appliance only to correctly installed and earthed mains sockets.
- Remove the plug from the wall socket when you move the appliance, fill it with water, if it malfunctions, before cleaning it and when it is not in use.
- Never submerse the appliance in liquids. Should liquids nonetheless permeate into the appliance housing, immediately remove the plug from the wall socket. Arrange for it to be repaired by qualified specialists.
- Never grasp the appliance, the power cable or the power plug with wet hands.
- To disconnect, always pull the plug itself out of the power socket, do not pull on the power cable.
- Do not fold or crush the power cable.
- Always check the power cable and plug before use. To reduce potential risks in the event of damage to the power cable, arrange for it to be examined and repaired as soon as possible by the manufacturer, by Customer Services or by a similarly qualified person.
Risk of fire!
- Do not leave the appliance unattended when in use.
- Never operate the appliance without water.
- Never place the appliance near sources of heat.
- Do not use extension cables. In the event of danger, the plug must be quickly and easily accessible.
- Do not use an external timing switch or a separate remote control system to operate the appliance.
⚠️ Risk of personal injury!
- This appliance is not intended for use by individuals (including children) with restricted physical, physiological or intellectual abilities or deficiencies in experience and/or knowledge unless they are supervised by a person responsible for their safety or receive from this person instruction in how the appliance is to be used.
- Children should be supervised to ensure that they do not play with the appliance.
- Lay the power cable in such a way that no one can tread on or trip over it.
Risk of scalding!
- Never open the lid of the coffee machine during the brewing process.
- Do not handle the hot filter bag. Remove the filter bag first when the coffee has drained away and it has cooled down. Use the filter holder to remove the filter bag.
- Do not hold your hands in the rising steam.
- Never move/transport the appliance during the brewing process.
- Remove the glass carafe first when the brewing process is complete and the filter has fully drained itself.
- Always close the lid before switching the coffee machine on, there exists a risk of scalds from steam and hot water.
Caution: To avoid damage to the appliance!
- Fill the water tank of the appliance exclusively with freshly drawn mains water.
- No liability will be accepted for damage caused by glass breakage!
Technical data
Mains voltage: 220 - 240 V ~ 50 Hz
Power consumption: 1000 W
Coffee filter bags: Size 1x4
Delivery Contents
- Coffee Machine
- Glass carafe
- Measuring spoon
- Operating Instructions
Before taking the appliance into use check to ensure that all of the items listed have been supplied and that there are no visible signs of damage.
Intended Application
The coffee machine is intended exclusively for brewing coffee. This coffee machine is intended exclusively for use in private households. Do not use it commercially. This appliance is intended only for indoor use.
Description of the appliance
① Lid ② Filter holder ③ Water tank ④ HOUR button ⑤ MIN button ⑥ PROG button ⑦ ON/AUTO/OFF button ⑧ Display ⑨ Scale ⑩ Keep-warm plate ⑪ Glass carafe ⑫ Measuring spoon
Before the first usage
i Important:
Never fill the appliance with water beyond the max-marking (12 cups). The appliance could overflow.
- Before the first use, pass 12 cups of water through the appliance. Do not insert a filter bag and do not use any coffee powder.
- Clean the appliance (see chapter "Cleaning and Care").
Programming the time
- Press the PROG ⑥ button. CLOCK appears on the display ⑧.
- Repeatedly press the button HOUR ④ for hours, resp. the button MIN ⑤ for minutes, until the correct time is programmed in.
- Wait for approx. 15 seconds. The indicator CLOCK disappears from the display ⑧. The time display is now programmed.
or
- Press the button PROG ⑥ twice, so that only the time is to be seen in the display ⑧. The time display is now programmed.
Note:
If the coffee machine is disconnected from the mains power (or experiences a brief power failure), the programmed time is retained for a maximum of 15 seconds. If the power is disconnected for longer, the time must be reprogrammed.
Making coffee
Avoid brewing fewer than 4 cups of coffee. Otherwise, the coffee will not reach the desired temperature and strength.
- Open the lid ① and insert a filter bag (size 1x4) with folded sides into the filter holder ②. Using the measuring spoon ⑫, place coffee powder into the filter bag. Depending on taste, you will need approximately one level measuring spoon ⑫ of coffee powder per cup. A level measuring spoon ⑫ is about 5.5 g of coffee powder.
- Fill the water tank ③ with the required amount of water. Use the scale ⑨ for this. Never fill the appliance with water beyond the max marking (12 cups).
- Close the lid ①, ensuring it engages.
- Place the glass carafe ⑪ in the coffee machine.
- Press the ON/AUTO/OFF button ⑦ to start the brewing process. The red indicator lamp integrated into the ON/AUTO/OFF button ⑦ will glow.
- When the brewing process is finished, you can remove the glass carafe ⑪ and serve the coffee. If you do not wish to serve the coffee immediately, allow it to stand in the coffee machine. The keep-warm plate ⑩ will keep the coffee warm for 2 hours. After two hours, the coffee machine switches itself off automatically.
- If you wish to switch the coffee machine off manually, press the ON/AUTO/OFF button ⑦ twice so that the integrated blue indicator lamp glows constantly. After approximately 15 seconds, it extinguishes. The coffee machine is now switched off.
Note:
Allow the coffee machine to cool down for approximately 5 minutes before starting another brewing process or filling it with water.
Timer function
Using the PROG button ⑥, you can program the coffee machine to start the brewing process at a predetermined time. First, ALWAYS place coffee powder in the filter bag in the filter holder ② and water into the water tank ③.
Place the glass carafe ⑪ in the coffee machine. Ensure that the water tank ③ is not filled beyond the Max. marking (12 cups).
- Press the PROG button ⑥ twice, so that TIMER appears in the display ⑧.
- Program the desired start time using the HOUR button ④ and the MIN button ⑤ (see chapter "Setting the Time").
- When the desired start time has been programmed, press the ON/AUTO/OFF button ⑦ twice. The integrated blue indicator lamp blinks, indicating that the Timer is programmed. The coffee machine starts the brewing process at the programmed time.
- If you wish to deactivate the Timer, press the ON/AUTO/OFF button ⑦ again so that the integrated blue indicator lamp glows constantly.
Cleaning and care
Before cleaning, always remove the plug from the wall power socket.
Risk of electric shock!
Before you clean the coffee machine, you must remove the plug from the mains power socket.
Attention!
Never submerse the coffee machine in water or other fluids.
Risk of Burns!
Always wait until the coffee machine has cooled down before cleaning it.
- Do not use household detergents or sharp/pointed objects to remove soiling. These could damage the appliance.
- Wipe the housing of the coffee machine and the glass carafe with a soft cloth lightly moistened with a soapy solution.
- After every brewing process, remove the filter bag from the filter holder ②.
- Remove the filter and rinse the filter holder ② and the glass carafe ⑪ under running water.
- In cases of stubborn soiling, clean the filter holder ②, measuring spoon ⑫, and the glass carafe ⑪ in a mild dishwashing solution. Rinse them off with clear water.
If you do not intend to use the coffee machine for an extended period, stow the power cable in the cable shaft at the rear of the coffee machine and insert the power plug into the designated holes on the cable shaft.
Removing scale
Remove scale from the coffee machine at regular intervals.
The required descaling intervals can, subject to water hardness, be very variable. Scale removal is already necessary after ca. 30 brewing processes with hard water, after ca. 60 brewing processes with soft water. Your local water supplier will inform you about the water hardness level in your locality.
Use only scale removal products that are suitable for coffee makers and pay heed to the instructions for use.
The procedure for scale removal is:
- Place the scale removal product in the water tank ③.
- Insert the amount of water detailed in the usage instructions for the descaler (max. 12 cups).
- Press the button ON/AUTO/OFF ⑦ to start the brewing process. The integrated red indicator lamp glows.
- Wait until the water for approx. 2 cups has passed through and then stop the brewing process by pressing twice on the button ON/AUTO/OFF ⑦. The integrated blue indicator lamp glows constantly and goes out after approx. 15 seconds.
- Allow the descaling medium to stand for 15 minutes.
- Repeat steps 3 to 5 three times.
- Then restart the brewing process and wait until all of the solution has passed through.
- Rinse the coffee machine through 3 times with fresh water. All of the descaling medium residues will then be removed and you can once again use the coffee machine.
Troubleshooting
The coffee machine is not working:
- The appliance is not switched on. Press the button ON/AUTO/OFF ⑦ to switch the appliance on.
- The plug is not inserted into a power socket. Connect the appliance with the mains. Push the power plug into the wall socket.
The brewing process does not start at the desired time (Timer):
- The timer is not activated. To activate the timer, press twice on the button ON/AUTO/OFF ⑦.
- The time is not correctly programmed. Check the time entered and, if necessary, re-programme it.
The coffee is too strong/too weak:
- There is too little/too much water in the water tank ③. Fill it with the correct amount of water.
- It is filled with too much/too little coffee powder. Fill it with less/more coffee powder.
- The coffee powder is too finely/too coarsely ground. Select a different grade of grinding for your coffee powder.
The brewing process takes unusually long.
The appliance switches itself off during the brewing process.
The appliance is becoming louder when brewing. There is excessive steam.
- The brewing system of the appliance is calcified. Descale the appliance as described under "Removing scale".
Disposal

Do not dispose of the appliance in your normal domestic waste. This product is subject to the European directive 2002/96/EC.
Dispose of the appliance through an approved disposal centre or at your community waste facility. Observe the currently applicable regulations. In case of doubt, please contact your waste disposal centre.

Dispose of the packaging materials in an environmentally responsible manner.
Warranty and Service
With this appliance you receive a warranty of 3 years from the date of purchase. This appliance has been manufactured with care and thoroughly tested before delivery.
Please retain your receipt as proof of purchase. In the case of a warranty claim, please make contact by telephone with our service department. Only in this way can a post-free despatch for your goods be assured.
The warranty covers only claims for material and manufacturing defects, not for transport damages, worn parts or for damage to fragile components, e.g. buttons or batteries. This product is for private use only and is not intended for commercial use. If this product has been subjected to improper or inappropriate handling, abuse, or modifications not carried out by one of our authorised service centres, the warranty will be considered void.
This warranty does not affect your statutory rights. The warranty period is not extended by repairs effected under warranty. This applies also to replaced and repaired parts. Damages or defects discovered after purchase are to be reported directly after unpacking, at the latest two days after the purchase date. Repairs carried out after lapse of the warranty period are subject to charge.
GB DES UK LTD
Tel.: 0871 5000 700 (£0.10/minute)
e-mail: support.uk@kompernass.com
IE Kompernass Service Ireland
Tel.: 1850 930 412 (0.082 EUR/min.)
Standard call rates apply. Mobile operators may vary.
e-mail: support.ie@kompernass.com
CY Kompernass Service Cyprus
Tel.: 800 9 44 01
e-mail: support.cy@kompernass.com
Importer
KOMPERNASS GMBH
BURGSTRASSE 21
D-44867 BOCHUM
www.kompernass.com
Table of Contents
Page
Safety Instructions 8
Technical Specifications 9
Scope of Delivery 9


- SAFETY INSTRUCTIONS
- DANGER OF ELECTRIC SHOCK
- RISK OF FIRE
- ⚠️ RISK OF PERSONAL INJURY
- RISK OF SCALDING
- CAUTION: TO AVOID DAMAGE TO THE APPLIANCE
- TECHNICAL DATA
- DELIVERY CONTENTS
- INTENDED APPLICATION
- DESCRIPTION OF THE APPLIANCE
- BEFORE THE FIRST USAGE
- I IMPORTANT
- PROGRAMMING THE TIME
- NOTE
- MAKING COFFEE
- TIMER FUNCTION
- CLEANING AND CARE
- RISK OF ELECTRIC SHOCK
- ATTENTION
- RISK OF BURNS
- REMOVING SCALE
- TROUBLESHOOTING
- THE COFFEE MACHINE IS NOT WORKING
- THE BREWING PROCESS DOES NOT START AT THE DESIRED TIME (TIMER)
- THE COFFEE IS TOO STRONG/TOO WEAK
- THE BREWING PROCESS TAKES UNUSUALLY LONG
- THE APPLIANCE SWITCHES ITSELF OFF DURING THE BREWING PROCESS
- THE APPLIANCE IS BECOMING LOUDER WHEN BREWING. THERE IS EXCESSIVE STEAM
- DISPOSAL
- WARRANTY AND SERVICE
- GB DES UK LTD
- IE KOMPERNASS SERVICE IRELAND
- CY KOMPERNASS SERVICE CYPRUS
- IMPORTER
- TABLE OF CONTENTS
- PAGE
Brand : SILVERCREST
Model : SKAT 1000 EDS A1 COFFEE MACHINE
Category : Coffee machine